GraphQL Client Setup
In the last tutorial we understood the benefits of using Back4app GraphQL with Flutter. In this article we are going to setup the basic scaffold for the project and connect to the Back4app Server
- Setup the Flutter Environment
- Flutter GraphQL setup anatomy
- Flutter GraphQL connection
- Flutter GraphQL connection reuse and patterns
- We require that the user has some basic understanding of Dart and Flutter;
We would need to create an app, you can follow documentation on: https://www.back4app.com/docs/get-started/new-parse-app
We would be using Back4app Hub to set up necessary classes for this tutorial. Please go to: https://www.back4app.com/database/chinmay/flutter-graphql. Click on connect to API.

Select the newly created app and then you are done!
Setting up flutter is relatively painless. We will follow the setup instructions at the official flutter website. After this we will create a simple flutter application using the command:
Check if everything is OK using the command flutter doctor, by Running the application:
For implementing this client we are going to use the flutter_graphql library as mentioned in the first article. We will now add adding this to your packages pubspec.yaml.
In GraphQL we do not have to work with multiple endpoints, we only have a single endpoint that is used to query the request data. And we send GraphQL queries to that endpoint. So generally what we do is that we create an instance of the client that is responsible for sending the appropriate headers and format the queries as per our need. We will be creating a client, for this we need a link (instance of the HttpLink class) and a cache store. We will be using HttpLink as our link and OptimisticCache for our caching. Code would be written in the following manner:
In the main.dart we will write the following:
Go to the Back4app Dashboard in the option “API Console” > “GraphQl Console”:

Note down:
- API url
- Parse App ID
- Parse Client ID
We will create a new file constants.dart in lib folder of our project.
Our component will be wrapped by the GraphQLProvider widget, which would provide necessary details for the widget. We will need to provide an instance of client that we created in step 2. We will use GraphQL console, to write our query. You can learn more about GraphQL queries in our GraphQL cookbook section.
We will use the ListView widget to render the list, in the main.dart
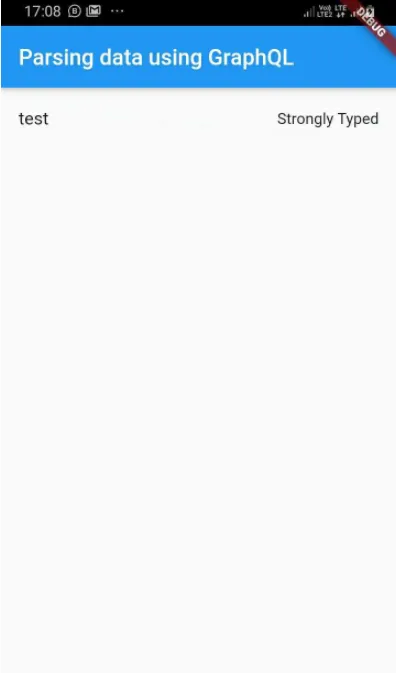
We should get the following on our screen:

We have configured the Flutter GraphQL client and connect to the Back4app GraphQL api. You can find the code for the same here: https://github.com/templates-back4app/Flutter-GraphQL/tree/flutter-graphql-setup.