Install Parse SDK
In this guide, you will learn how to get started with Back4App for your Flutter project using the Flutter plugin for Parse Server.
To complete this tutorial, you will need:
Open your computer's cmd or terminal (depending on your operating system) and go into your Flutter projects directory. Run this command to create a new Flutter app.
Launch your Flutter app by running this command:
Add the Parse SDK to your project dependencies running:
This command will flutter get and add the Parse SDK to your pubspec.yaml file.
The next step is to import the Parse SDK inside your project's main.dart file.
Inside main.dart, you can use:
Go to main.dart, and initialize Parse in your Flutter app:
Note: The debug parameter in function Parse().initialize is set to true, to allow displaying Parse API calls on the console. This configuration can assist in debugging the code. It is advisable to disable debug in the release version.
To successfully connect your app to the Back4App servers, you must provide Parse SDK with your backend application credentials.
Update the string values with your Application Id and Client key.
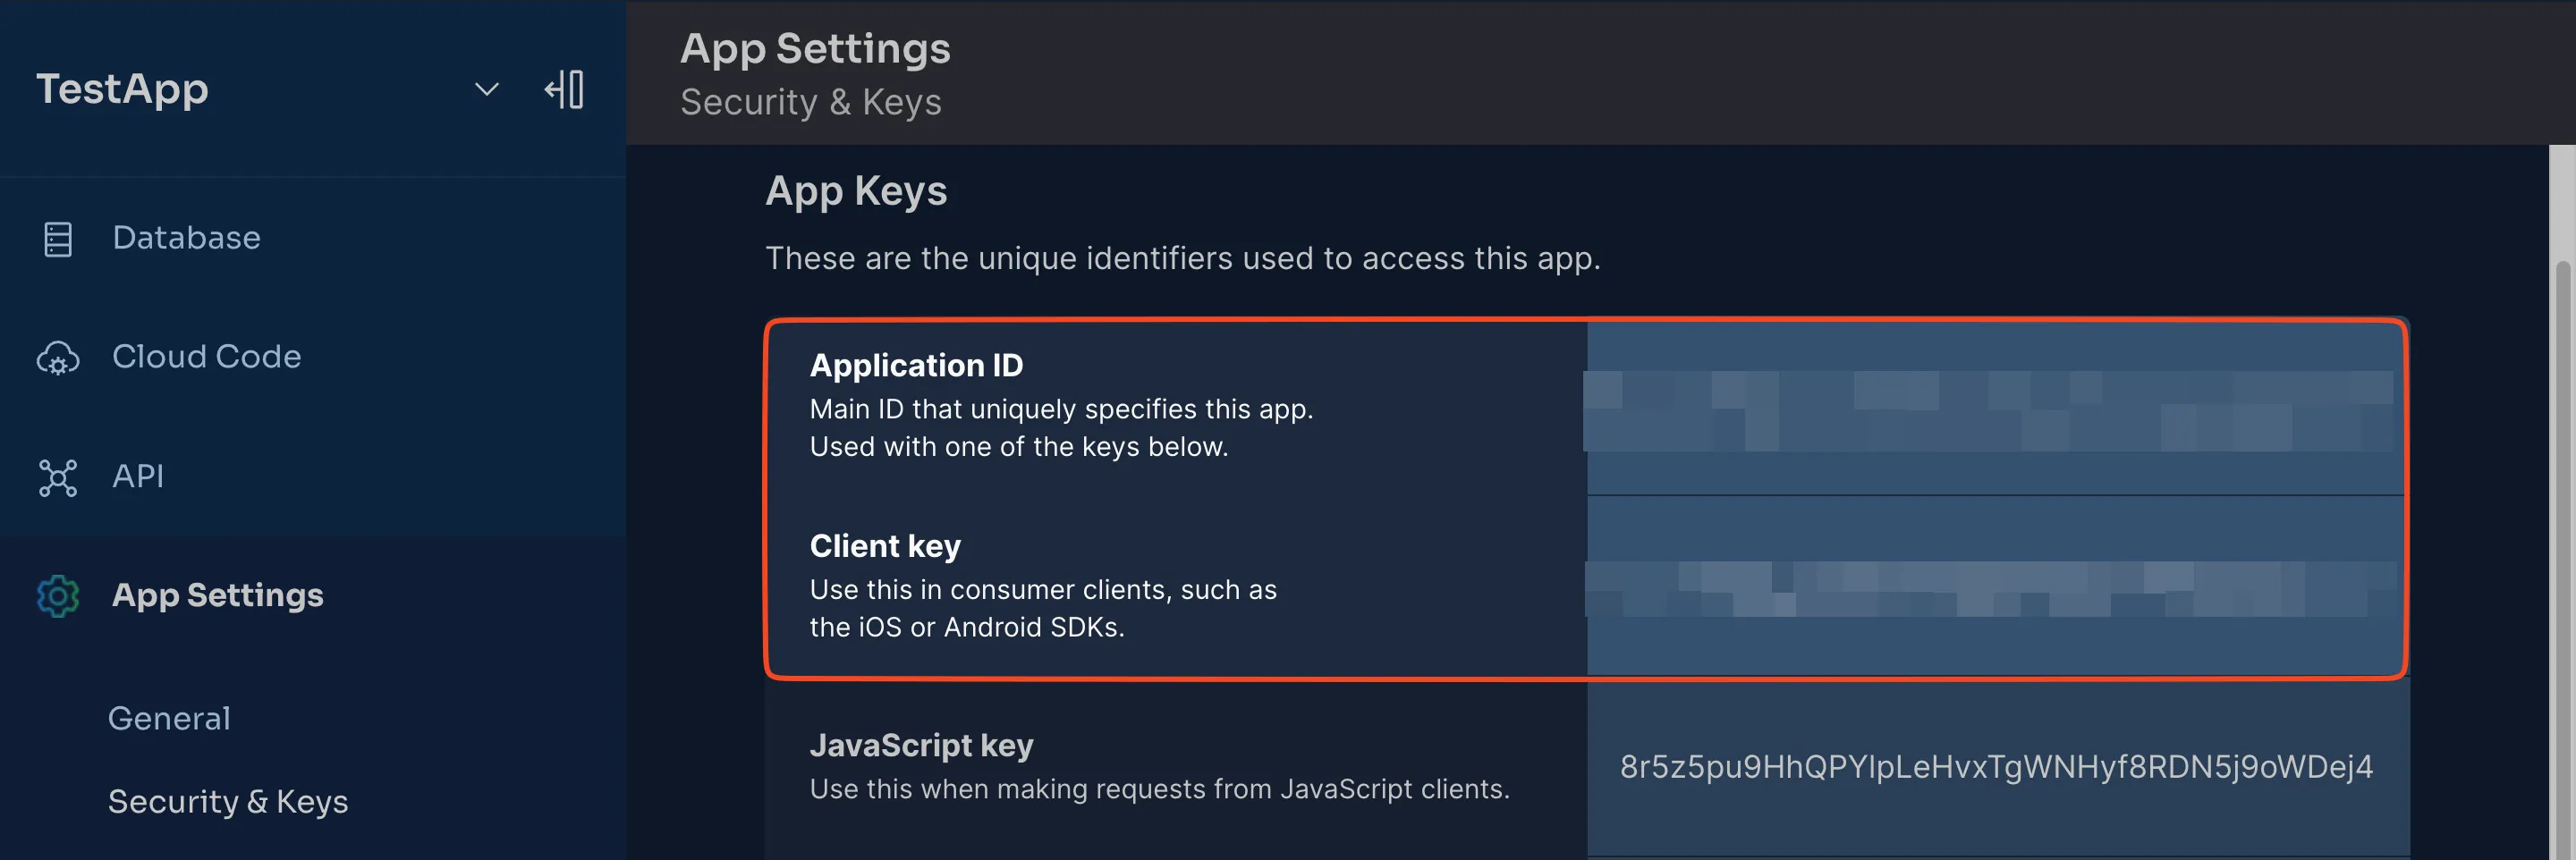
Locate your Application ID and Client Key credentials by navigating to your app Dashboard > App Settings > Security & Keys.

Copy these credentials and replace in main.dart.
- keyApplicationId = App Id
- keyClientKey = Client Key
You should test the SDK to verify that Parse and your backend is working with your Flutter application. It will create an object on your project called First Class.
Let’s add the test code to main.dart as follows:
Launch your app and go to the Back4App Website. Find your app and navigate to the Dashboard.
Now go to Database > Browser > First Class. You should see the First Class with an object, as shown in the image below.

Now you know exactly how to get started using Back4app. You learned how to install the Parse SDK in your Flutter Application and connect to your Back4App backend.