via Dashboard (ObjC)
This section explains how you can send push notifications using Cloud Code through Back4App.
This is how it will look like:
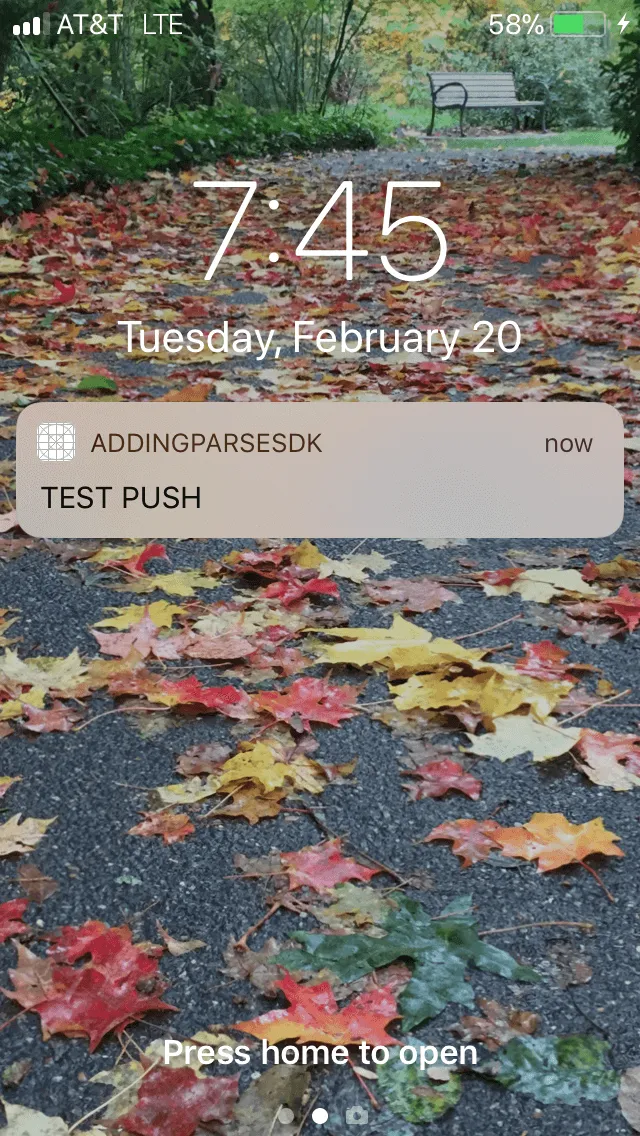
At any time, you can access the complete Project built with this tutorial at our GitHub repository.
To complete this quickstart, you need:
- An app created at Back4App.
- An iOS app connected to Back4App.
- Note: Follow the Install Parse SDK (Swift) Tutorial to create an Xcode Project connected to Back4App.
- A paid Apple Developer Account.
Pay attention to the steps below because you need to get them right in the exact order. If pushes are not being received there isn’t much we can do to debug besides going over the steps again
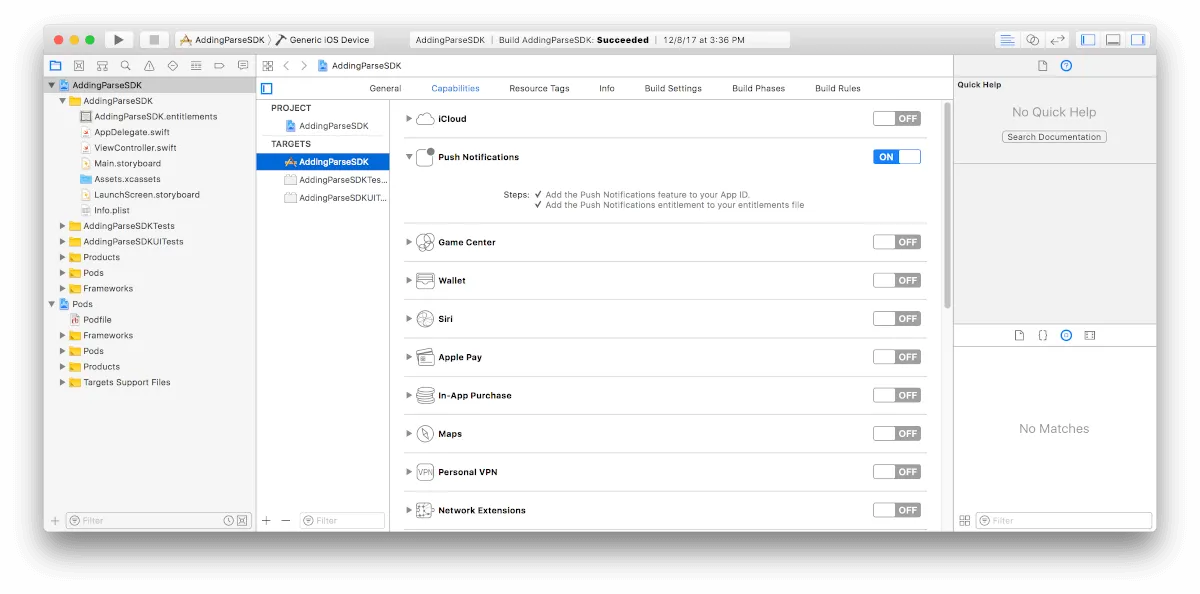
- Go to the target and go to Capabilities - click on push notifications - then turn push notifications on. This creates your app id and sets your entitlements.
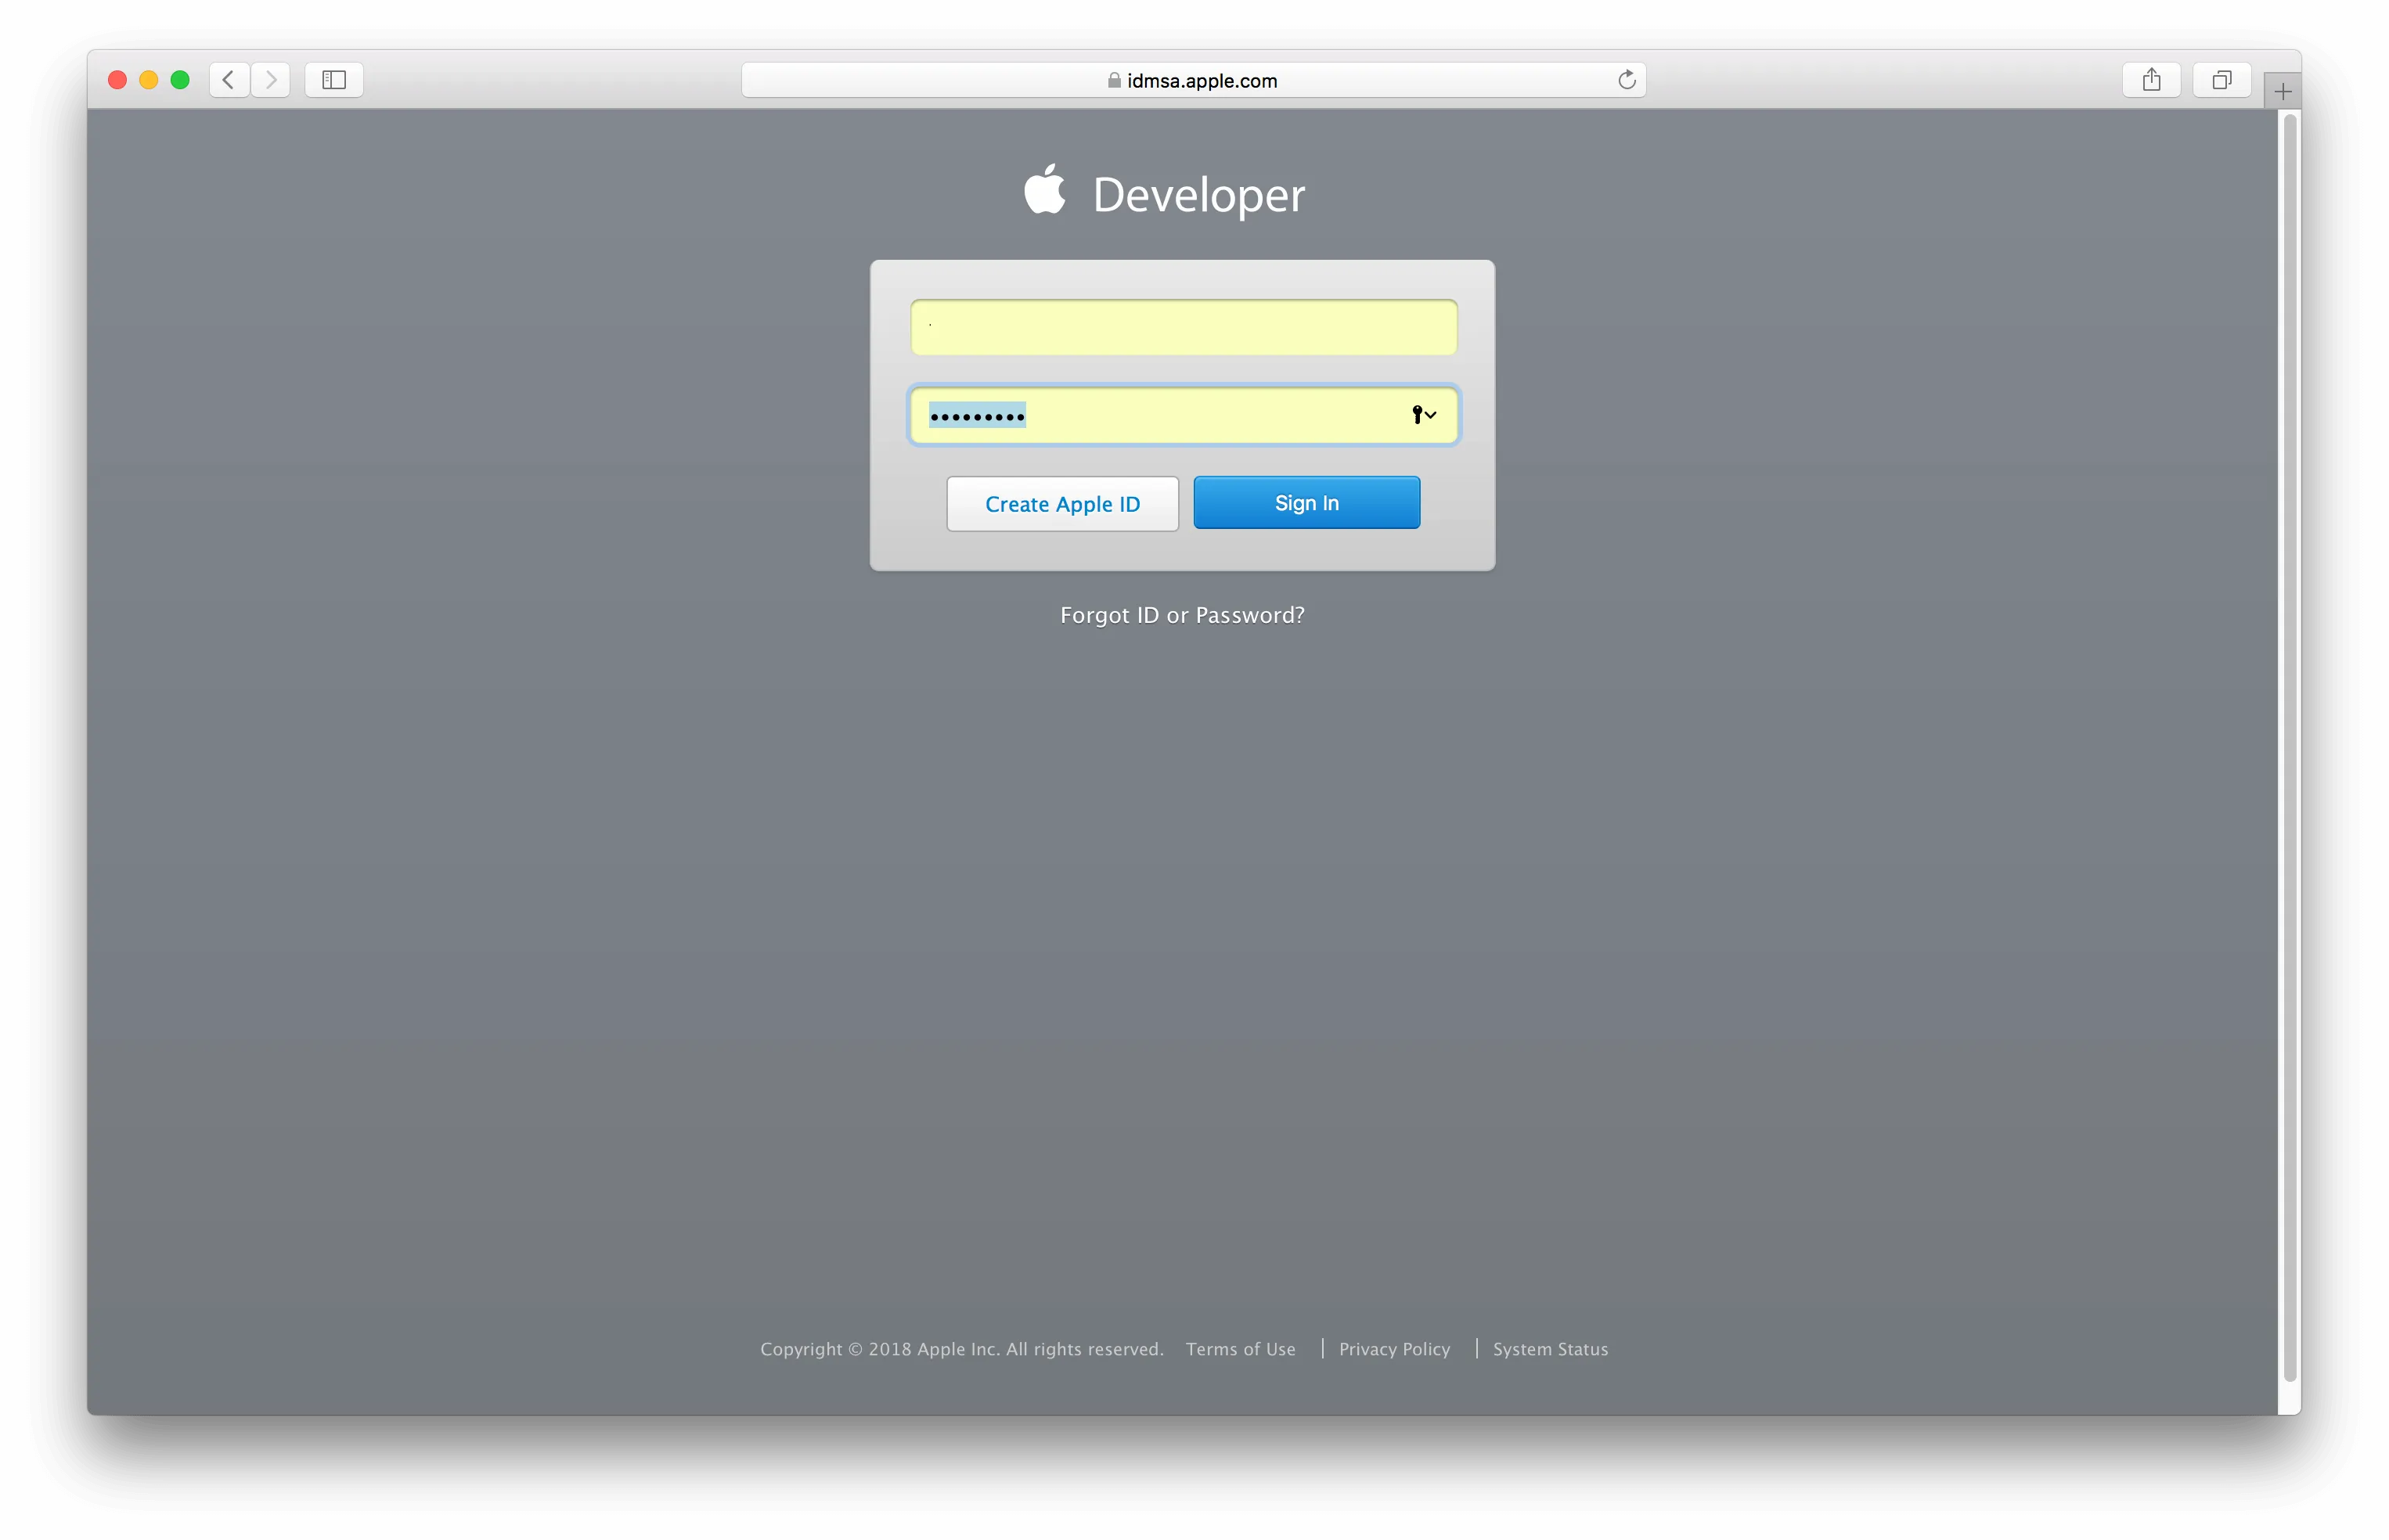
2. Go to the Apple Developer Center and login to your account:
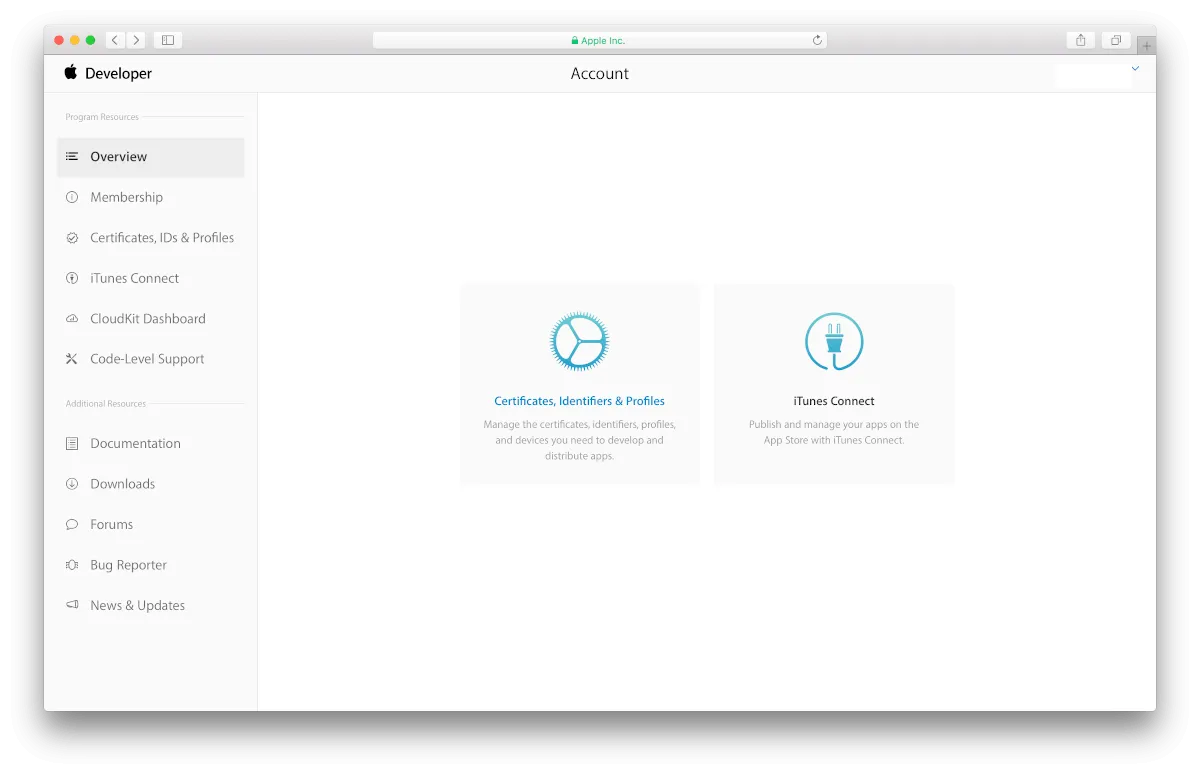
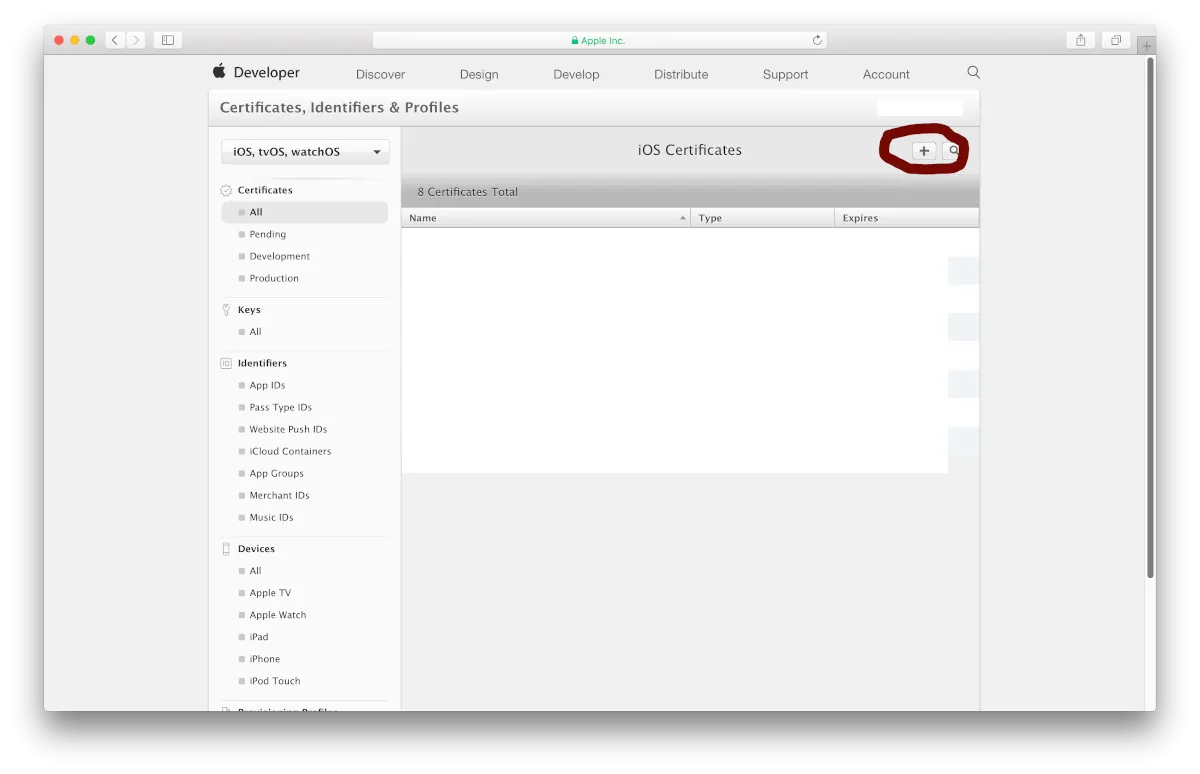
3. Click on Certificates, Identifiers & Profiles.
4. In the certificates section hit the plus sign. Choose to create a apple push notification certificate for sandboxes.
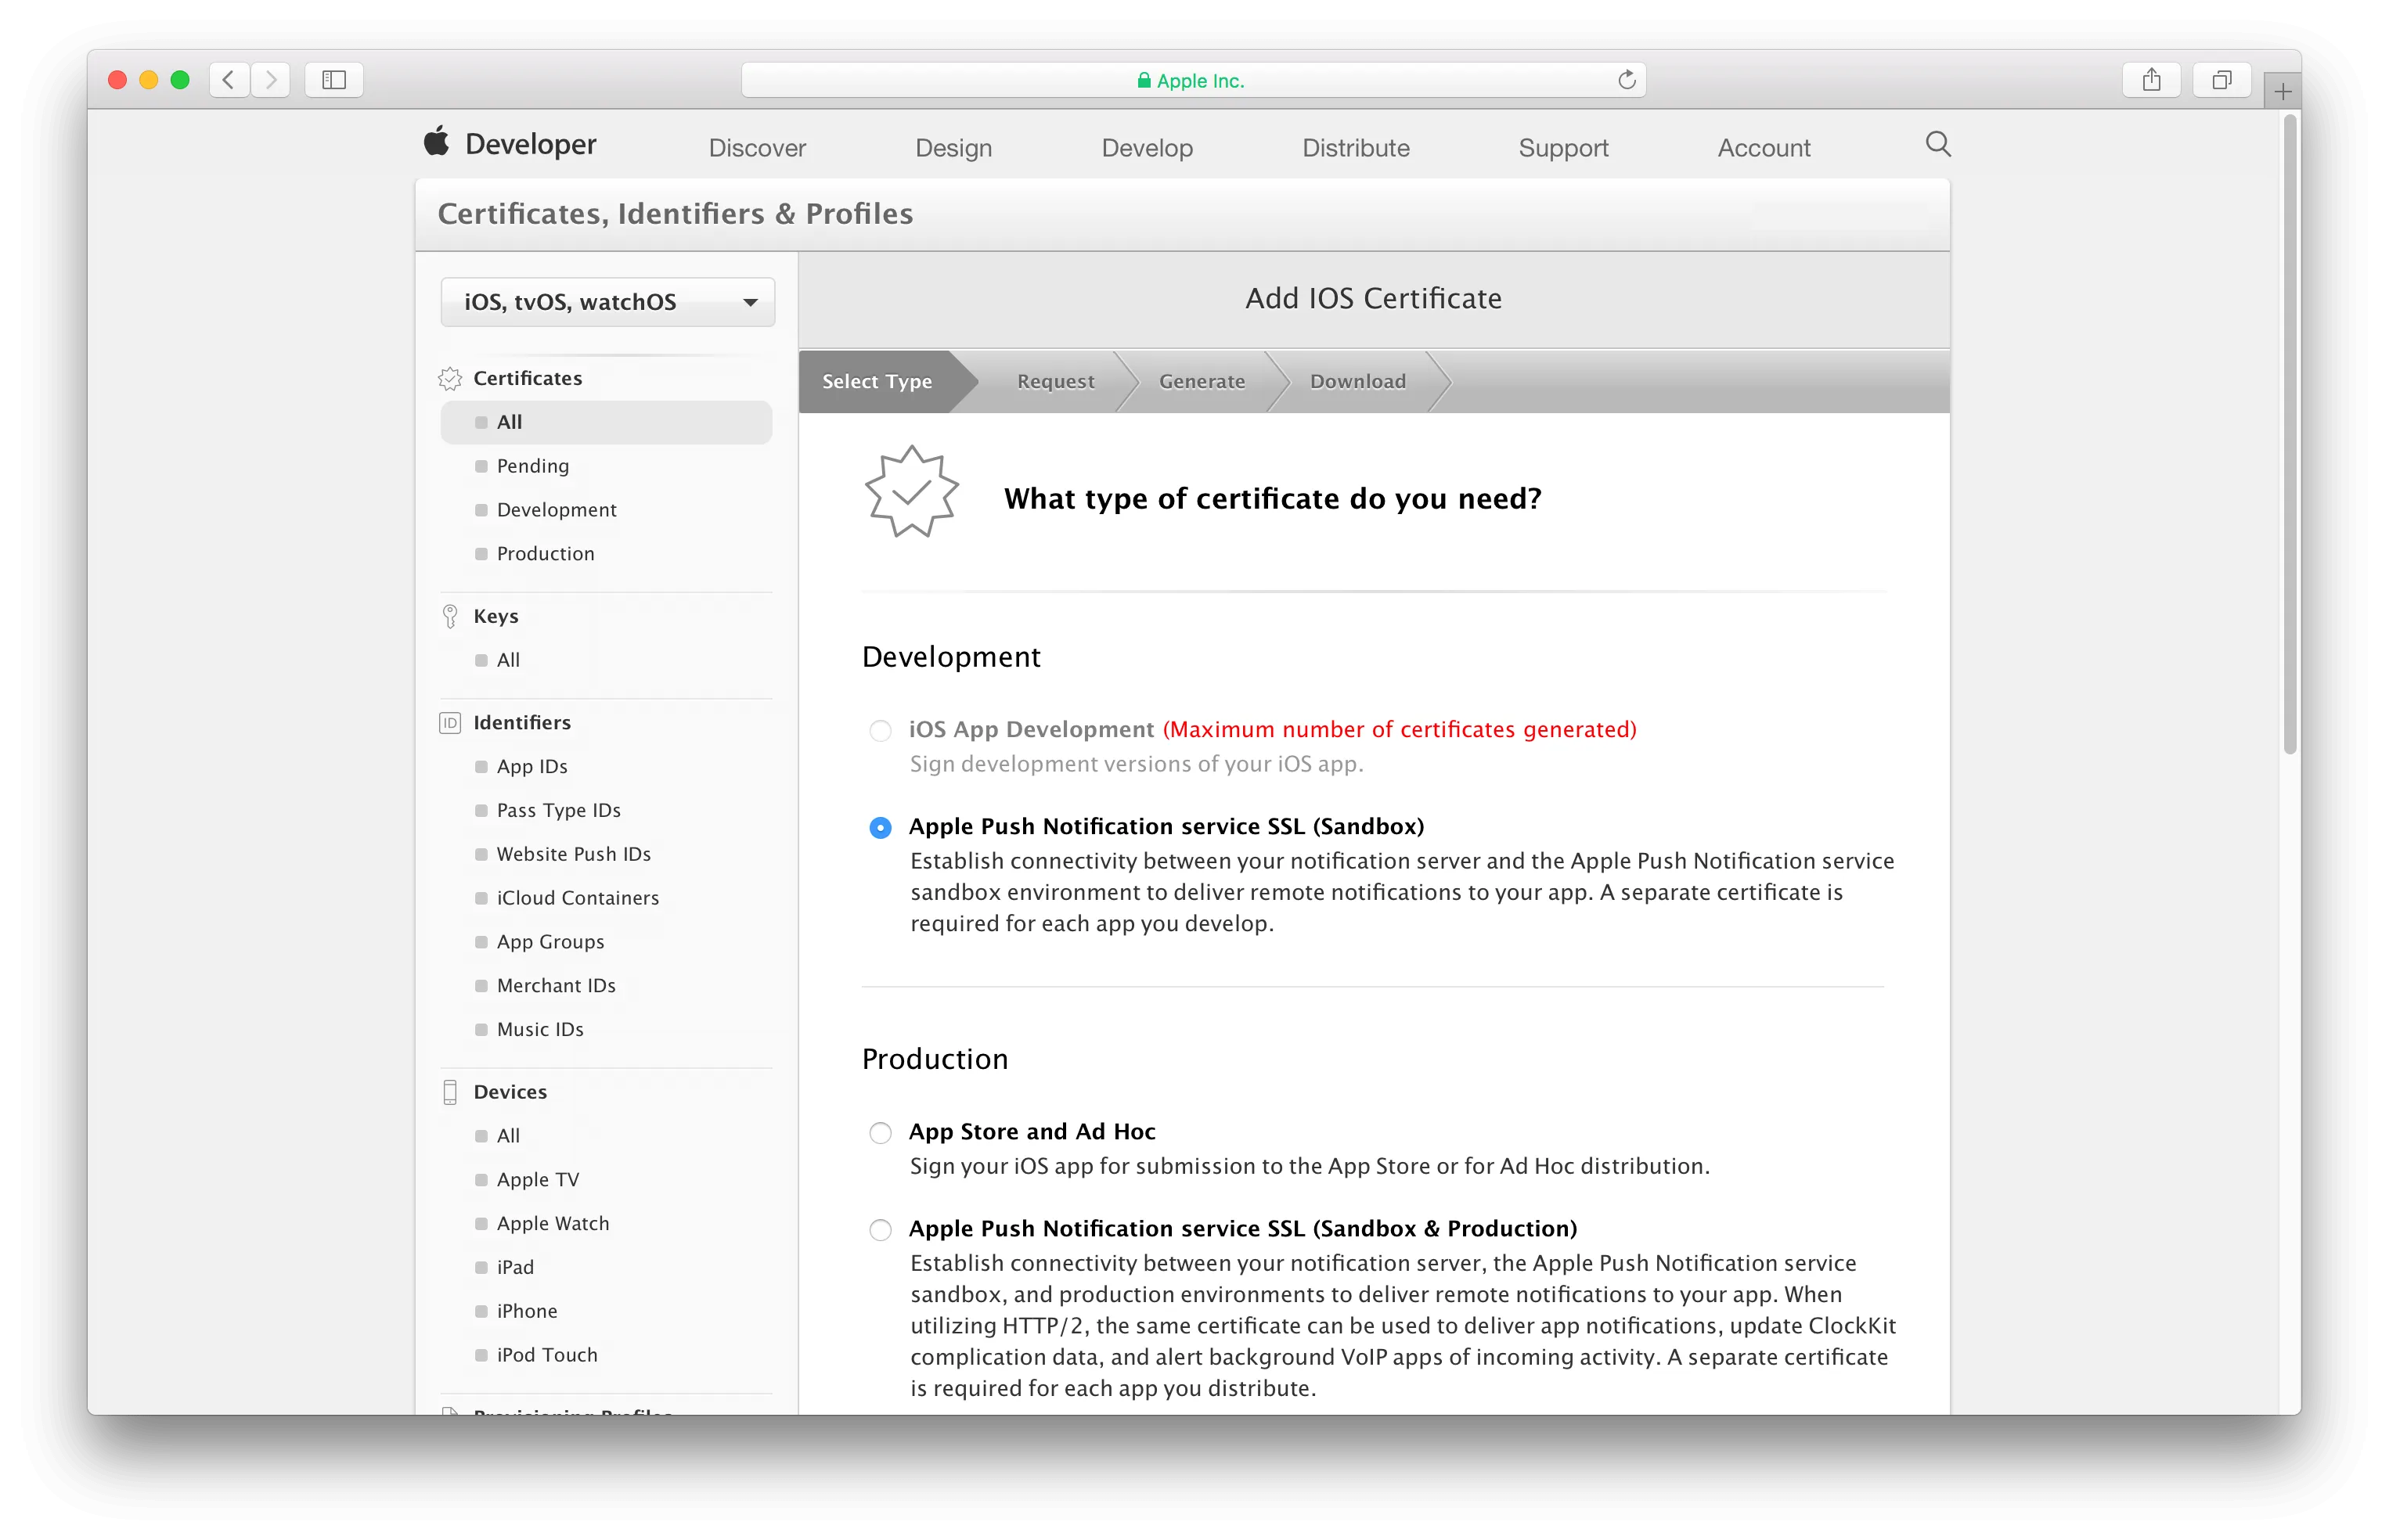
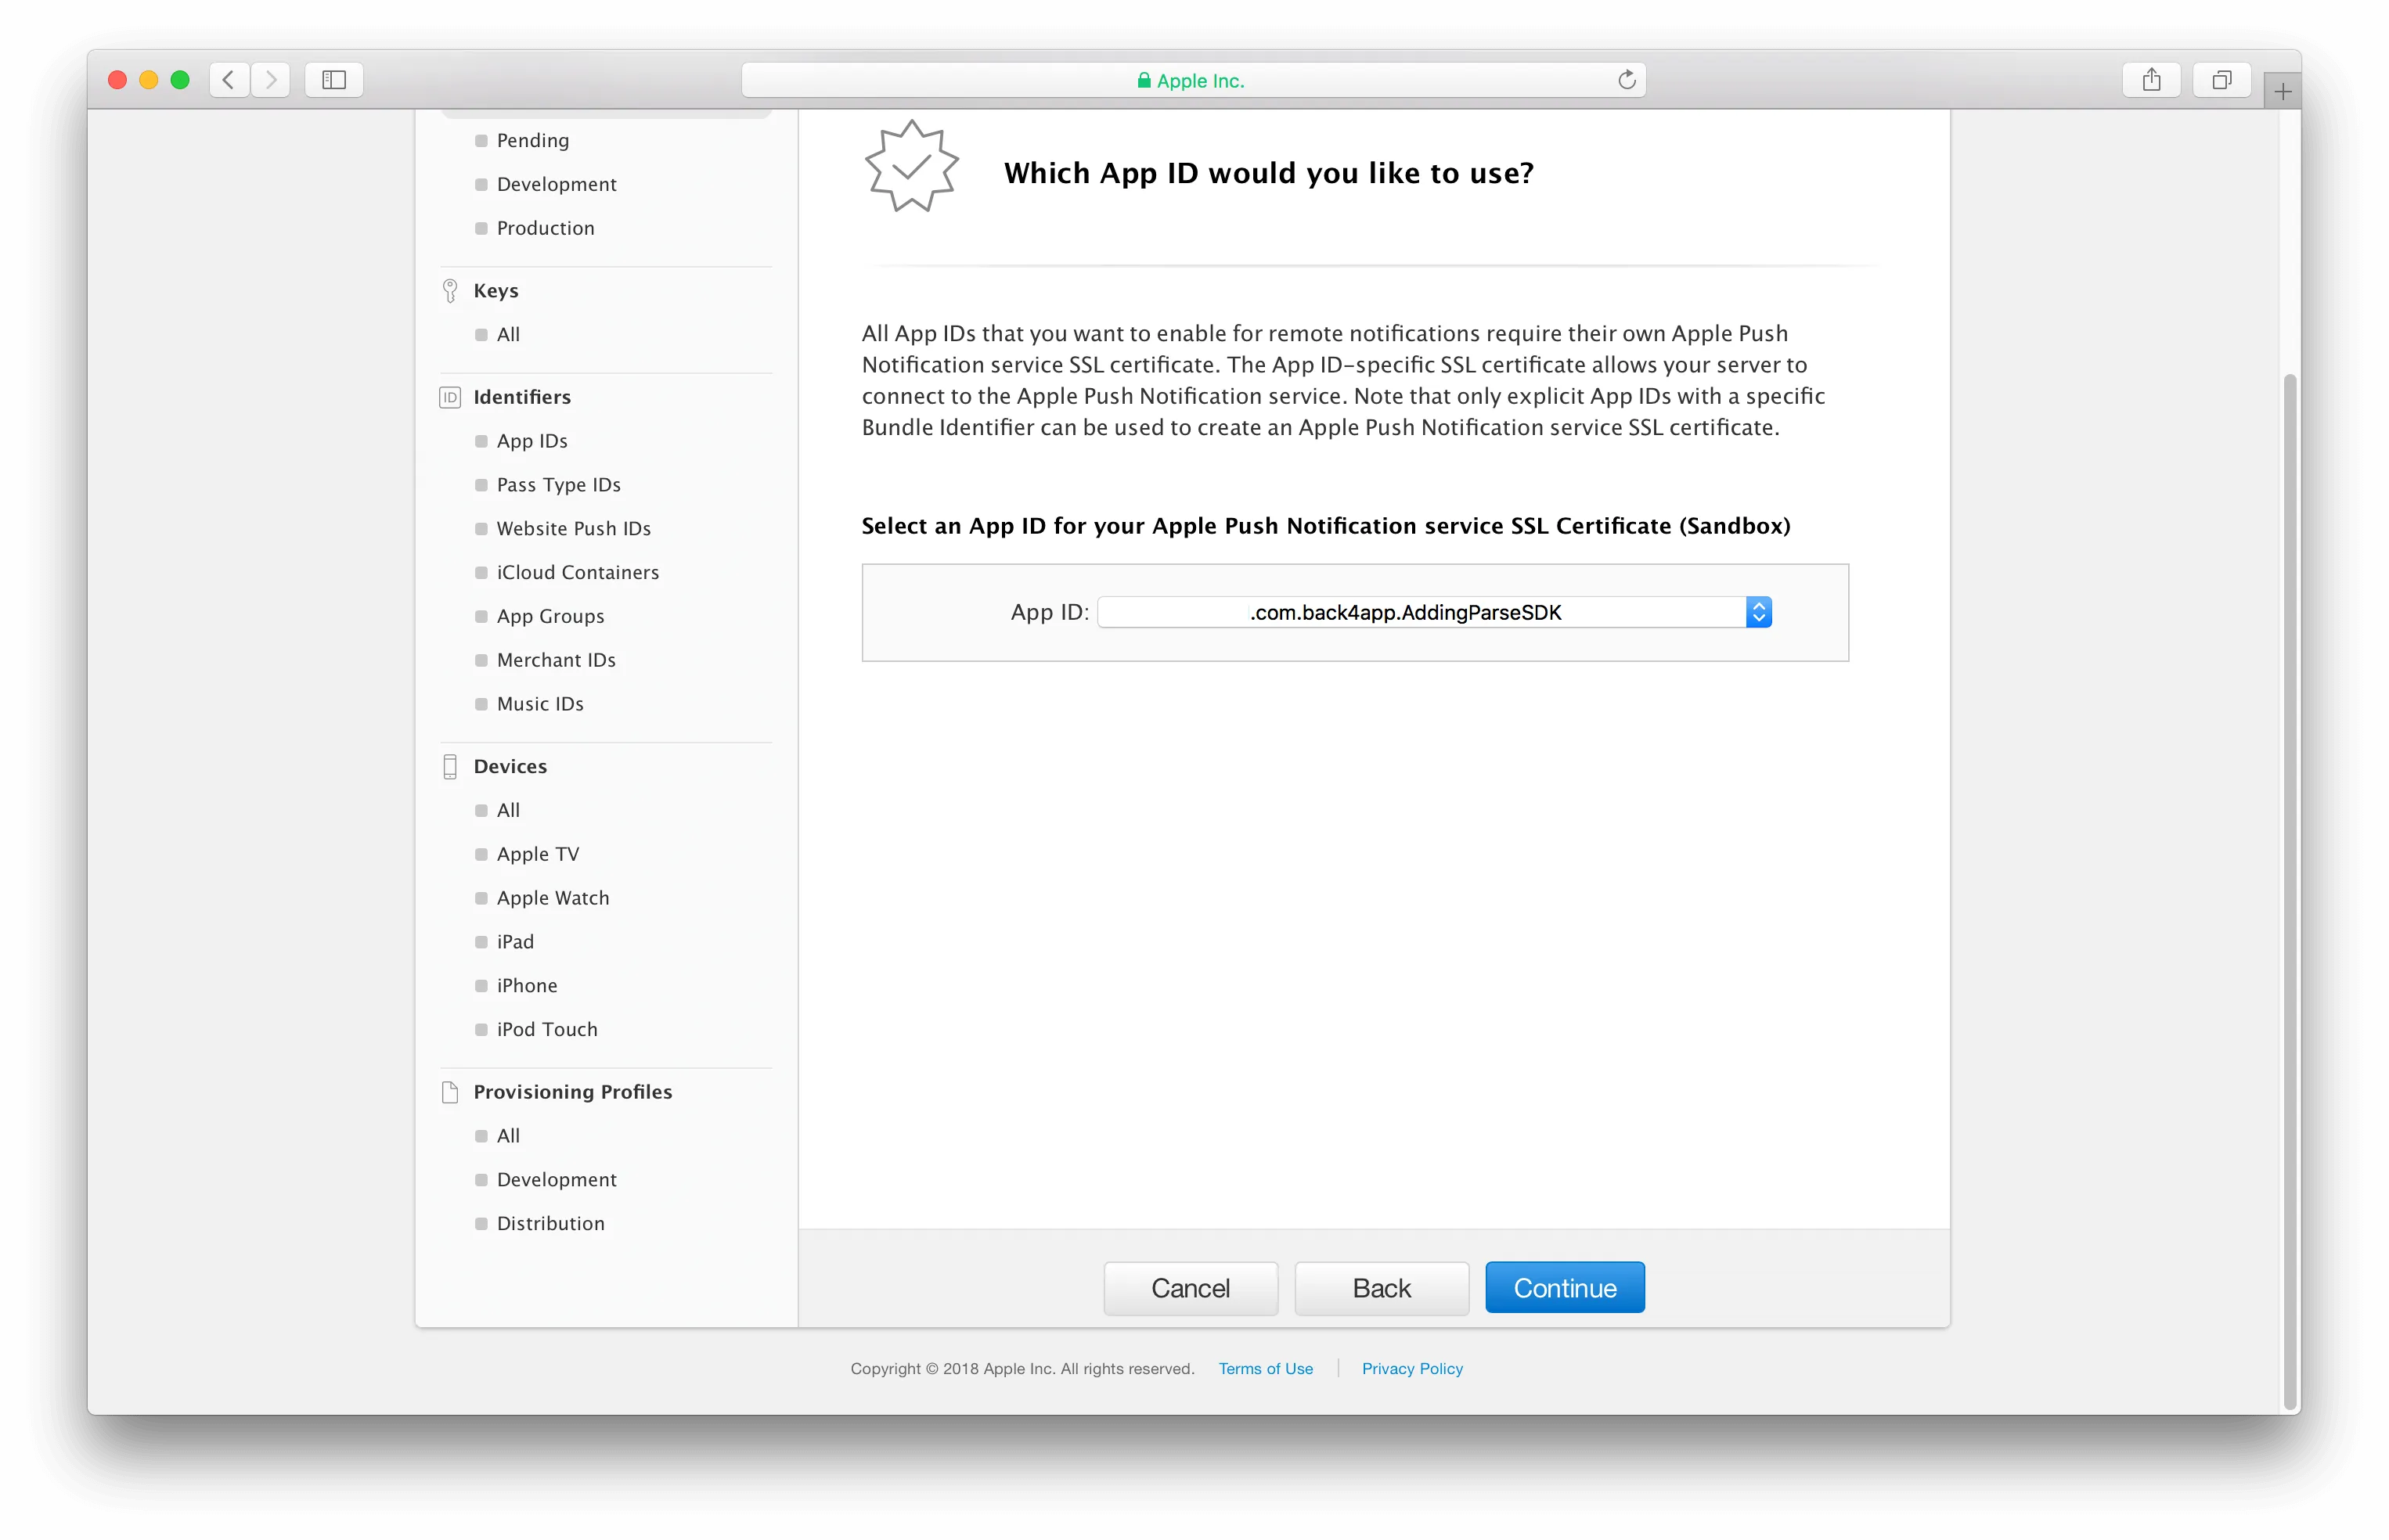
5. Pick your app id that matches the app id used in your current Xcode project.
6. Now you will be asked for a Certificate Signing Request or CSR. You will generate your CSR from your Mac computer.
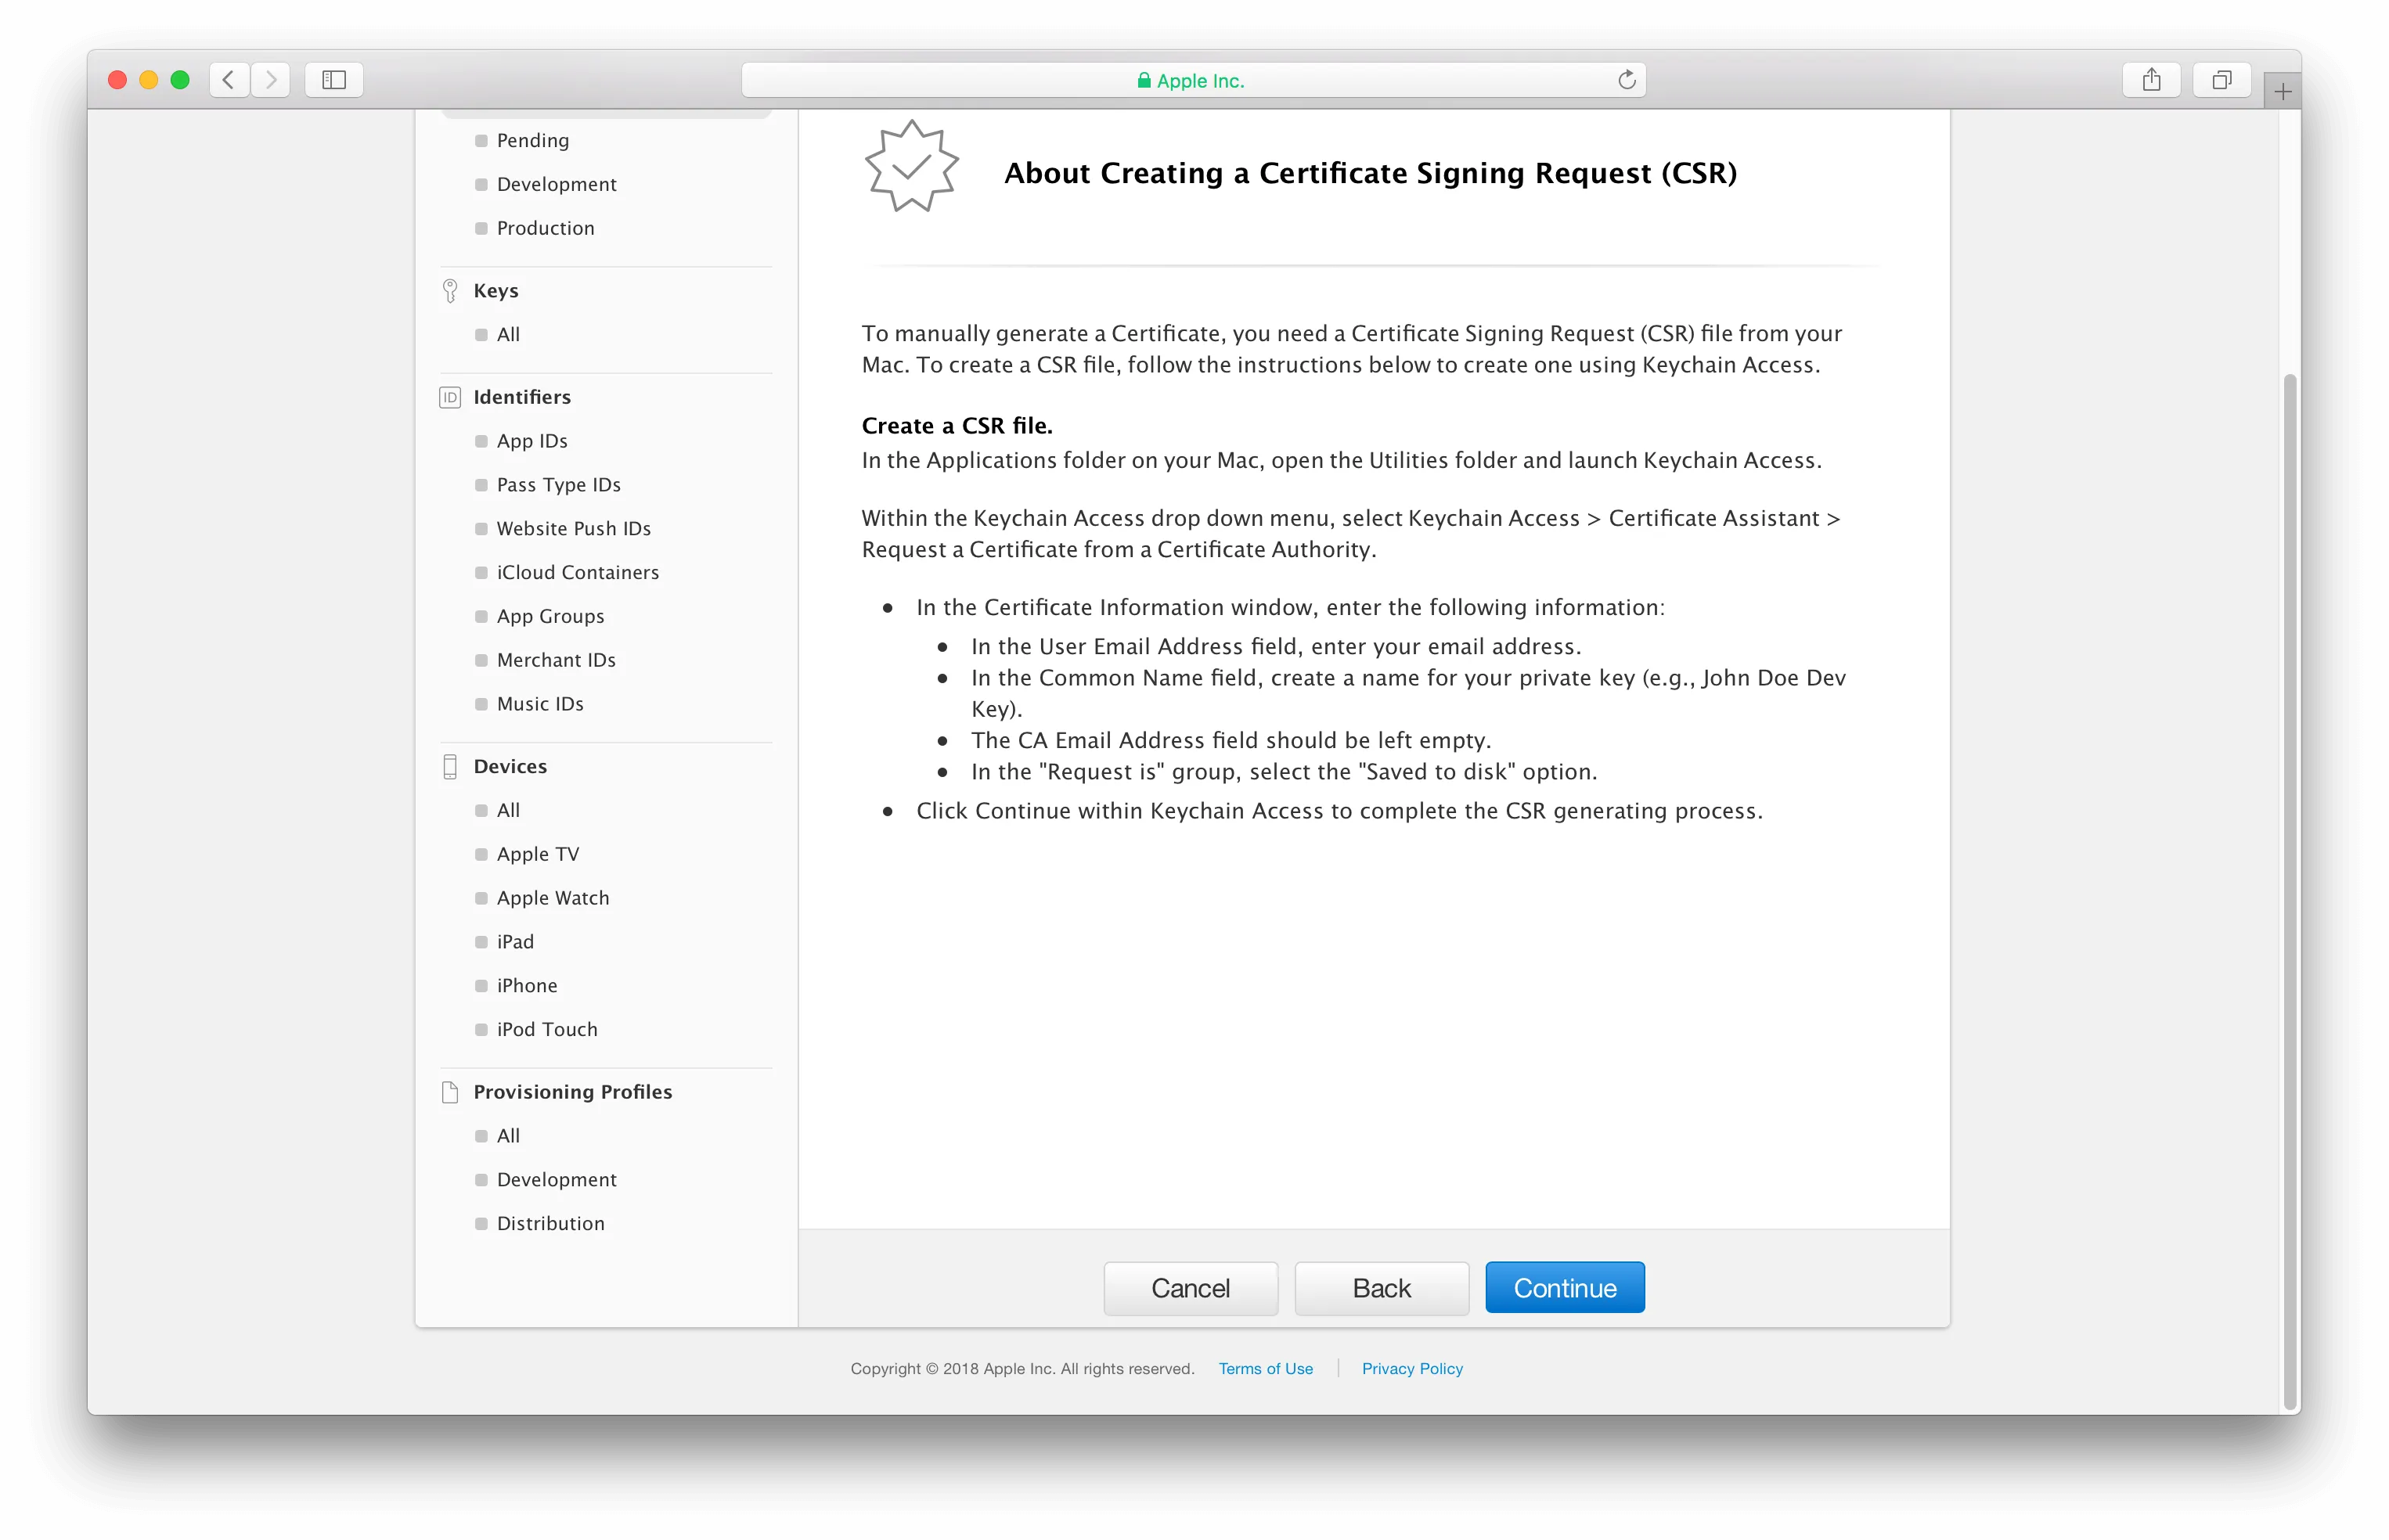
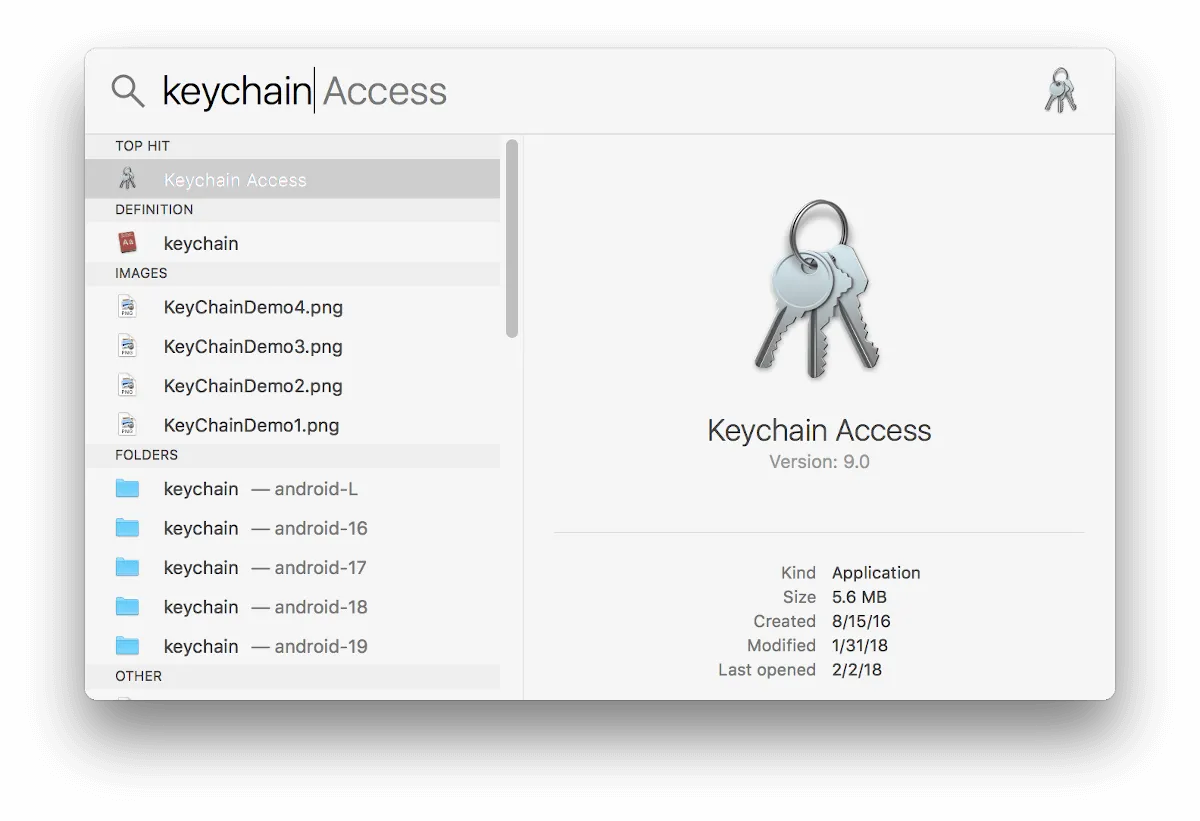
7. On your Mac computer open your Keychain Access.
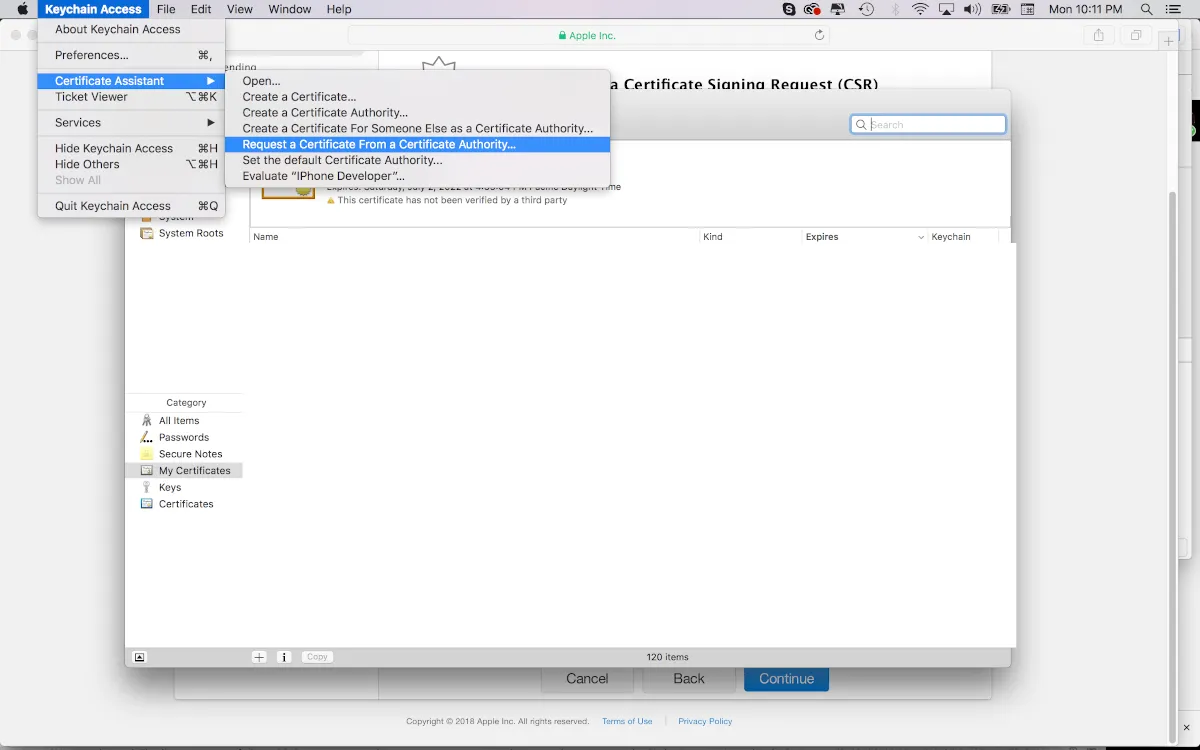
8. Next, request a certificate from a certificate authority.
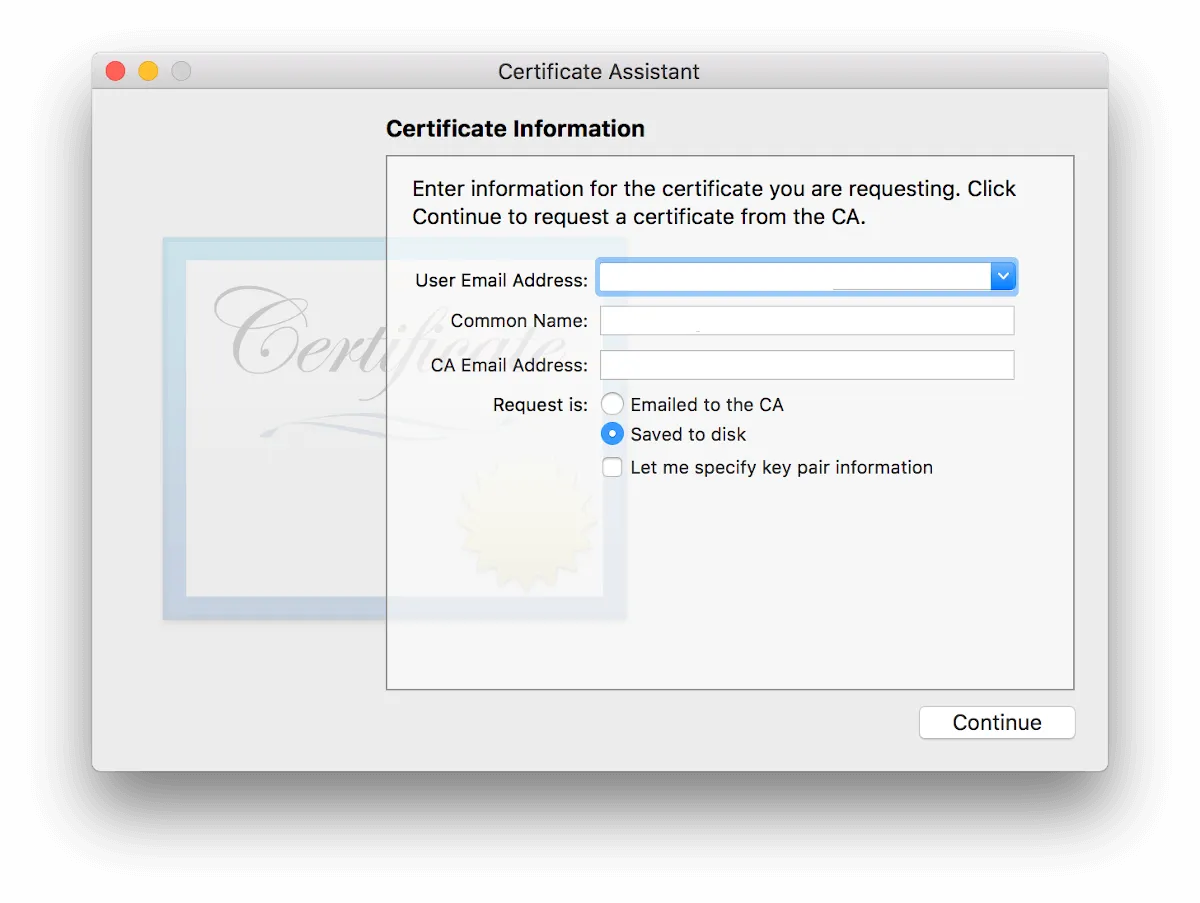
9. Pick your user email, then make sure you save your certificate to disk - save it on a folder on your desktop called PushCerts.
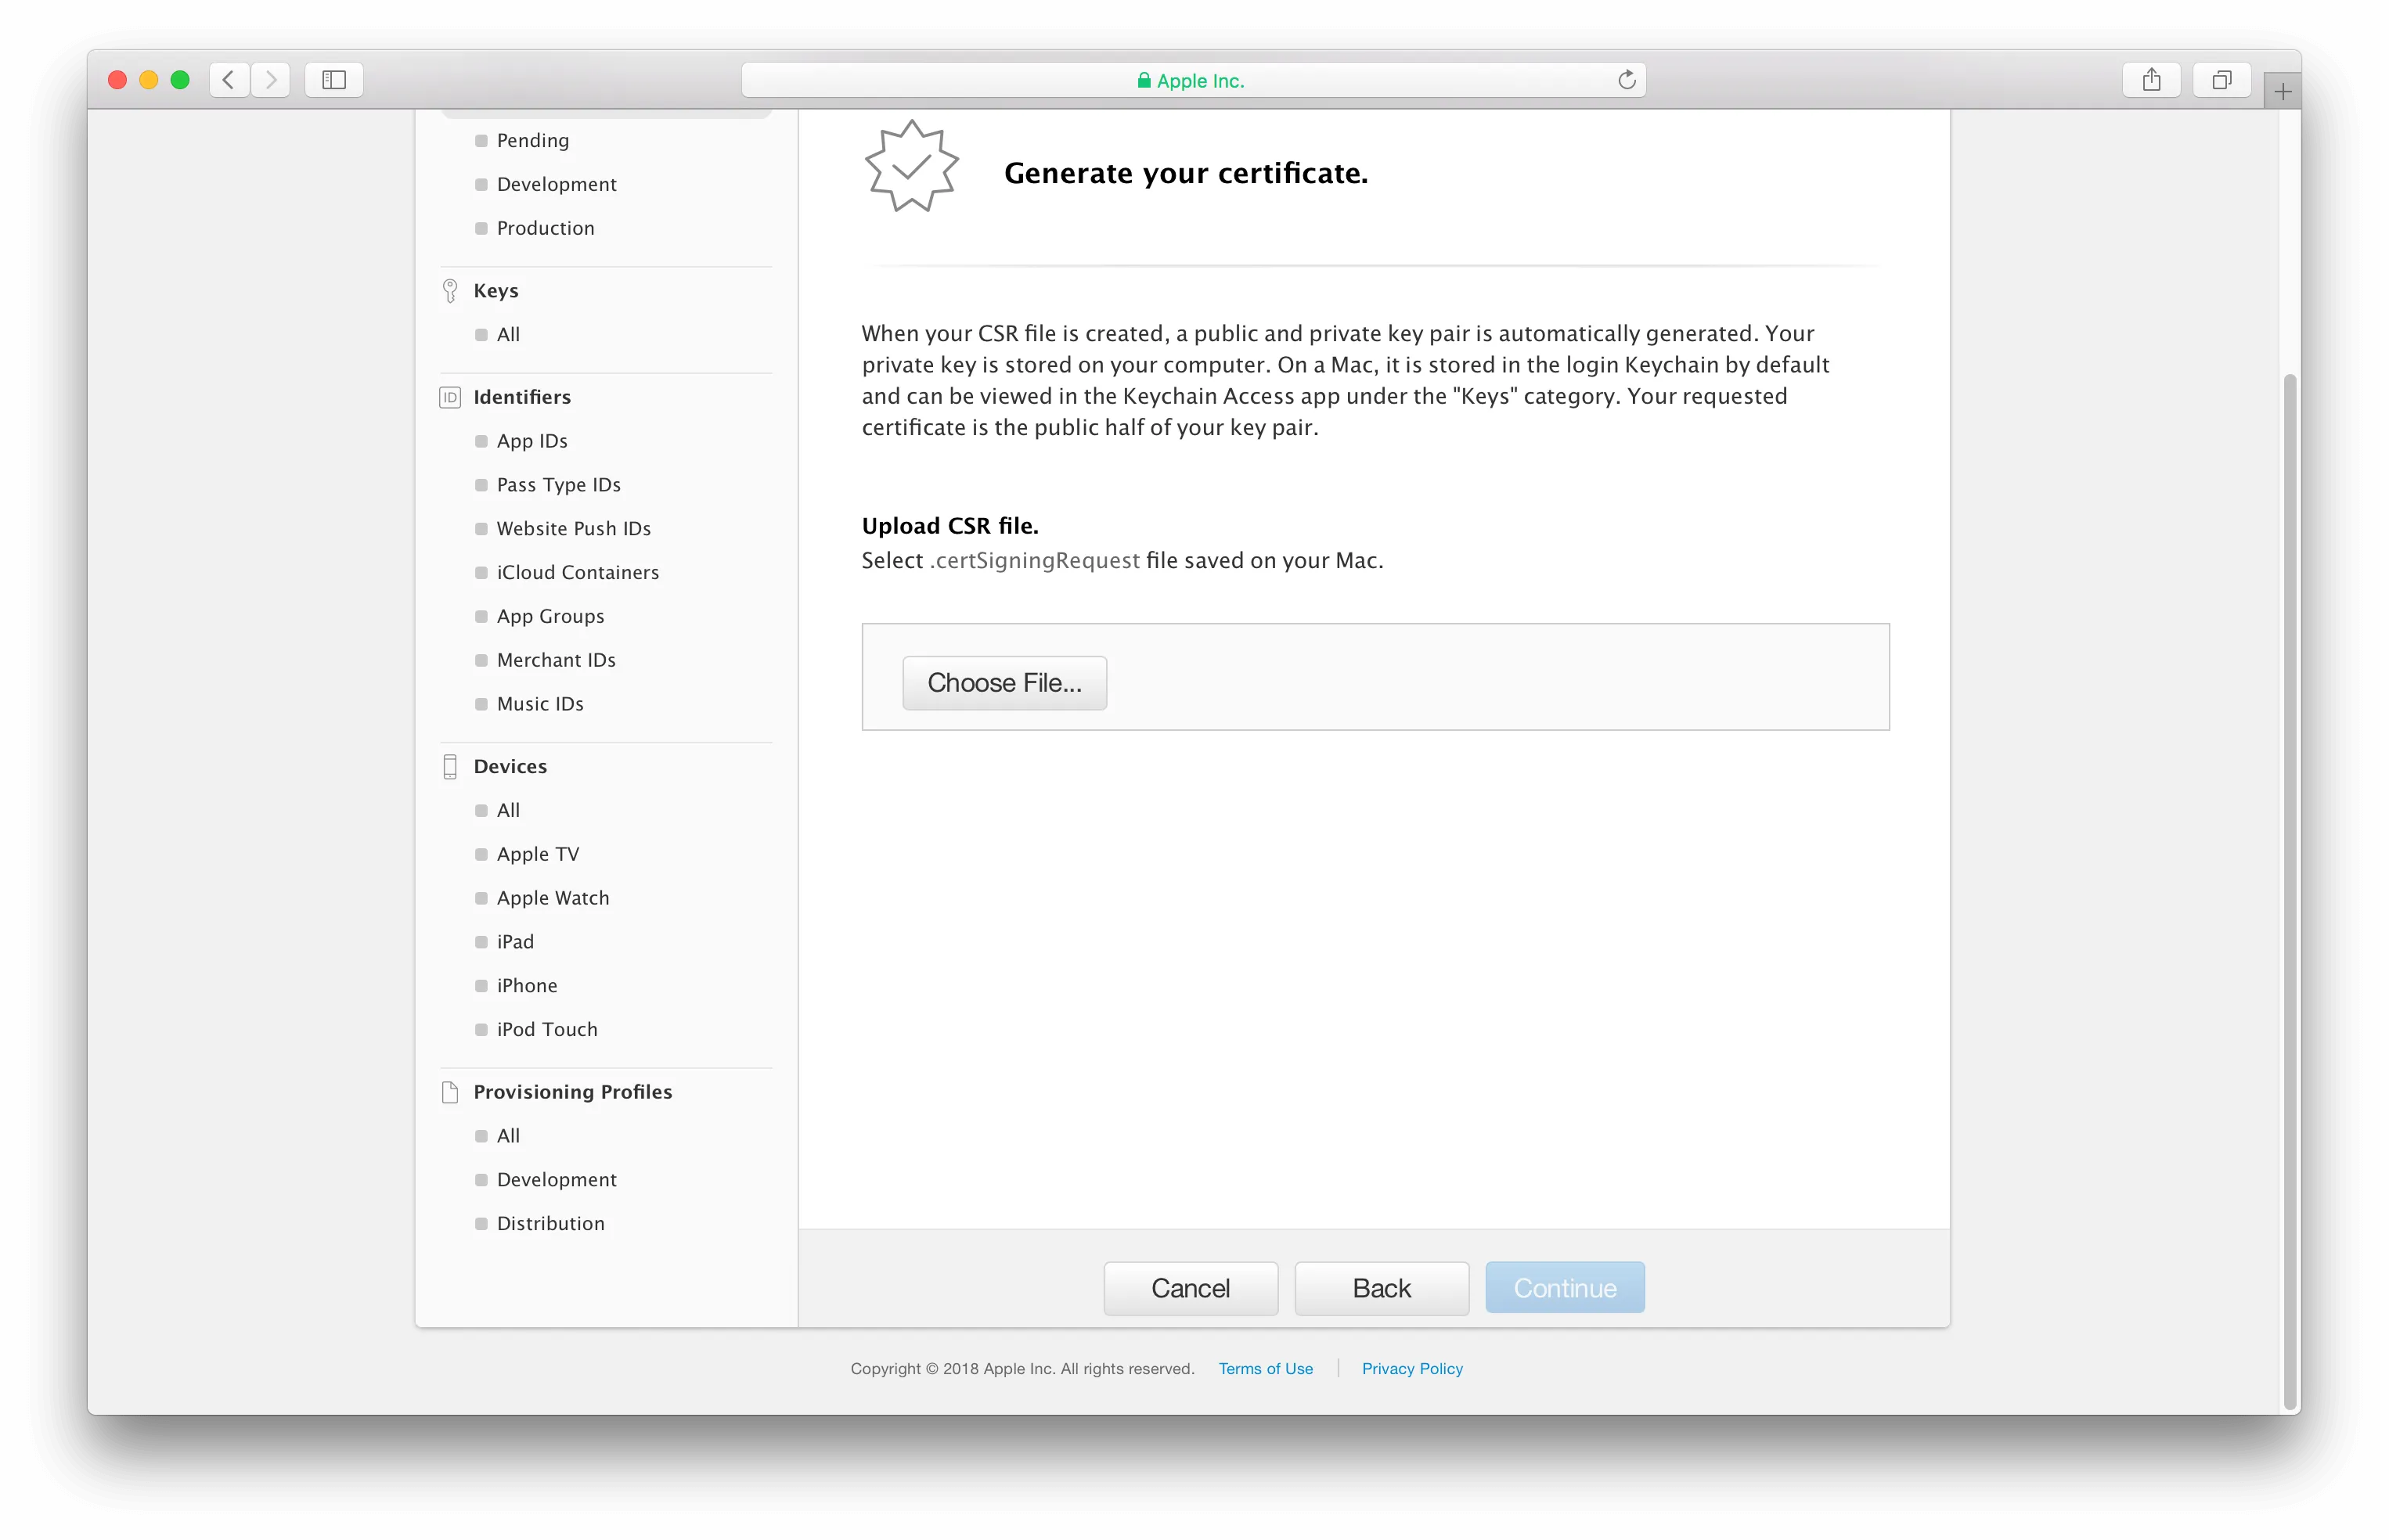
10. Go back to the Apple Developer center. Upload your CSR and hit continue.
11. Download your Development APN certificate into the same folder called PushCerts. Call it apn_dev.
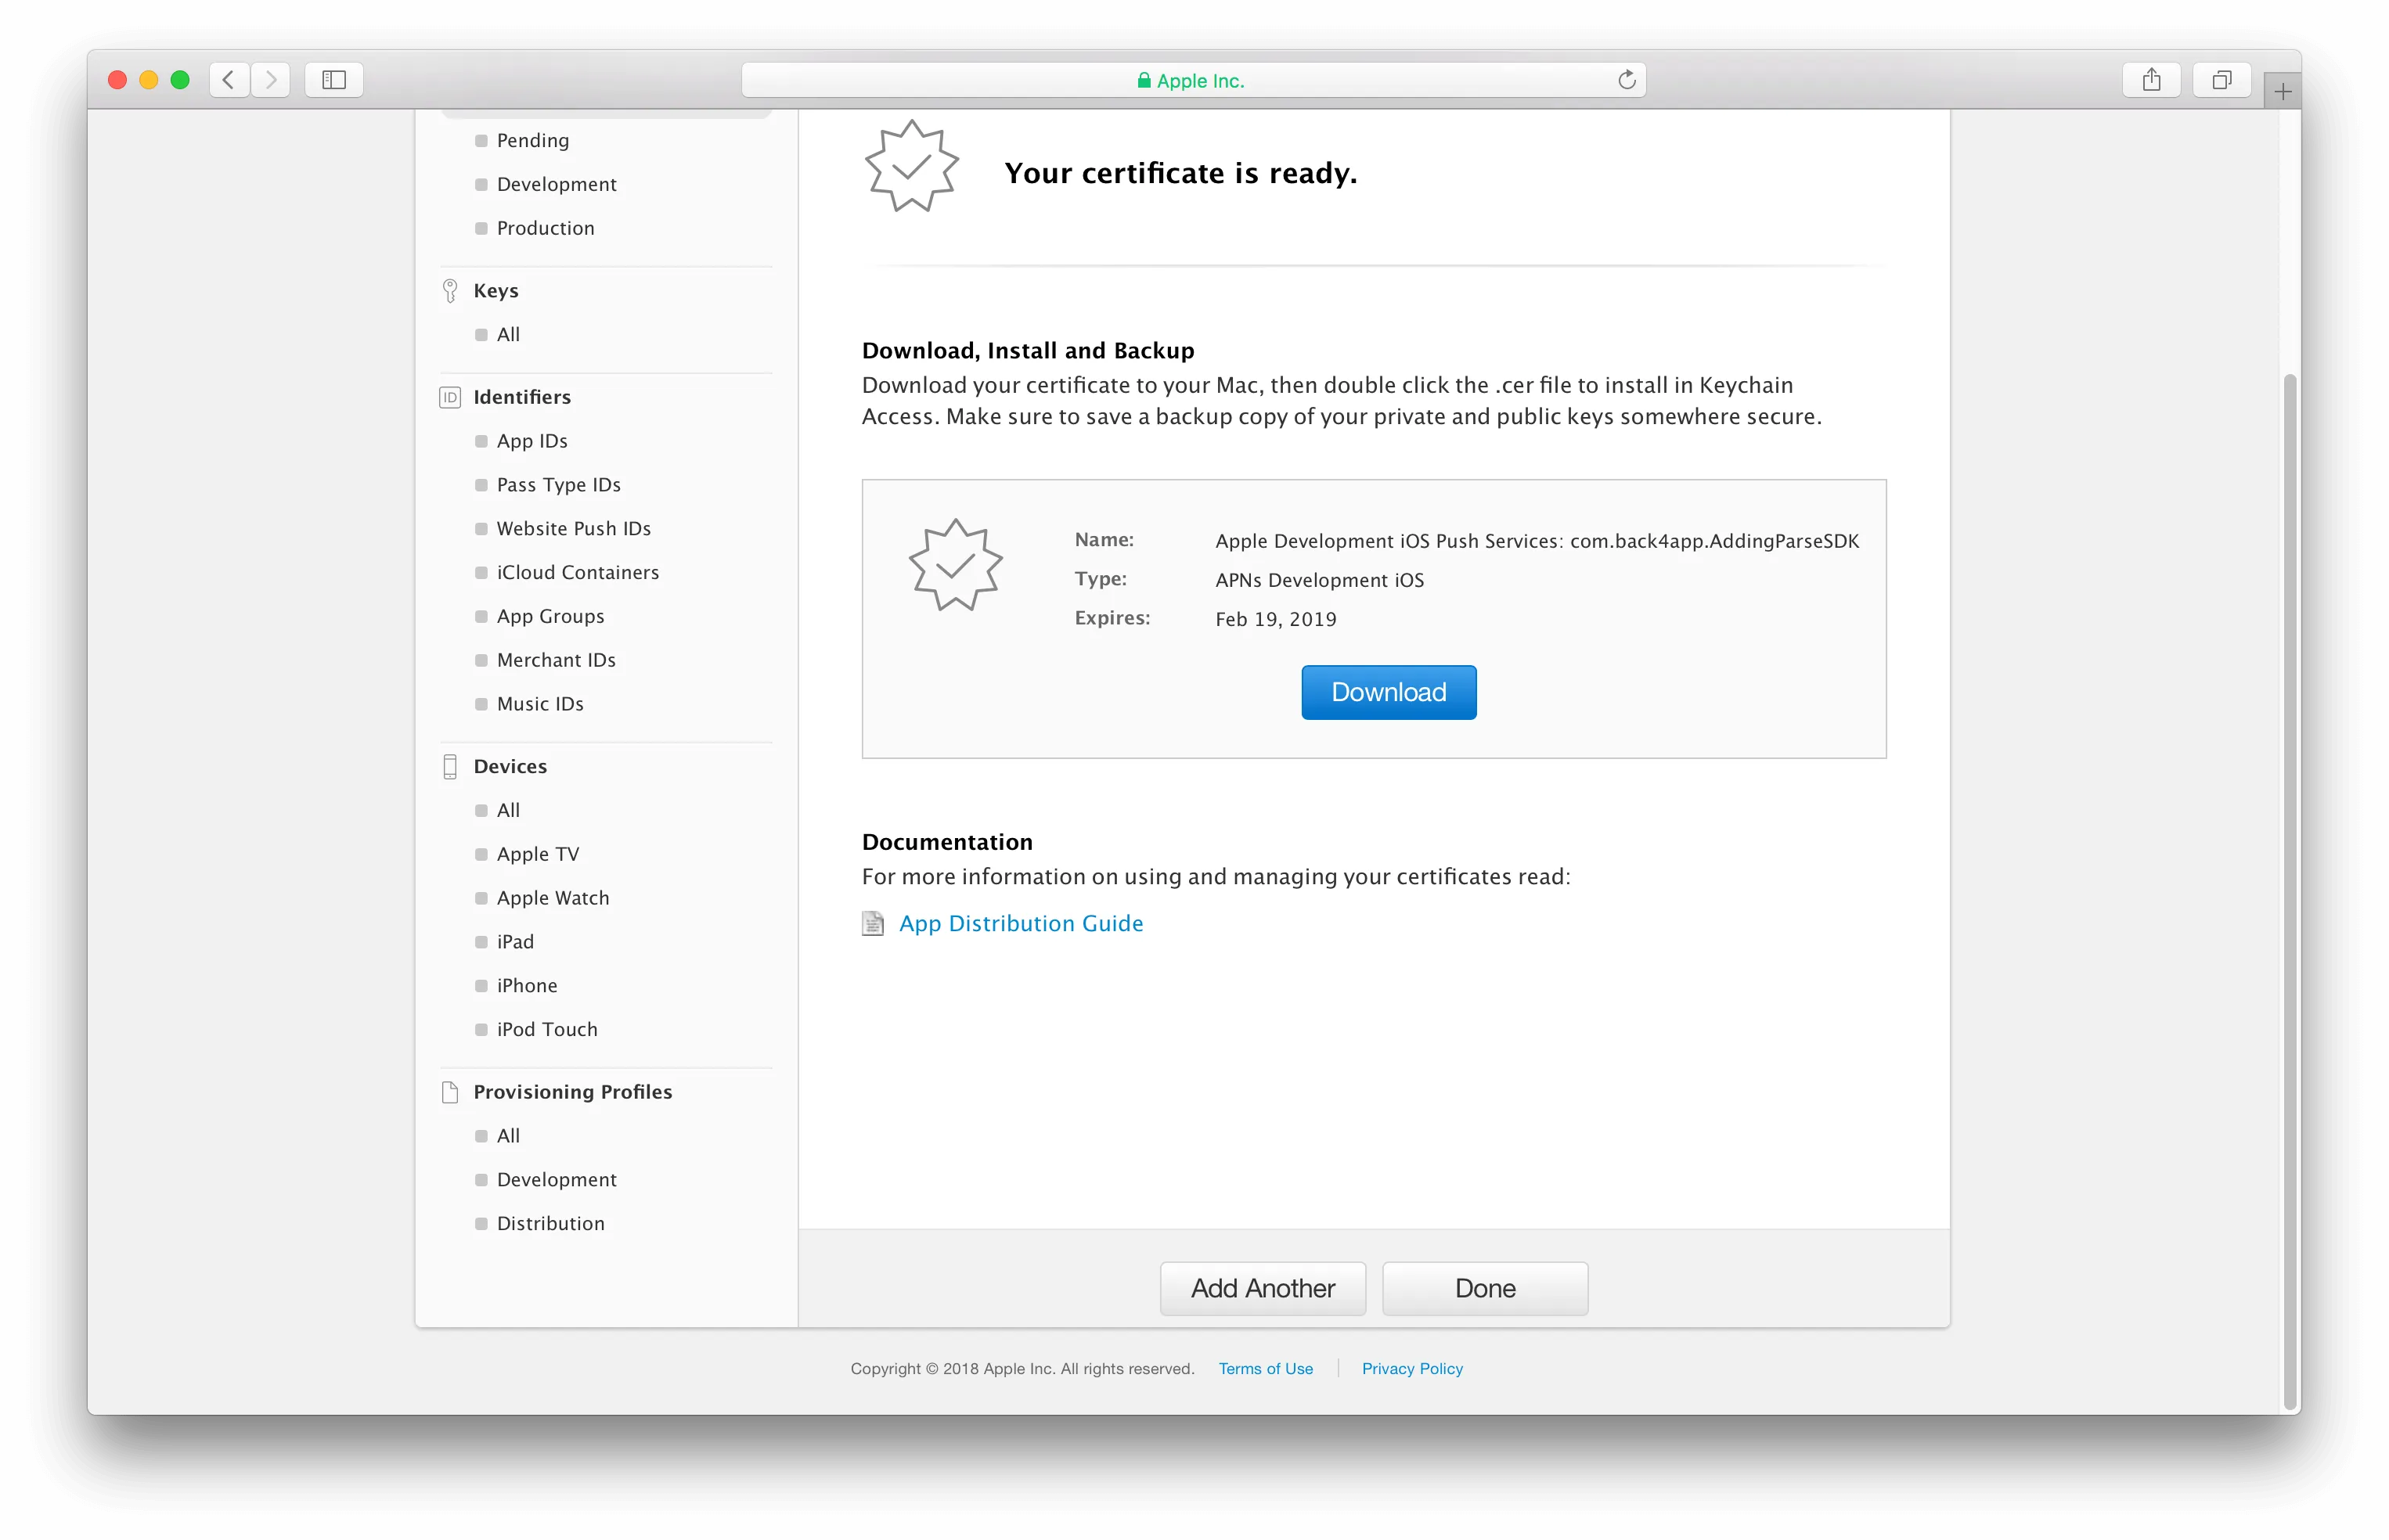
12. Let’s start the process over. This time we will create production push certificates. You need both for testing and release. Select Apple Push Notification Service SSL (Sanbox & Production).
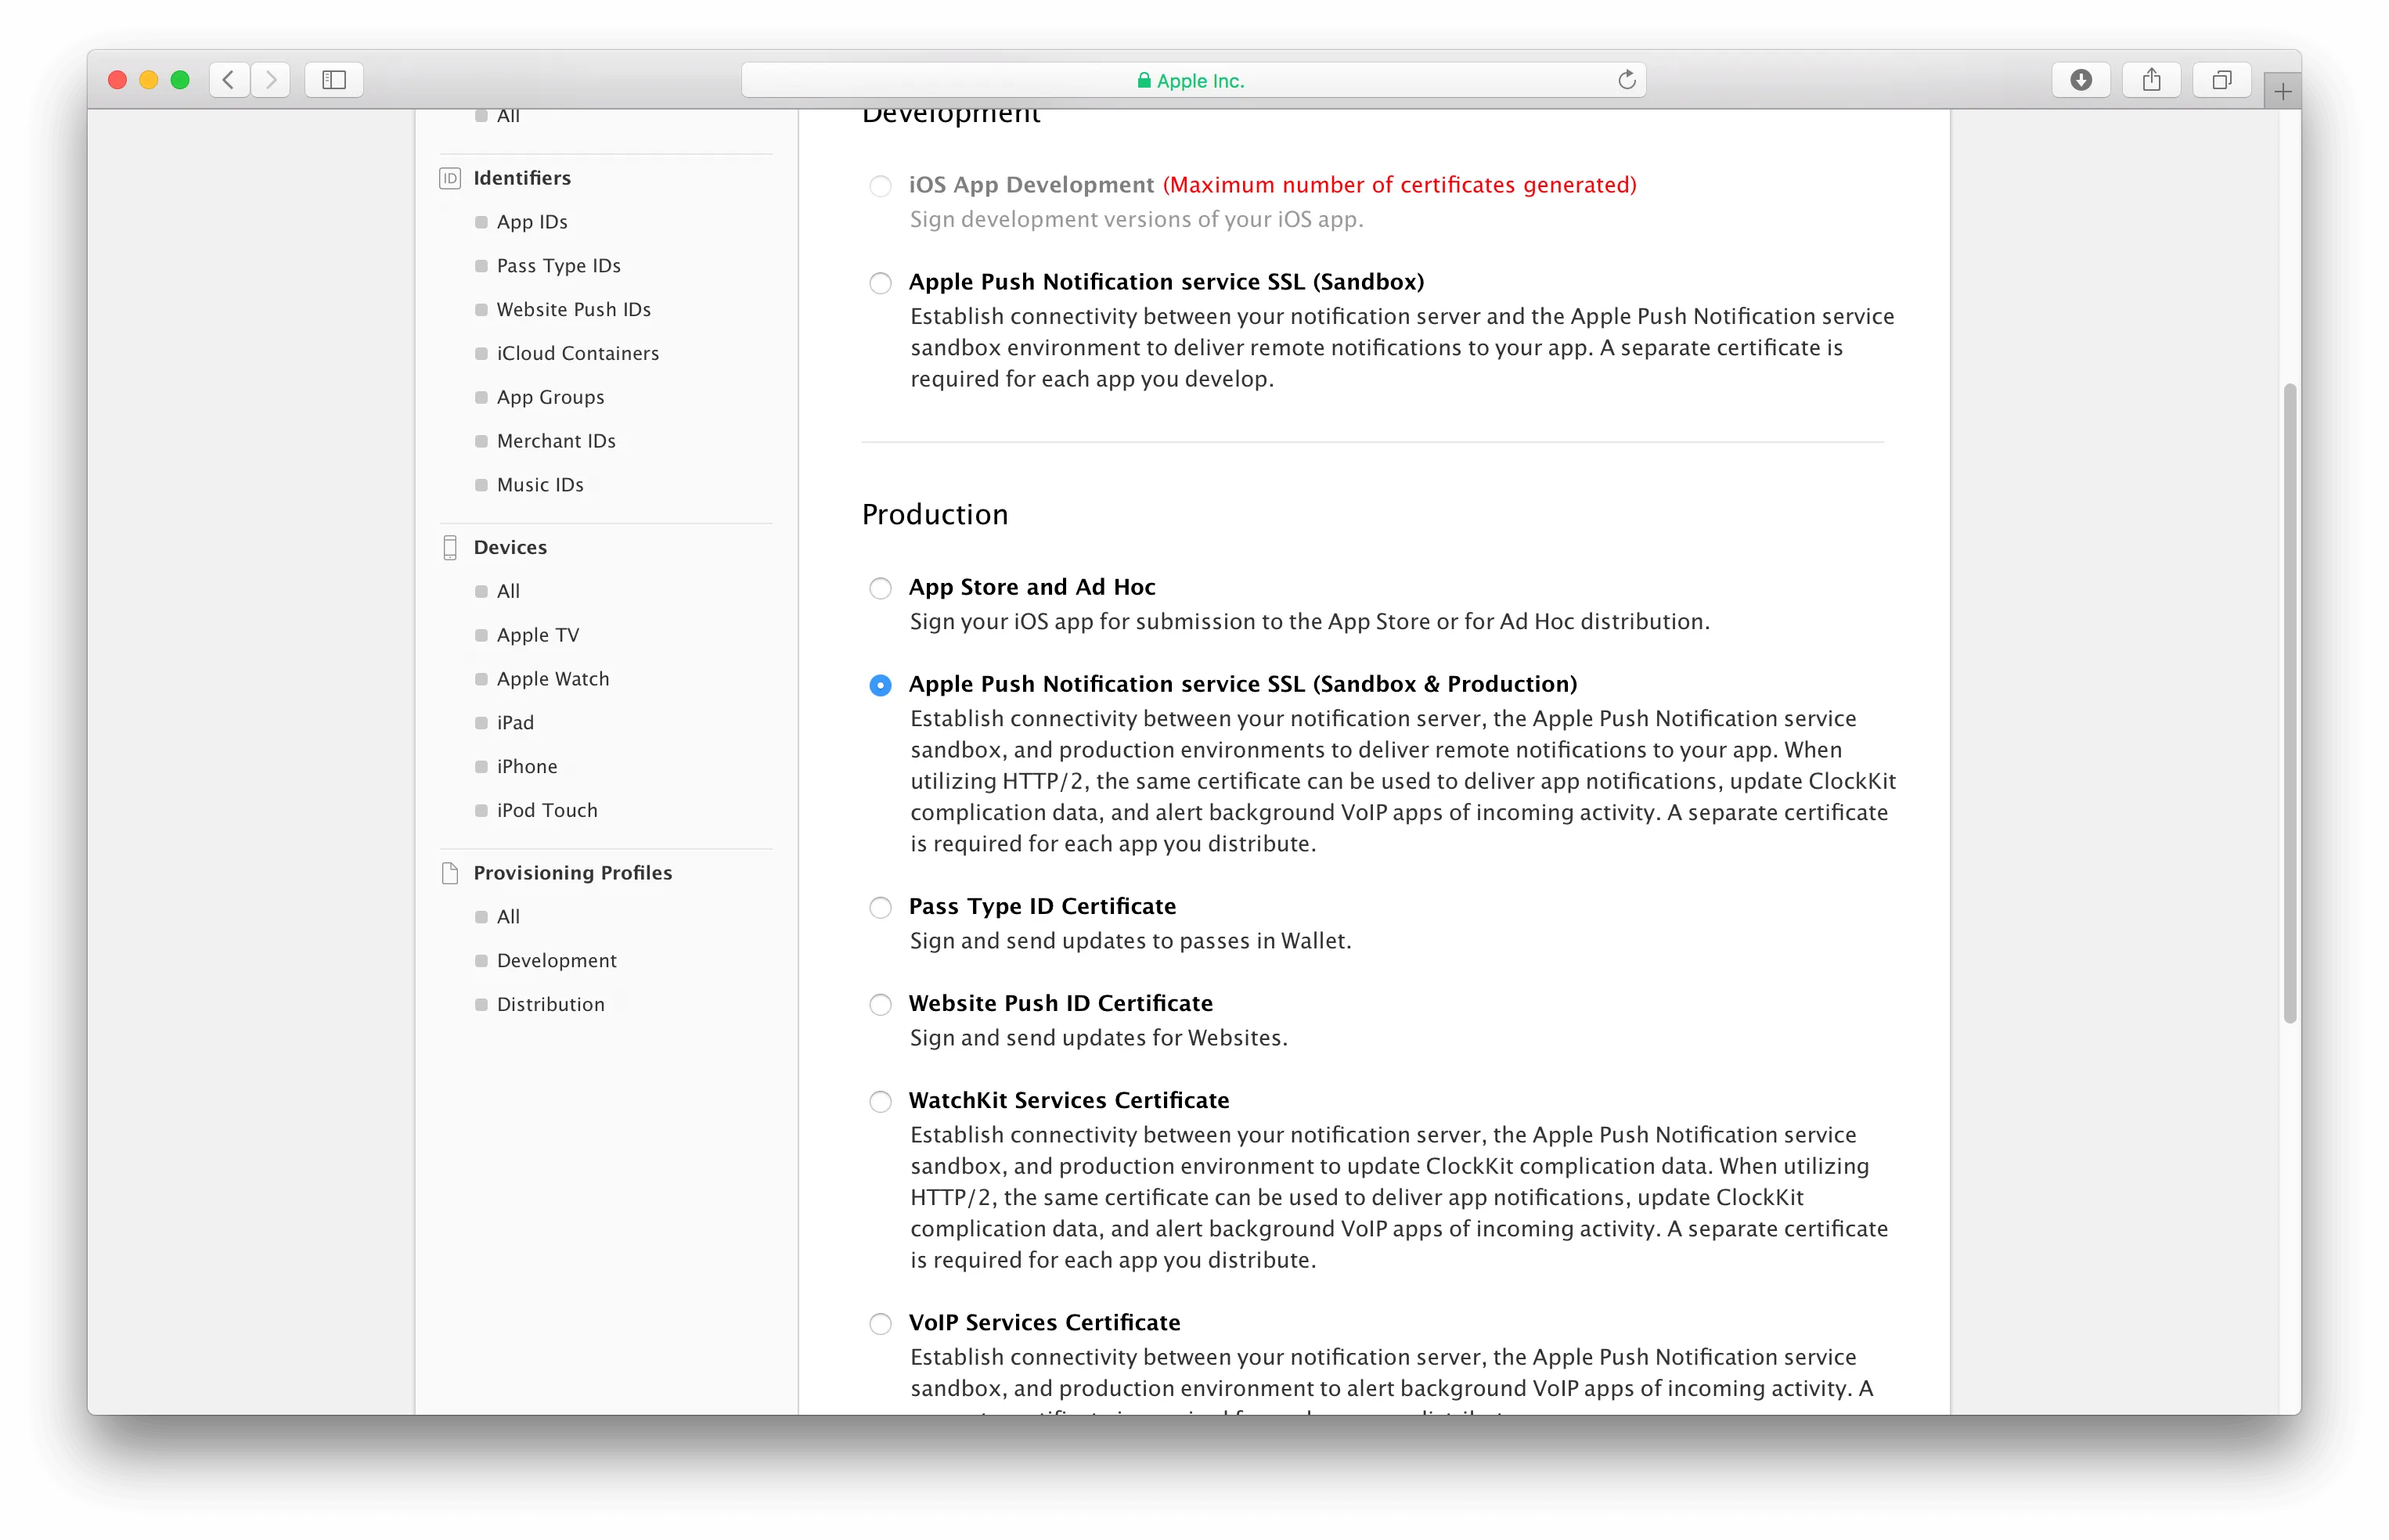
13. Upload your CSR your previously created and hit continue.
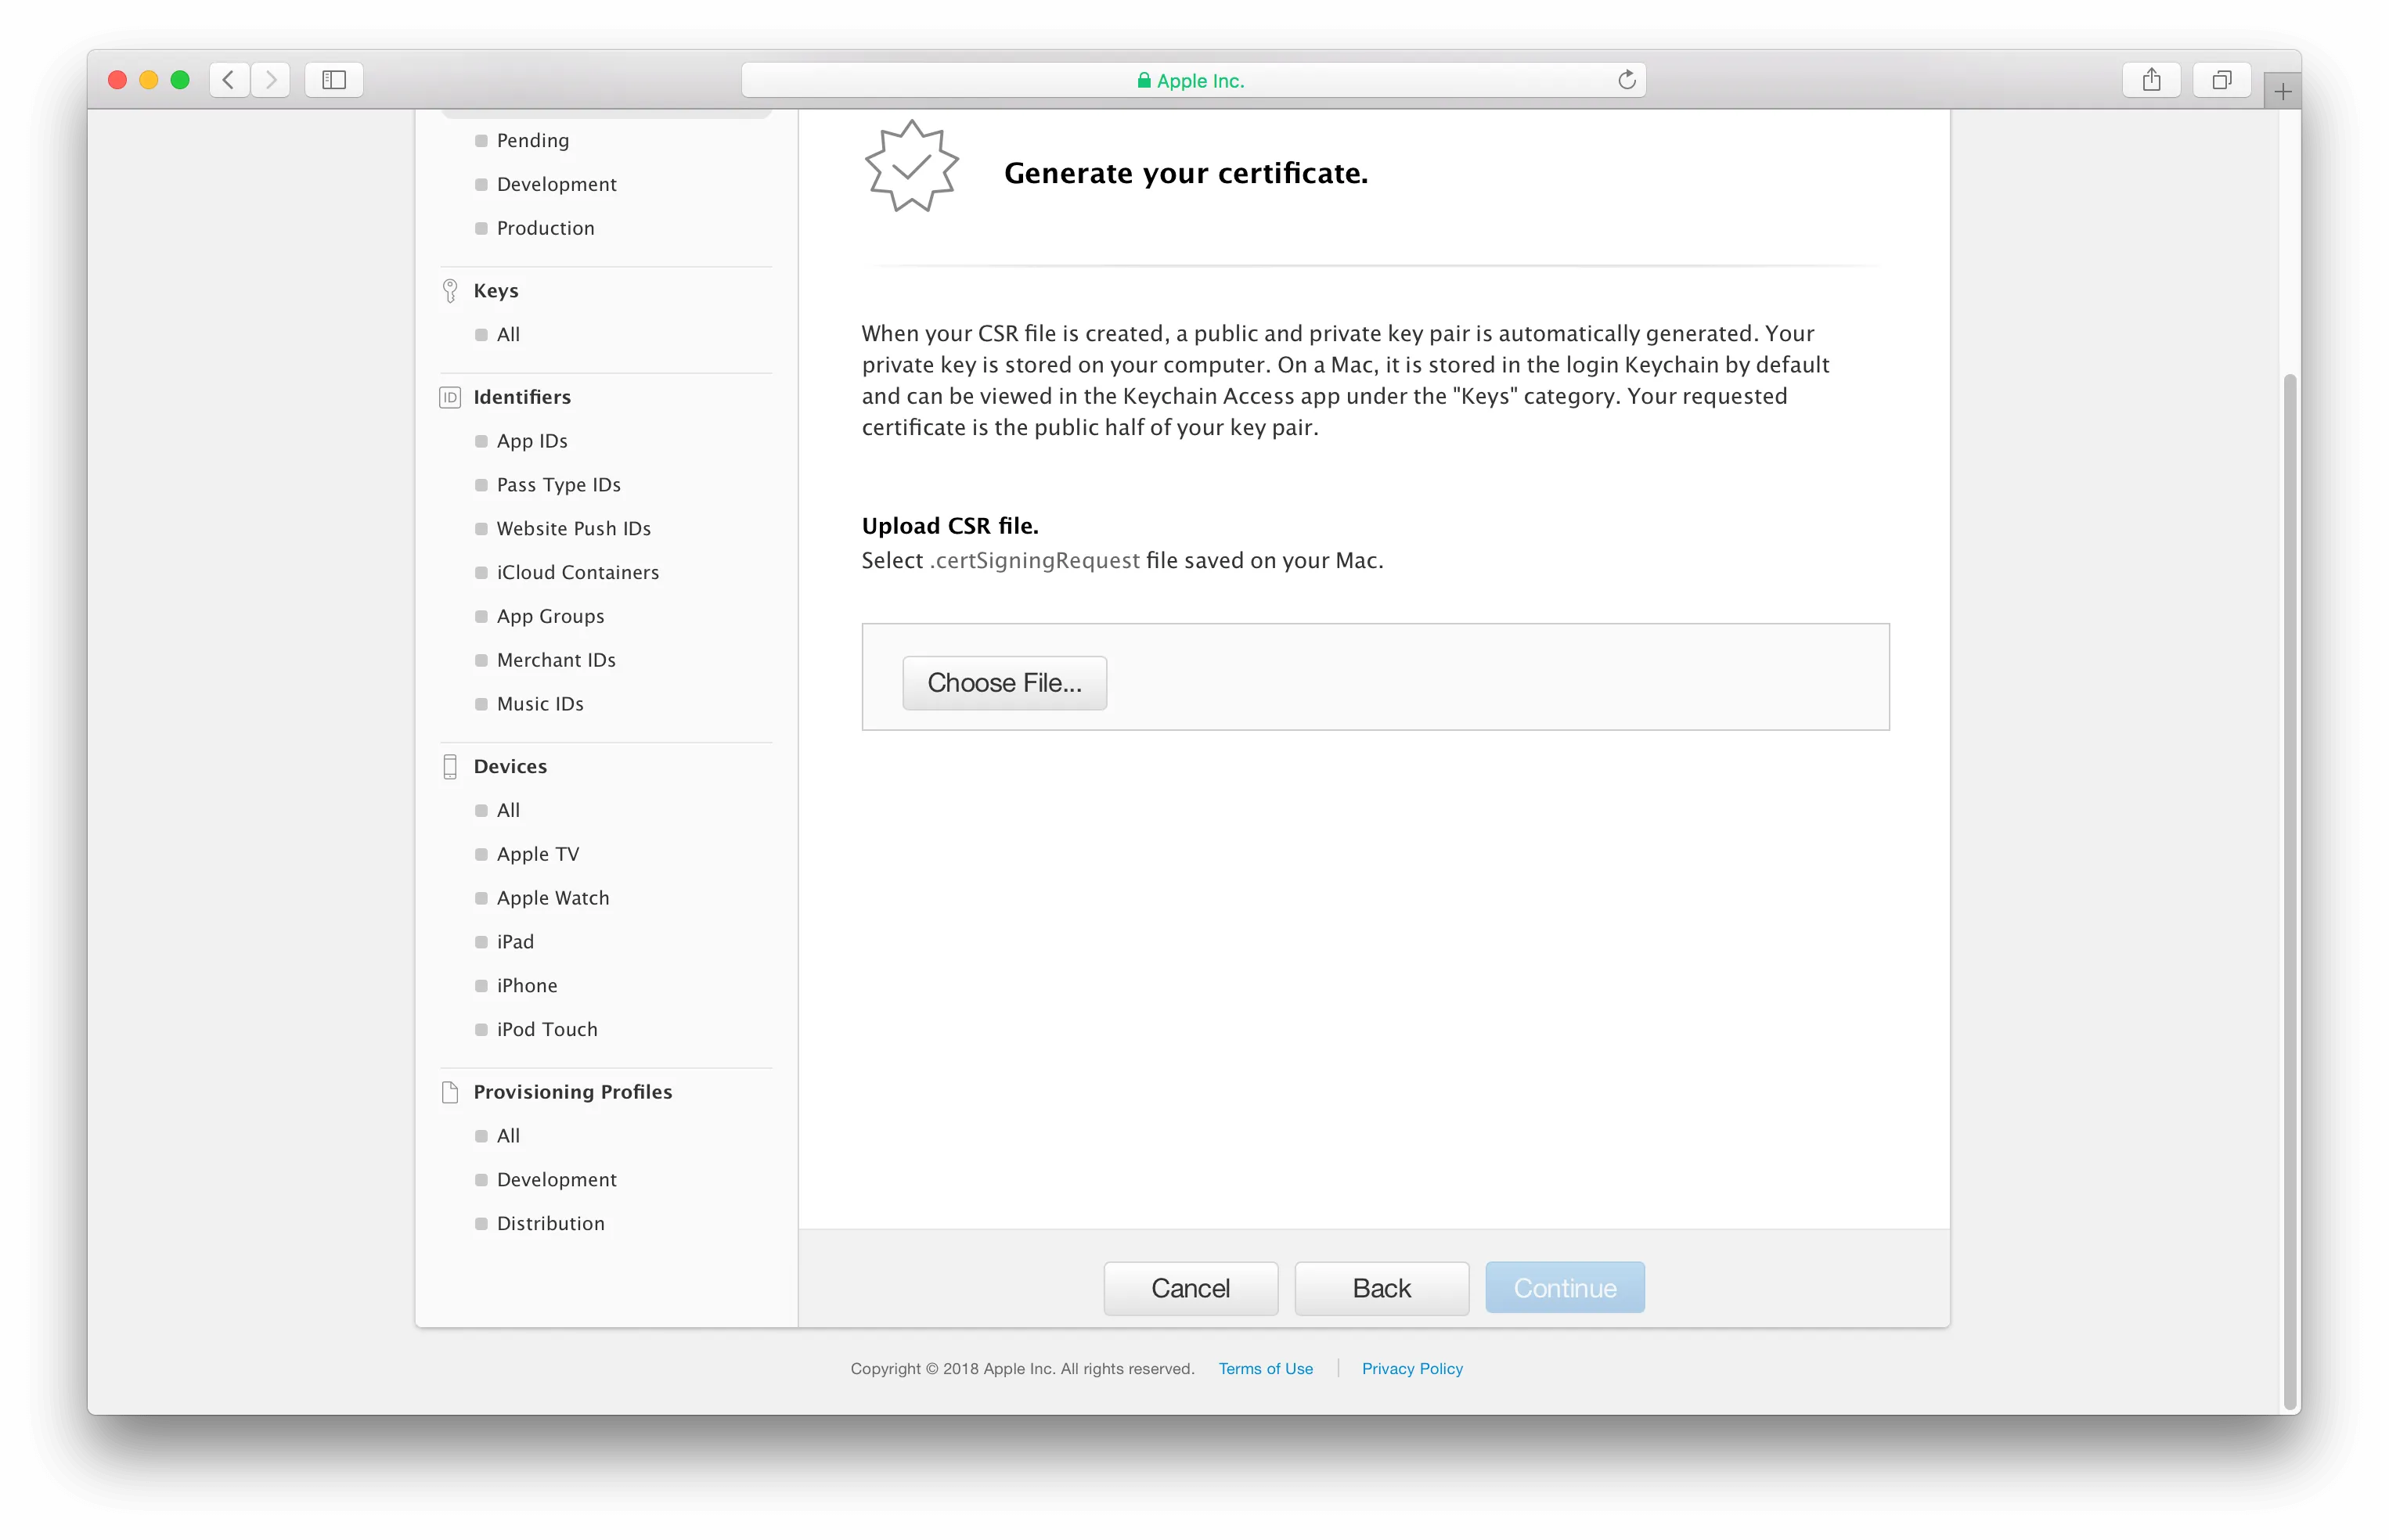
14. Download your Production APN certificate into the same folder called PushCerts. Call it apn_prod.
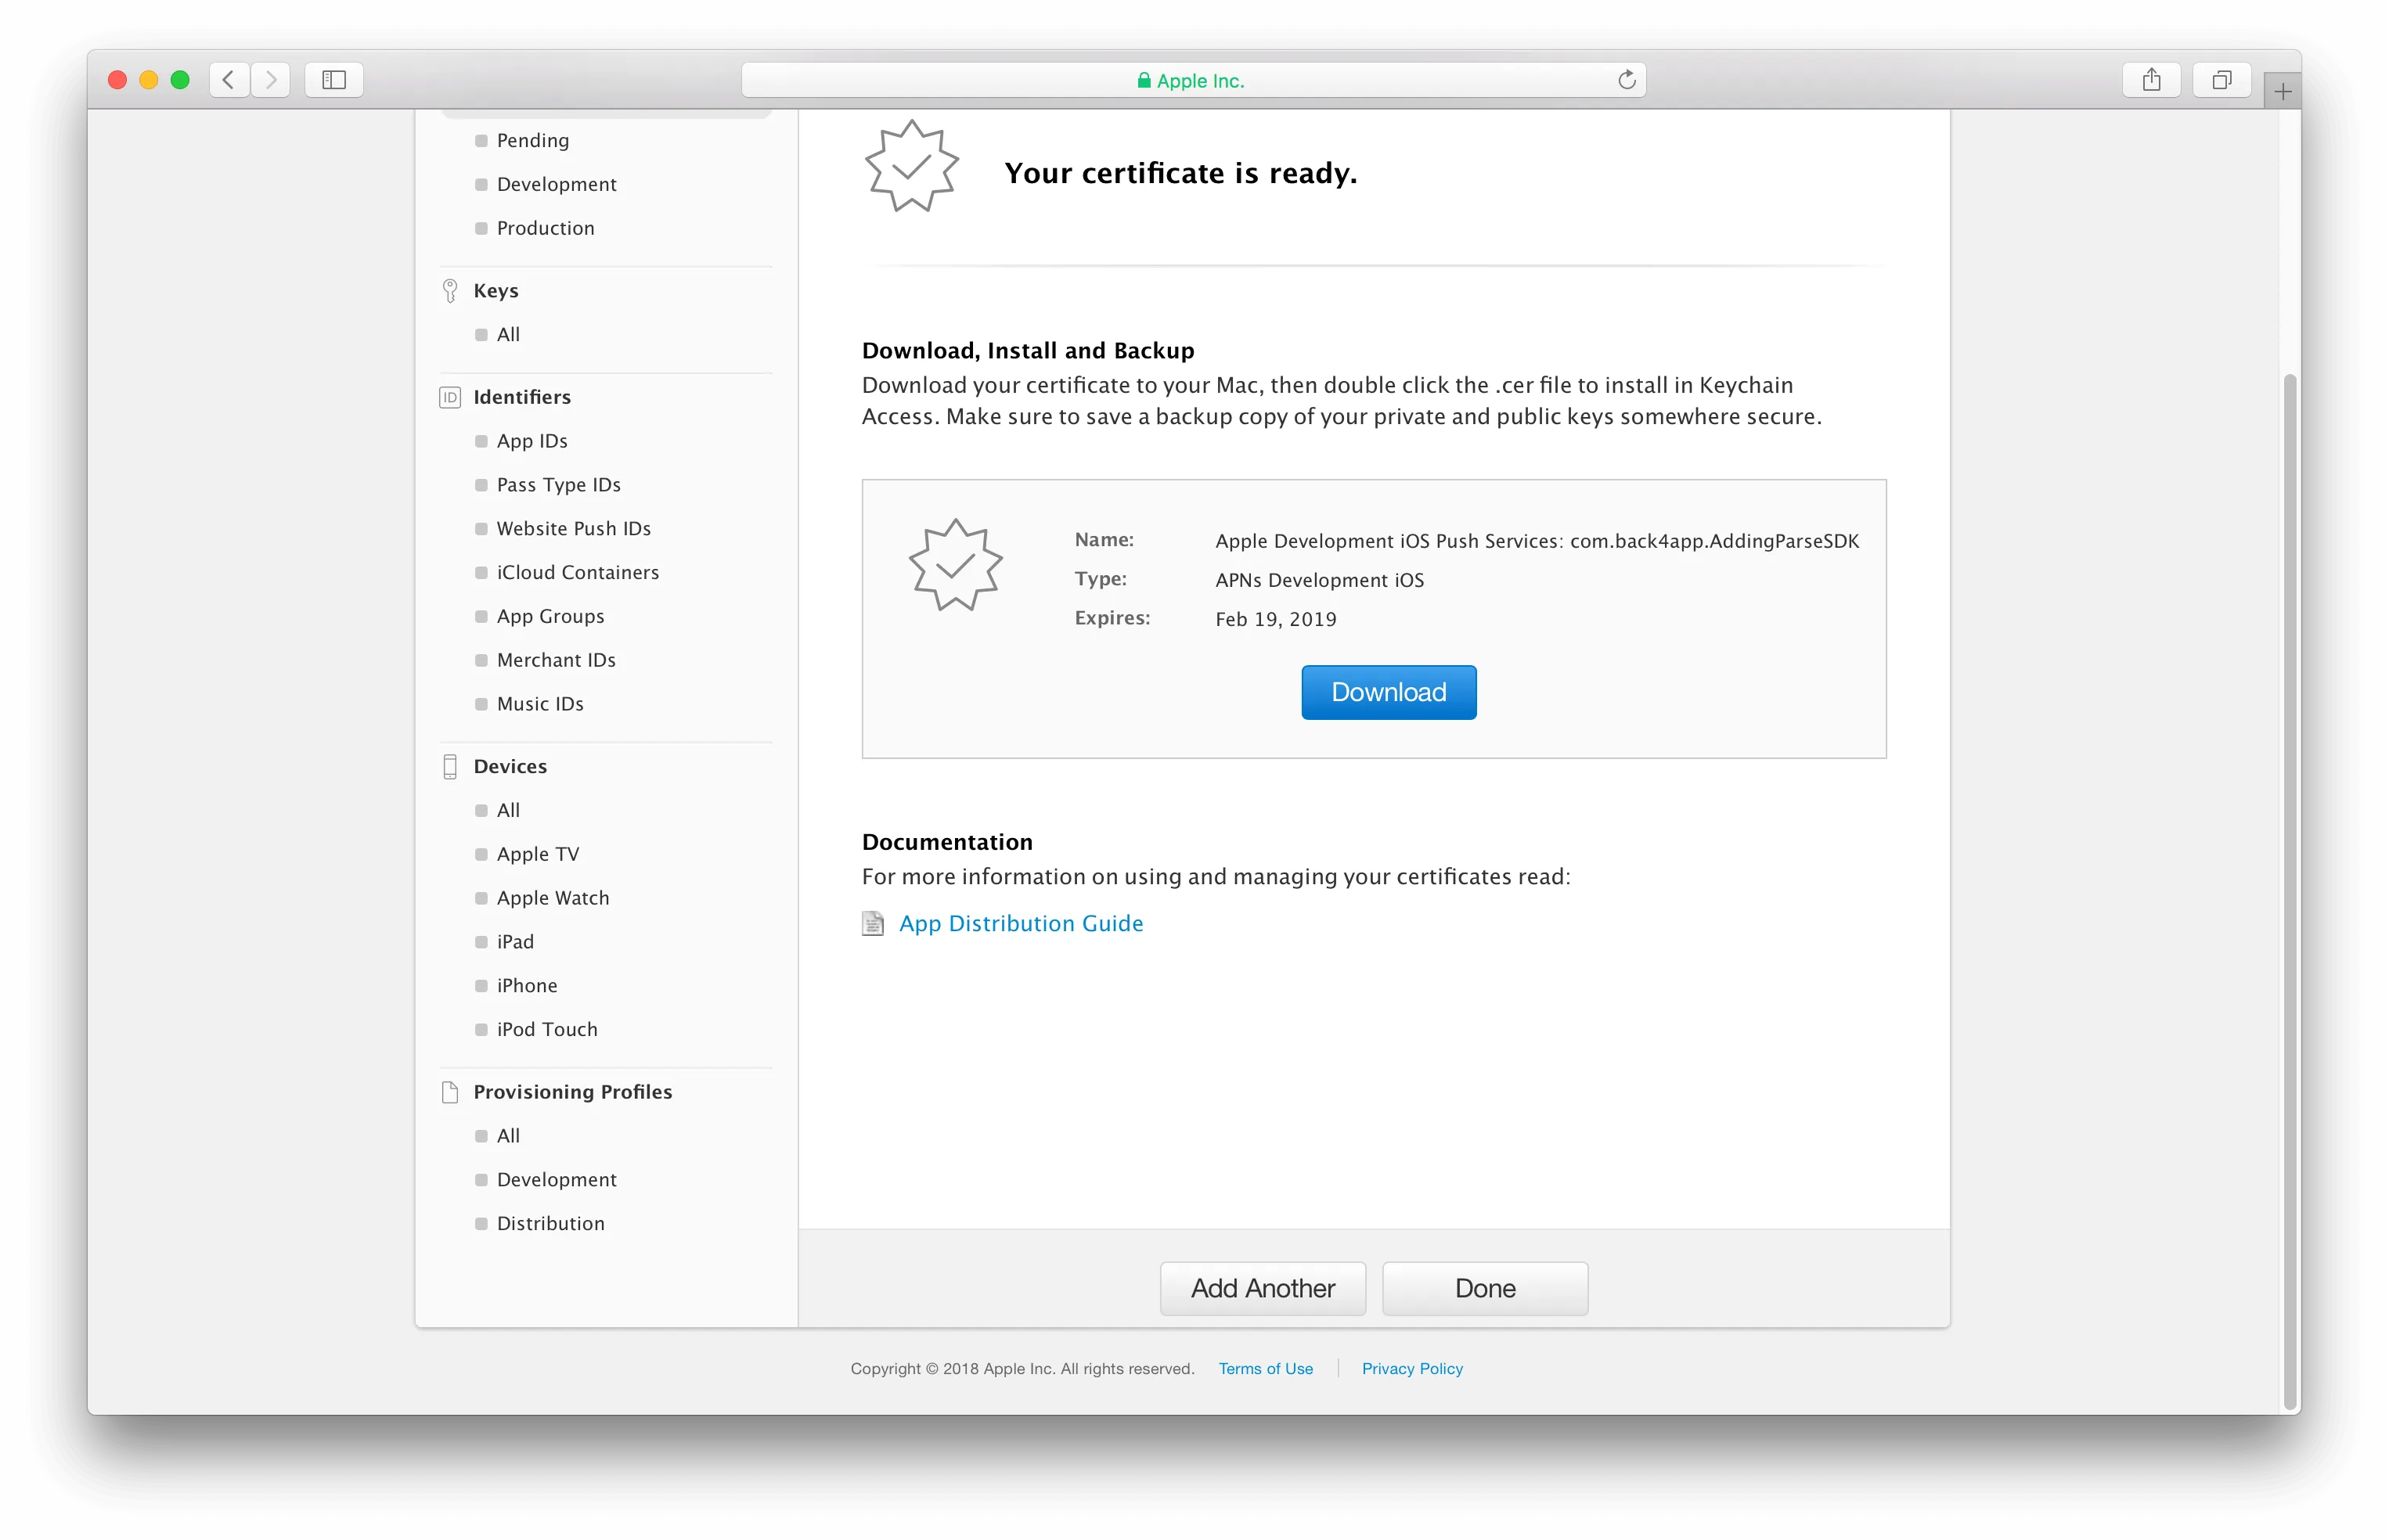
15. At this point you should have 3 files in your PushCerts folder. Double click on your apn_prod and your apn_dev files to add them to your keychain.
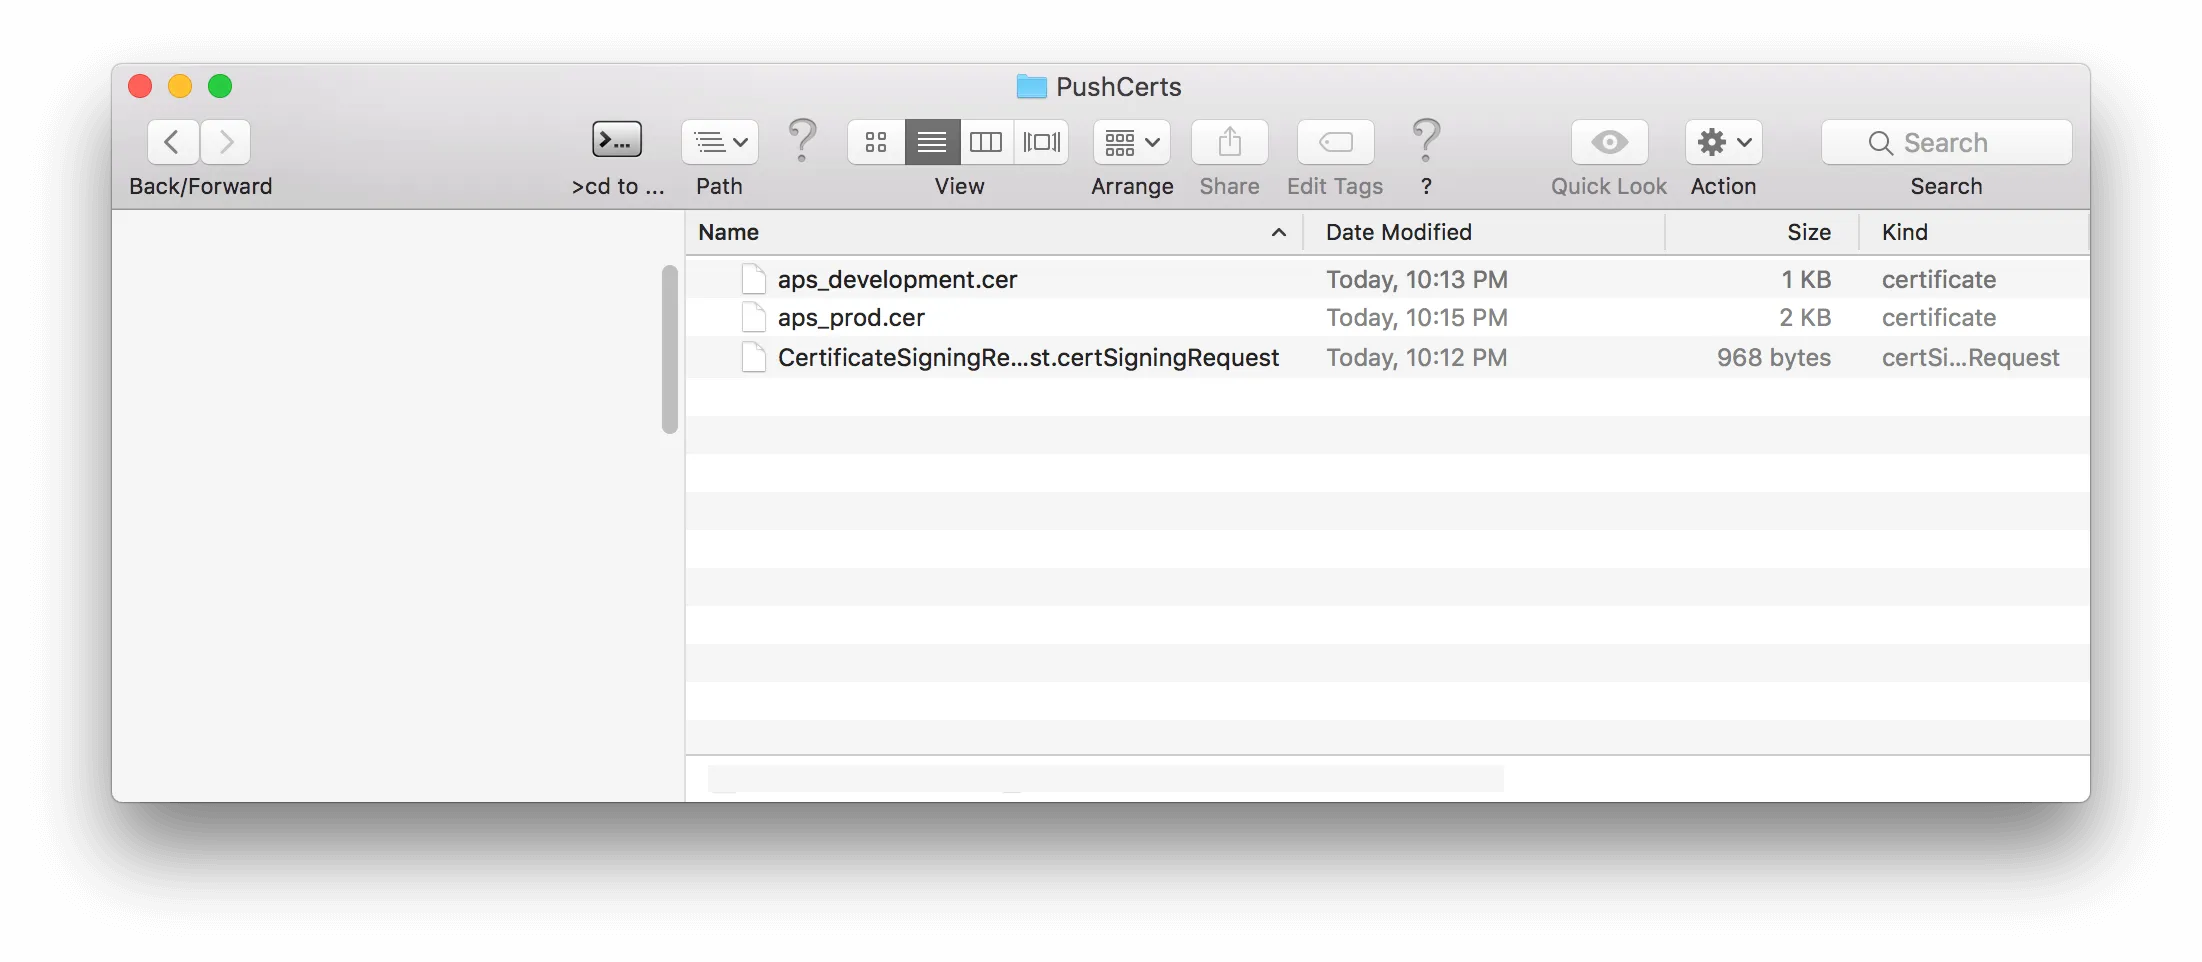
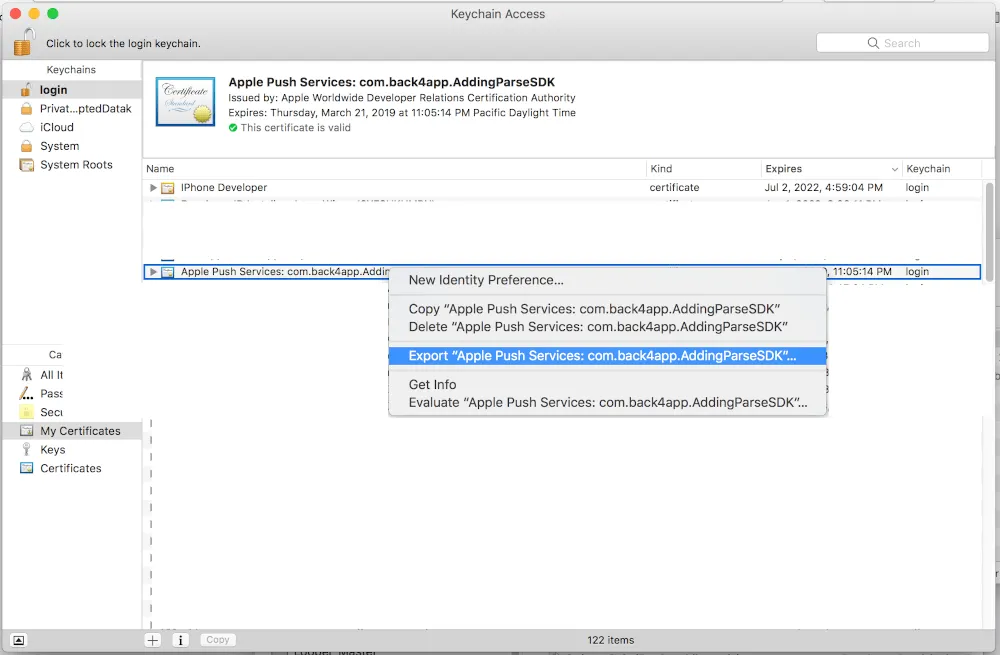
16. Open the keychain and find the files in the keychain. Click on each on and hit export. You will want to export them as a .p12 file into your PushCerts Folder. Name the development one cert Dev_PushCertificates.p12 and name the production cert as Prod_PushCertificate.p12.
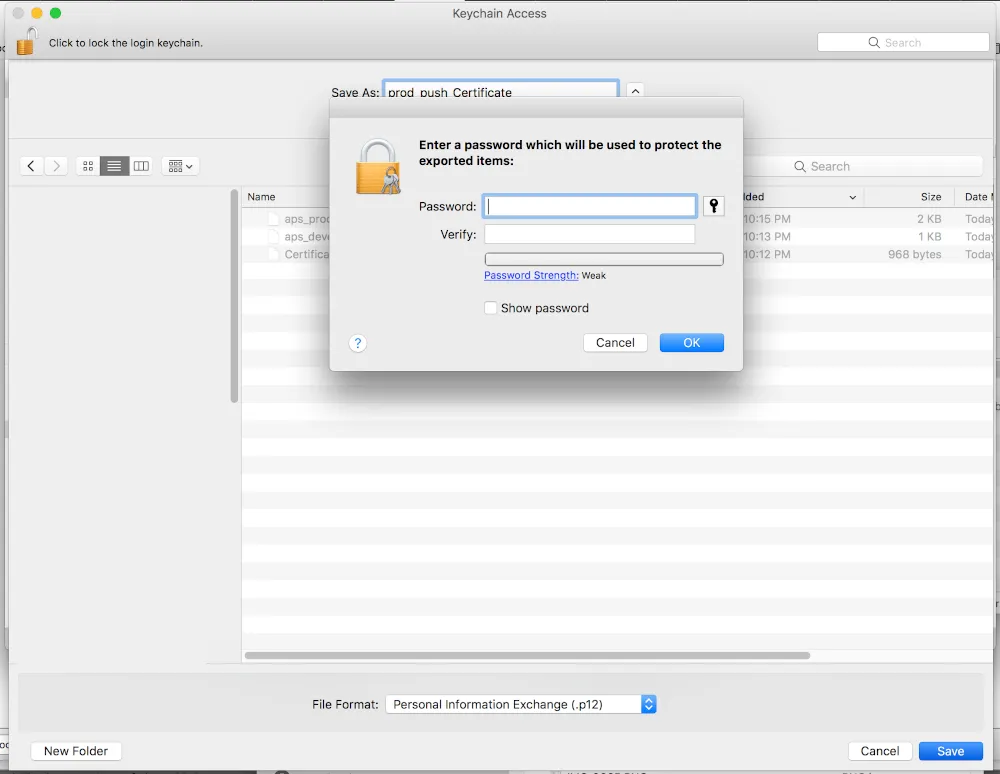
17. It will ask you add a password to your exported file. Just leave it blank. You will have to enter your master key to sign the certificate though, and thats fine.
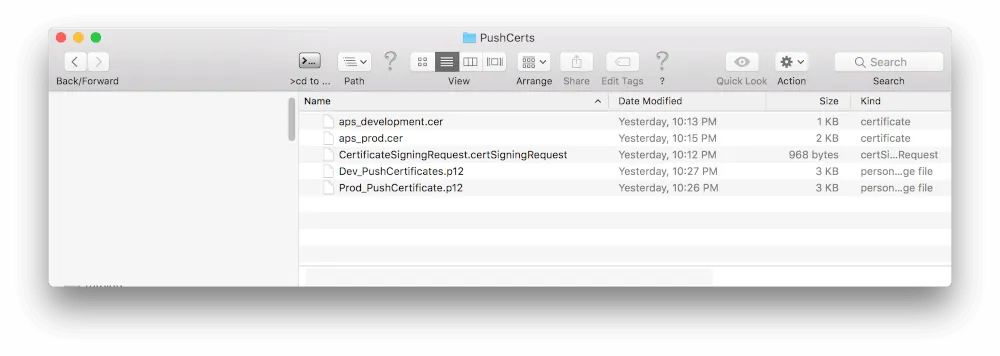
18. Now that you have added your .p12 files your folder should look like this. If you have all these files in your folder you can go on to Step 2. If you don’t have any of these files go back to the beginning and figure out where you missed a step.
- You’re almost done. Aren’t you excited? Go to Back4App Website, log in, find your app and click on iOS Push notification.

2. Upload the dev cert and the prod cert and hit send for each.

3. After you’ve uploaded both certificates your screen should look like this.

- Open your project’s AppDelegate.M file to create a push installation object. Add the UserNotifications framework at the top of the file.
2. Add the code below inside of the didFinishLaunchingWithOptions function, and make sure it is before ‘return true’ statement.
3. Add the following code snippets to your AppDelegate.m file below the didFinishLaunchingWithOptions function. This code will issue a request for push notifications permissions when the app first launches. Make sure to say yes to this request or your app will not be able to receive pushes. It will also handle the resulting token when the request is approved and save it as an installation object on Back4App.
4. Test it by running your app. You should see this in your simulator.

5. From here on out you must use a physical device, an iphone or ipad. Push notifications do not work with the Xcode simulator. If you do not have a physical device you cannot go any further in the tutorial. Once you have your physical device attached to your Mac computer and Xcode, try running the app on your device through Xcode. When you see the push permissions request hit approve.
- First check that your device’s installation record is visible in Installation table.

3. Then Click on Push > Send New Push and create an audience for your push notification.

4. Write your message and look at the preview by clicking at iOS option.
5. If you have already reviewed the push notification and you want to send, click on Send push.

You may explore the other options for Push Notification at Parse Dashboard.
There, it’s also possible to look at Past Pushes you sent and the Audiences you created for them.
At this stage, you can send push notifications using Parse Dashboard through Back4App!