using CC and Swift
This section explains how you can send push notifications using Cloud Code through Back4App.
This is how it will look like:
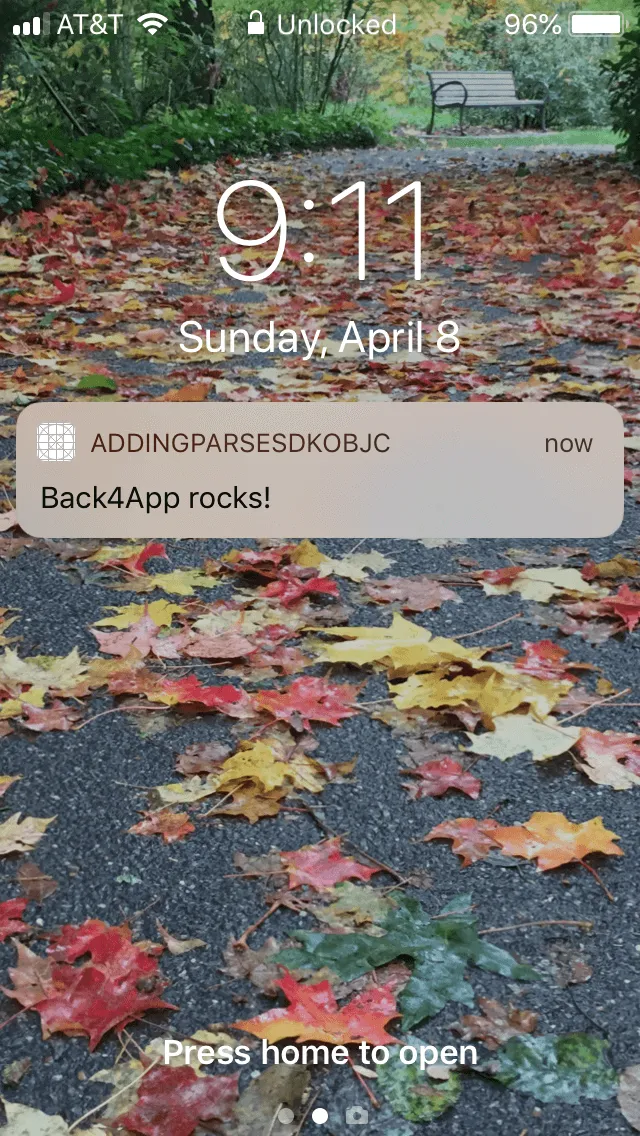
At any time, you can access the complete Project built with this tutorial at our GitHub repository.
To complete this quickstart, you need:
- An app created at Back4App.
- An iOS app connected to Back4App.
- Note: Follow the Install Parse SDK (Swift) Tutorial to create an Xcode Project connected to Back4App.
- An iOS device, iphone or ipad, running iOS 10 or newer.
- A paid Apple developer Account.
Every Parse application installed on a device registered for push notifications has an associated Installation object. The Installation object is where you store all the data needed to target push notifications. For example, in your app, you could store which teams one of your users is interested in to send updates about their performance. Saving the Installation object is also required for tracking push-related app open events.
The simplest way to start sending notifications is using channels. This allows you to use a publisher-subscriber model for sending pushes. Devices start by subscribing to one or more channels, and notifications can later be sent to these subscribers. The channels subscribed to by a given Installation are stored in the channels field of the Installation object.
After that we will go over sending targeted push notifications to a single user or to a group of users based on a query.
Going forward we are going to assume you have completed all steps of the Back4App Push Notifications via Dashboard tutorial, even if you use the iOS Project built with this tutorial that is available at our GitHub repository. You should have basic push notifications working and also be able to send pushes out via the admin console.
- First we will add a channel to your installation object. We are going to do this by altering the method createInstallationOnParse in our App Delegate file. Open your project’s AppDelegate.m file, and add make sure your version of createInstallationOnParseis the same as the code below.
We are adding one new line of code - ‘installation.setObject([“News”], forKey: “channels”)’ - which will set the installation object’s channel array to contain one channel called ‘News’. This will allow us to send a message to everyone who subscribes to the channel called News via cloud code.
2. Test it by running your app on a physical device
You may not run this on simulator.
You’ll need an actual push token to update your installation record, so a physical device is a must.
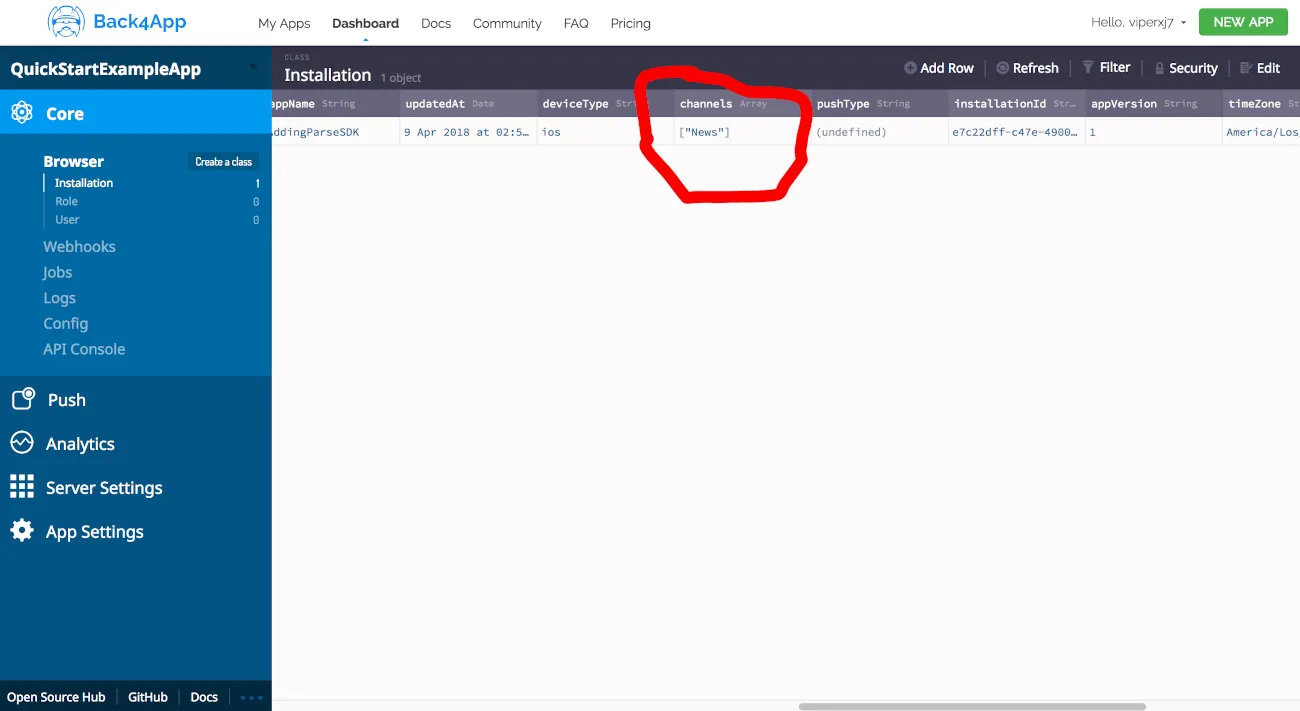
3. After it runs successfully, you should see something similar to the image below in the Installation section of your Dashboard. You can check it by going to your app’s Dashboard at Back4App website and then checking the Installation table. Under the channels column you should see News, showing you that you are now subscribed to the News push channel.
To know more about how to get started with Cloud Code look at Cloud Code for iOS Tutorial.
- Create a .js file to put your Cloud Code into. You need to call it main.js in order for Back4App to know this is where you store your cloud code.
- Define a Cloud function, using Parse.Cloud.Define, to call the push notification. Inside the function we will call Parse.Push.Send to send a pushes to the ‘News’ channel.
It is required to use the master key in this operation.
The following code executes these steps:
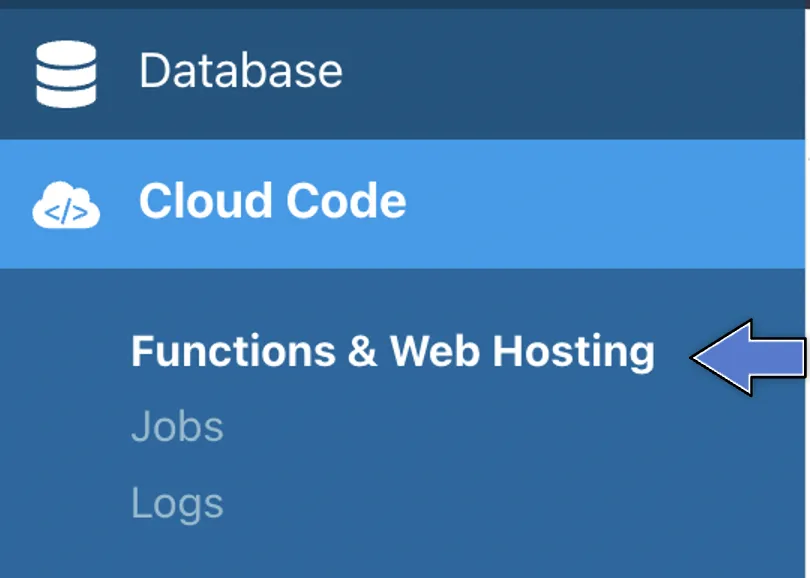
- Find the Cloud Code and click on Functions & Web Hosting. It looks like this:
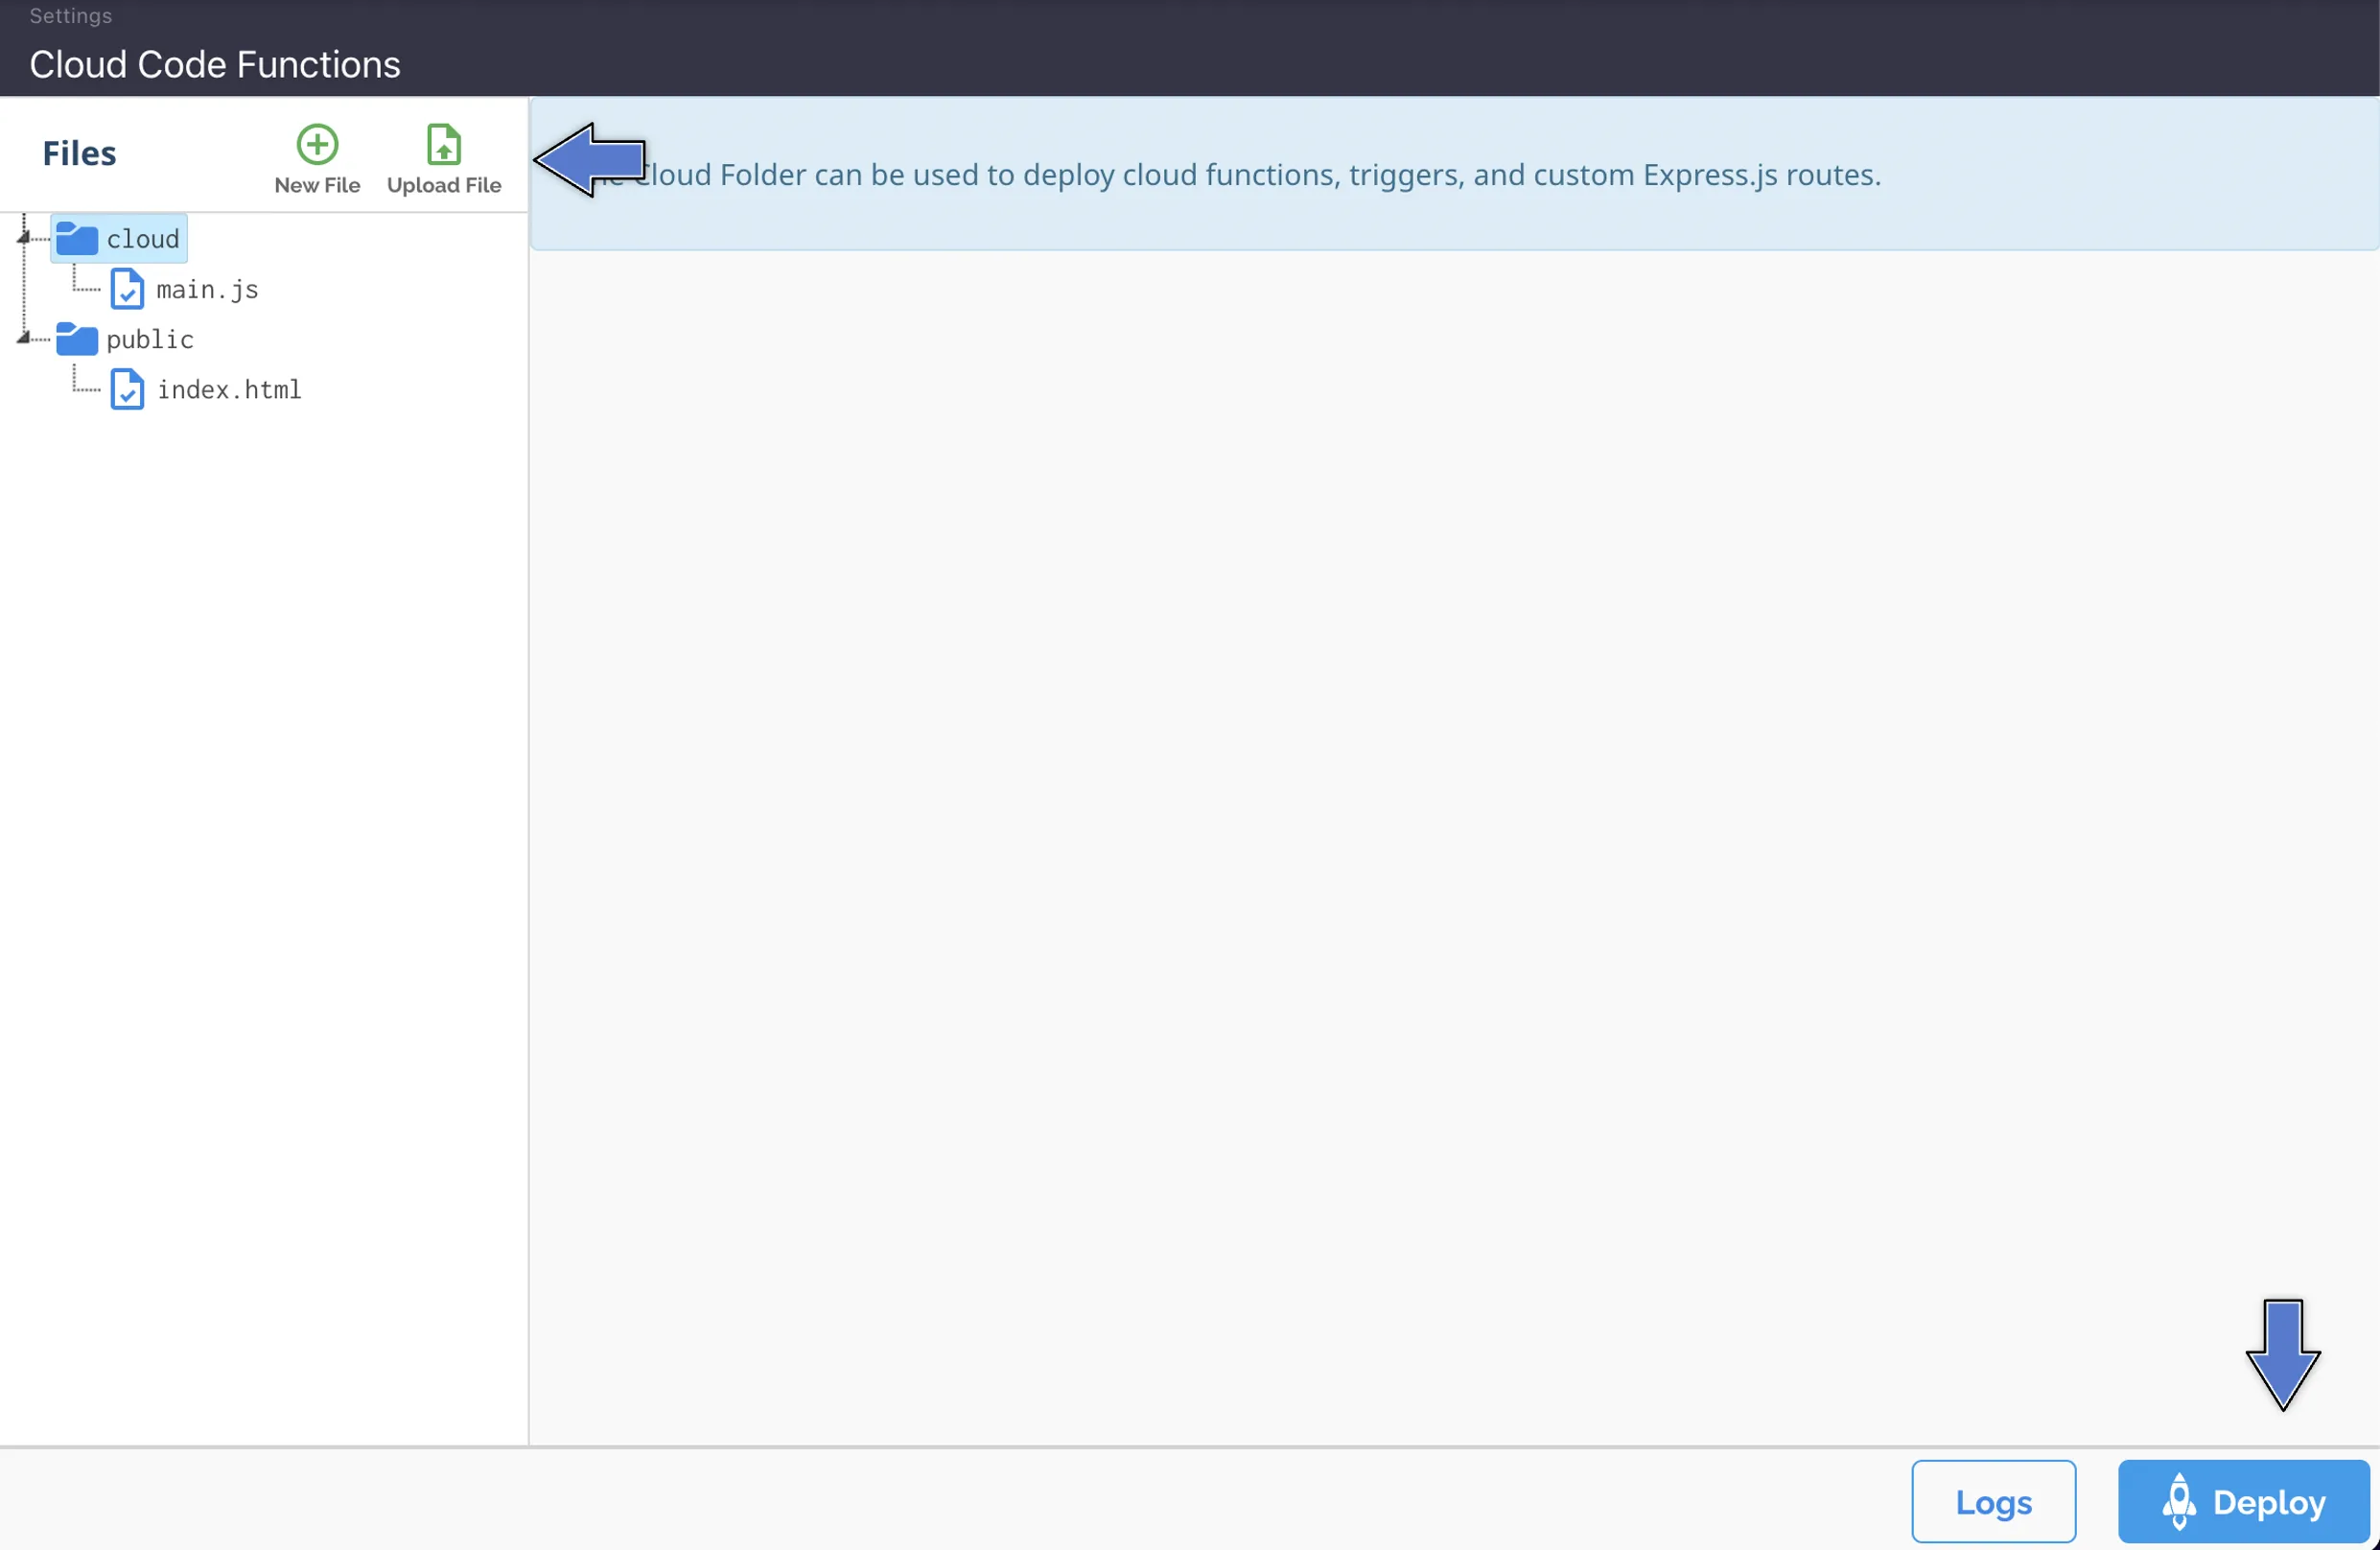
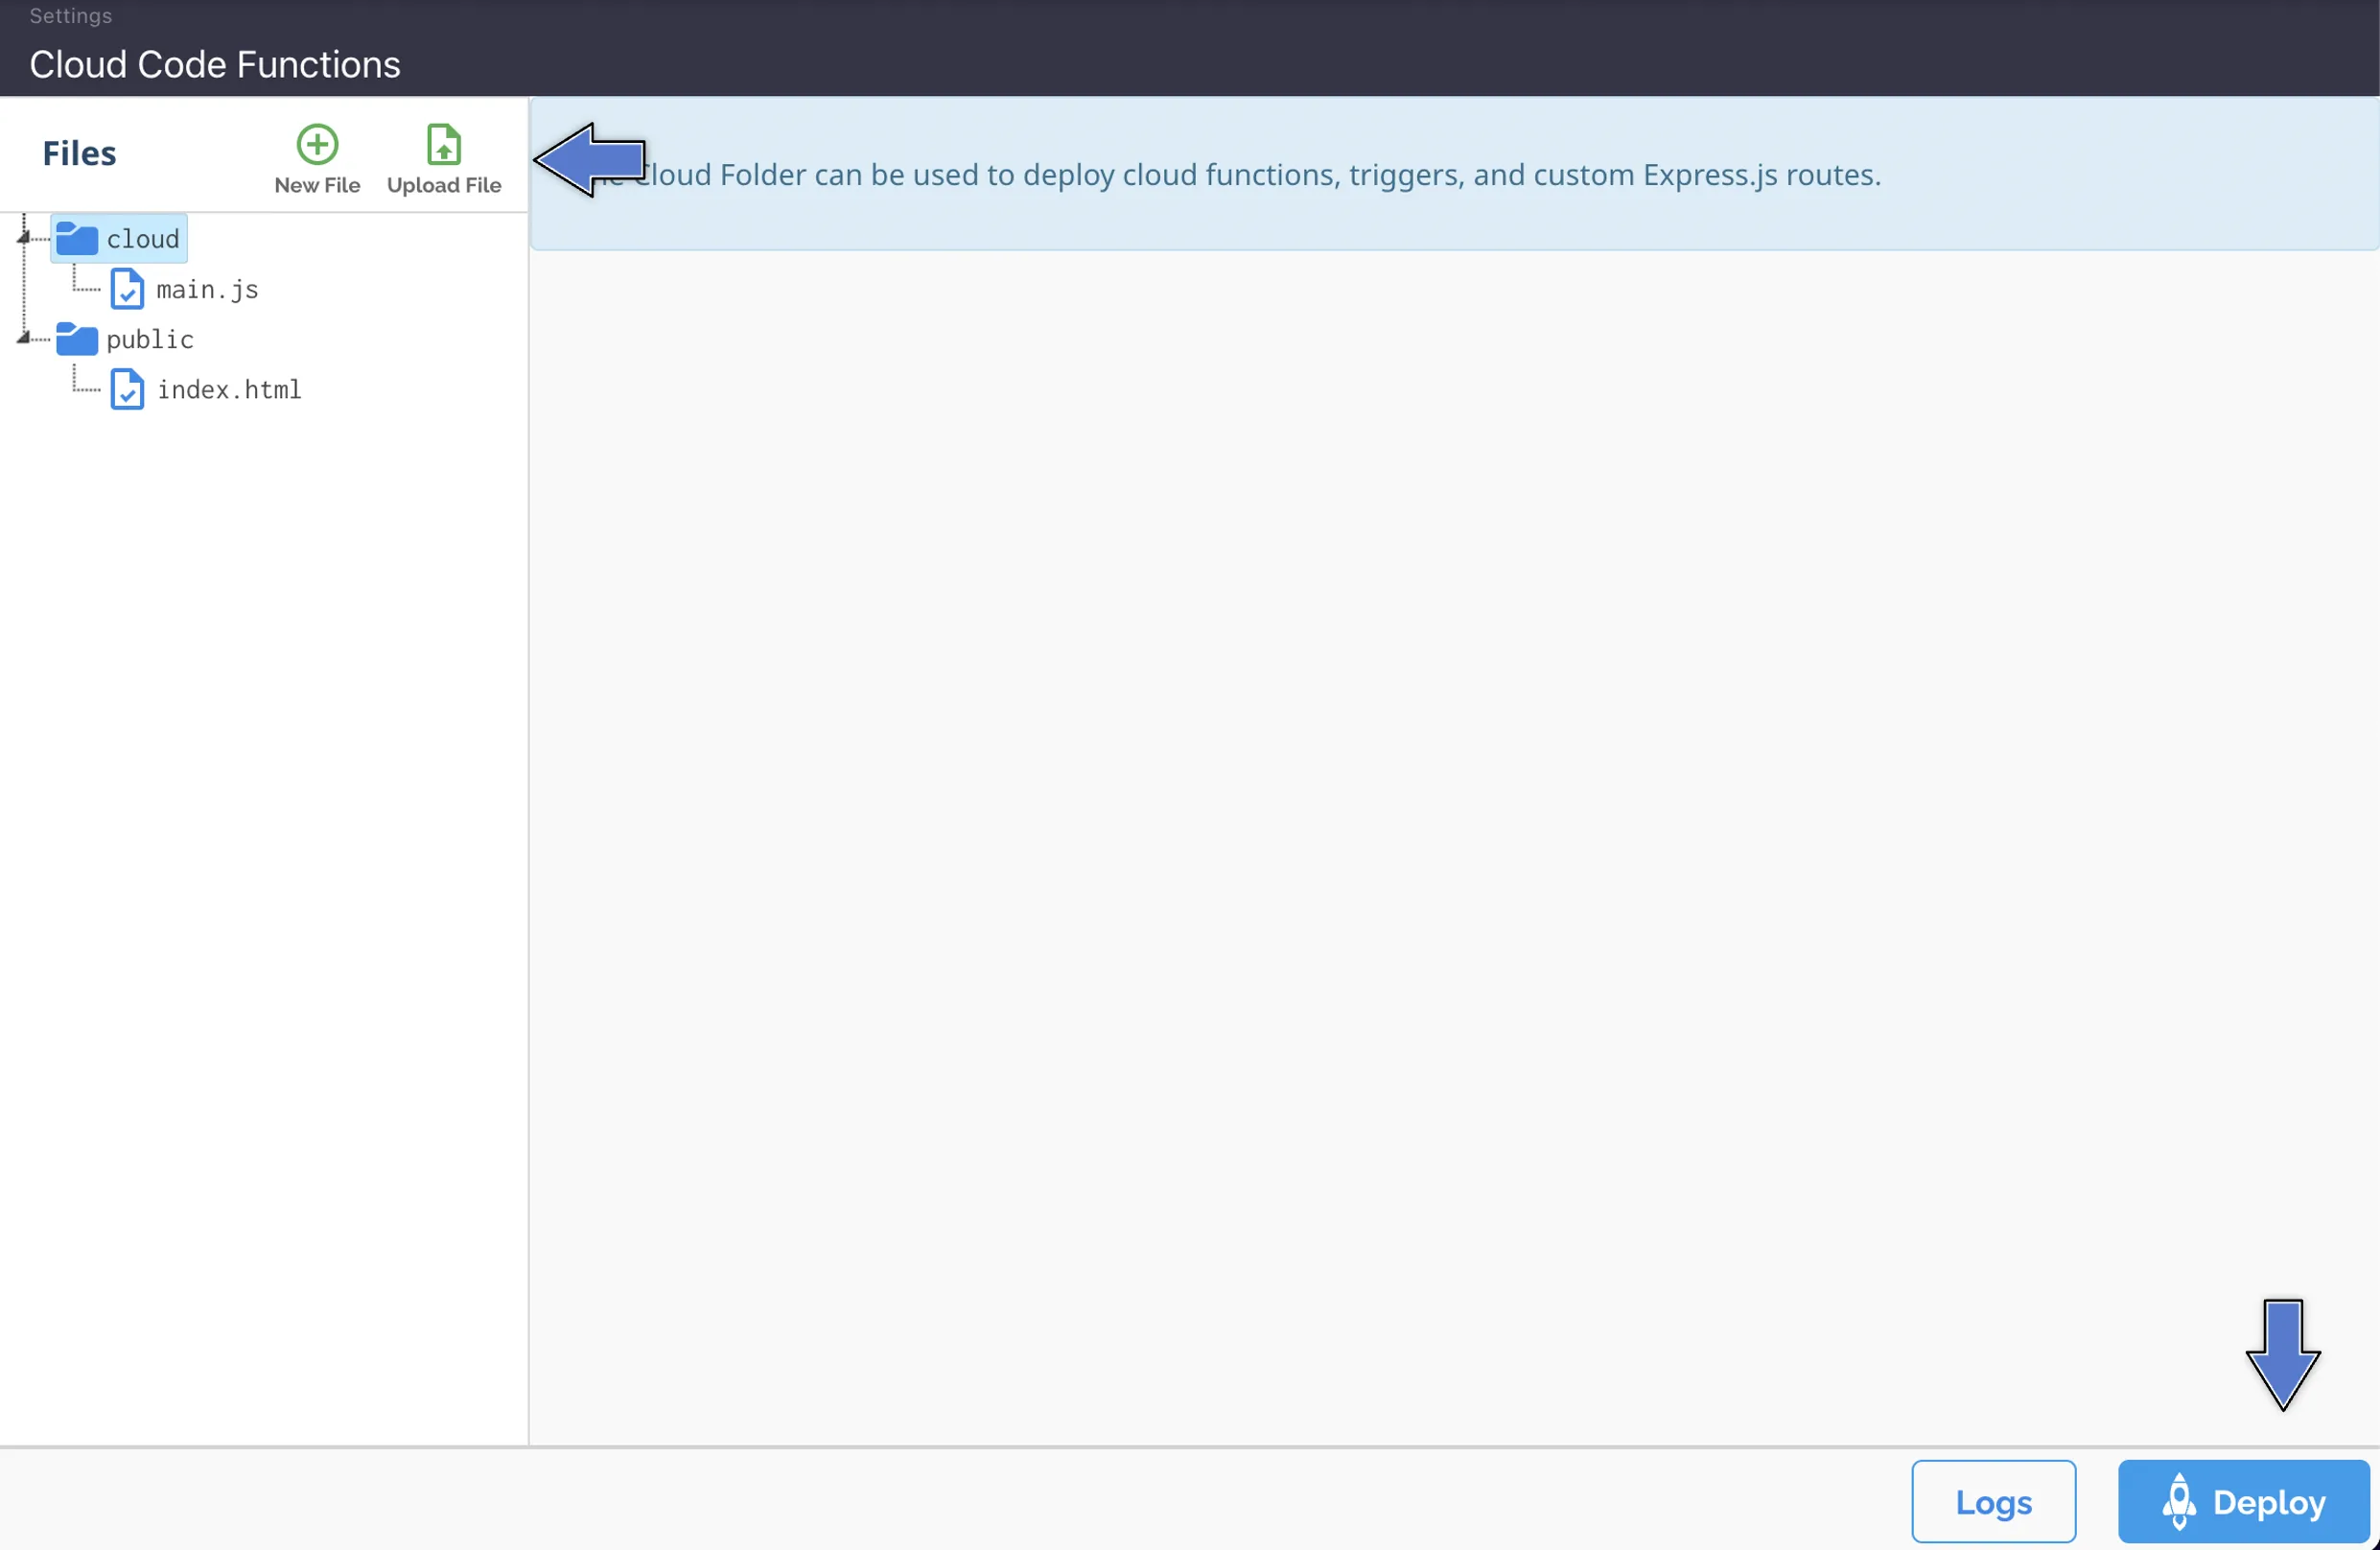
3. Upload or create a new file (you can also edit the current main.js file directly on the browser). Then, click at Deploy as shown here:
- Now, we are going to write some code to call this cloud function from your app. You will need both the simulator and a physical device to complete this task.You will call the cloud function from your app running in the simulator and you will see the push appear on your physical device.
Your physical device should actually be closed with the lock screen on in order to see the push.
A push will not appear on the screem if you are inside the app that is sending it when you receive the push.
2. Open your project’s ViewController.swift file. We need to include Parse in the view controller by adding the following code - ‘import Parse’- at the top of the file.
3. Next in the ViewController.swift file we will call an alert function from the viewDidAppear method. The alert will allow you to trigger the Cloud Code code which will send a push to your device. Be sure to include the following block of code after the viewDidLoad function.
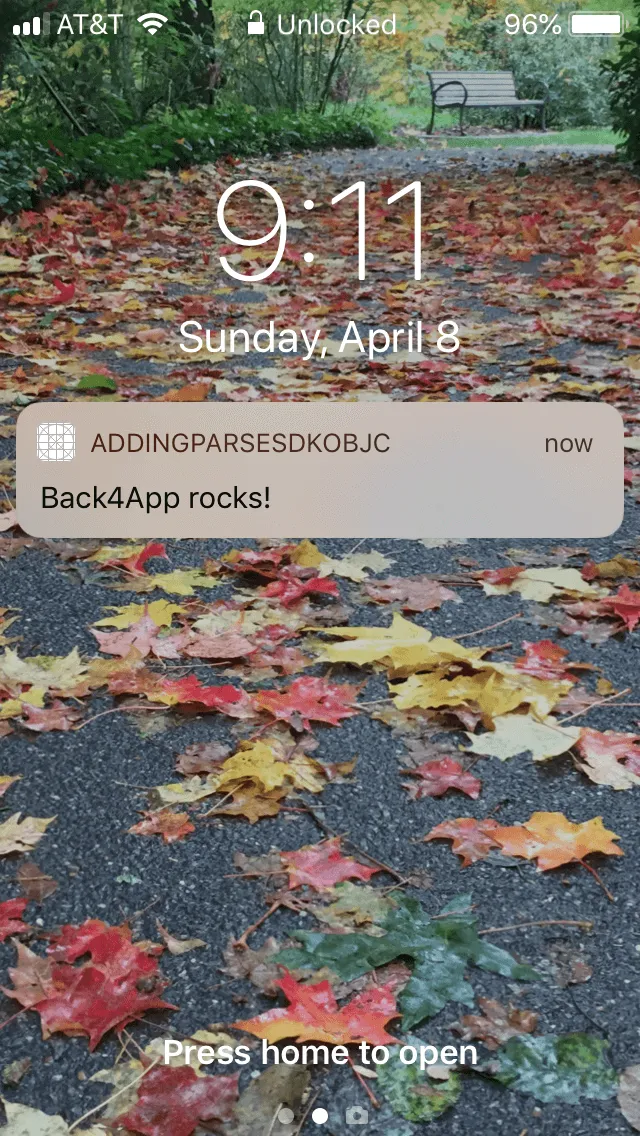
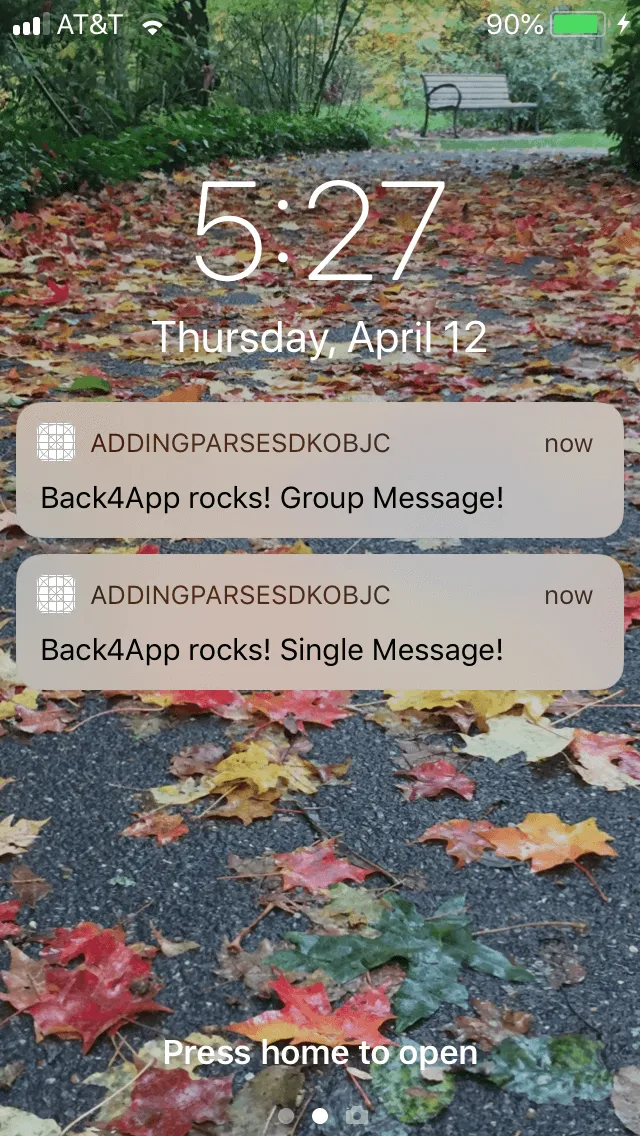
4. Run your app in the simulator and when the alert asks to send the push pops up, hit “OK”. On your physical device you should see the push appear on the lock screen, like this:
The REST API provides a quick and easy way to test if your Cloud function is working. Just use the code below in your terminal or command prompt:
To test the push notifications, just use the REST code while the device is closed.
Going forward we will be using a different iOS project that has a basic signup and signin features already built. We are going to be using this iOS project that we can show you how to detect if a user is logged in, and if so save their installation to with a link to their object id for querying in cloud code. You can download the complete iOS Project built with this section’s tutorial at our GitHub repository but you will still have to do all of the setup from the previous tutorial that explains how to send pushes fromt he Back4App dashboard.
You can download the complete iOS Project built with this section’s tutorial at our GitHub repository but you will still have to do all of the setup from the previous tutorial that explains how to send pushes fromt he Back4App dashboard.
- Get the new version of the app setup and signup or login to the app. First make sure you download the working template from our GitHub repository. We are not going to walk through all the steps of building this app, instead we will focus on setting up the cloud code and why it works. Once you open this new app be sure to put your own app’s credentials in the AppDelegate.swift file.
2. This app has some major differences between the previous app. It features 2 sections, one for being logged into your app and one section when you are not logged in to your app. The next big change is the AppDelegate.swift file’s function ‘createInstallationOnParse’. We’ve added 1 line that store’s the user’s object id as part of the installation object. That way we can know which user is associated with which installation object and can target them individually for pushes.
3. Since we are now storing the user’s object id as part of the installation object we do not want to request a new push token until the user is logged in. We do not want to request a token directly from AppDelegate.swift file’s function ‘application didFinishLaunchingWithOptions’ instead we want to call it from the LoggedInViewController’s function ‘viewDidAppear’. In ‘viewDidAppear’ we call a function on the AppDelegate to request access to a push notification token from Apple. Since you can only view this section once you are logged in we can assume the user is logged in when we create the installation object, but just to be safe we used an ‘if let statement’ to unwrap the Parse.currentUser() object and retrieve the object id.
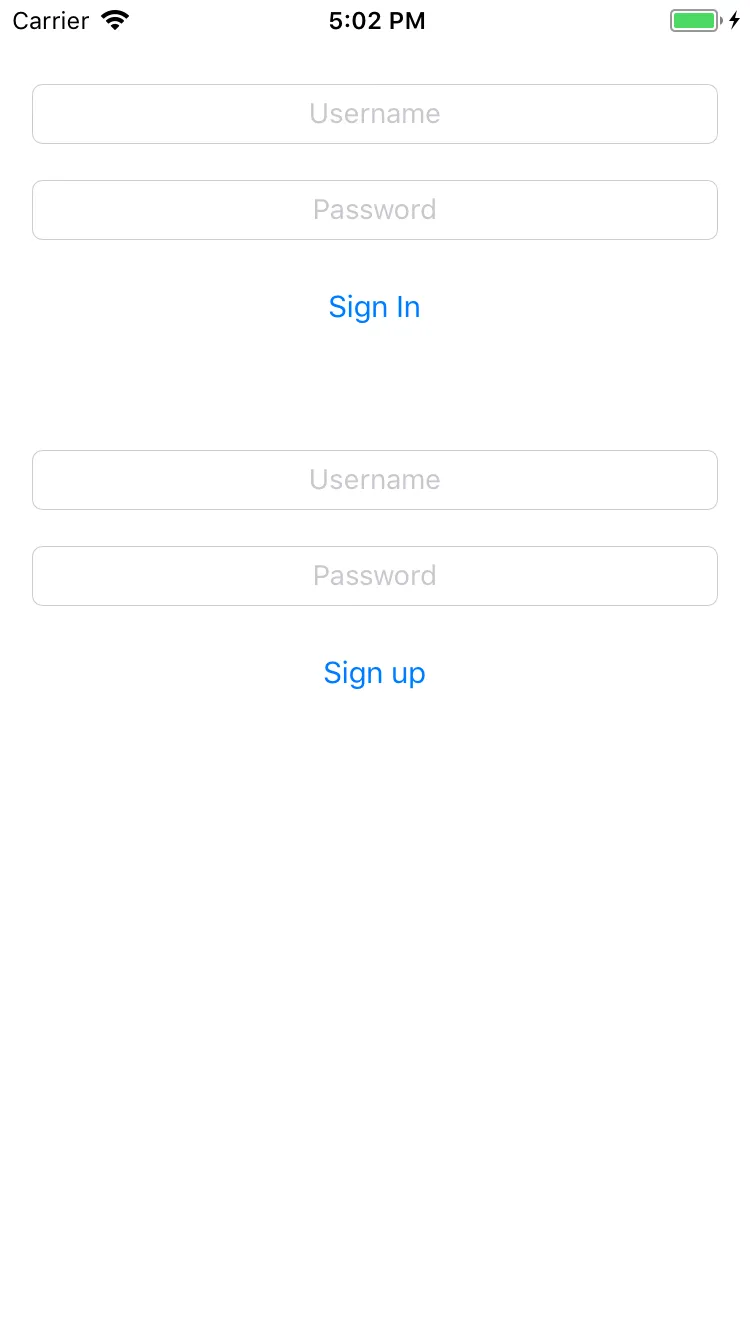
4. Ok, now, to sign up or login. On your physical device - (iphone or ipad) start the app. You should see the image below. You should sign Up to create a new user or sign in if you have already created a user on your app. This is how it will look like:
You should now be able to see the LoggedInviewController. It should look like this.
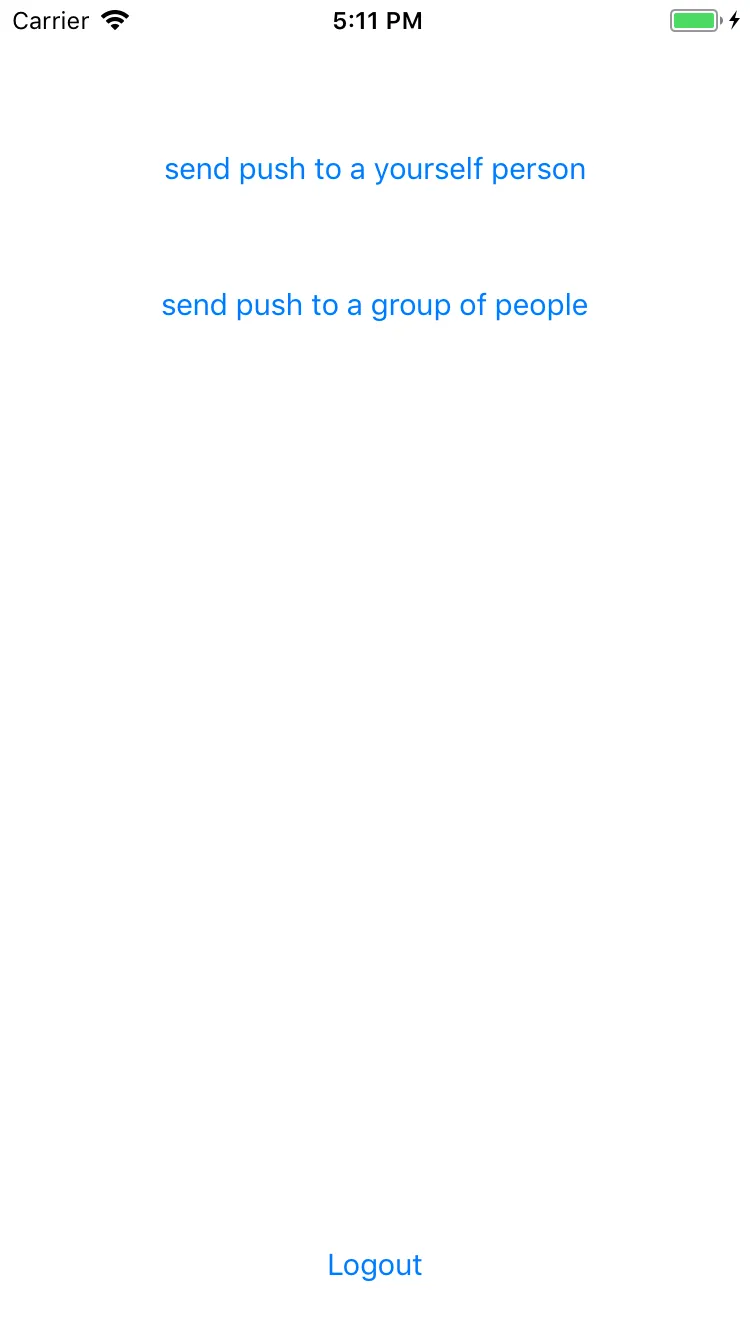
If you try to send pushes to yourself it won’t work yet because we haven’t added those methods to cloud code. So that’s what we will do next.
Open your Main.js file that you created previously and add the following functions to target installations by user id.
It is required to use the master key in this operation.
- Find the Cloud Code and click on Functions & Web Hosting. It looks like this:
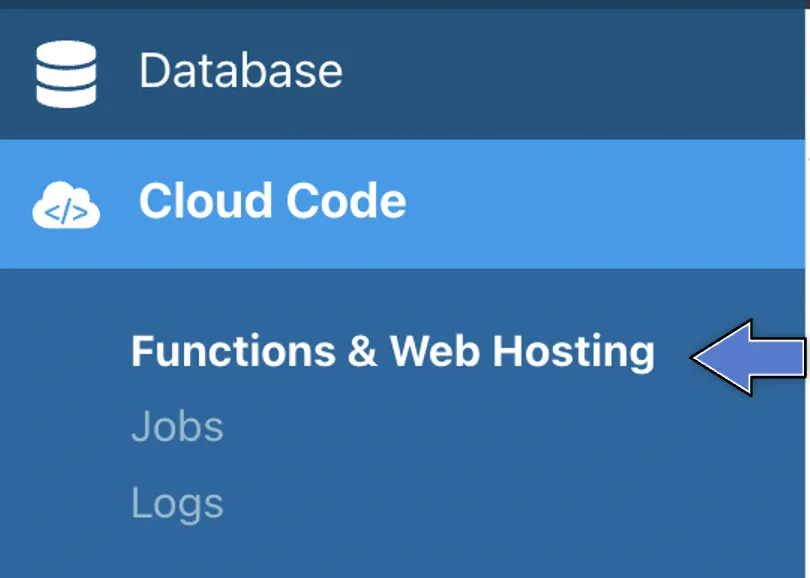
3. Upload or create a new file (you can also edit the current main.js file directly on the browser). Then, click at Deploy as shown here:
Open your app from the simulator while leaving your physical device closed with the lock screen on.
You can test that both push functions are working by pressing the ‘send push to a yourself’ button and the ‘send push to a group of people’ button. You should see the pushes appear on your devices lock screen.
Now, you should have a firm understanding of how to send pushes based on a user’s channel or a user’s object id or any other query that involves getting the user’s object id.
Remember that in order to store the user’s object id you must add it to the push installation and only request a push token when the user is logged in. When sending pushes via query be aware that it is limited by default to 100 results and some users may have more than one instllation object.
Also it is not reccomended to send pushes to array of installation objects that are larger than 100 results. It could result in some pushes not getting sent. If you are dealing with large groups of people it is better to use channels or to send the pushes out in repeated requests.
At this stage, you can send push notifications using Cloud Code through Back4App! Congratulations!