Angular
In this section you will learn how to get install Parse and started with an Angular 8 App in 5 easy steps.
At any time, you can test the app built with this tutorial by clicking here.
To complete this tutorial, you will need:
- An app created on Back4App.
- Node Package Manager installed in your system.
You’re first going to need to install the Angular CLI (Command Line Interface) tool. The CLI helps you to start new Angular project as well as assist you during development. In your terminal, please type the following line:
Download the template at our GitHub repository. You can do that using the following command line:
Navigate to the folder of your project and install all dependencies by running the following command:
Update the strings values for App ID and JavaScript Key to set up the app’s credentials. Parse JavaScript SDK uses these settings to connect your app to Back4App servers.
- Find the Core Settings block and click on Settings. Need Help? Take a look at these steps to find your keys
- Copy your App Id and Javascript Key and return to your project's folder.
- Go to src > environments > environment.ts and paste your keys.
- Start the project by running ng serve.
- Navigate to http://localhost:4200/.
- Wait until the login screen appears.
- Create an example user by clicking on the register button.
To deploy your app with Back4App, you first need to proper build your app. Use the following command to compile and build your app to a dist directory:
Then, you need to upload the created dist directory to the public folder of your Cloud Code. In order to do that, choose one of the options to deploy:
To upload through Back4App Command Line Interface, you take a look at these steps.
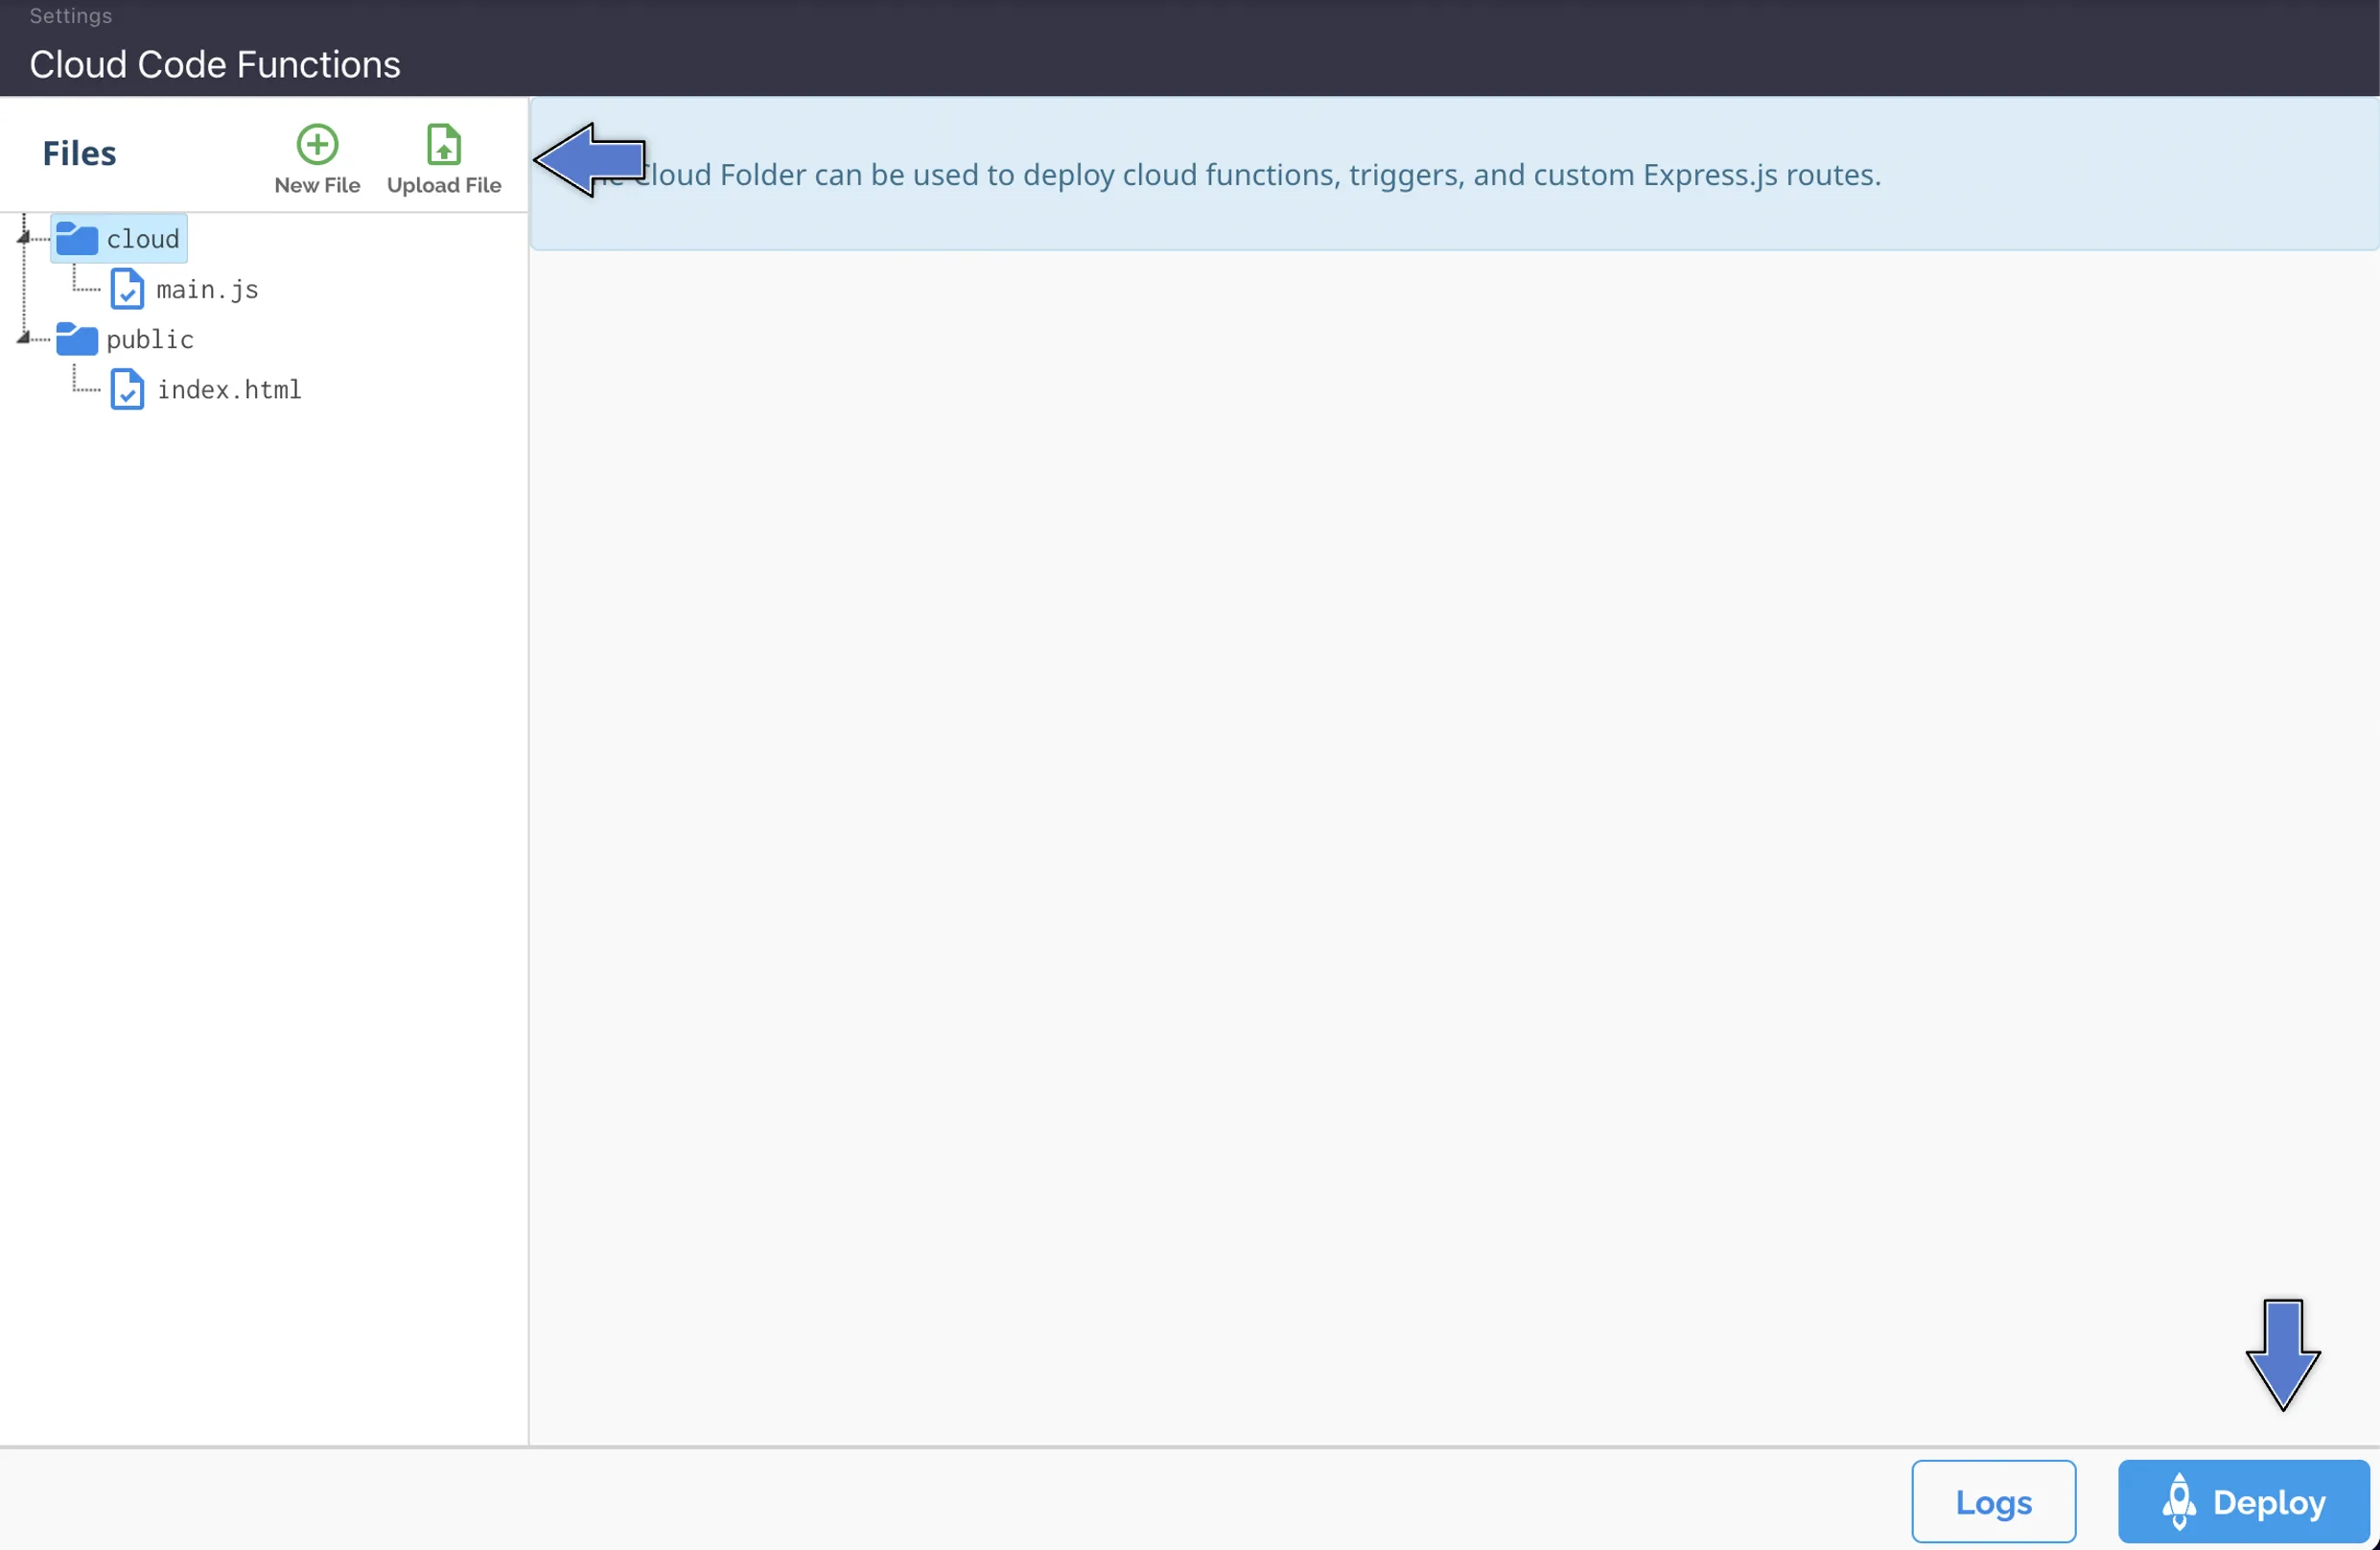
In order to upload the code via Back4App visual interface, go to your App’s Dashboard at Back4App website and click on Cloud Code Functions.
Click on +ADD button and select all the files of the dist directory. Move them to public and then click SAVE, as shown here:

Finally, to deploy your app, see the Back4App Web Hosting Tutorial.
At this point, you have learned how to get started with Angular apps.