Cron Job
This section explains how you can schedule a cron job using Parse Server core features through Back4App.
For this tutorial, as an example, you will build a cron job that removes users of your Parse Dashboard that haven’t verified their emails some time after they have signed up.
At any time, you can access the complete Project built for this tutorial at our GitHub repository.
To complete this tutorial, you need:
- An app created on Back4App.
- Knowledge about Cloud Code.
- Note: Follow the Cloud Code for Android Tutorial or the Cloud Code for iOS Tutorial for more information.
- Create a .js file to put your cron job code into. In this example, a main.js file is created in a cloud_code directory.
- Define a job function using Parse.Cloud.job. In this example, the following code verifies every user in your Parse Dashboard, then query the ones that still have their email unverified after some time and destroy them:
It is required to use the master key in this operation.
You can modify the intervalOfTime content with the amount of time you think an unverified user can still have his account active without verifying it. Just don’t forget that to test your application, small time intervals are better. So, it’s suggested that you set the intervalOfTime content to three minutes to test if the cron job is working and then change the JavaScript code with the amount of time you actually want intervalOfTime to be.
Don’t forget that changes to the JavaScript file are only computed in your application if you upload the file again on Back4app Cloud Code block. To do this, delete the .js file with the unwanted intervalOfTime content and follow Step 2 to upload the file with the correct intervalOfTime content.
To know more about how to get started with Cloud Code look at Cloud Code for Android Tutorial or Cloud Code for iOS Tutorial.
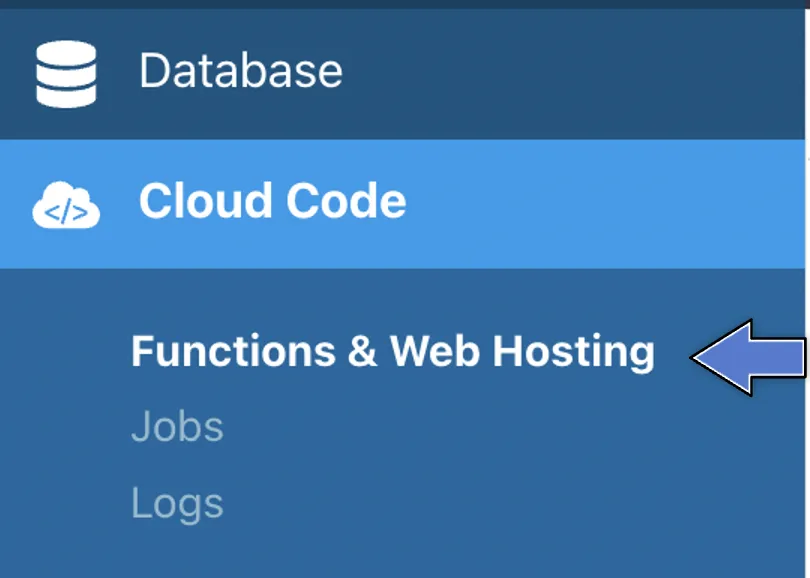
- Find the Cloud Code and click on Functions & Web Hosting. It looks like this:
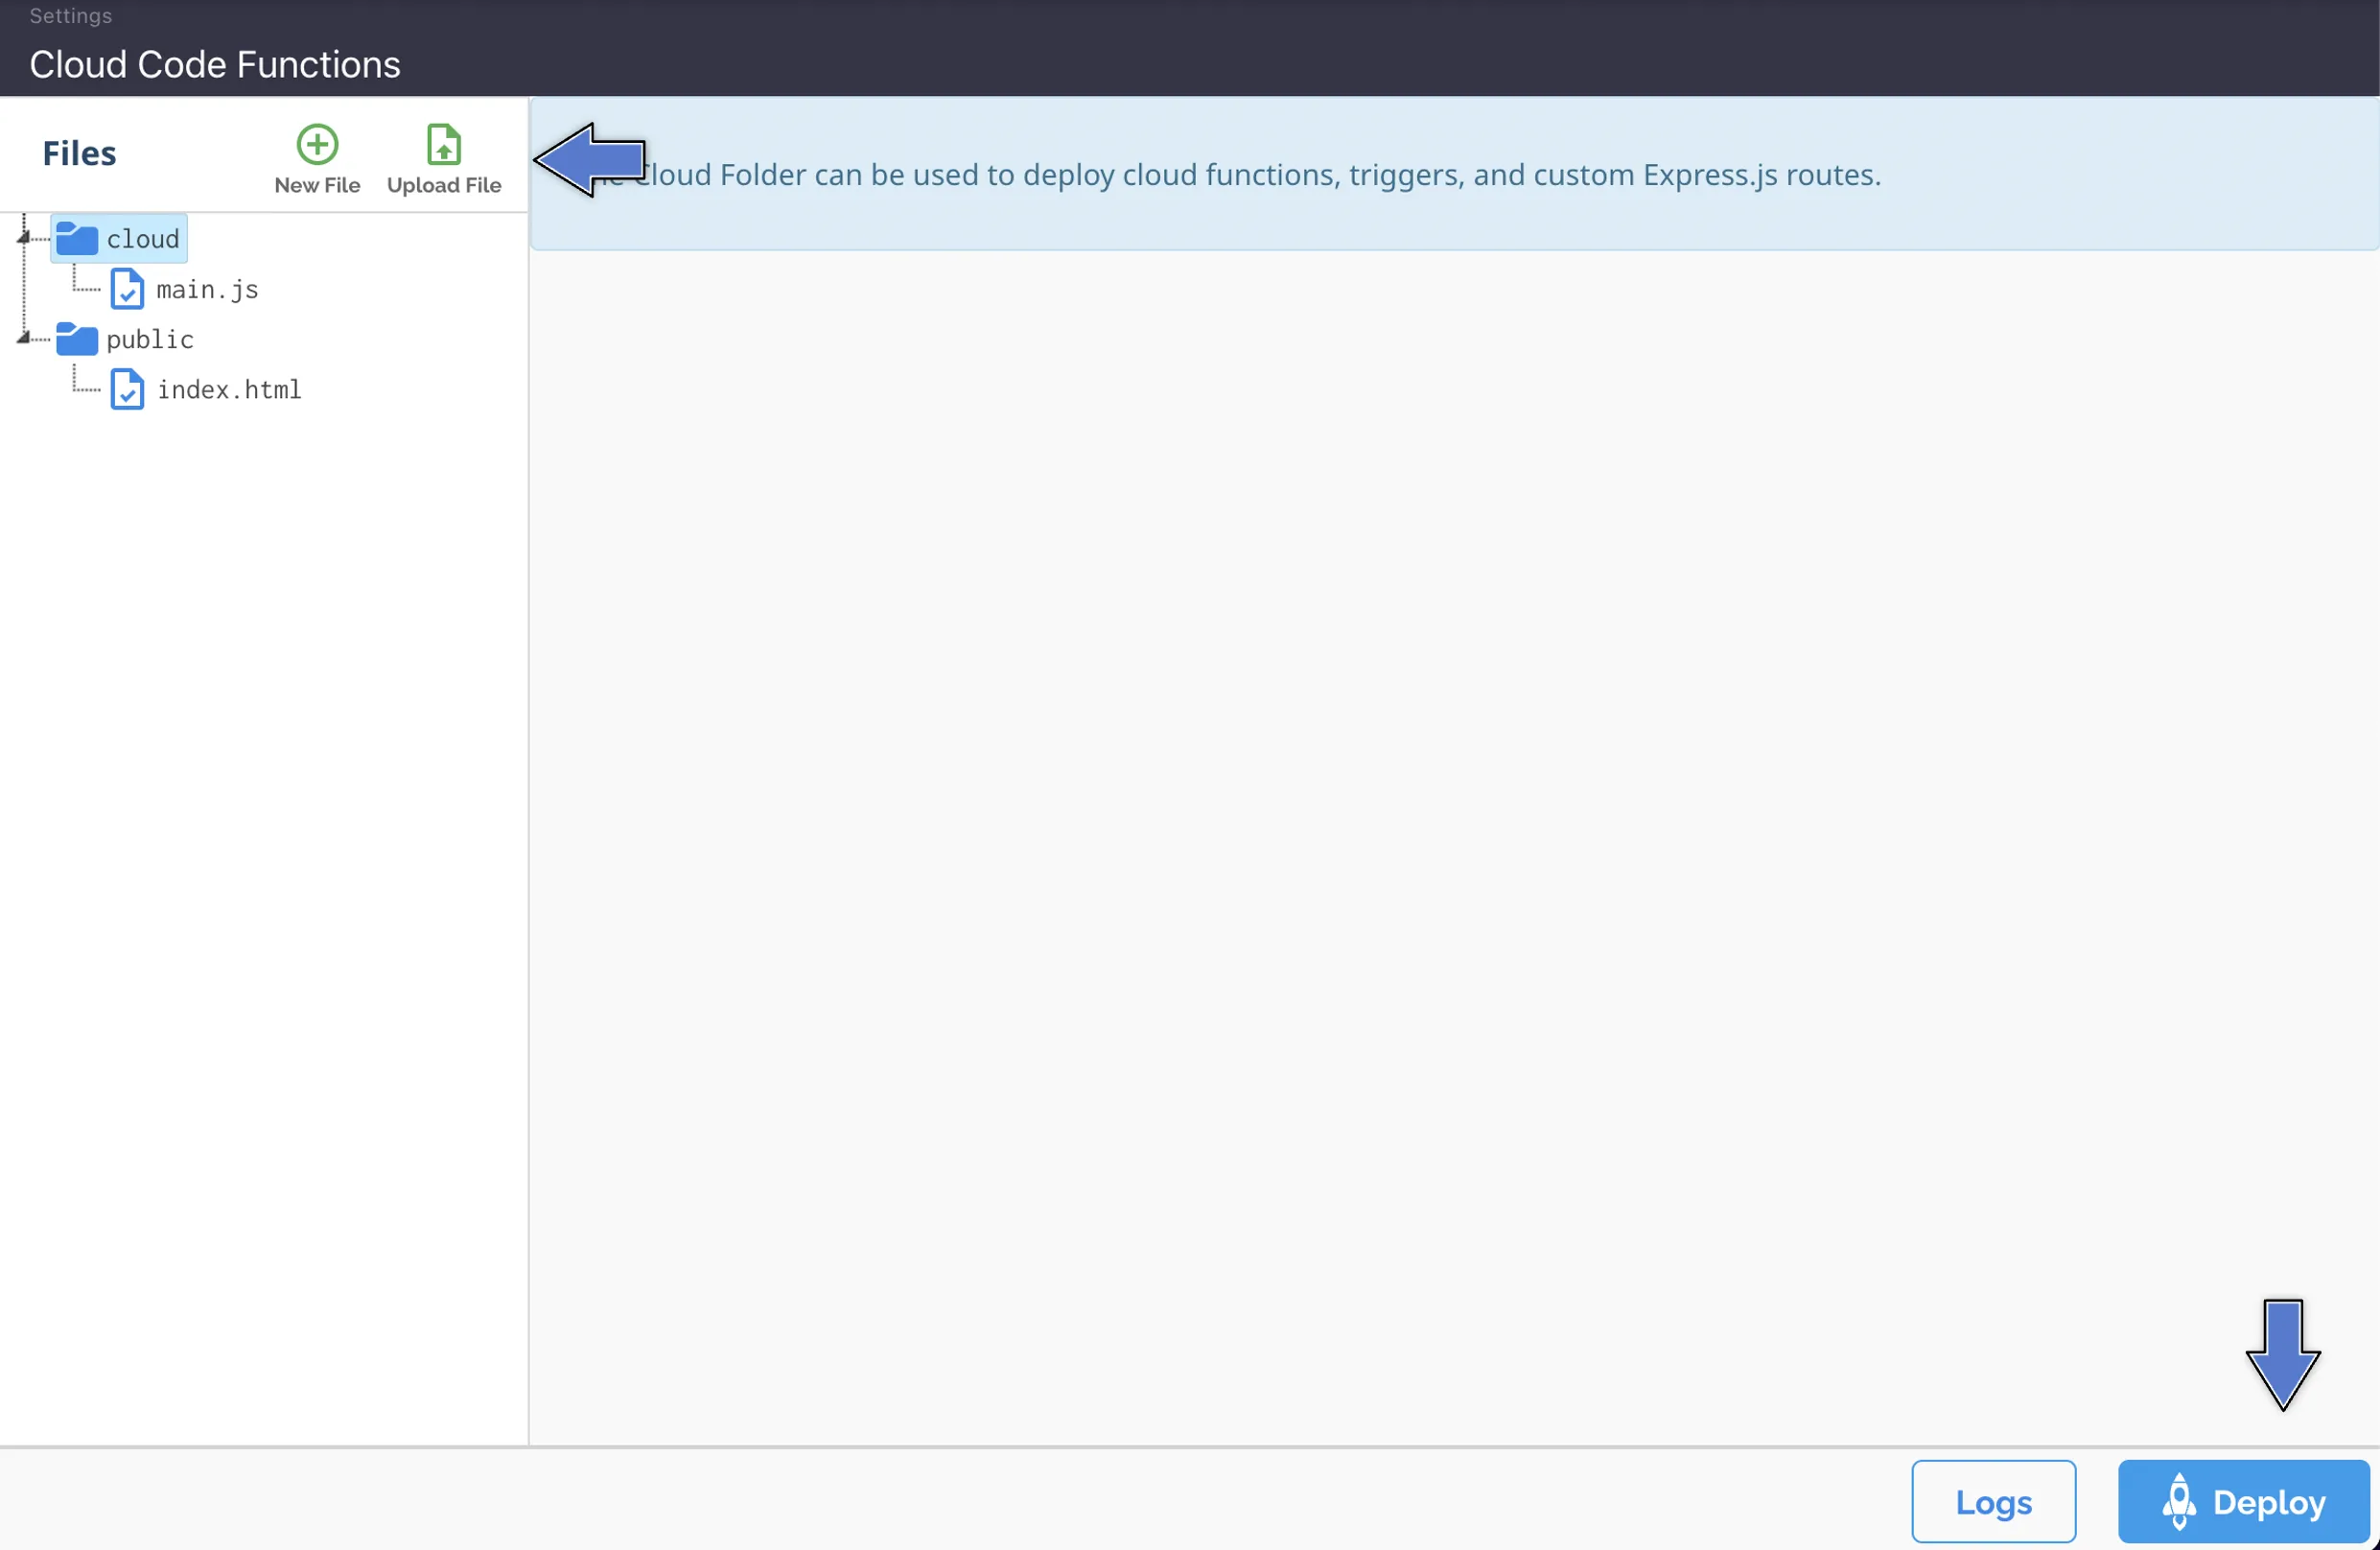
3. Upload or create a new file (you can also edit the current main.js file directly on the browser). Then, click on Deploy as shown here:
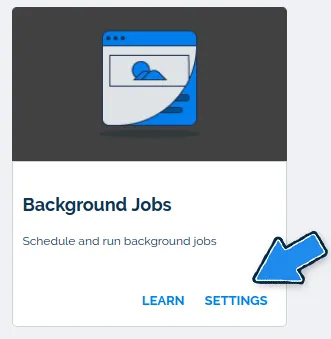
- Find the “Background Jobs” block and click on SETTINGS. The “Background Jobs” block looks like this:
3. A Background Jobs page will appear and two options will be displayed: Browser a job or Schedule a job. Click on Schedule a job, as shown below:
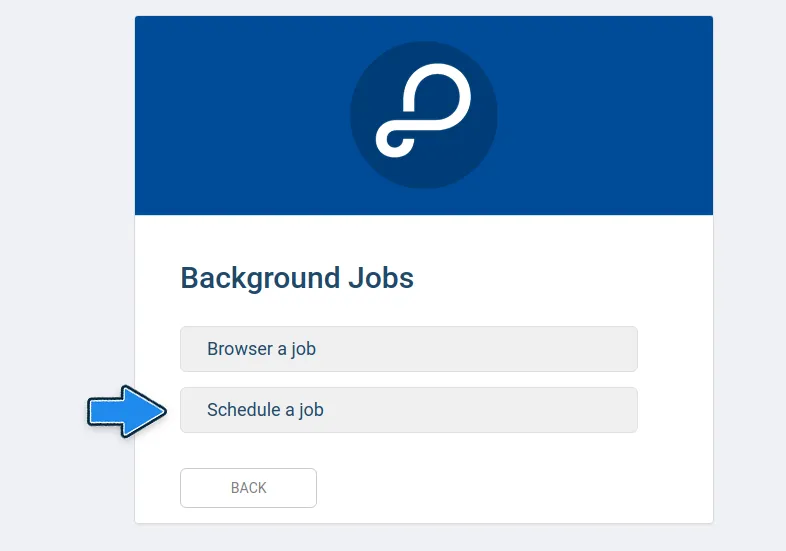
If you want to Edit, Run now, or Delete an existing cron job, click on the Browser a job button.
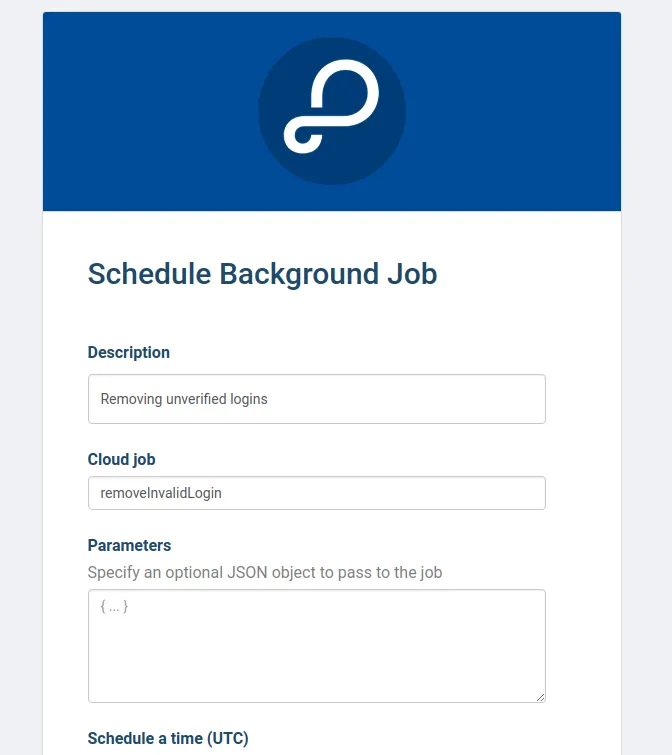
4. A Schedule a job page will appear and you have to fill in the Description field of your job with its description and also the field Cloud Job with the name you set to your cron job in the first line of its JavaScript code. In this example, the name of the cron job created is removeInvalidLogin.
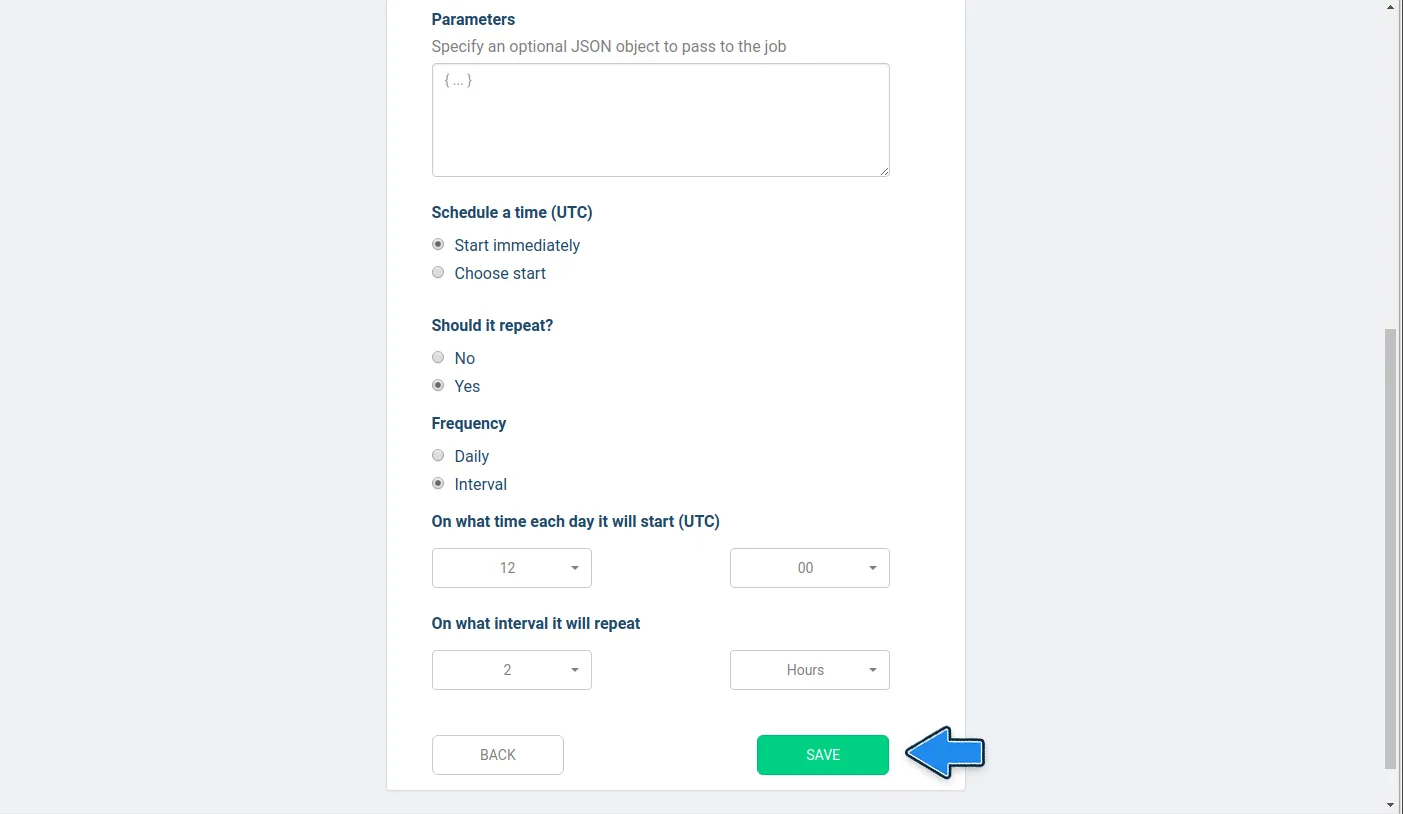
5. You can also set other options for your cron job as what time it should start running, if it should repeat, and how often. After filling in these options with your preferences, click on the SAVE button.
- Create some users with emailVerified column set as False at your Parse Dashboard, as shown below:
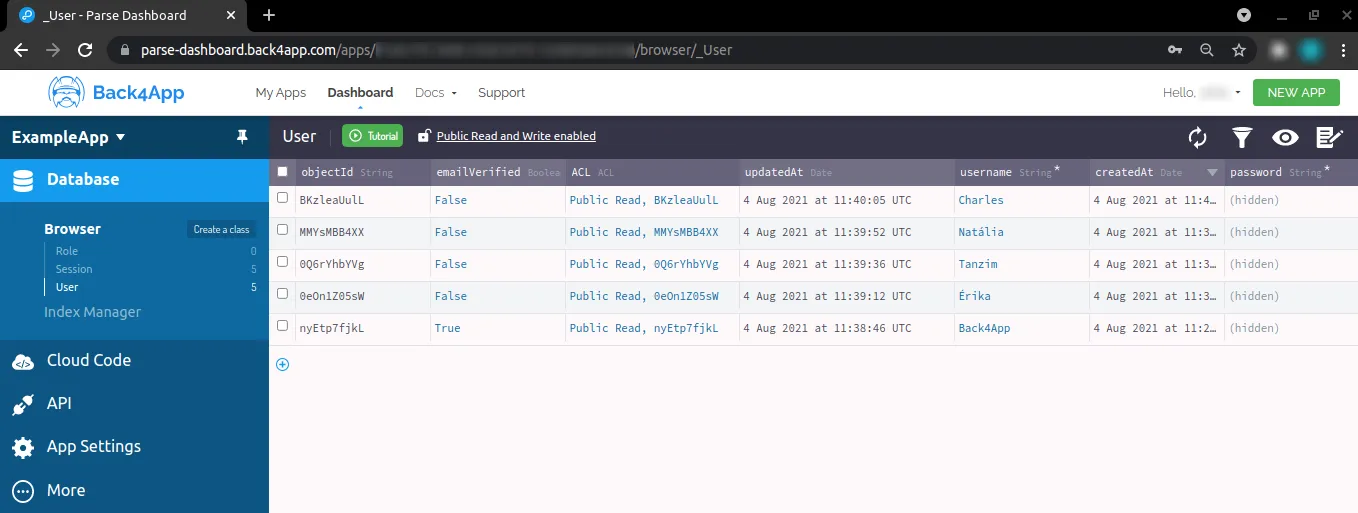
2. Run your application and refresh your Parse Dashboard. It should have destroyed the unverified users. For the Parse Dashboard shown above, this is the result:

You can also see if the cron job is working by accessing Back4App Logs. To do that, follow these steps:
- Find the “Logs” block and click on SETTINGS. The “Logs” block looks like this:
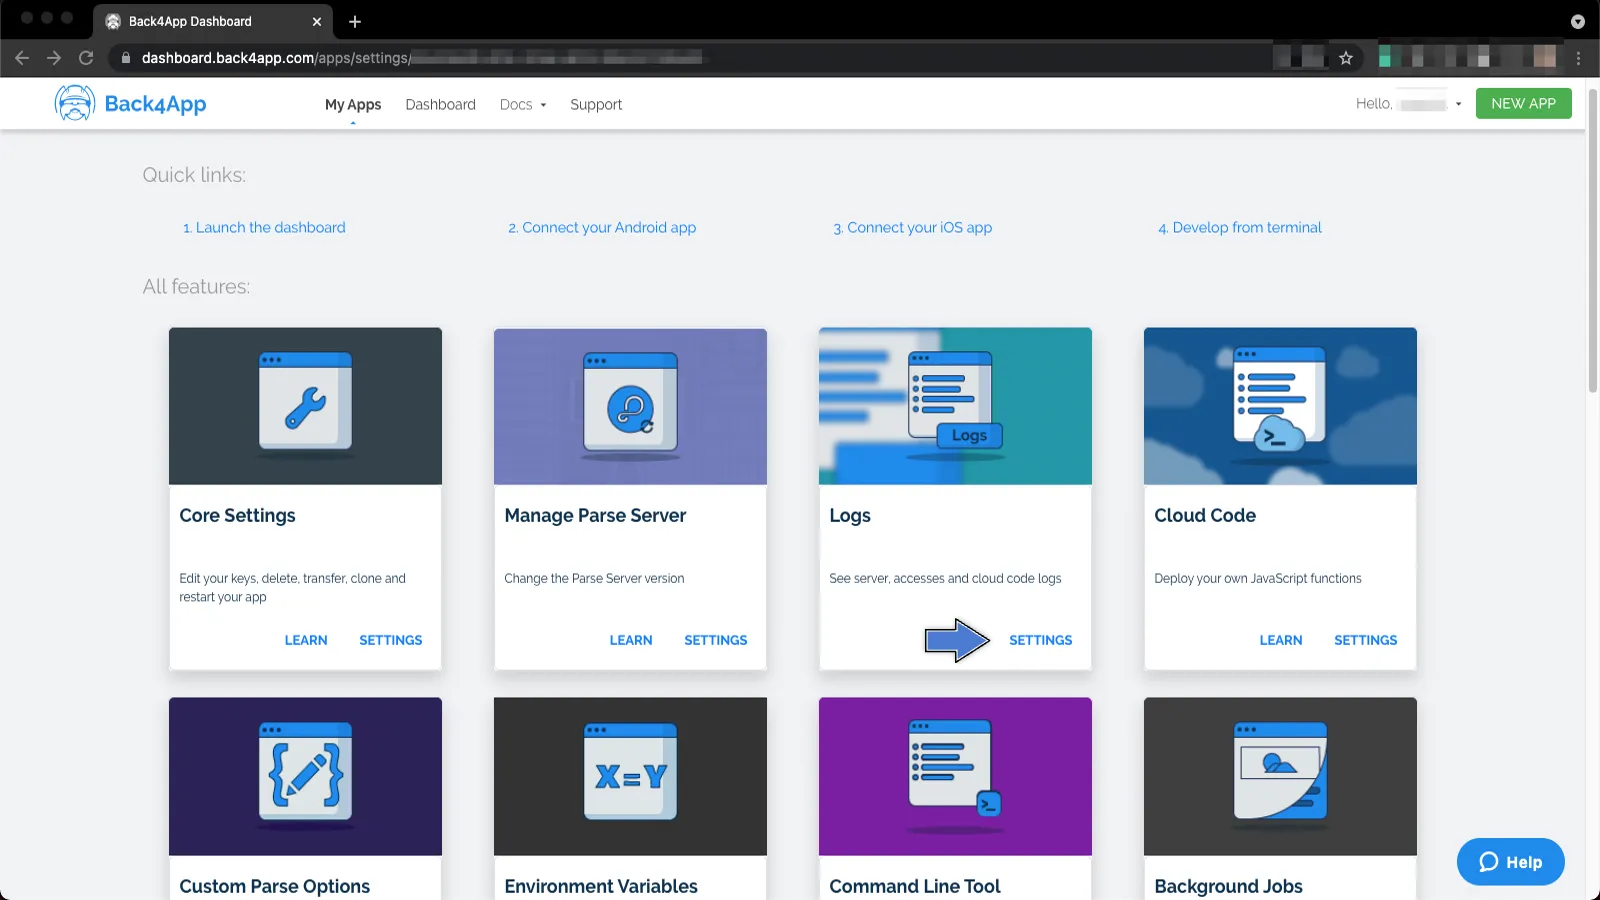
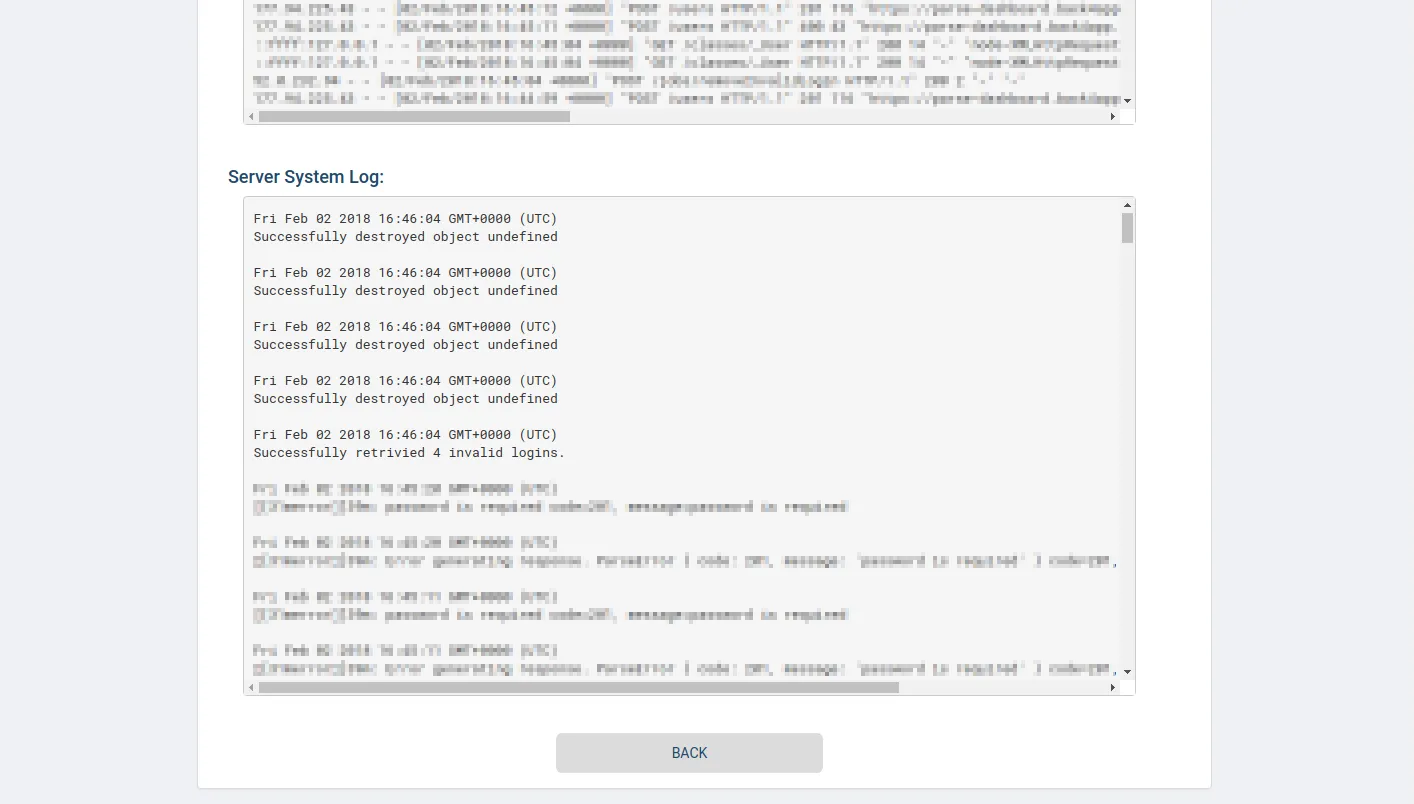
3. Scroll the page until you see the Server System Log. There you should find information about the cron job that is running, as shown below:
At this stage, you can schedule cron jobs in your application using Parse Server Core features through Back4App!