Sign Up With Apple
Sign In with Apple enables users to sign in to Apps using their Apple ID. This feature is available on iOS 13 and later, and Parse 3.5 and later.
To complete this tutorial, you will need:
- An app created at Back4App
- Set up a Subdomain for your Back4app app
First of all, it’s necessary to make sure that you have an existing app created at Back4App. However, if you are a new user, you can check this tutorial to learn how to create one.
In your XCode Project, click on the Target (1) and go to the Signing & Capabilities tab (2). Click the + Capability button (3) and add the Sign In with Apple capability (4). While there, choose your Bundle Identifier (5) and hold that information because we will need it later.

Log into your Apple Developer account and go to the Identifiers section. Check if your created Bundle Identifier is there
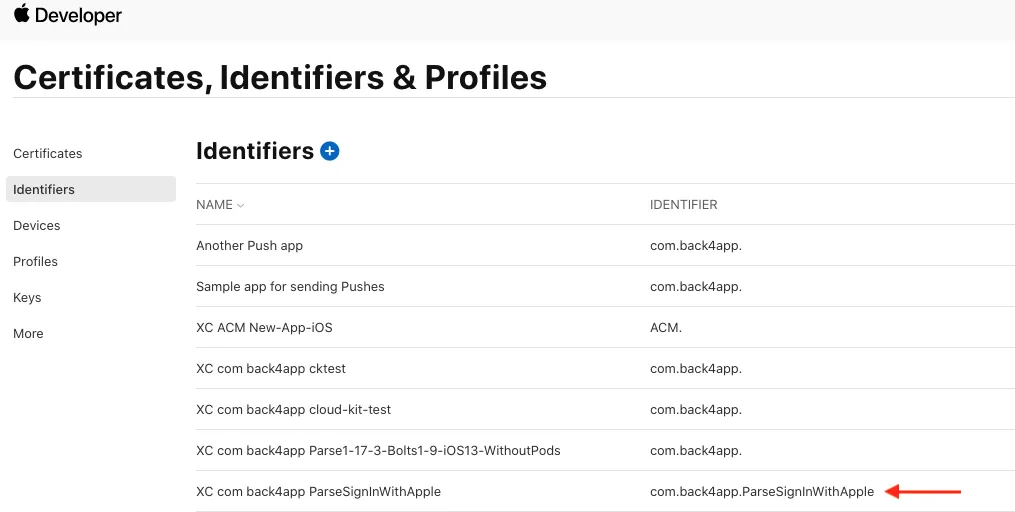
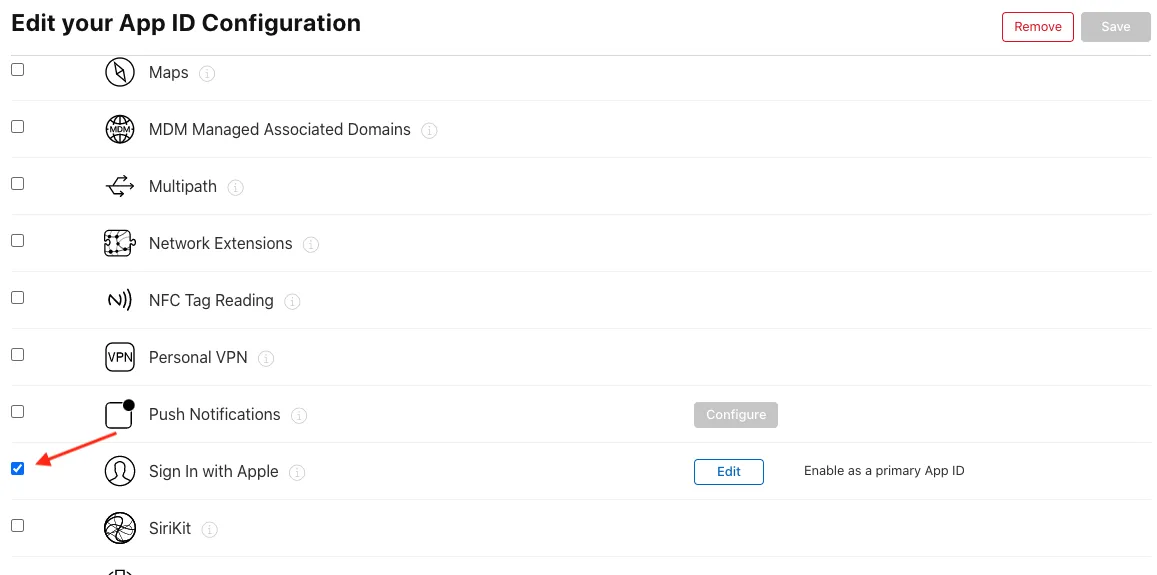
Click the Bundle Identifier and scroll down. Check if the Sign In with Apple is selected
Click Edit and make sure the Enable as a primary App ID is selected
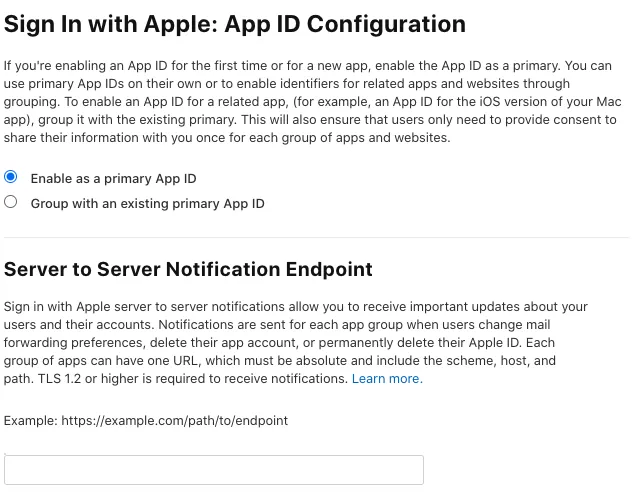
If everything is right, save and exit.
Go to the Back4App website, log in, and then find your app. After that, click on Server Settings search for the Apple Login block, and select Settings.
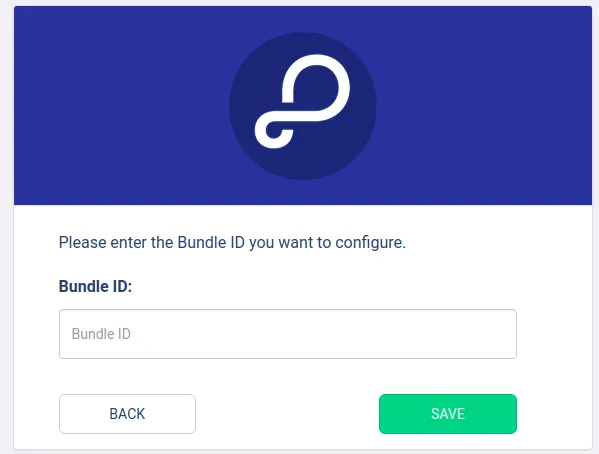
The Apple Login section looks like this:
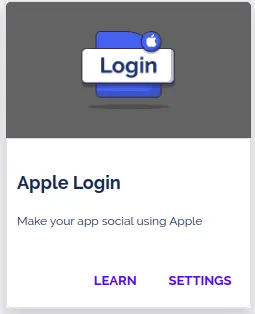
Now, you just need to paste your Bundle ID in the field below and click on the button to save.
In case you face any trouble while integrating Apple Login, please contact our team via chat!
There is some coding involved in making Sign in With Apple work, so we created this template that you can download, and change the Bundle Identifier, the App Id, and Client Key.
The code is fully documented so it is a good starting point.
If you prefer to read through this doc, please go on to the next step.
Inside your view, add the AuthenticationServices framework and create the AuthDelegate that will handle the PFUserAuthenticationDelegate:
Implement the ASAuthorizationControllerDelegate and ASAuthorizationControllerPresentationContextProviding for the ViewController:
The ViewDidAppear is a good place for it. If you choose other places, remember to call it just once:
The appleSignInTapped in the last line must also be defined inside the ViewController class:
The presentationContextProvider (ASAuthorizationControllerPresentationContextProviding) will ask for which window should display the Authorization dialog. As we are going to display it in the same window, we must return self.view.window:
There are a few options that we must handle when the delegate is called, so let’s add some code to handle those options distinctly:
When we successfully authenticate, we can retrieve the authorized information:
That’s the place where we can also add code for logging in Parse. So right after the do what you want with the data here comment, let’s add:
And of course, add the Parse framework: