Quickstart
This guide will help you set up and use Back4App with a new or existing project using the React Native CLI. You’ll install the Parse SDK, initialize it with your app keys, and create your first API call to save and retrieve data from Back4App.
To complete this tutorial, you will need:
There are two main ways to create a React Native project: React Native CLI and Expo. Choose based on your development environment and target platform (iOS or Android)
The instructions depend on your development operating system, and whether you want to start developing for iOS or Android. For more information, check the official documentation here.
Install Expo CLI globally
Create a new React Native project
In your React Native project, install Parse Javascript SDK and AsyncStorage by running:
- Parse Javascript SDK - To integrate your App with Back4app servers.
- React Native Async Storage - To use Parse SDK, an AsyncStorage handler is required.
For iOS, also add native AsyncStorage support:
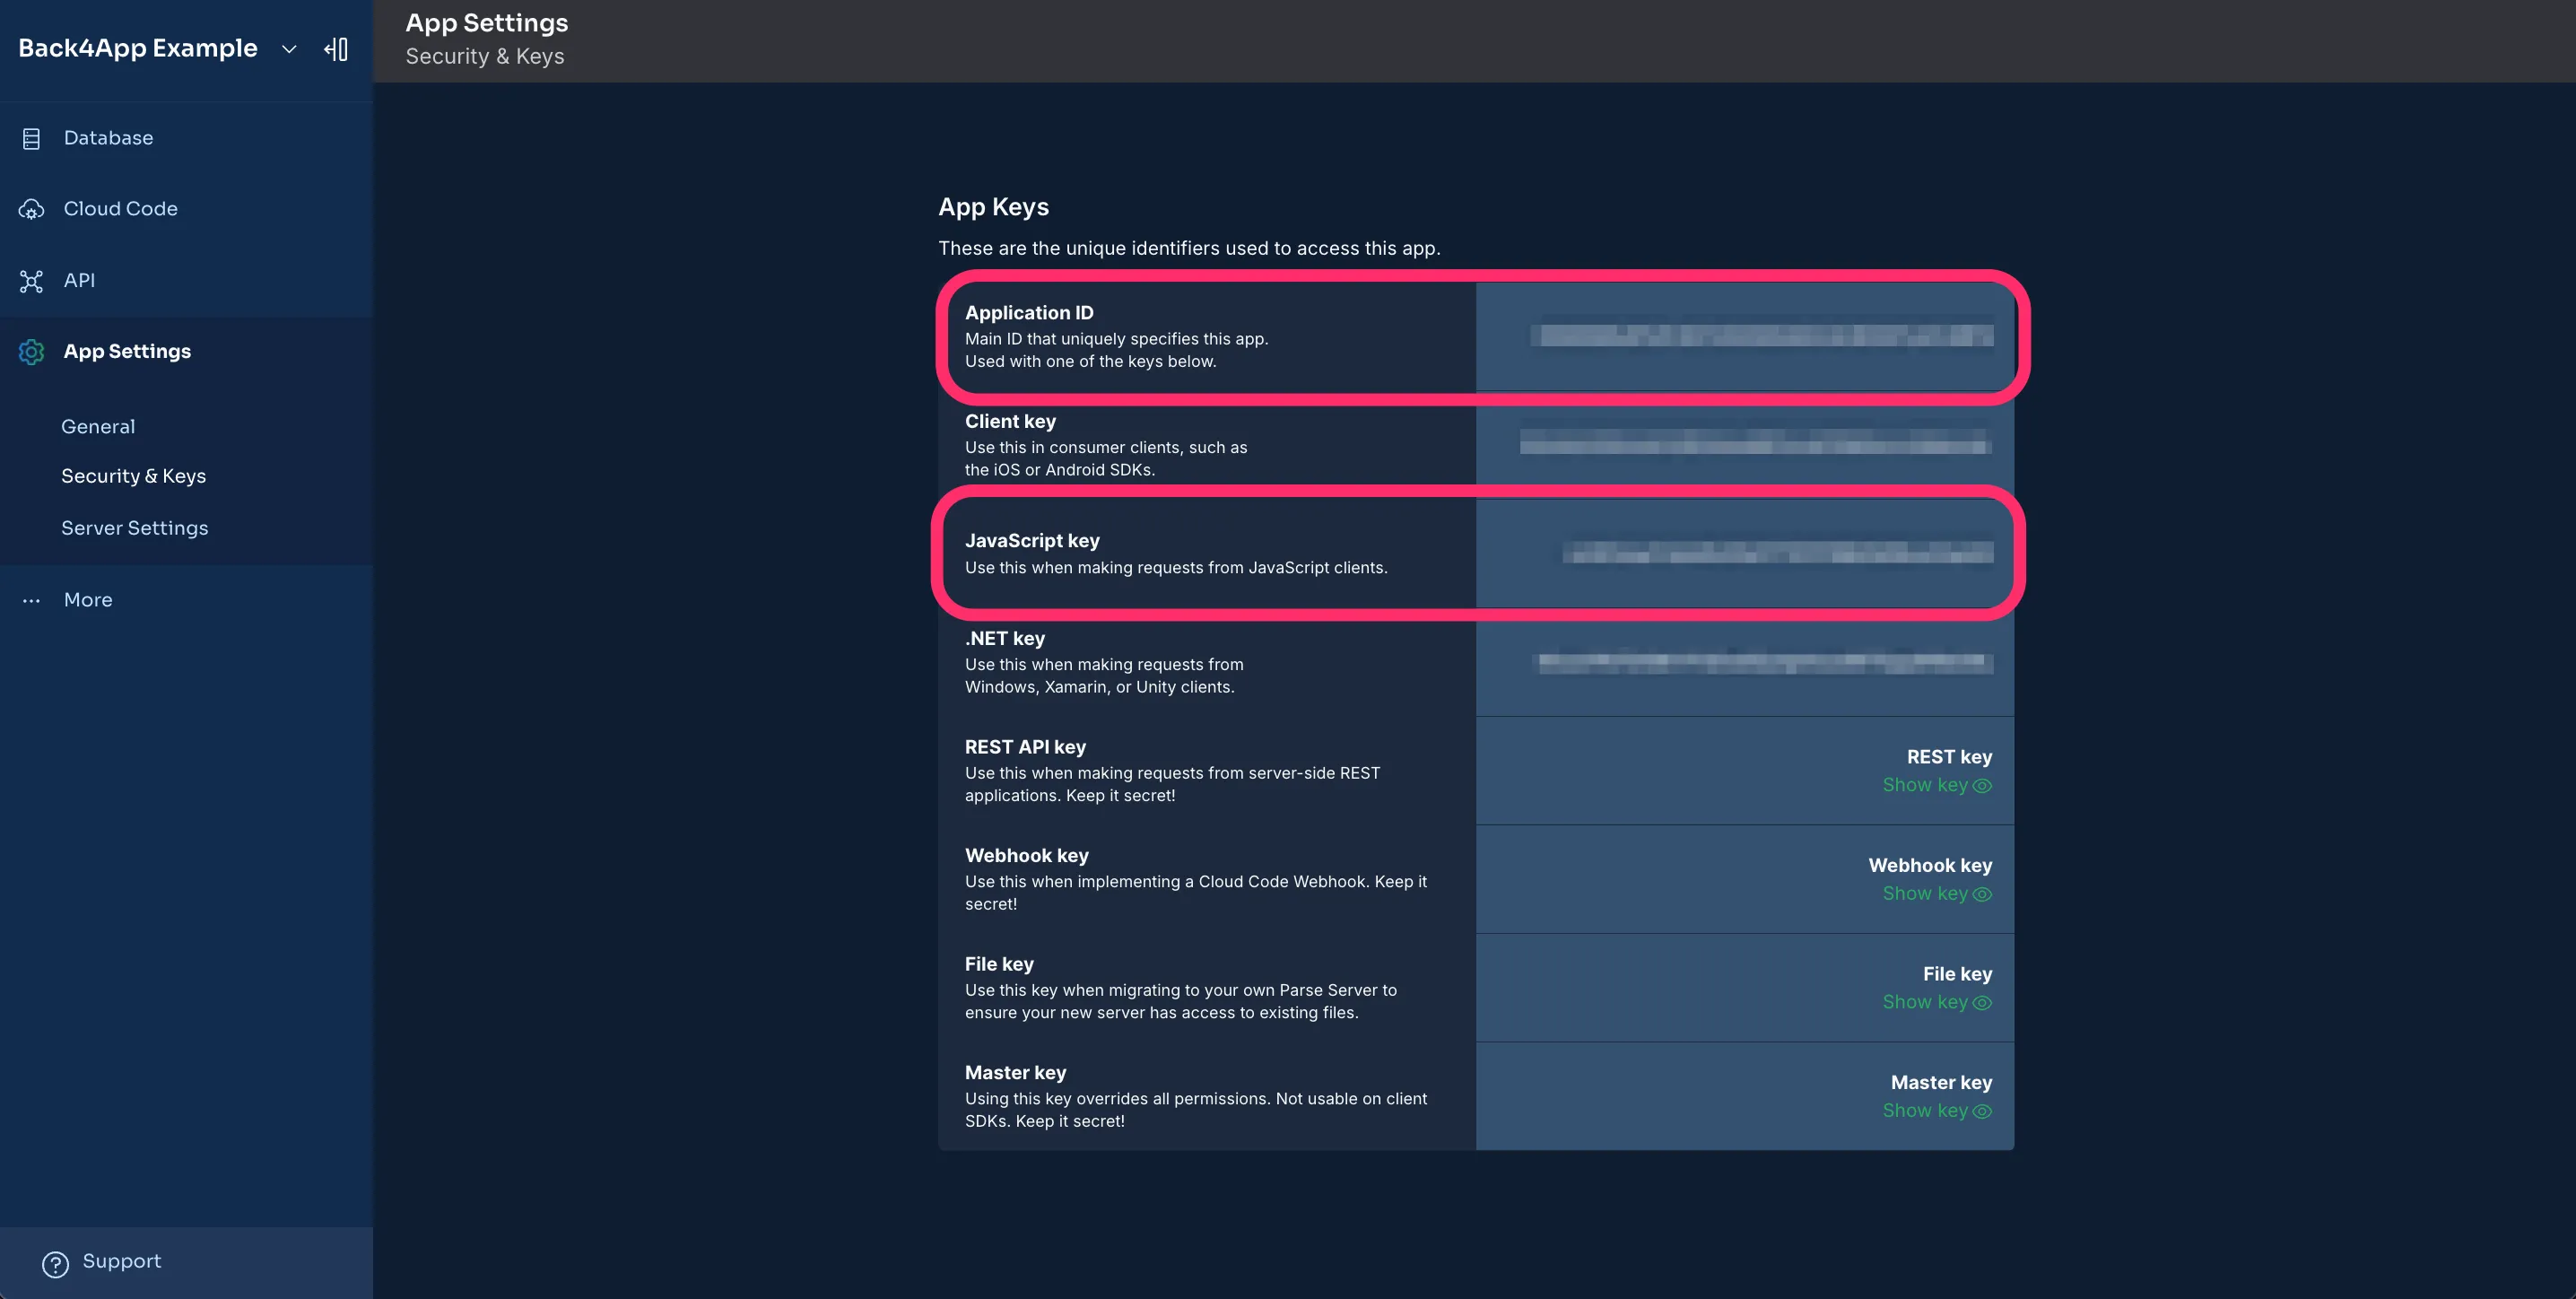
After creating your app on Back4App, find your App Keys under App Settings > Security & Keys. You’ll need both the Application ID and JavaScript KEY to connect.

Open index.tsx and initialize Parse with your Application ID and JavaScript KEY:
With Parse initialized, create two functions in index.tsx to save and fetch data from Back4App.
- Open your project’s terminal.
- Run the project.
Run npx react-native run-android or npx react-native run-ios to open the application on your target platform.
Run expo start, and follow the instructions to view the app in your browser or device.

Some common issues and solutions:
Solution: Go to the metro.conf.js file and change it to this one:
Solution: Go to the file: node_modules\parse\lib\react-native\EventEmitter.js and change this row:
to this:
In the same file EventEmitter.js, change the following row:
to this:
In case you face any issues with babel, consider updating your babel.config.js to the following:
This guide covers the basic setup and data storage with Back4App. Explore Parse features, including data storage, real-time capabilities, local data storage, cloud functions, authentication, and file storage.