User LogIn
After implementing a component that handles User Registration in Parse in the last guide, you will now learn how to log in and log out users using the same Parse.User class. You will also learn to install and configure react-navigation so you can navigate the user through your new screens and components. The Parse.User.logIn method stores in your local storage a valid user session, so future calls to methods like currentAsync will successfully retrieve your User data. On the other hand, logOut will clear this session from disk and log out of any linked services in your Parse server.
At any time, you can access the complete Android Project built with this tutorial at our Github repositories
To complete this tutorial, you will need:
To build a User LogIn and LogOut feature using Parse for a React Native App.
At some point, every application in React Native will need screen navigation. You will now learn how to install and configure the most used library in React Native for this, react-navigation.
Go to your project root directory and install the following dependencies:
If you are developing for iOS, you need to install the pods to complete your app auto-linking:
Note: Linking is automatic for React native 0.60+ to all platforms, so if you are still using an older version of RN, take a look at React Native docs here.
In your app entry file (App.tsx or App.js), add this import line at the very top of the file. Now you need to move your components inside the react-navigation container, which will encapsulate your app inside a NavigationContainer:
The core navigation library has different additional navigation modules like a stack, tabs, drawer, others. Stack navigator is the most straightforward one and the one that you will use in this guide. Proceed with the installation:
Let’s now create and set up a StackNavigator. This module will manage and handle screen navigation on your app. Since it’s not a goal here to give you a react-navigation deep understanding, please go to the official docs to know more.
In your App.js (App.tsx if you are using TypeScript) file, import and create a StackNavigator, create a function containing your user registration screen and insert the navigator inside your app NavigationContainer. Your main file should look like this:
If you run your app now, you will notice the inclusion of a header at the top of the screen containing your screen name:
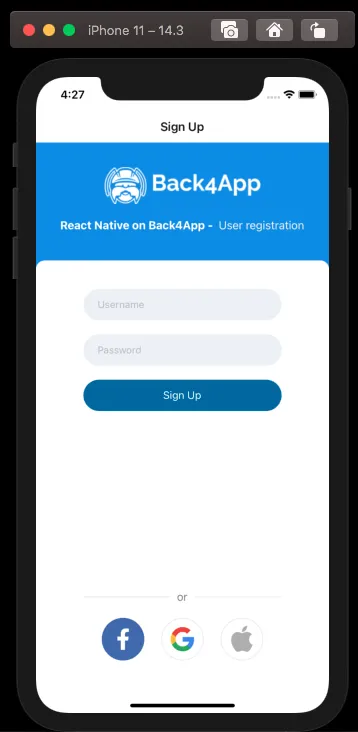
Let’s now build the UserLogIn functional component in your App. Create a new file in your root directory called UserLogIn.js (UserLogIn.tsx if you are using TypeScript) and add the input elements using state hooks to manage their data:
You can now implement the function that will call theParse.User.logInmethod, using state variables:
Insert this function inside the UserLogIn component, just before the return call, to be called and tested. Remember to update the form’s login button onPress action to () => doUserLogIn() and to import Alert from react-native. Your component should now look like this:
Let’s now create a new screen for your app that will use your UserLogIn component. Add the new screen as the first (or top) screen of your StackNavigator as well:
Go ahead and test your screen and component. Notice that your app will now show the user login screen instead of the user registration one, due to their placement on the StackNavigator screen list. You will see a message like this after signing in:
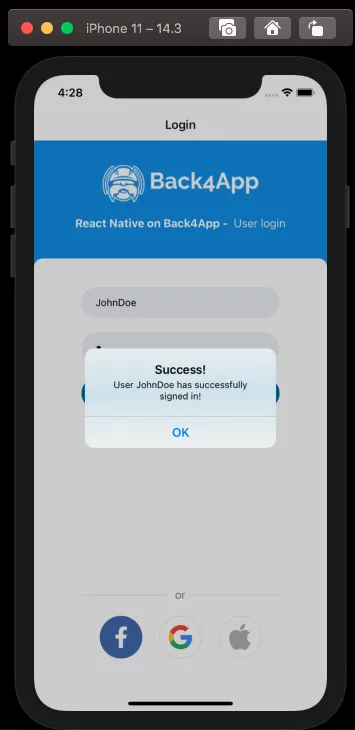
After logging in, you will generally want to take the user to your app home screen. Create this screen in your app’s main file:
Now you need to use ‘react-navigation’ to navigate the user after he logs in, adding this new code inside theUserLogIncomponent:
You will be redirected to your new HomeScreen after logging in. You can upgrade this screen by adding this HelloUser component that shows the current user username:
Note: You can take a better look at React’s useEffect hooks here.
After calling this component inside your HomeScreen, your app should look like this:
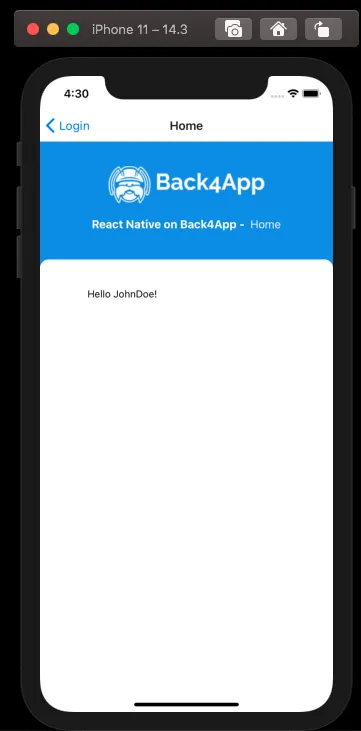
The UserLogOut component is simpler than the login since the Parse.User.logOut method takes no arguments and clears the currentUser data stored locally automatically. Create this component in your app root directory:
Append this new component to HomeScreen so you can test it after signing in. Your app home screen will look like this now:
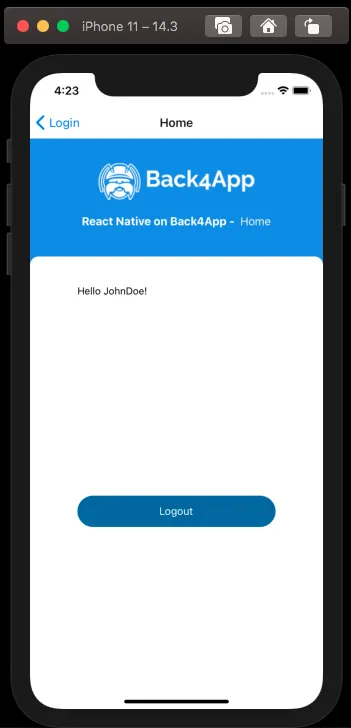
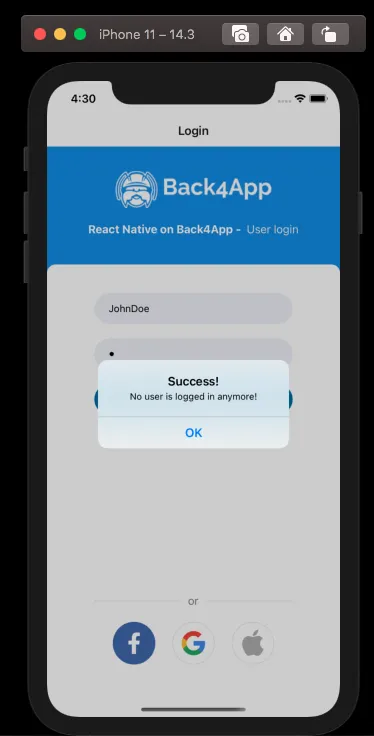
If you perform a successful logout, you will see a message like this while being redirected to the UserLogIn screen, which is the first one in the navigation stack:
Connect your UserRegistration to a registration button inside the UserLogIn screen and repeat the same redirection pattern to your app HomeScreen. Remember to read through react-navigation’s docs to discover several customization options and control every aspect of your app navigation.
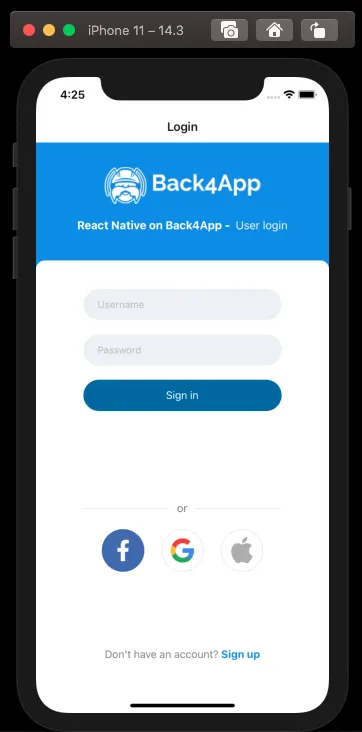
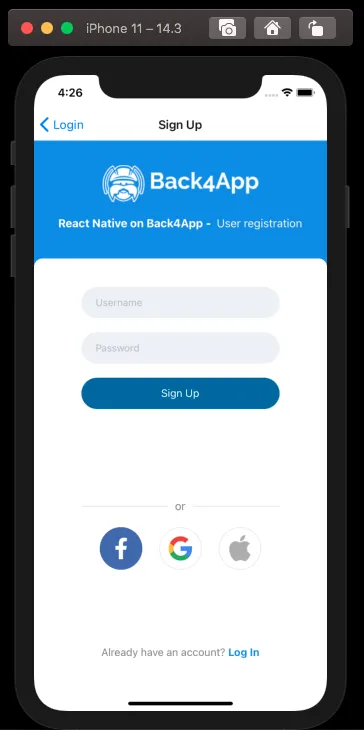
Your login and registration screens now should look like these:
At the end of this guide, you learned how to log in and log out Parse users on React Native and to navigate users through your application using react-navigation. In the next guide, we will show you how to perform useful user queries.