Chat App Example
In the last guide, you got to know more about the @parse/react helper library that quickly enables Parse Live Query support on your React application. The lib is written entirely in Typescript, on top of Parse Javascript SDK, and is currently on the Alpha version.
Now, in this guide, you will use the Parse React hook in a realistic situation creating a simplistic live chat application. This app is composed of two React components that highlight the usefulness of Parse’s Live Query and also show everything you need to know to create your complete live app.
Parse React Native is currently on the Alpha version. The lib is under testing, so we recommend proceeding with caution. Your feedback is very appreciated, so feel free to use the lib and send us your questions and first impressions by dropping an email to community@back4app.com.
To complete this tutorial, you will need:
- Complete the previous guide so you can have a better understanding of the Parse React hook and Live Query.
- If you want to test/use the screen layout provided by this guide, you should set up the Ant Design library.
To build a live chat application on React using @parse/react hook as an enabler for Live Query on Parse.
The chat application will be composed of two small database classes: Nickname and Message. Nickname only has a text field called name and will represent the users in the application. Message will hold any text message sent between two users, so it needs to have a text field called text and two object pointer fields called sender and receiver, both related to the Nickname class.
Run the following snippet on your Back4App dashboard’s Javascript console to create these classes and populate them with some samples.
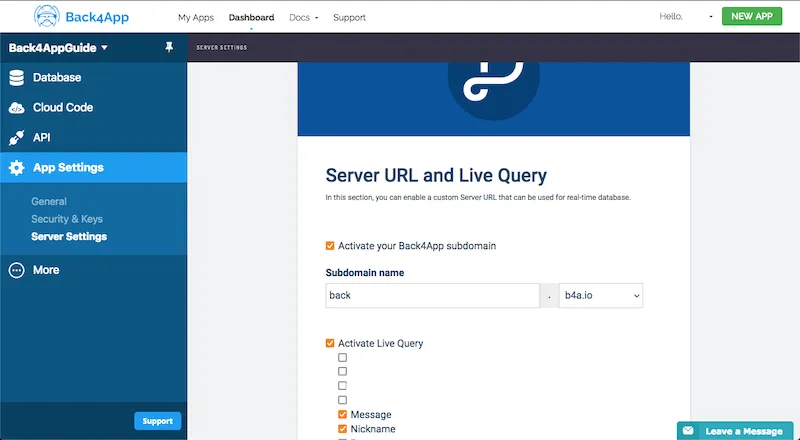
Now that you have created the Nickname and Message classes, we need to enable them with live query capabilities. Go to your Back4App dashboard and navigate to App Settings > Server Settings > Server URL and Live Query. After activating your Back4App subdomain, you can then activate Live Query and select which DB classes will be enabled to it. Make sure to select the new classes and save the changes.

The next thing to do is to create our chat app, which consists of two components, ChatSetup and LiveChat.
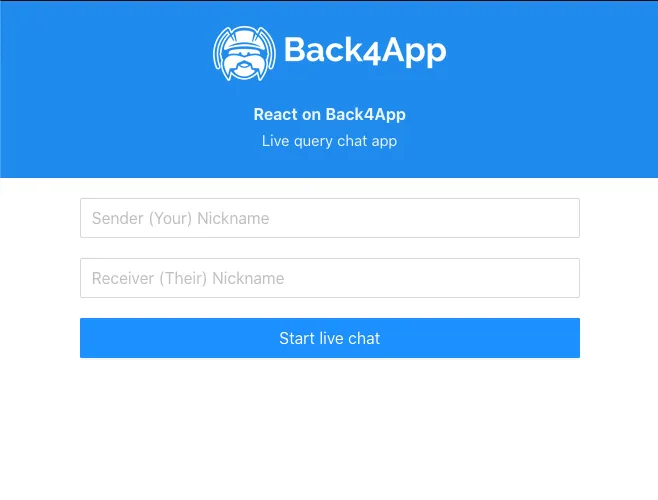
This component is responsible for creating and setting up the sender and receiver Nickname objects while serving also as a container for the LiveChat component structure. The layout for the setup part has only two input fields for the nicknames and a button that triggers the setup function. Create a new file in your src directory called ChatSetup.js (or ChatSetup.tsx) and use the following code:
Note that the LiveChat component is only initialized and rendered when the setup process is successful and all the state variables are properly set. Likewise, the setup inputs are hidden after the process and the child component layout is rendered.
The LiveChat component handles the exhibition and sending of the Messages between the two Nicknames passed as parameters on its initialization. It’s in this component that you will finally use the useParseQuery hook from @parse/react to set up the Live Query that will retrieve any Message object related to this chat instance. Create a new file in your src directory called LiveChat.js (or LiveChat.tsx) and insert the following code.
Let’s break down this component structure into four parts, so you can better understand its layout:
- At the top we have the message’s Parse.Query and Parse React hook setup. Here you can see how the props parameters are used to enable the query to retrieve the messages that we want;
- After that, you have the sendMessage function, which will create a new Message object relating it to the Nickname used in this chat instance. There is also a helper function for formatting the messages date value;
- Now, inside the JSX code, we have the status flags that are related to the Parse React hook variables and also the connection reload button;
- Lastly, you can see the Message list in which the rendered list items style is dictated by its sender value. At the bottom, we have the message sending part, with a simple text input and a button.
Finally, add these classes to your App.css file if you want to fully render the components layout, and let’s proceed to test our app.
Go ahead and test the live chat app by declaring and calling the ChatSetup component on your App.js (or App.tsx) JSX code. Here is an example of how you could do that:
Start your app by running yarn start on your console. You should now be presented with the following screen, in which you need to inform the sending and receiving nicknames to begin chatting.

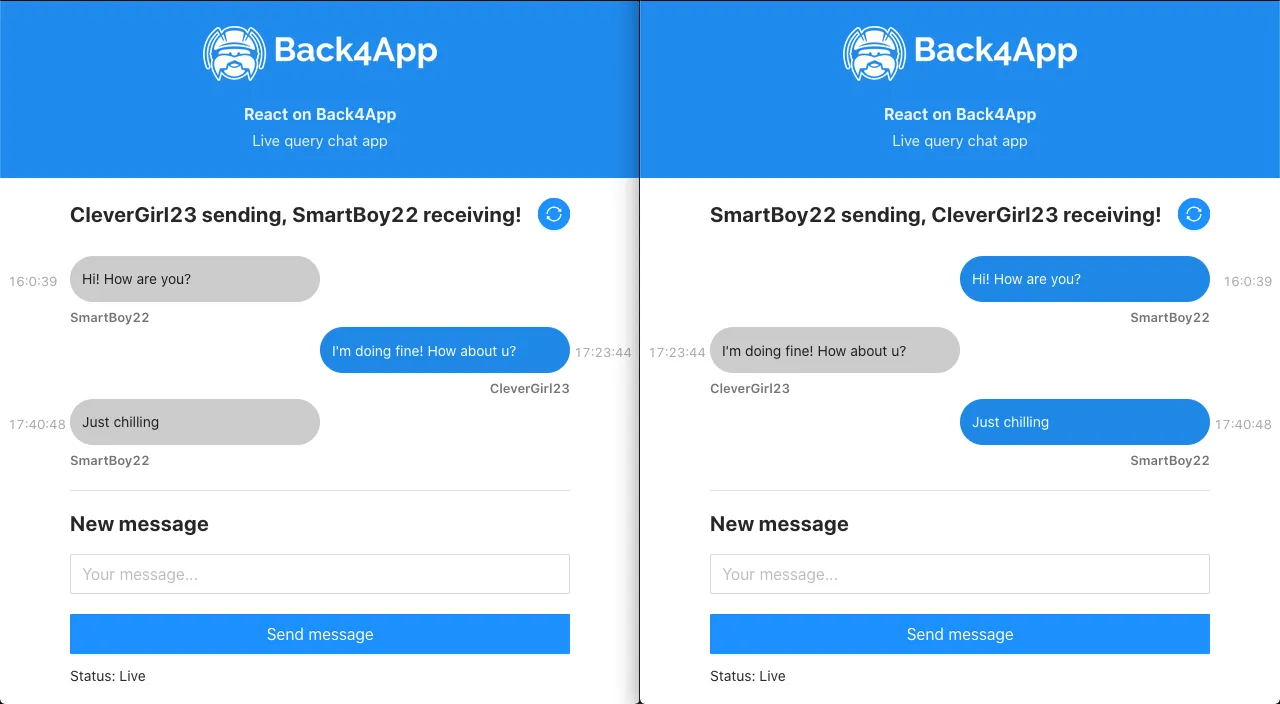
To better see how the app and live query are working, open the same app on two different browser windows and set them side by side. Immediately after sending a message in a window, you should see it pop on the other if the nicknames match and the connection is live.

At the end of this guide, you learned how to use the Parse React hook for live queries in Parse in a realistic application example.