Start from template
In this section you learn how to get started with a Visual Studio template and get ready to use Back4App in 5 easy steps.
To complete this quickstart, you need:
Download the template at Back4App’s GitHub repository.
You can do that using the following command line:
- Open Visual Studio.
- Click on Open Project / Solution
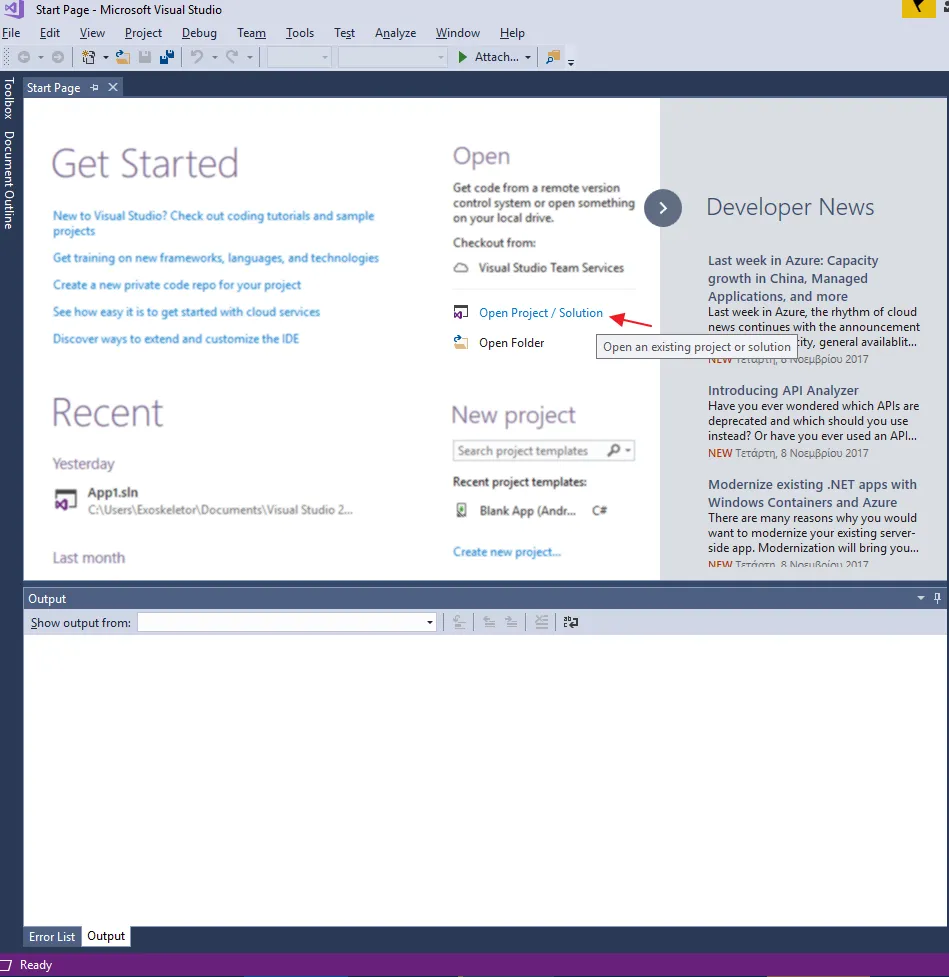
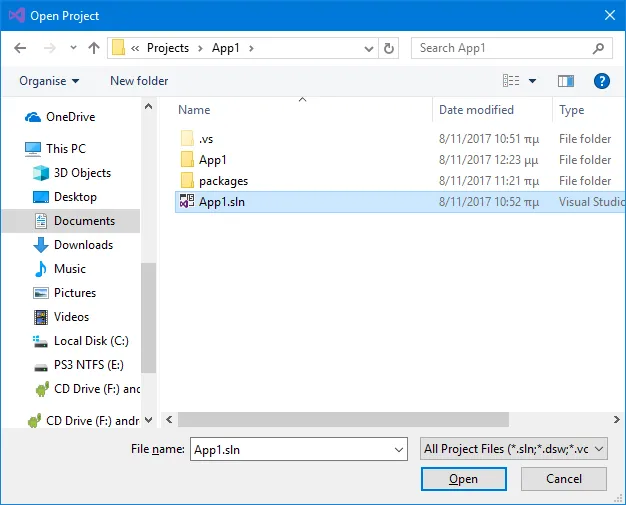
3. Navigate to the project folder and click on Open.
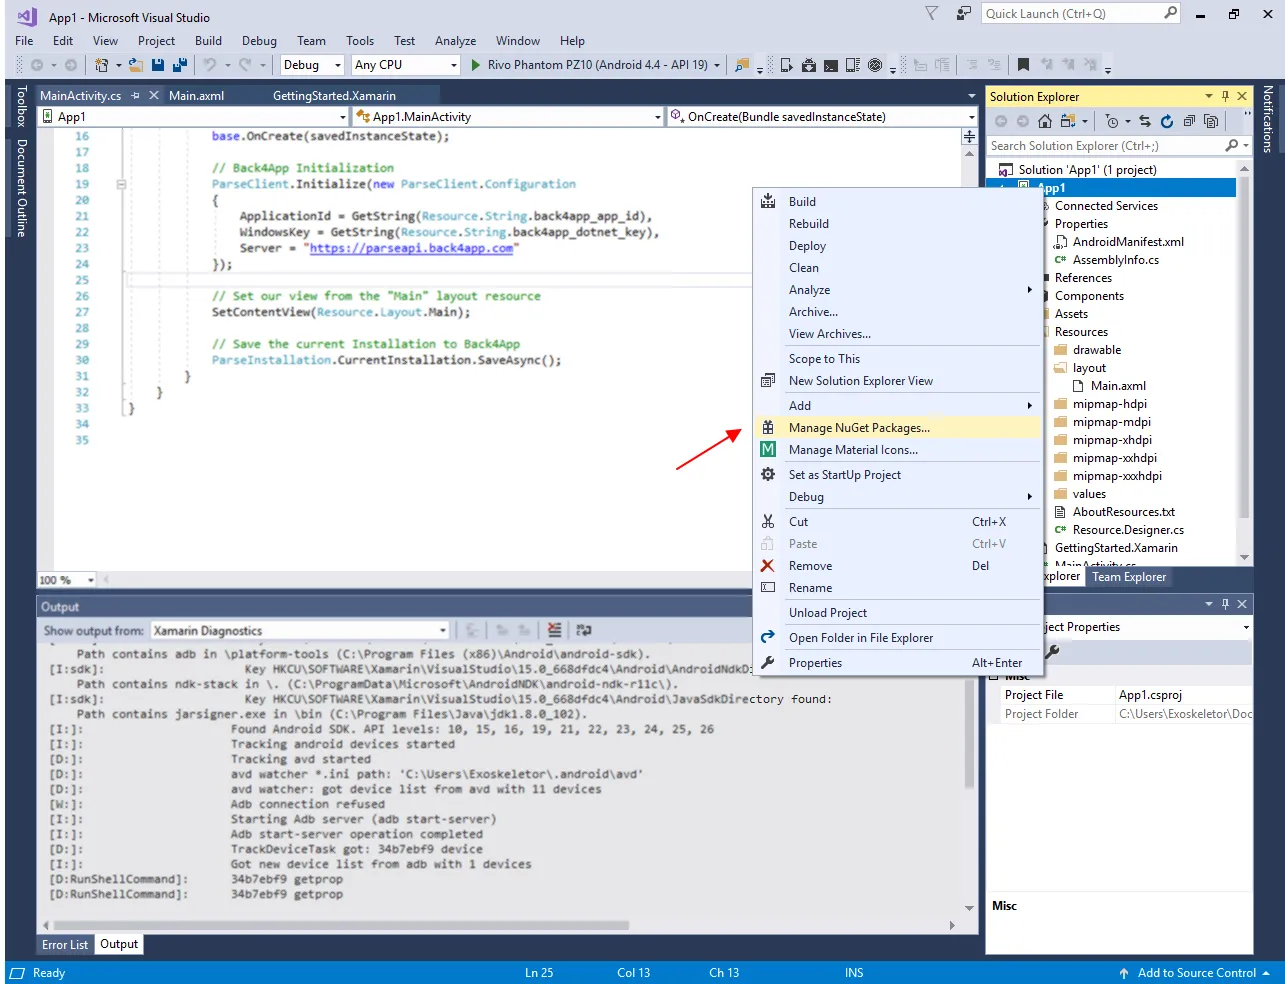
We need some additional libraries for this example. We will get them through Nuget Packages.
- Right click on App’s name in the Solution Explorer and click on Manage NuGet Packages....
2. Press on Browse, search and install the packages parse by Parse and Xamarin.Android.Support.v7.AppCompat by Xamarin Inc..
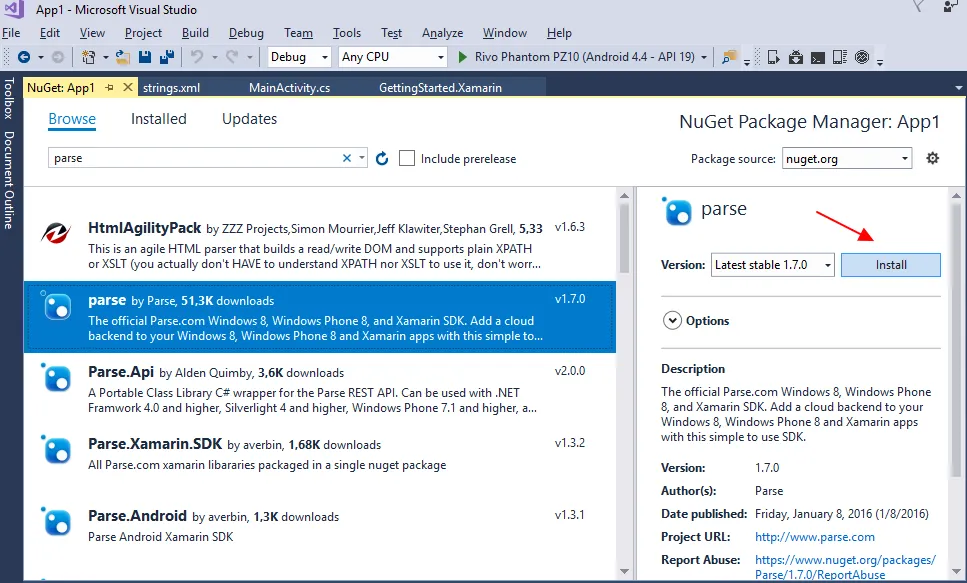
3. Wait for the installations to complete.
Update your strings values to set up the app’s credentials. Parse Xamarin SDK uses these settings to connect to the Back4App servers.
- Open your strings file: .../App1/Resources/values/strings.xml
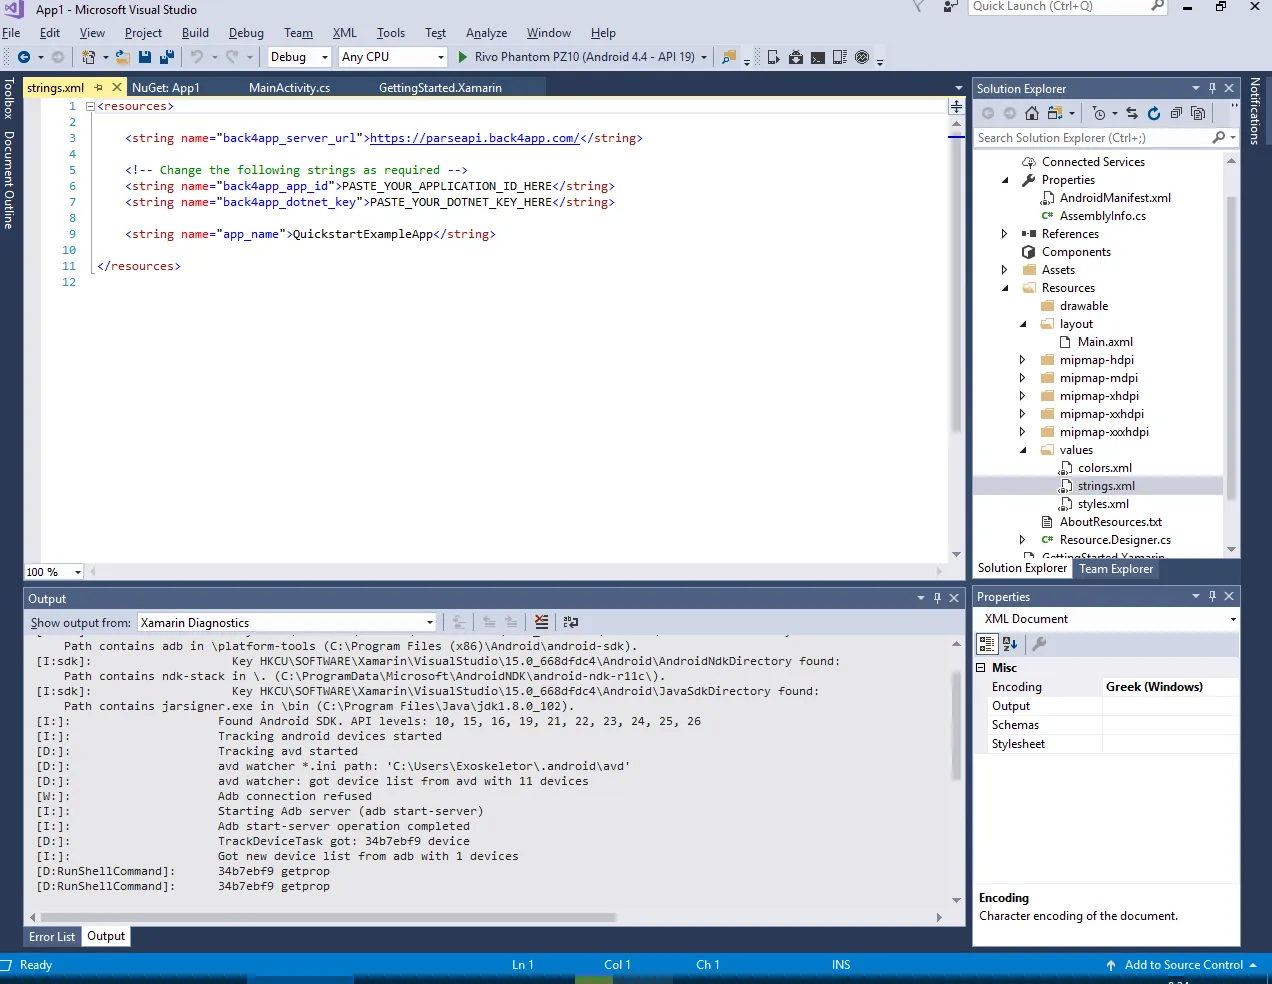
2. Go to your App Dashboard at Back4App website.
3. Navigate to app’s settings: Click on Features > Core Settings and press Settings.
4. Return to your strings.xml file and paste your applicationId and dotNetKey.
See more at our Back4App’s Creating New App guide.
- Build your app in a device or virtual device ( Shift + F10).
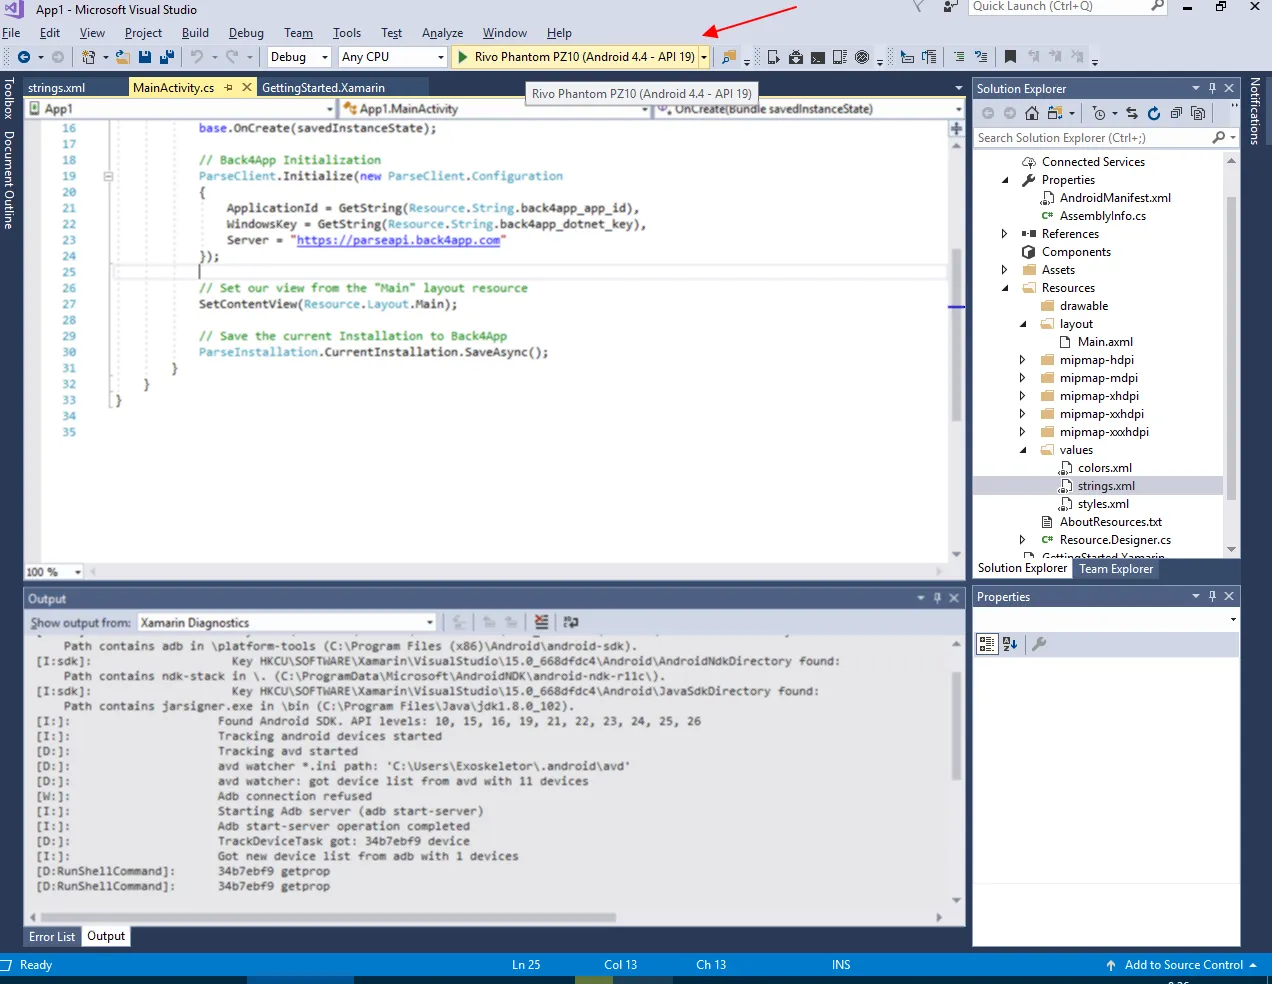
2. Wait until the Hello World! screen appears as below.
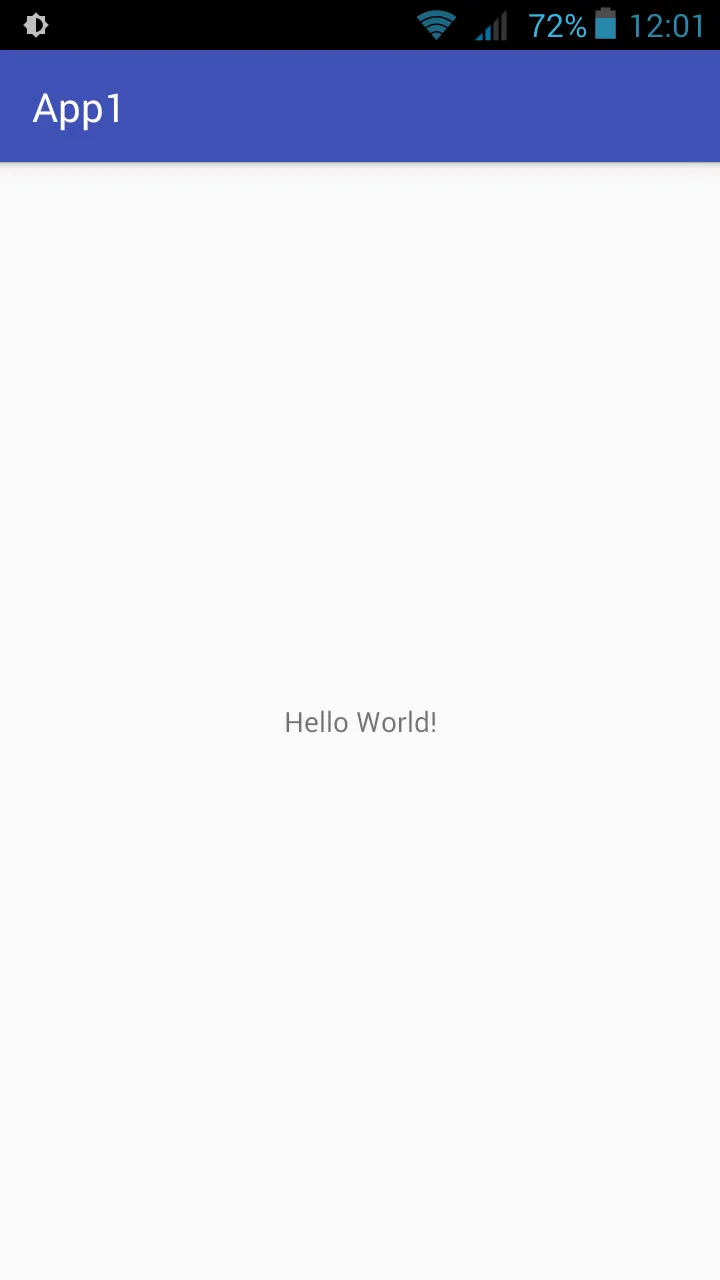
3. Login at Back4App.
4. Find your app and click on Dashboard.
5. Click on Core.
6. Go to Browser.
If everything works properly, you should find a class named Installation as follows:
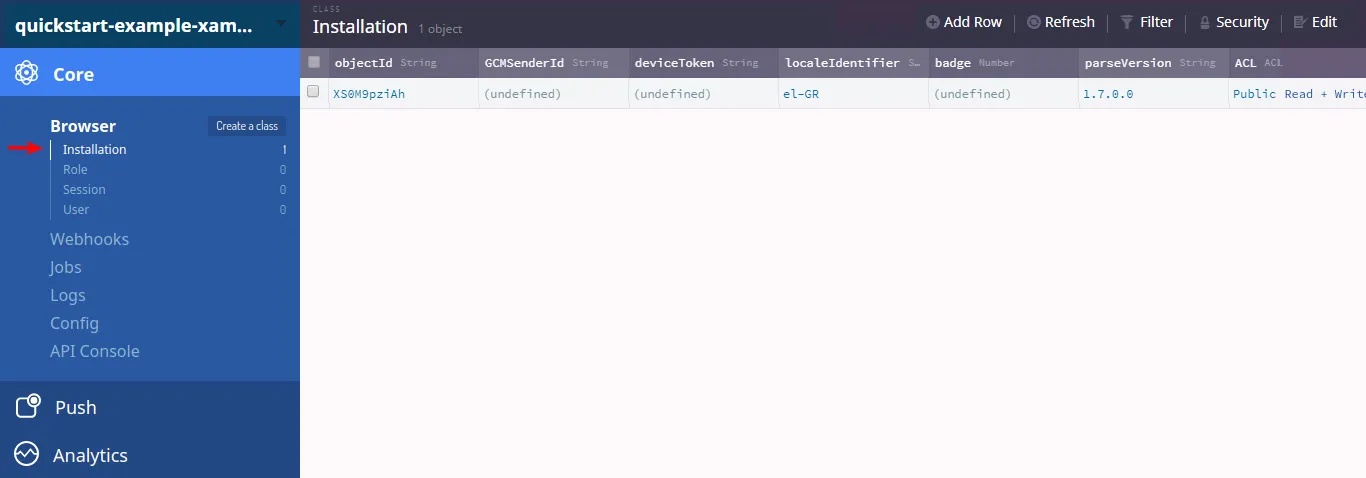
At this point, you have learned how to get started with Android apps. You are now ready to explore Parse Server core features and Back4App add-ons.
Learn more by walking around Parse open source documentation for .NET SDK.