How to Build a Backend for PHP?
In this tutorial, you’ll learn how to build a backend for PHP using Back4App to power a dynamic web application on the server side.
We will focus on integrating key Back4App services, such as database management, Cloud Code Functions, REST and GraphQL APIs, user authentication, and real-time queries.
By following these steps, you’ll create a secure, scalable, and robust backend that you can use in your PHP projects.
We’ll also look at why Back4App accelerates backend development compared to building everything from scratch, so you can save time and effort.
You’ll discover how to implement advanced security, schedule tasks with Cloud Jobs, and connect external integrations with webhooks, all while relying on Back4App’s infrastructure.
By the end, you’ll be ready to grow this basic server side backend into a complete production setup, or integrate third-party APIs and custom logic for real-world use.
To complete this tutorial, you will need:
- A Back4app account and a new Back4App project Getting Started with Back4app. If you do not have an account, create one for free and follow the guide to prepare your new project.
- Basic PHP development environment You can set this up locally with PHP installed or use a hosting environment that supports PHP. Official PHP Documentation.
- cURL support or a way to send HTTP requests Most PHP installations include cURL by default. Installing cURL (Official Docs).
- Familiarity with web application fundamentals Understanding HTTP, server side scripting, and basic database concepts will be helpful.
Ensure you have these prerequisites in place before diving into the steps below. Having your Back4App project set up and a PHP environment ready will make it easier to follow along.
The first step in building your server side backend on Back4App is creating a new project. If you have not already done so, follow these steps:
- Log in to your Back4App account.
- Click the “New App” button in your Back4App dashboard.
- Give your app a name (for example, “PHP-Backend-Tutorial”).
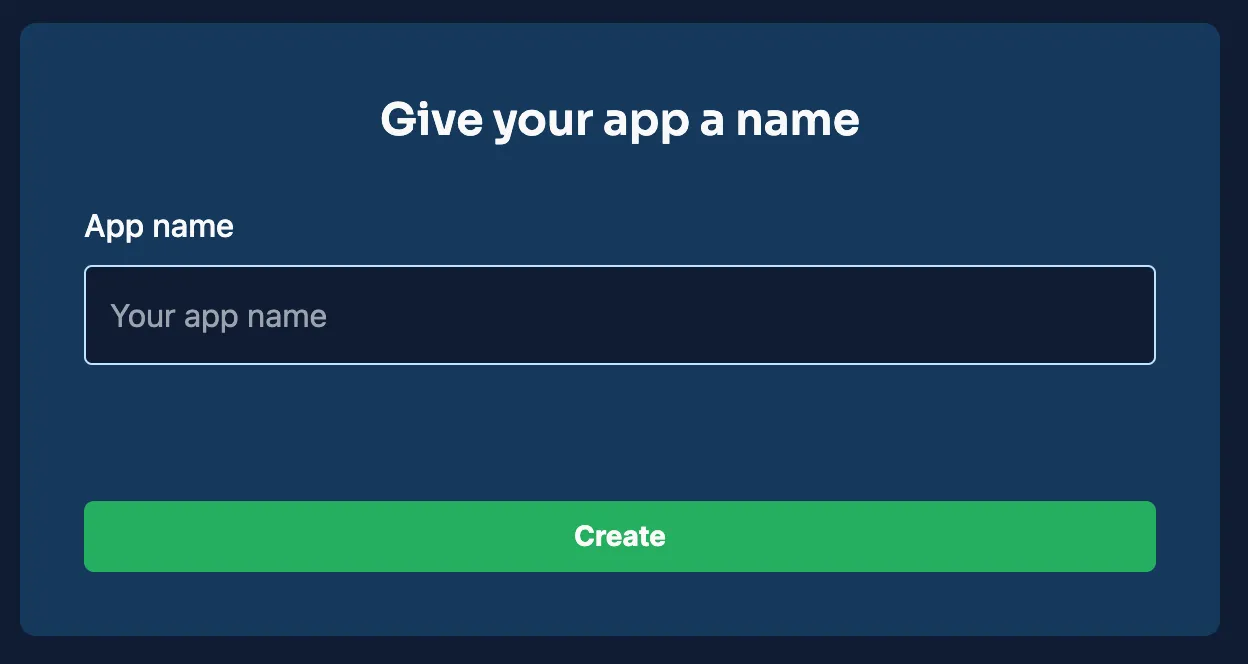
Once created, your new Back4App project appears in the dashboard. This project will be the foundation for the upcoming configuration steps.
Since we are working with PHP without a Parse-specific SDK, we will rely on the Back4App REST and GraphQL APIs for communication. You will need the following credentials from your Back4App dashboard:
- Application ID
- REST API Key
- Parse Server URL (usually https://parseapi.back4app.com)
You can find these by navigating to your app’s App Settings or Security & Keys section.
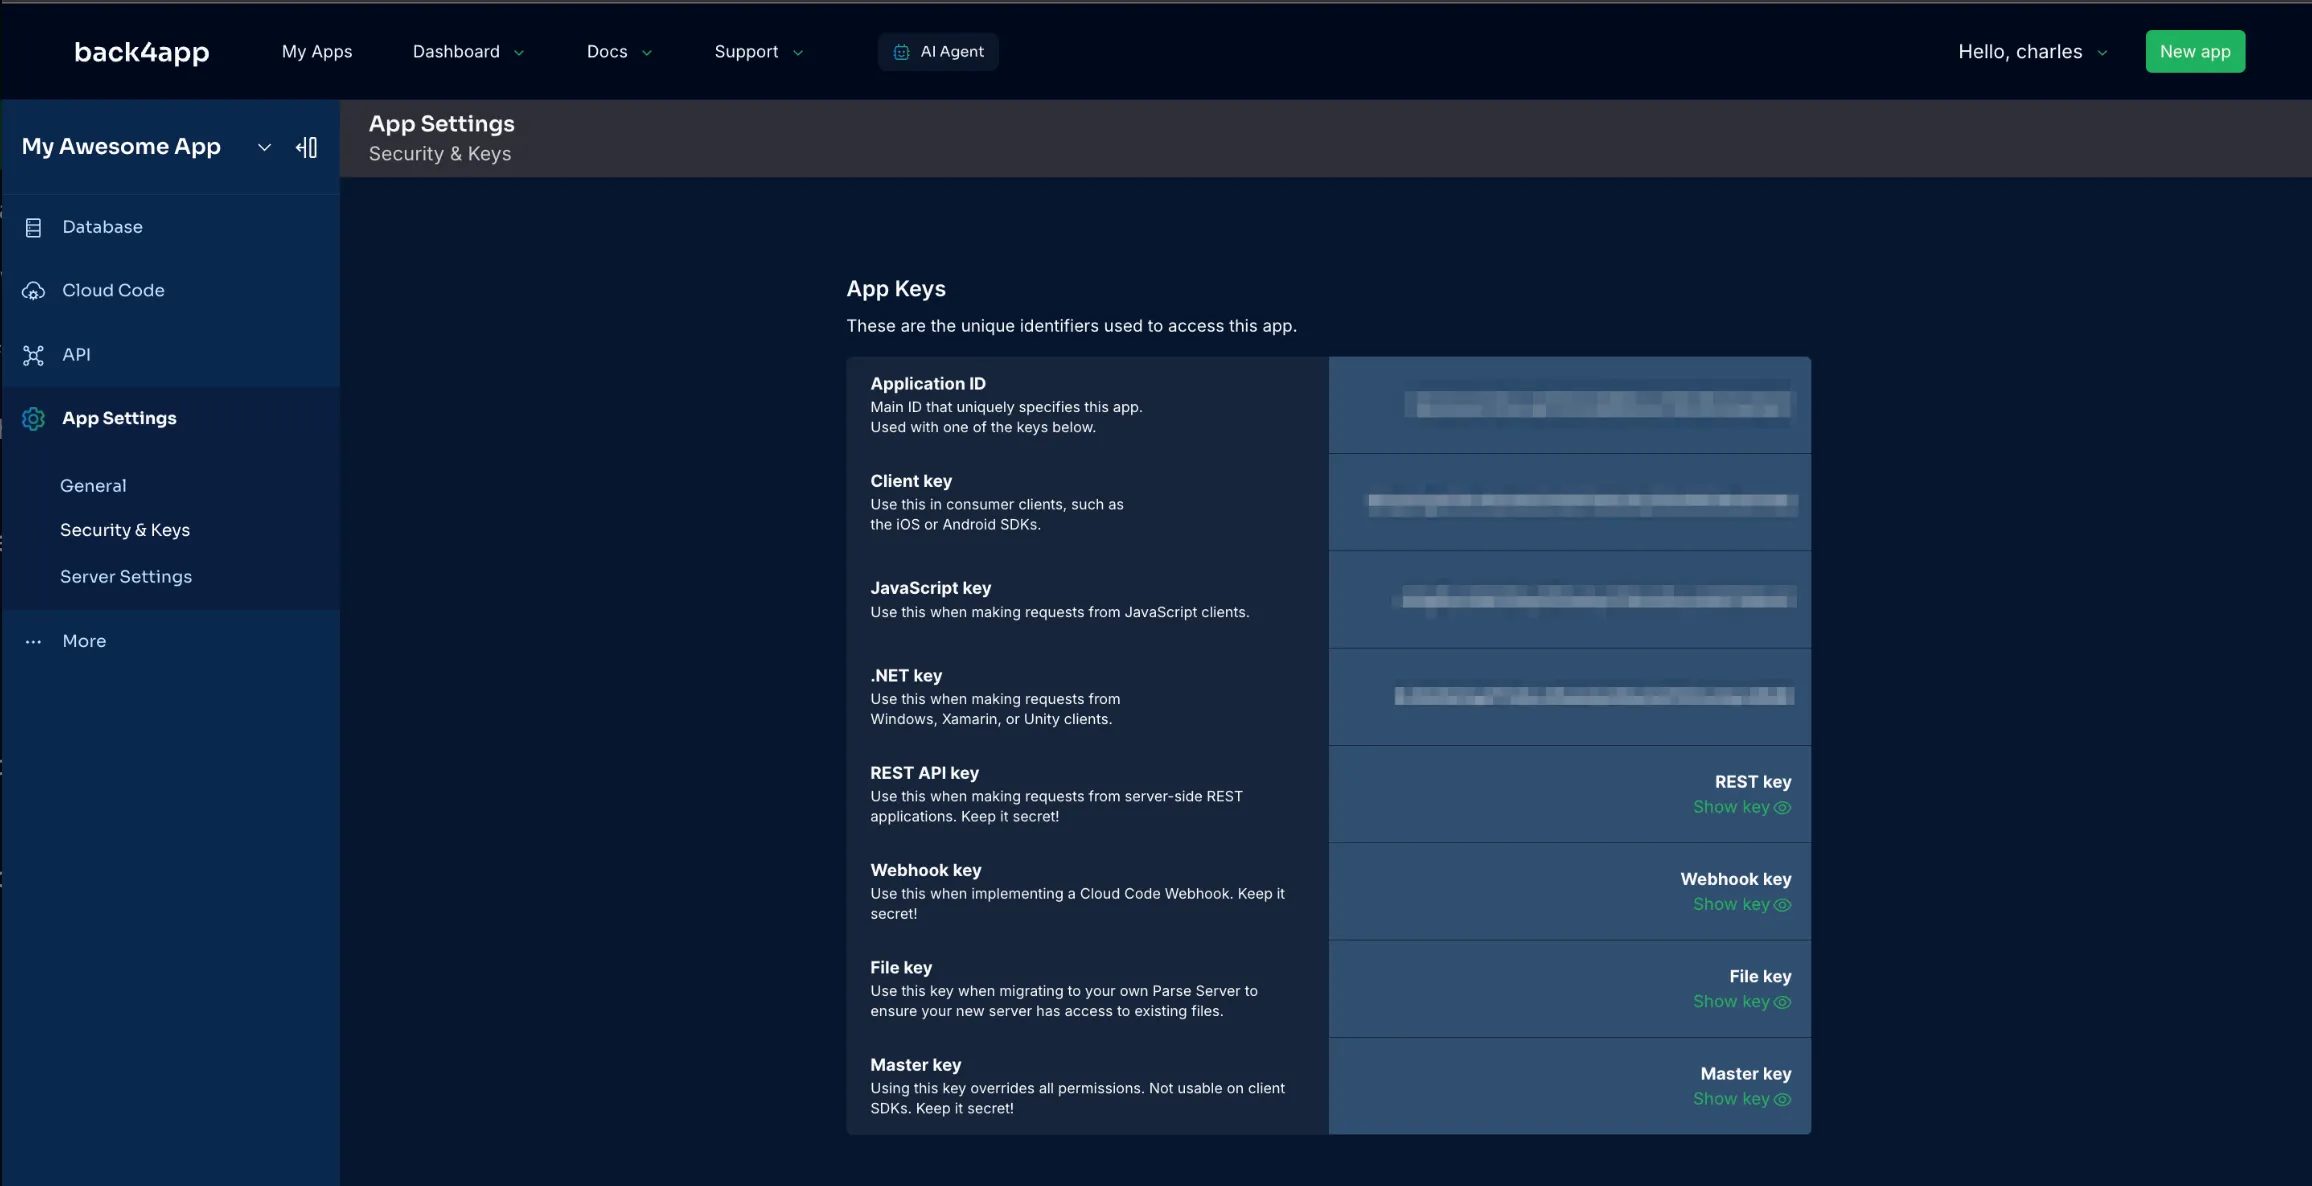
In PHP, you can perform HTTP requests using cURL or other libraries. Below is a short example of sending a POST request to Back4App:
This snippet demonstrates how to connect your PHP application to your Back4App backend. Modify the YOUR_APPLICATION_ID, YOUR_REST_API_KEY, and other parameters to match your own keys. By doing so, your server side code can read and write data in your new project.
With your Back4App project ready, it’s time to structure your database. A data model defines how your web application’s data is organized. For example, you might store tasks or blog posts in classes.
- Go to the “Database” section in your Back4App dashboard.
- Create a new class (e.g., “Todo”) with fields such as title (String) and isCompleted (Boolean).
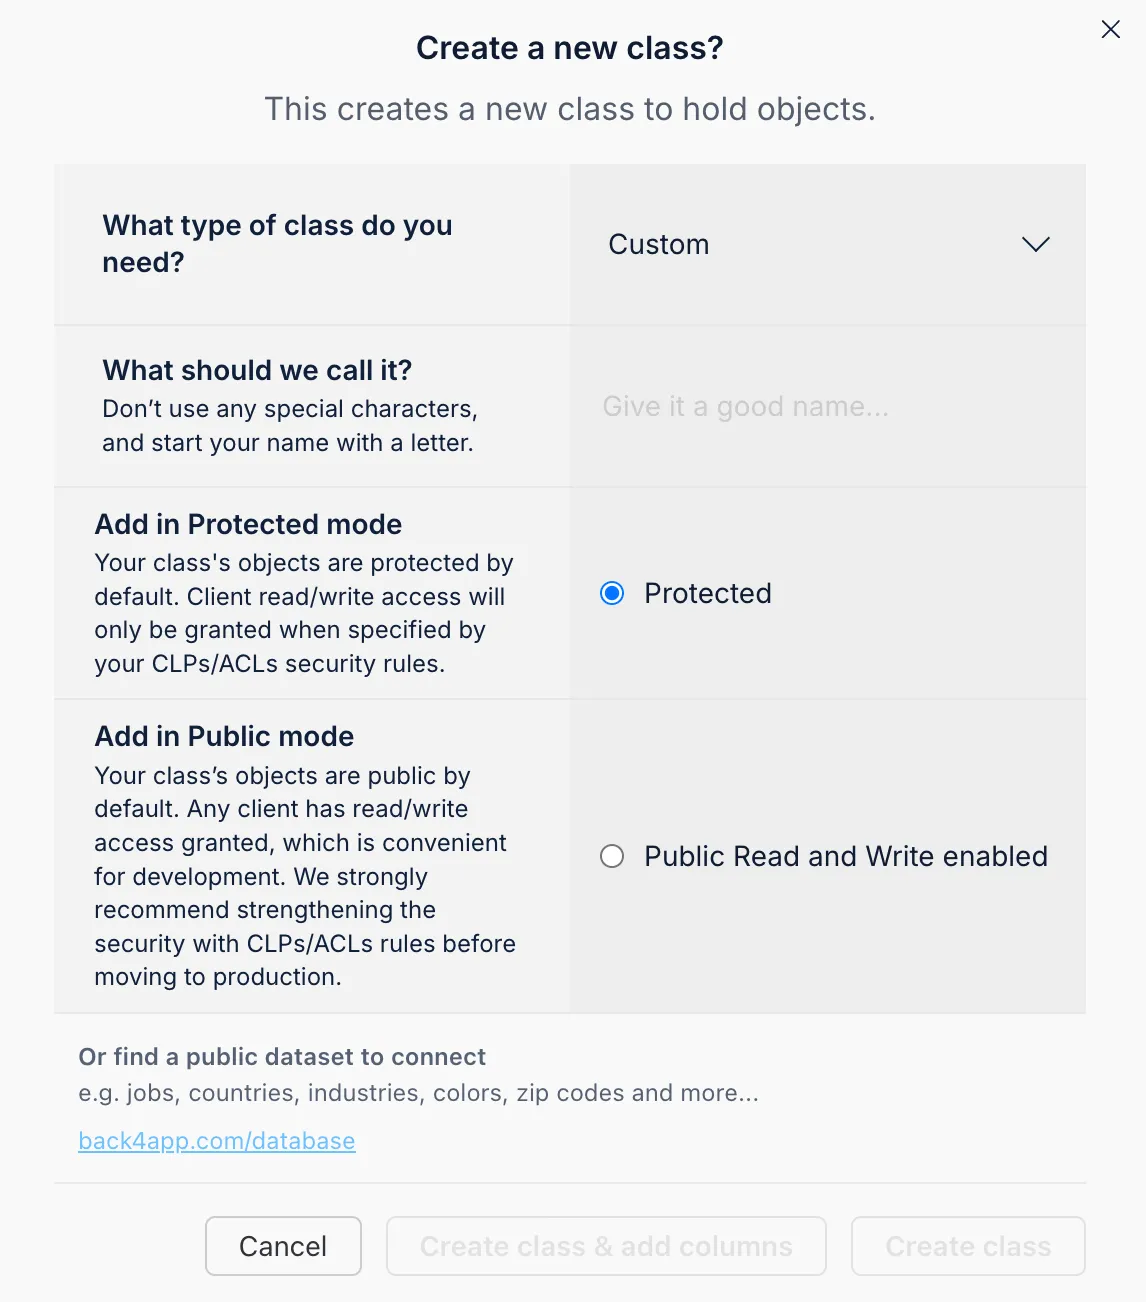
Back4App allows you to create columns for various data types, including String, Number, Boolean, Pointer, Relation, File, and others. You can also let the schema be created automatically when you first save an object from your PHP script.
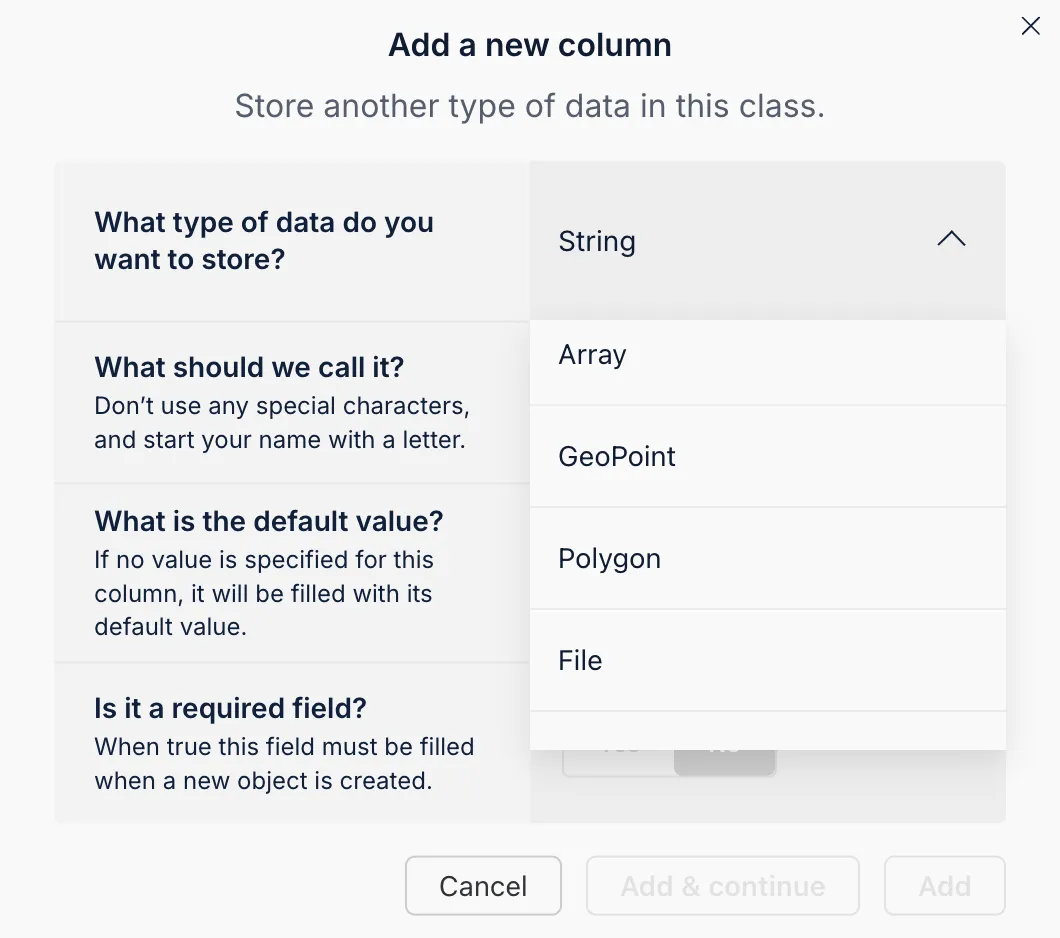
Back4App’s AI Agent can automate data model creation:
- Open the AI Agent from the Dashboard.
- Provide a description like “Please create a new ToDo App at Back4App with a complete class schema.”
- Let the AI Agent create the database schema for you.
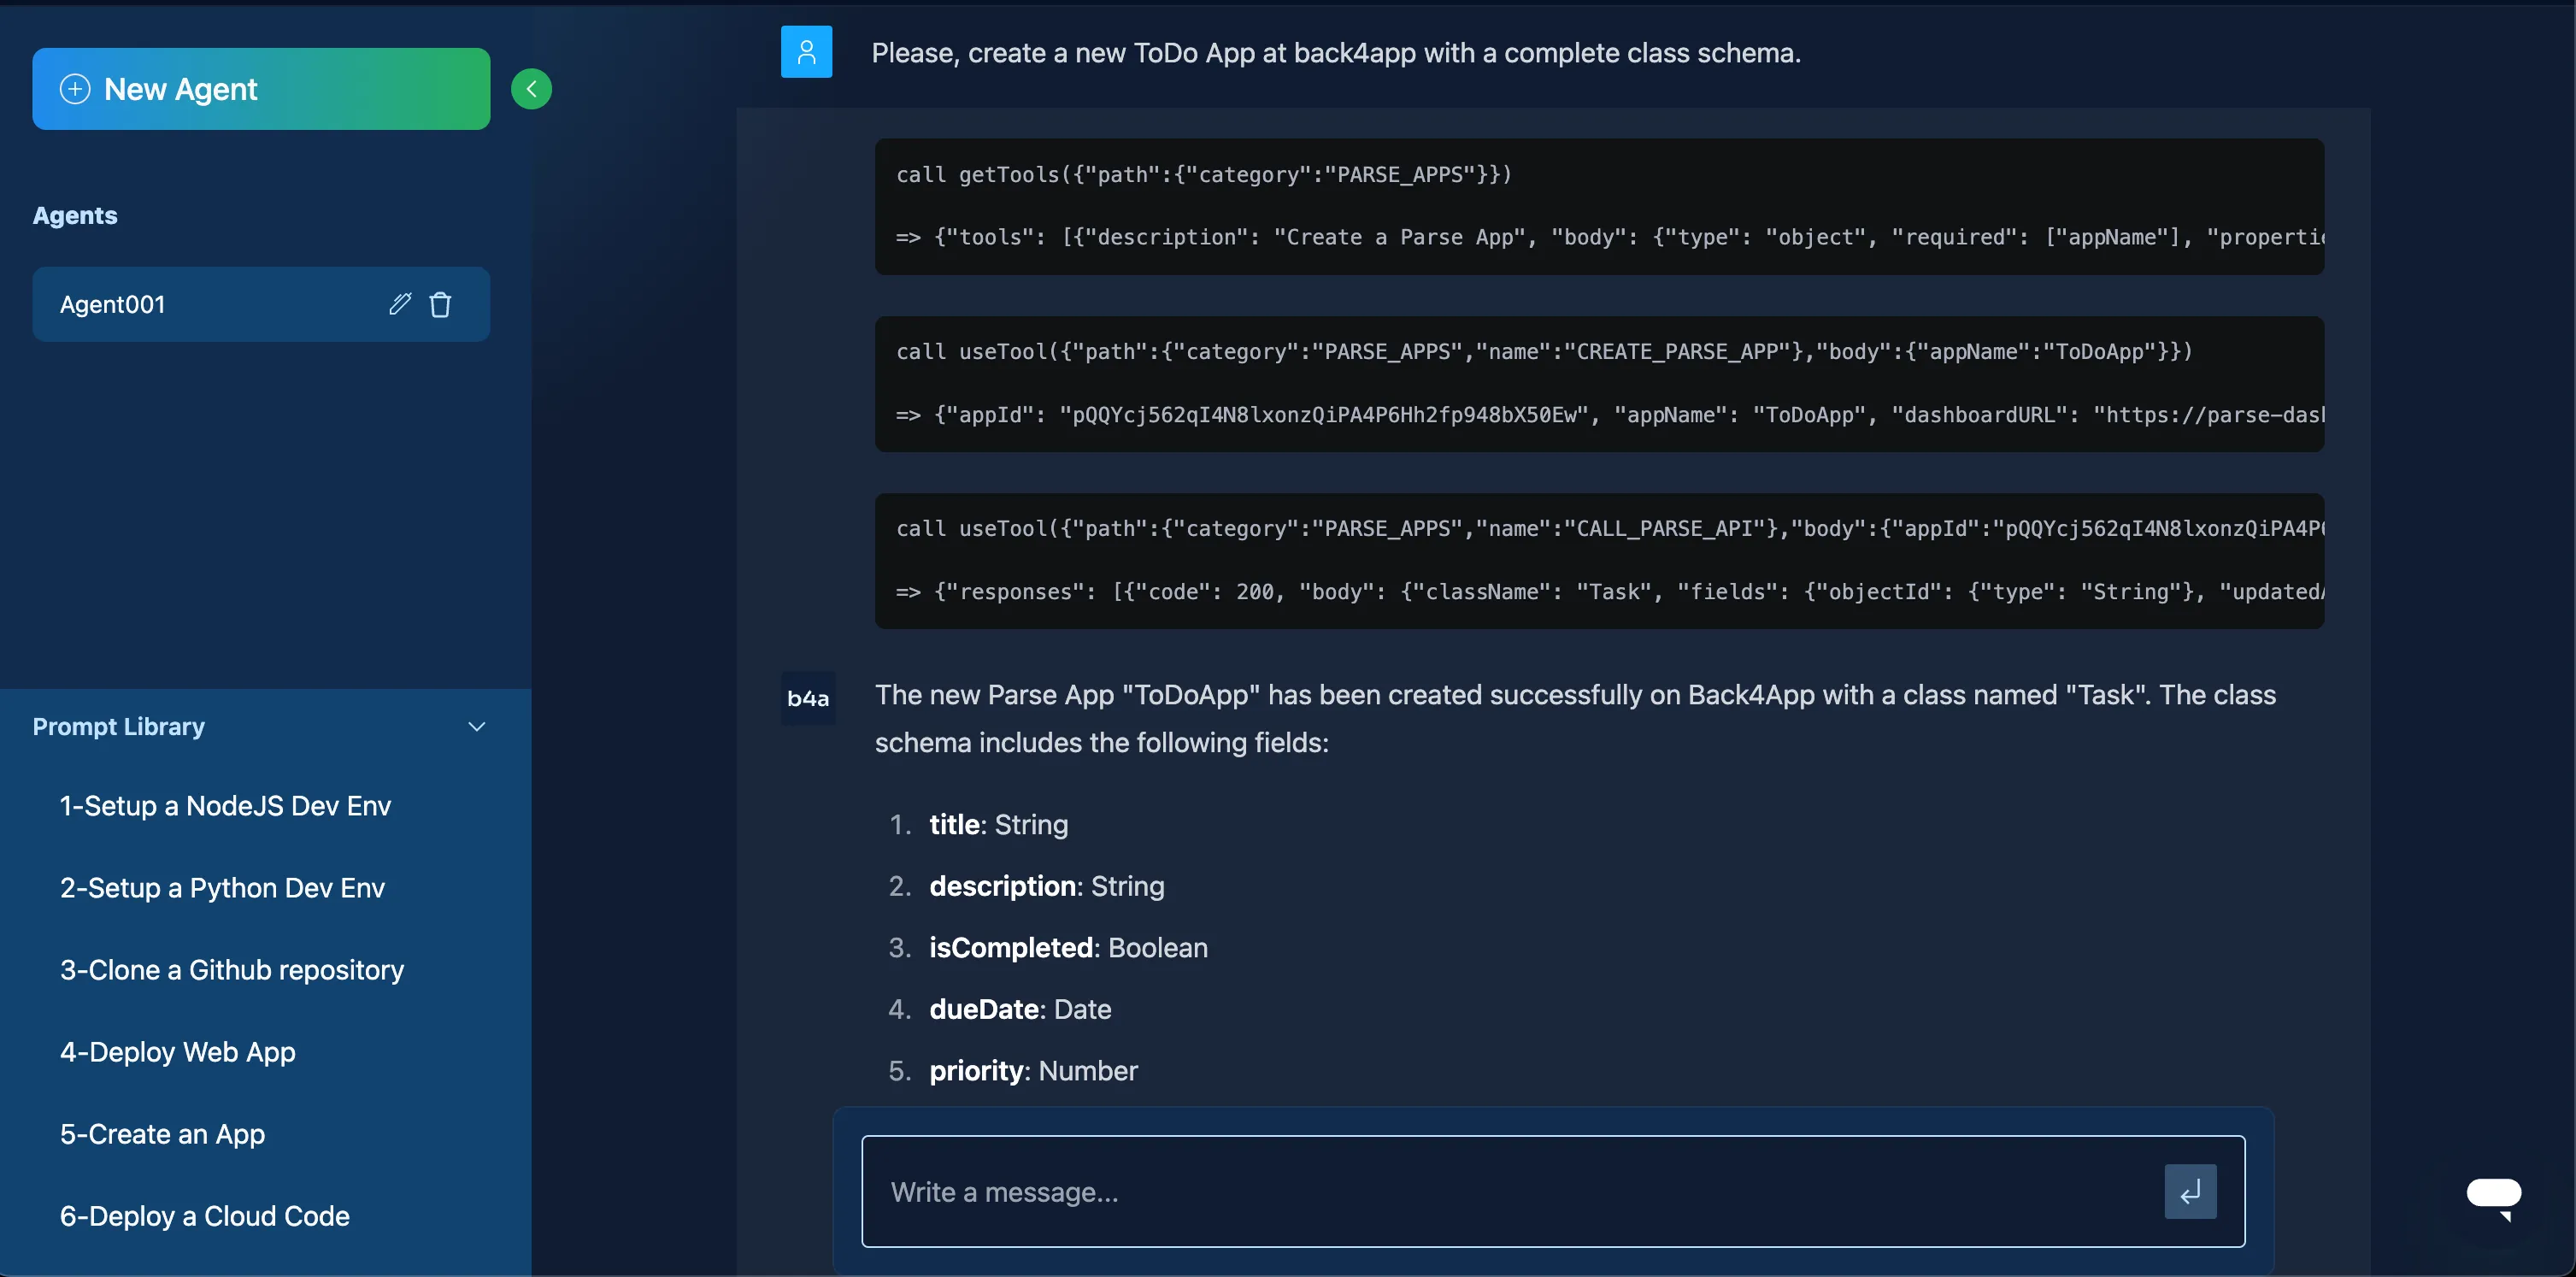
This feature can save you time and keep your server side app consistent.
To save a new object in your Todo class using REST, you can send a POST request:
In PHP, you would do something similar with cURL. For instance:
To query all existing Todo items:
Back4App also supports GraphQL. You can insert or retrieve data by sending GraphQL queries or mutations to:
Insert (Mutation):
Query:
If you need real-time updates in your web application, consider Live Queries. Enable Live Queries in your Back4App dashboard, then use a WebSocket approach from your PHP environment (or a separate client) to subscribe to changes. While more common in JavaScript clients, you can set up separate sockets in PHP if needed. For details, see the Back4App Live Queries Docs.
ACLs (Access Control Lists) and CLPs (Class-Level Permissions) protect your data by controlling who can read or write objects. This secures your backend from unauthorized access.
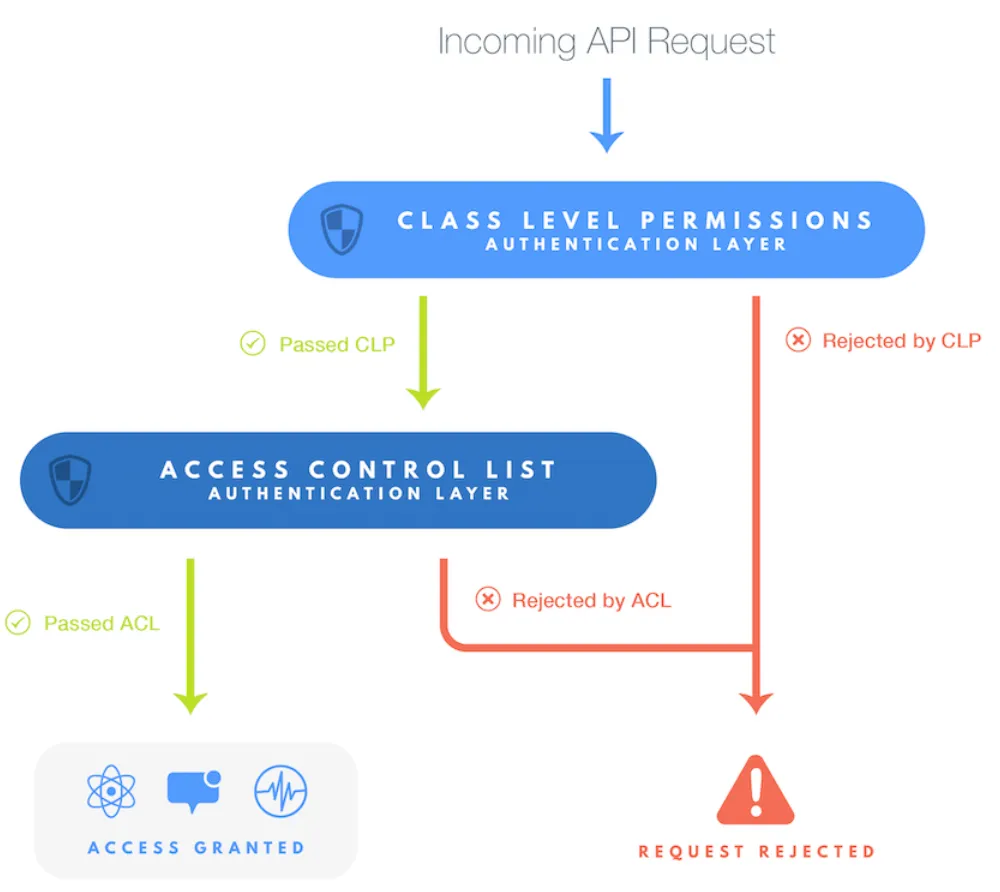
- Set Class-Level Permissions (CLPs) in the Database dashboard. You can restrict public read/write or require authentication.
- Configure ACLs on each object if you need fine-grained control. An ACL can specify read/write access for a specific user or role.
For more details, see App Security Guidelines.
Cloud Code allows you to run server side JavaScript for tasks like business logic, triggers, or validations, without setting up your own server. This way, you can keep certain code hidden, perform data transformations, and more.
A simple Cloud Code function that calculates text length:
This function can be invoked from your PHP script using REST:
You can deploy Cloud Code via the Back4App CLI or the Back4App Dashboard.
If you need extra libraries, install them with npm and import them in your Cloud Code. This is helpful for advanced server side integrations.
By default, your Back4App project has user authentication via the Parse.User class. You can control whether users must verify their email or only log in via username/password.
Create a user:
Log in an existing user:
Social logins (Google, Apple, Facebook) are possible by configuring OAuth flows. For instructions, refer to the Social Login Docs.
You can upload files through REST:
The JSON response contains a file URL. You can store this URL in your classes to reference the uploaded file.
You can allow file uploads only from authenticated users or from certain roles. Configure file upload rules in the server settings.
Email verification ensures only valid email addresses are used. Password resets allow users to recover their accounts securely.
- In Back4App Dashboard, go to App Settings > Email.
- Enable email verification and set up your desired templates.
- Enable password reset so users can recover accounts.
Once enabled, user sign-ups trigger a verification email. You can also prompt password resets using:
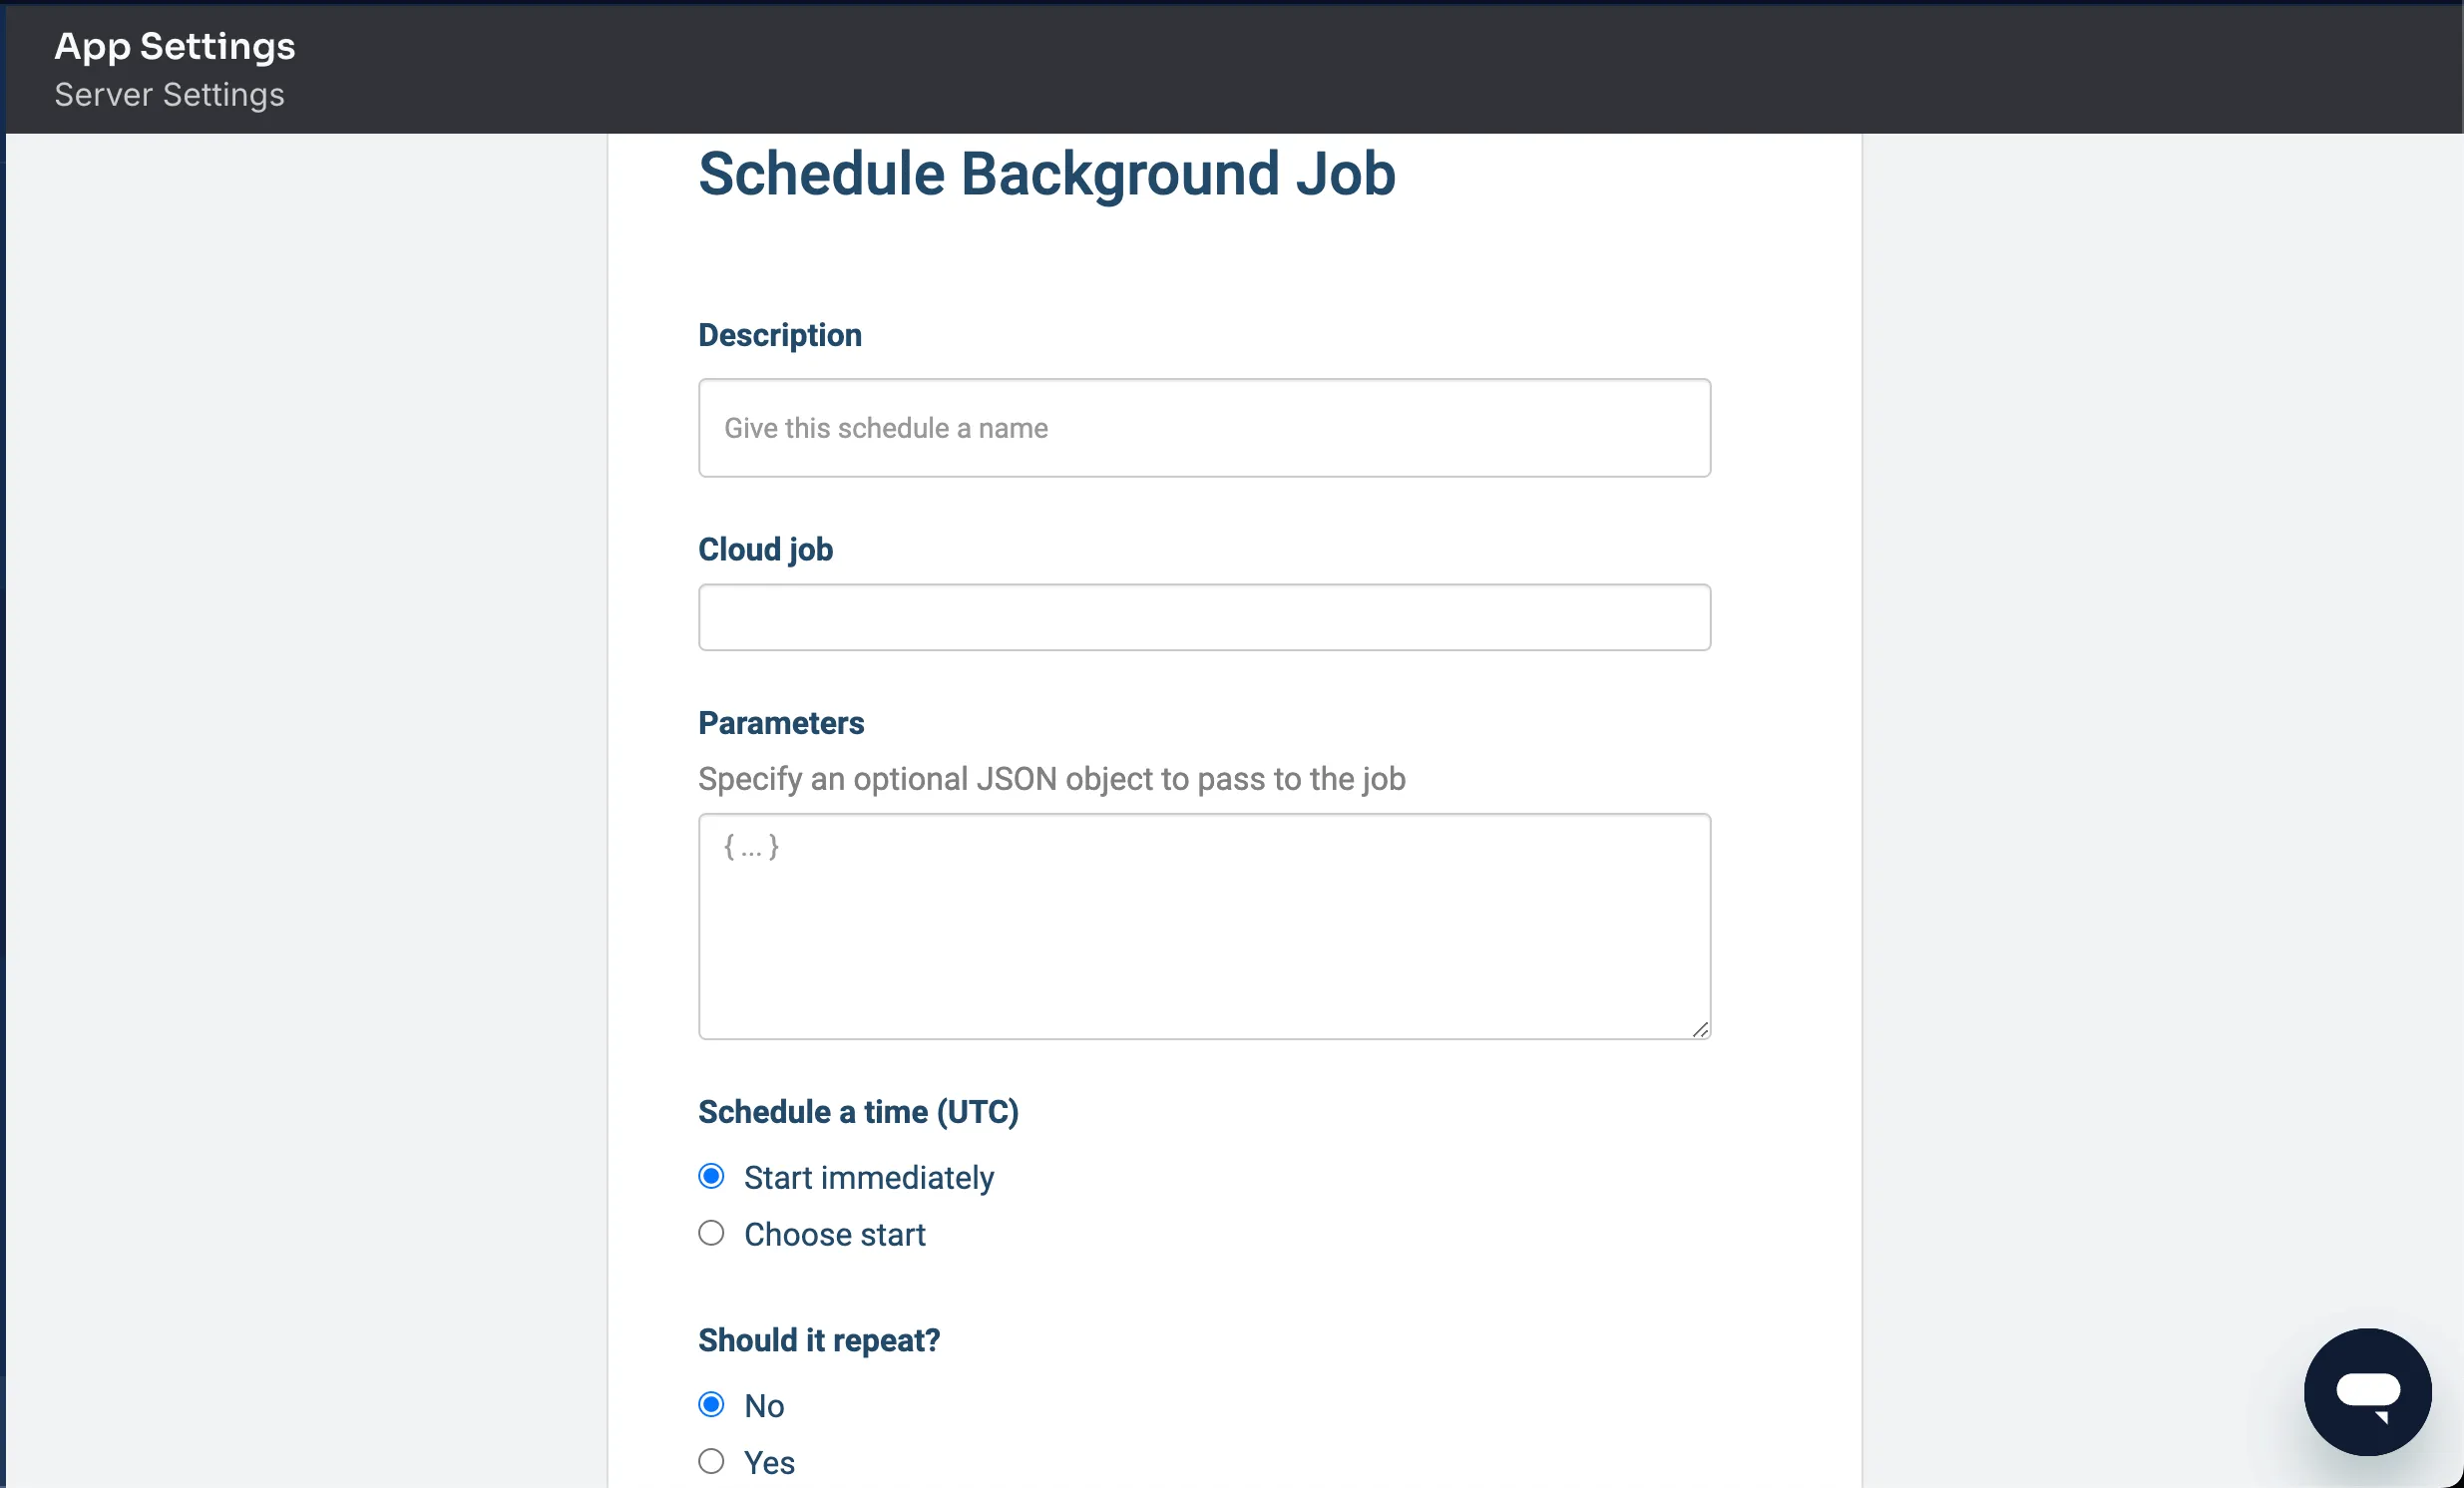
Cloud Jobs let you automate tasks like removing old data or sending regular emails. You can write them in your main.js and schedule them on the Back4App dashboard.
- Deploy this code to Back4App.
- Schedule the job in the Dashboard under App Settings > Server Settings > Background Jobs.
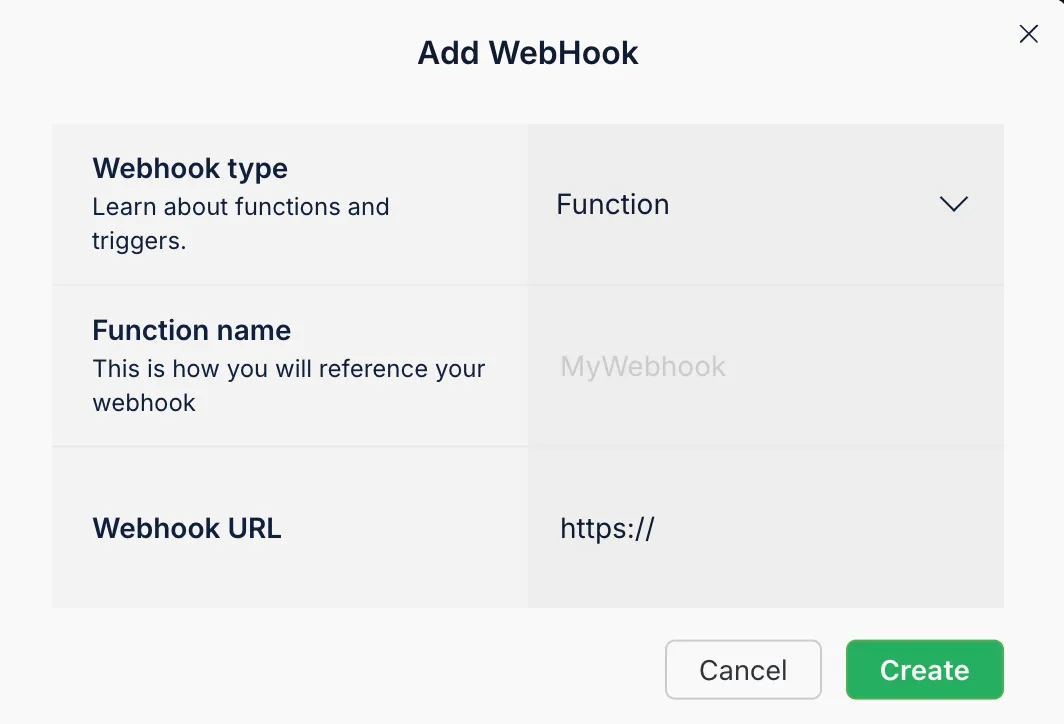
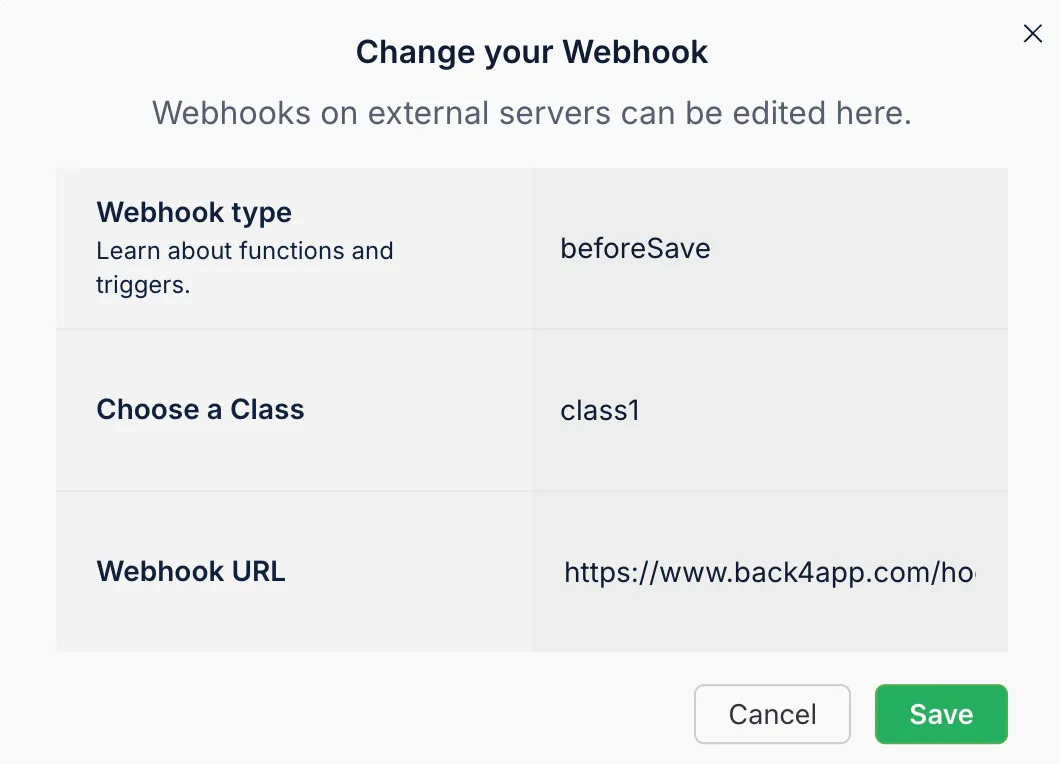
Webhooks let you send HTTP requests to other services when events occur, such as a new record being created in your Back4App classes. This is helpful for external integrations, including payment platforms, email marketing tools, or Slack notifications.
- Open the Webhooks panel in your Back4App dashboard > More > WebHooks.
- Add a new Webhook with the endpoint URL where you want to send event data.
- Choose the triggers (e.g., object creation, update, or deletion).
You can also define webhooks in Cloud Code triggers, making HTTP requests with Node.js modules like axios.
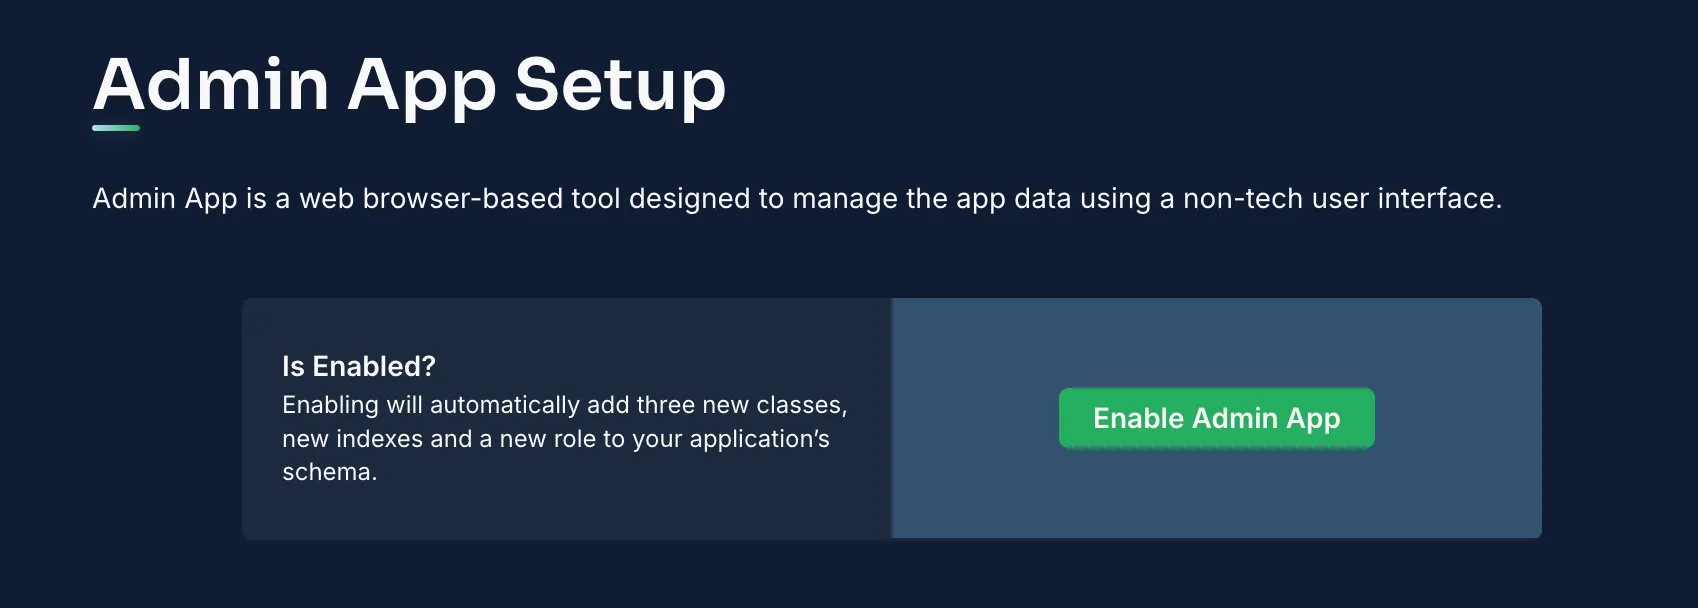
The Back4App Admin App is a model-centric interface that allows non-technical users or administrators to manage data without writing code. It offers a more intuitive data handling experience than the standard Parse Dashboard.
- Enable Admin App by going to App Dashboard > More > Admin App.
- Click “Enable Admin App” and configure your admin credentials.
- Choose a subdomain to access the Admin App.
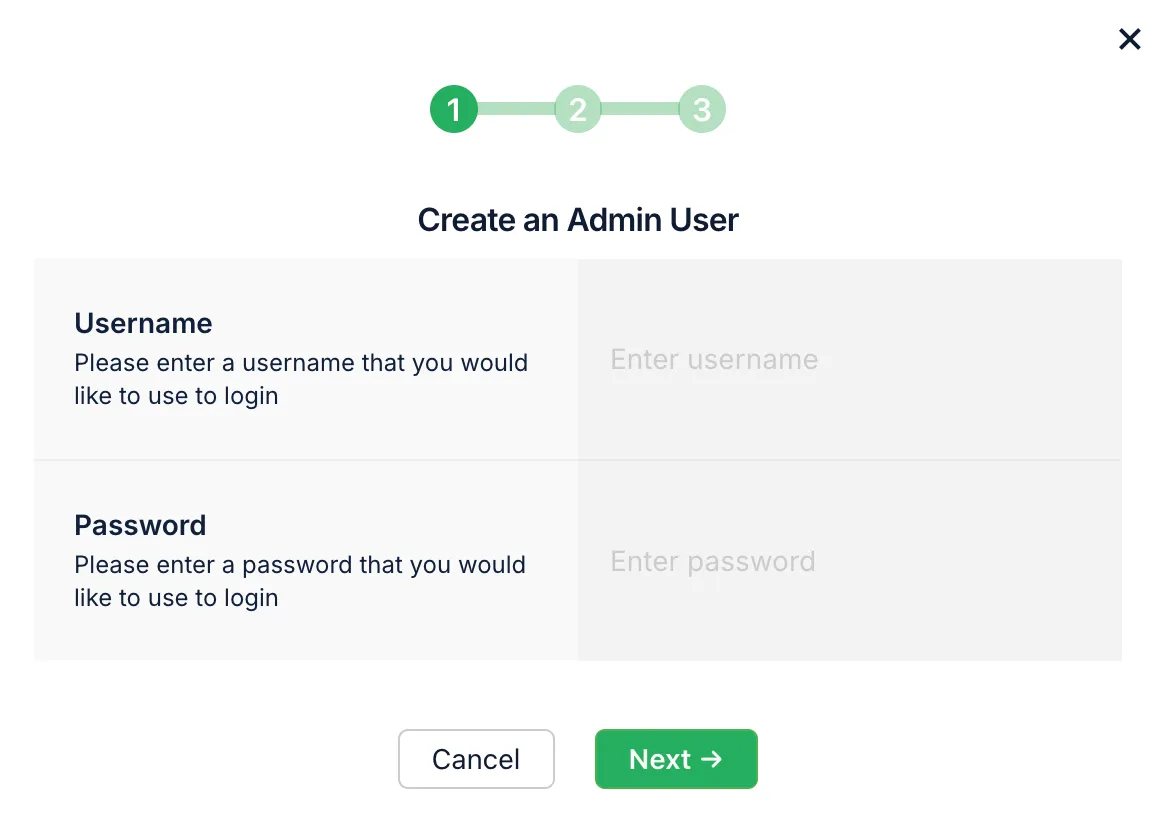
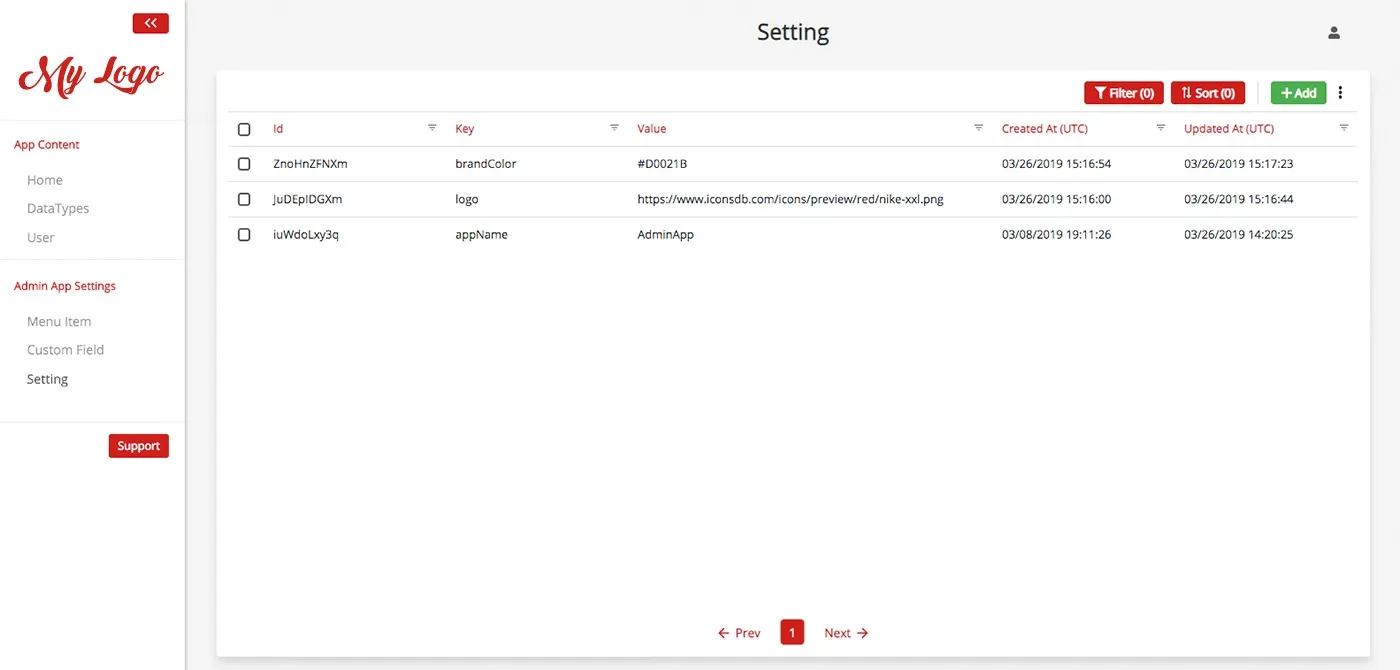
Log in with your newly created admin credentials to start managing database records, user accounts, roles, and more.
In this tutorial, you learned how to build a server side backend for your PHP web application using Back4App. You set up a secure database, leveraged real-time features, defined custom logic in Cloud Code, and explored user authentication, file storage, and scheduled jobs. You also saw how webhooks and the Admin Panel can integrate with external services and simplify data management.
With this foundation in place, you have a flexible and scalable backend that you can extend as needed for your next PHP project. Continue exploring advanced techniques, custom roles, or third-party APIs to make your application even more powerful and dynamic.
- Refine your production-ready PHP application by adding caching, load balancing, or advanced security.
- Add role-based access control or unique authentication flows, if your user base requires it.
- Consult official Back4App docs to learn more about performance tuning, logs, and analytics.
- Try additional tutorials and use the techniques learned here to build real-world solutions, from e-commerce to social platforms.
