How to Build a Backend for Symfony?
In this tutorial, you’ll learn how to build a backend for Symfony using Back4App.
We’ll show you how to use Back4App’s robust features—including database management, Cloud Code, REST, and GraphQL APIs—to create a secure, scalable, and efficient backend that works smoothly with your Symfony application.
You’ll also discover how to handle user authentication, file storage, and real-time updates through Live Queries (if applicable for your architecture).
By leveraging Back4App’s quick setup and intuitive platform, you’ll save time and effort compared to manually handling servers and databases.
You’ll gain hands-on experience in advanced security, scheduling tasks with Cloud Jobs, configuring webhooks, and other essential features for reliable backend development.
After completing this tutorial, you can confidently expand or customize your Symfony backend for production, integrate external APIs, and add complex business logic as needed.
- Symfony-specific setup Make sure you have Symfony installed locally. Confirm you have PHP and Composer ready.
- Basic knowledge of Symfony Familiarity with controllers, services, and templating is beneficial. Symfony Official Docs.
- Node.js (optional, for certain build tools) If you plan to use Node-based tooling for front-end tasks, install Node.js.
Ensure your Symfony environment and Back4App project are set before you begin. This will help you follow the steps seamlessly.
- Create a Back4App Project:
- Log in to your Back4App account.
- Click on “New App” in the dashboard.
- Name it (e.g., “Symfony-Backend-Tutorial”).
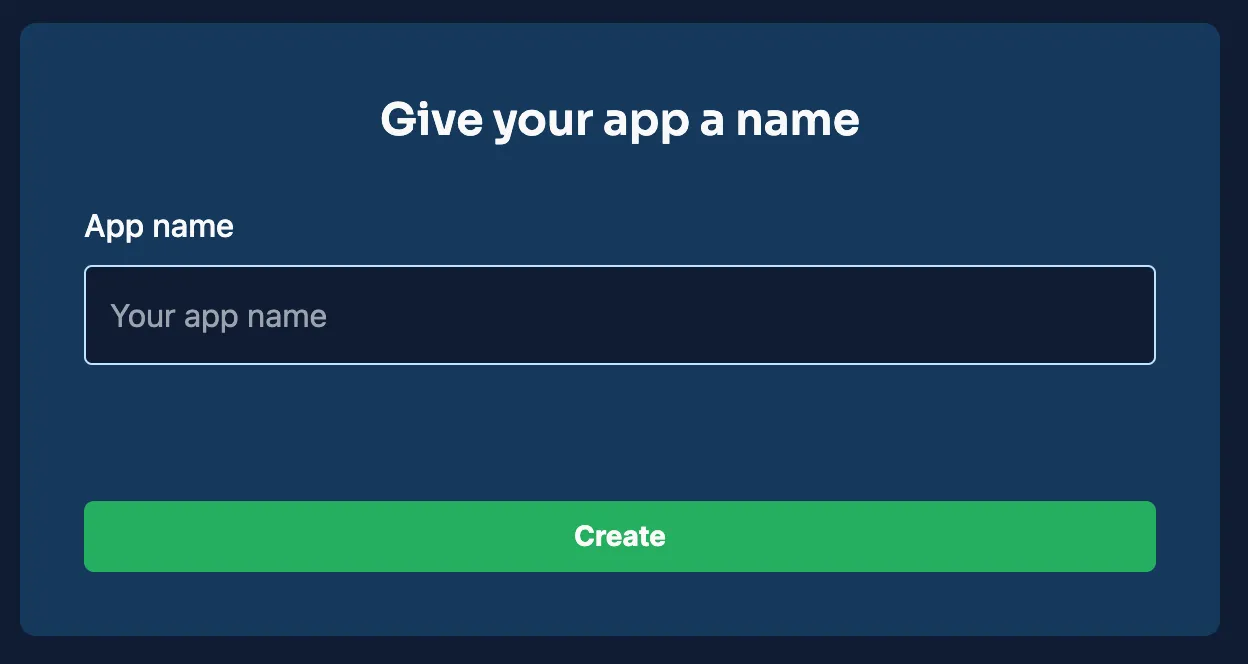
Once created, it appears in your Back4App dashboard. This project is your backend foundation.
- Connect with REST or GraphQL:
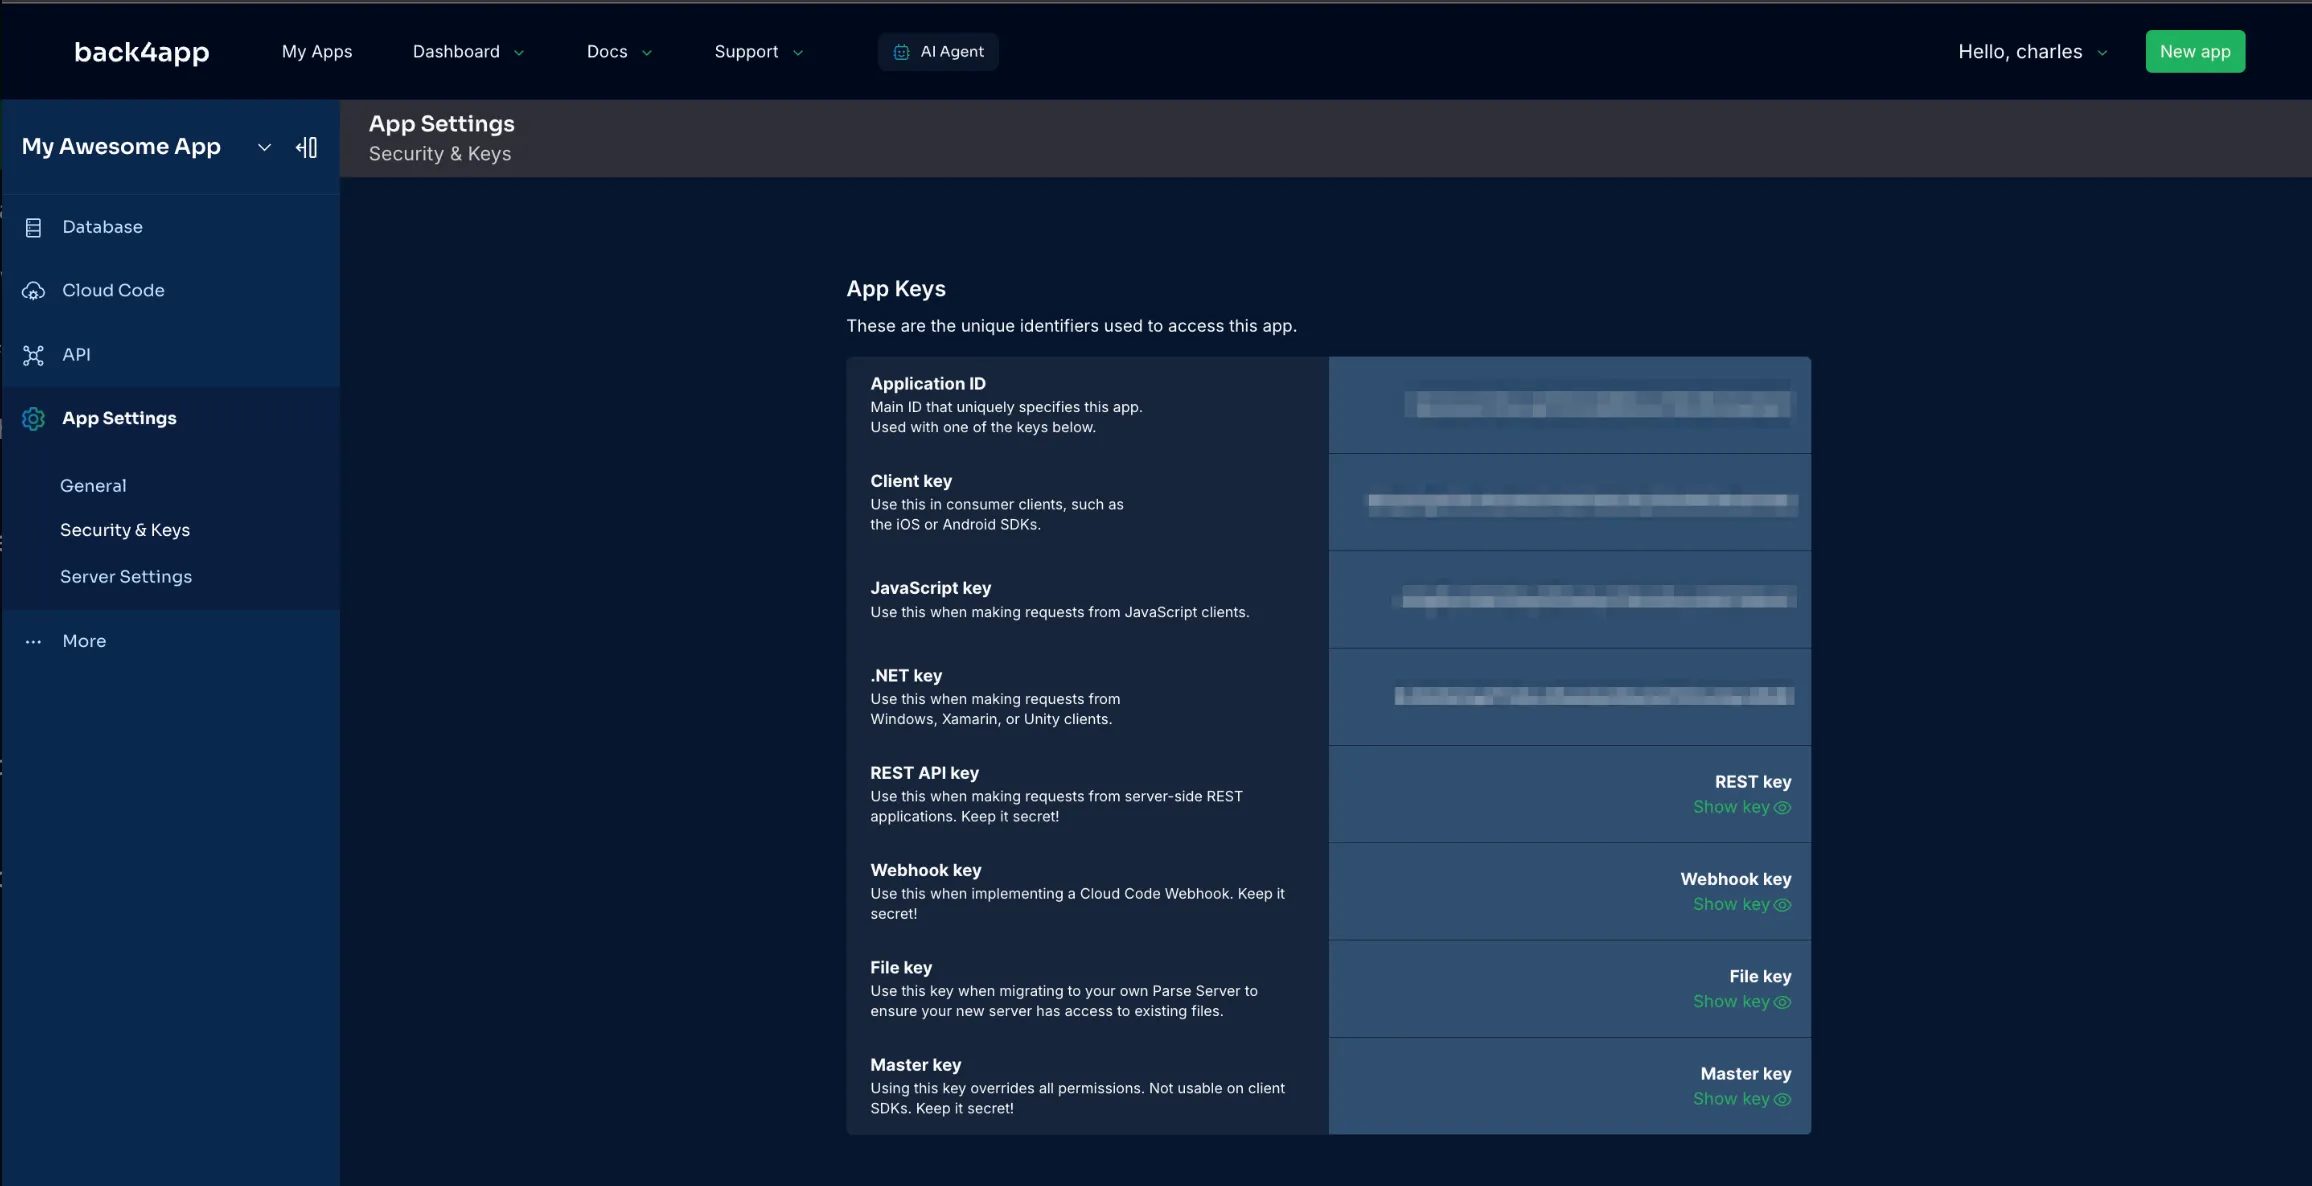
- In your app’s “App Settings” or “Security & Keys,” find your Application ID and REST API Key (and GraphQL endpoint if you plan to use GraphQL).
- Note your Parse Server URL (e.g., https://parseapi.back4app.com).
- Since Symfony does not have a native Parse SDK, you’ll rely on Symfony’s HTTP client or a library like Guzzle to communicate with Back4App’s REST or GraphQL APIs.
Below is an example using the Symfony HttpClient:
This service will help you make requests to your Back4App backend from within Symfony.
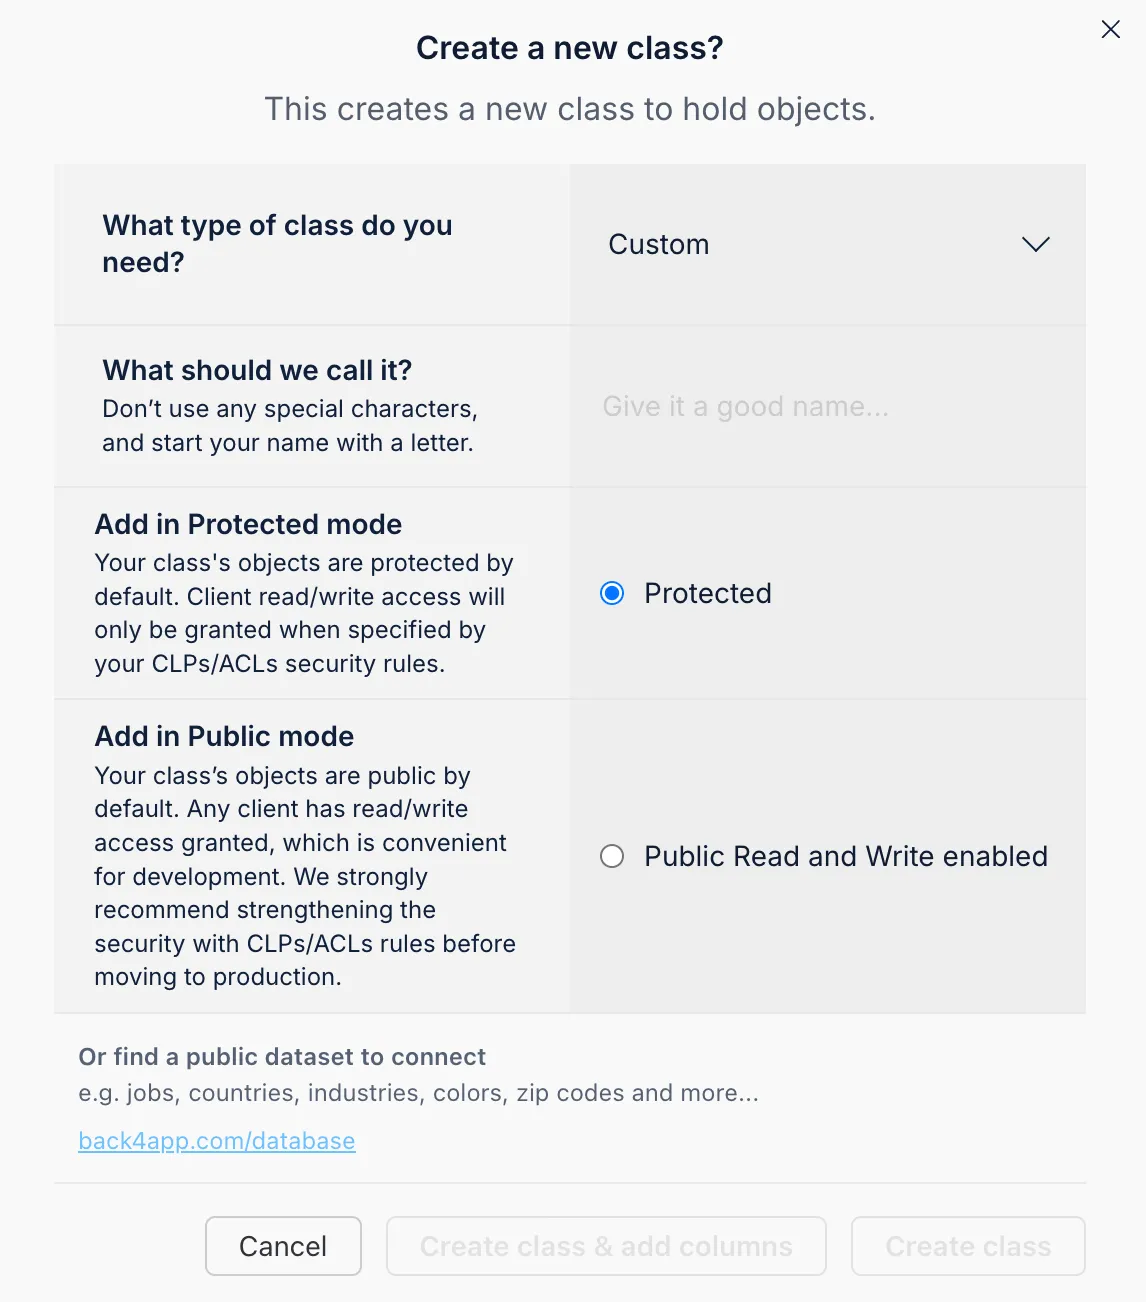
On Back4App, you’ll define classes (tables) that store your data. Let’s say you want a Todo class to hold tasks:
- Navigate to Database in your Back4App dashboard.
- Create a new class “Todo” and add fields like title (String) and isCompleted (Boolean).
Alternatively, let Back4App AI Agent create your data model:
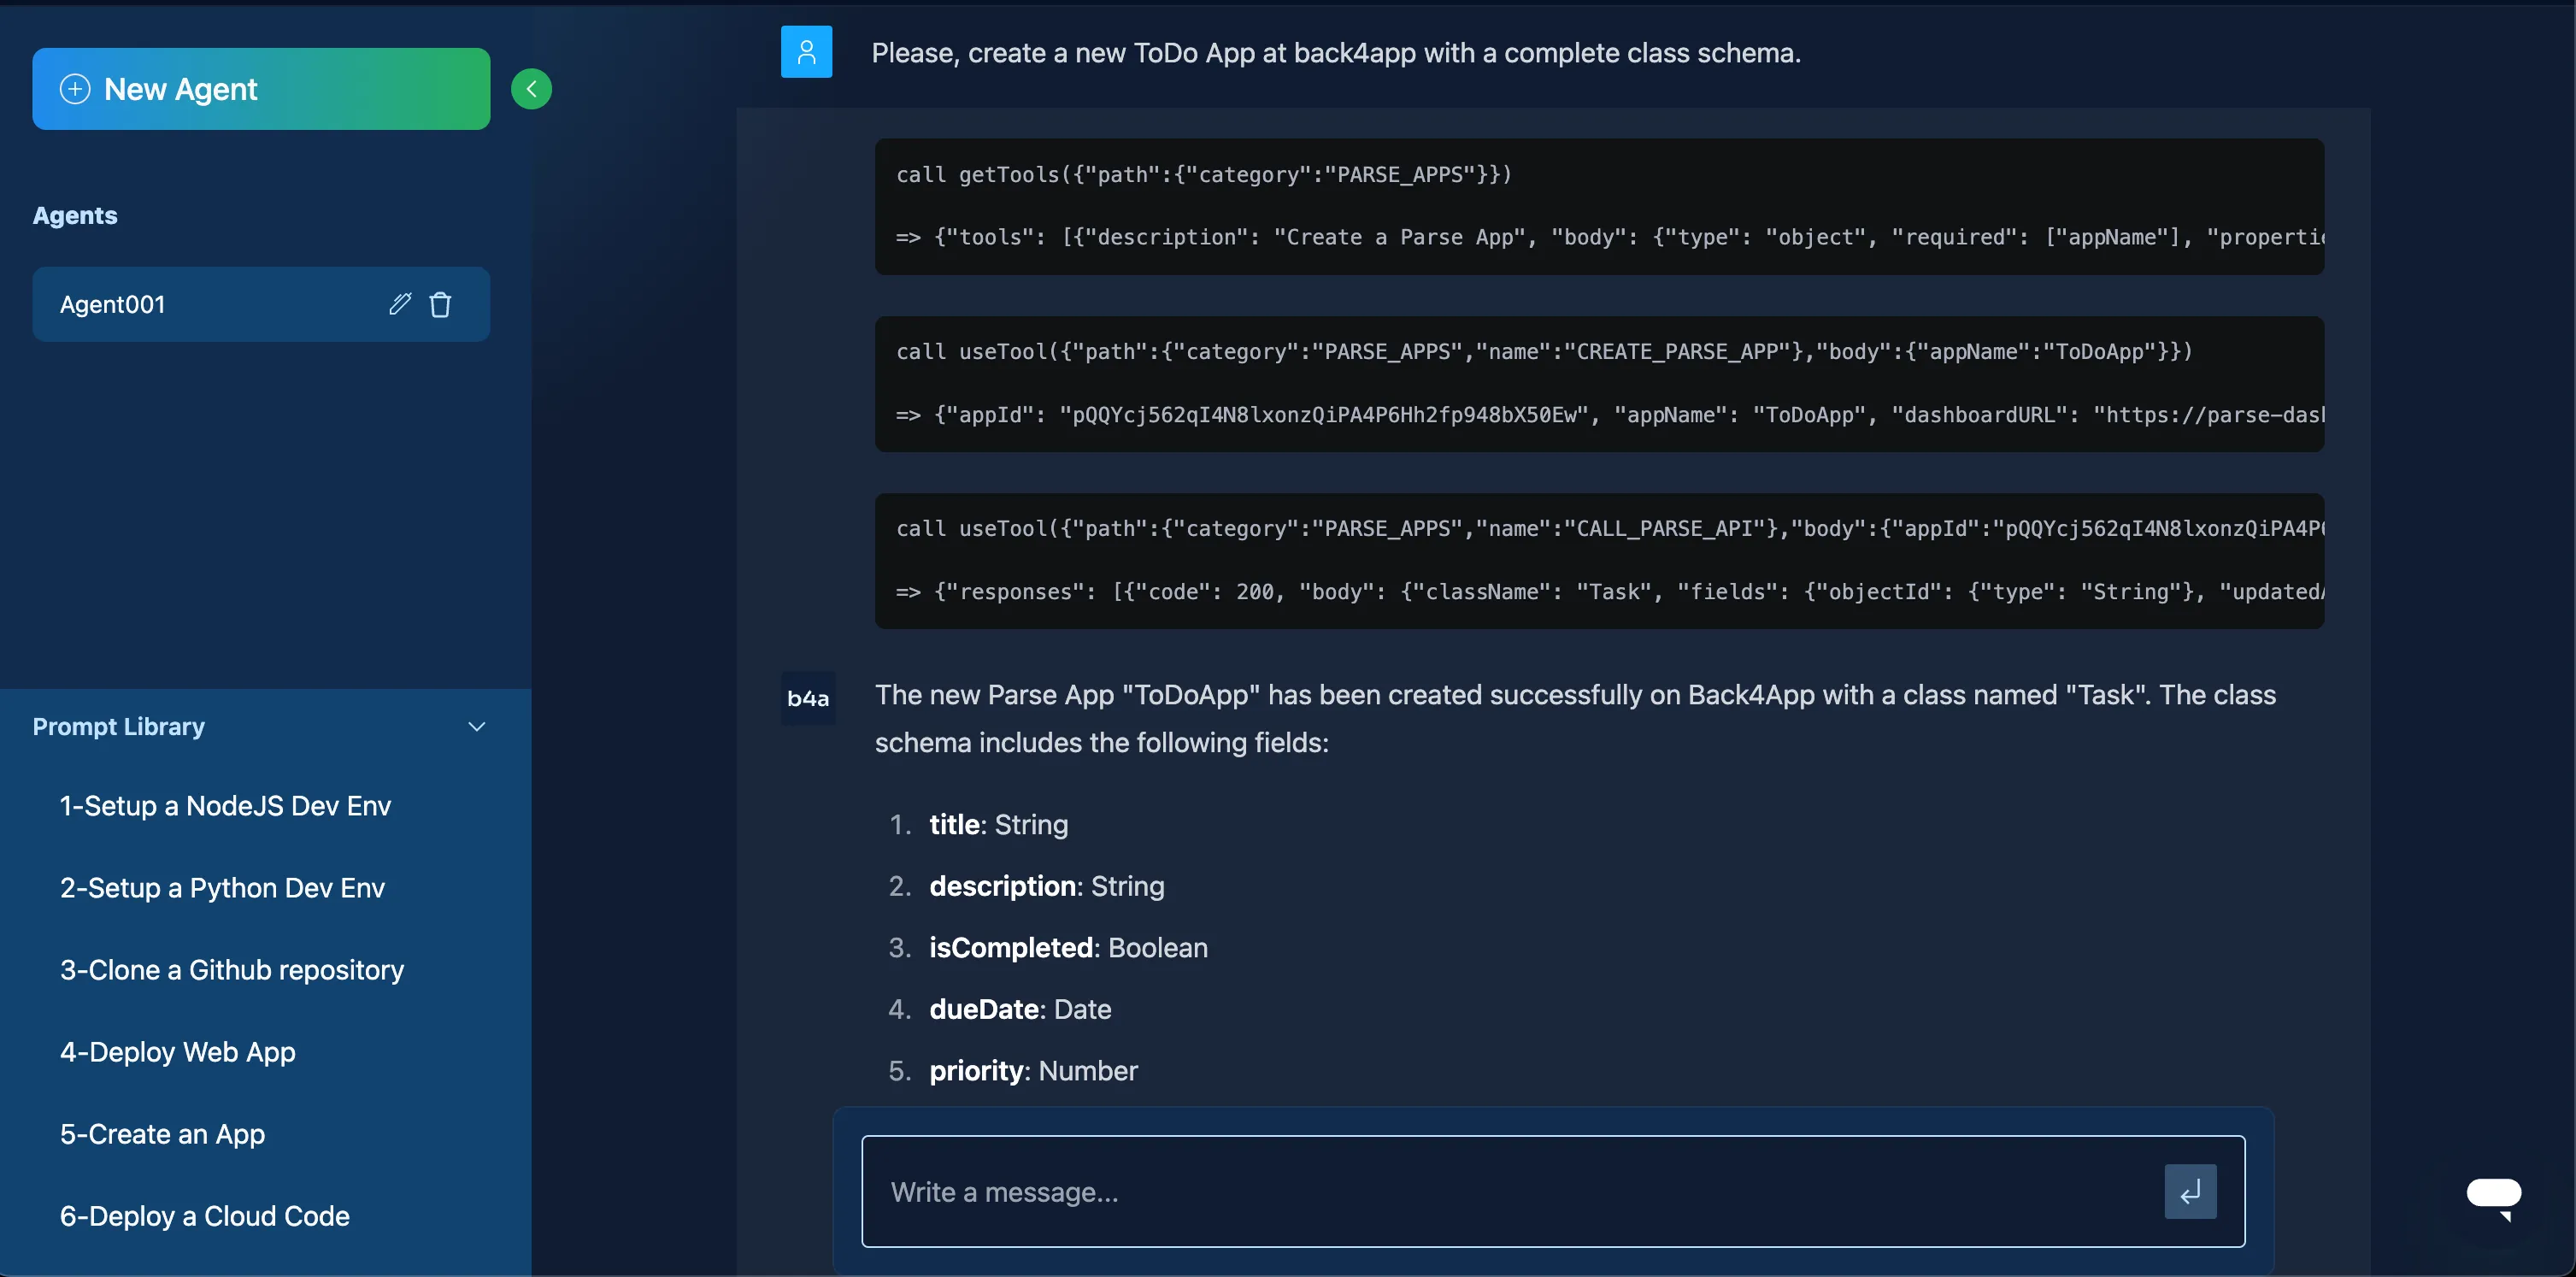
- Open the AI Agent in your project Dashboard.
- Describe your data model (e.g., “Create a Todo class with title and isCompleted fields.”).
- Generate the schema automatically.
To create a new Todo from a Symfony controller, you can do:
For queries, use a GET request with your credentials:
You can also integrate GraphQL in Symfony by using a GraphQL client library. An example mutation to create a Todo is:
If your Symfony app needs real-time data, you could incorporate Live Queries in a more front-end or real-time microservice context. Configure Live Queries in the Server Settings on Back4App, then connect a WebSocket client. Symfony can respond to or broadcast these updates via a separate real-time layer if needed.
ACLs let you control who can read or write an object. For instance, you can apply an ACL in code when creating data with the REST API by adding _ACL fields in your JSON. For example:
Class-Level Permissions allow you to set broad access rules for an entire class:
- Open Database in the Back4App dashboard.
- Select your class (e.g., “Todo”).
- Go to the Permissions tab and configure read/write access.
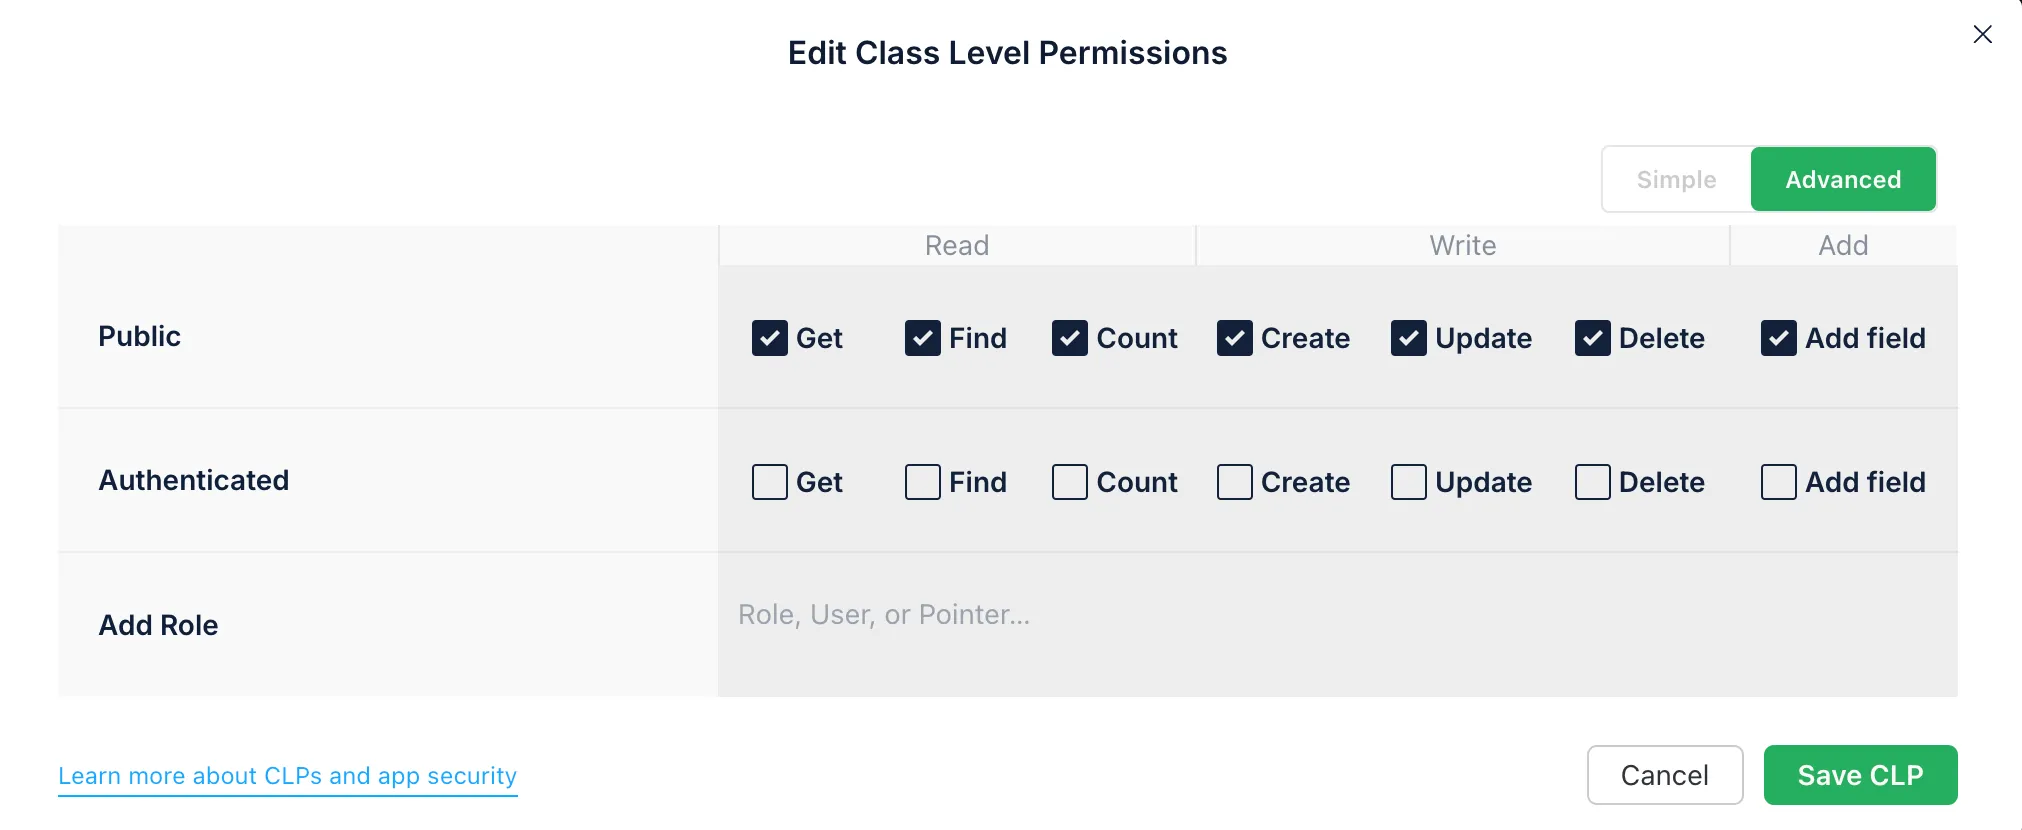
For more information, visit the App Security Guidelines.
Cloud Code allows you to run secure server-side JavaScript without managing infrastructure. While Symfony is in PHP, you can still offload certain tasks to Cloud Code on Back4App for advanced logic, triggers, and validations.
- Use the Back4App CLI or the dashboard to deploy main.js.
- Invoke your Cloud Functions via REST or GraphQL from your Symfony services.

User management in Back4App relies on the Parse User class. With Symfony, you can handle user signups, logins, and password resets via REST or GraphQL calls.
Use a Symfony service to wrap these calls if you need programmatic user flows.
If you plan to integrate Google or Apple sign-in, refer to Back4App’s Social Login Docs. You’ll configure your OAuth apps and make specific REST calls to complete authentication.
After uploading, you’ll get a file URL. You can store that link in any class (e.g., Todo) as a reference to that file.
- Go to Email Settings in Back4App.
- Enable email verification and password reset templates.
- Customize “From” and “Subject” lines as needed.
This ensures all signups require valid email confirmations.
Schedule this cleanupOldTodos job in your Back4App dashboard to run daily, improving your data management.
Webhooks let Back4App send HTTP requests to external services. For instance, you can ping a Slack endpoint whenever a new Todo is created:
- Go to More > WebHooks in your Back4App Dashboard.
- Add a Webhook specifying your external endpoint.
- Trigger the event on object creation in the Todo class.
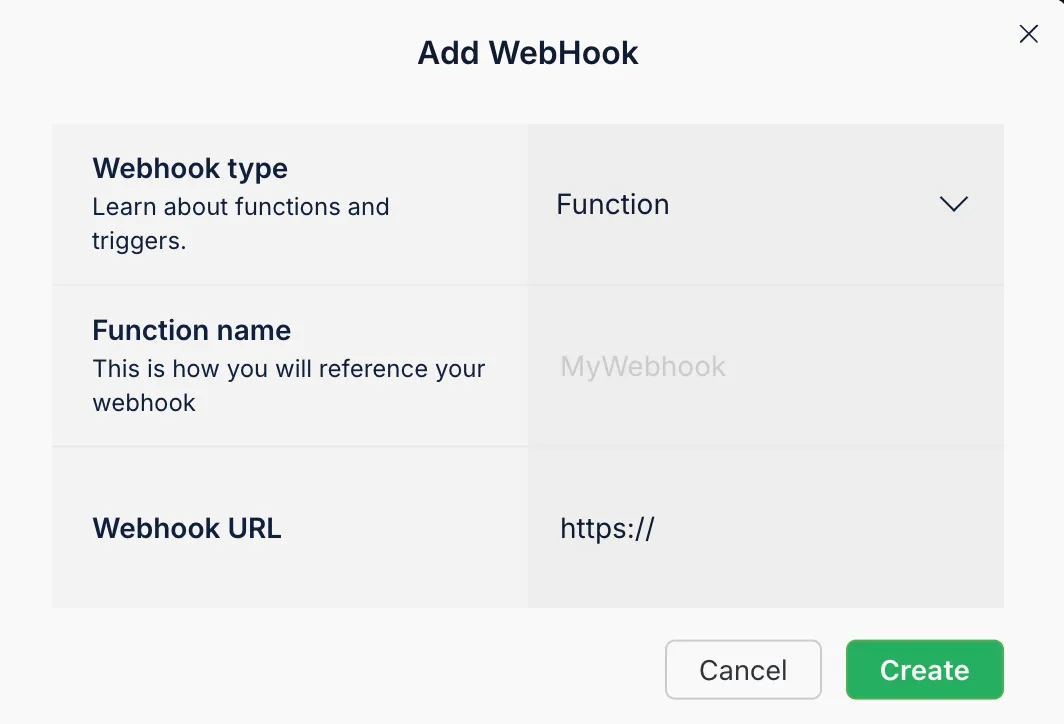
Use the Back4App Admin App for a user-friendly data management interface:
- Enable Admin App from App Dashboard > More > Admin App.
- Create an Admin User with a secure username and password.
- Assign a custom subdomain for easy access.
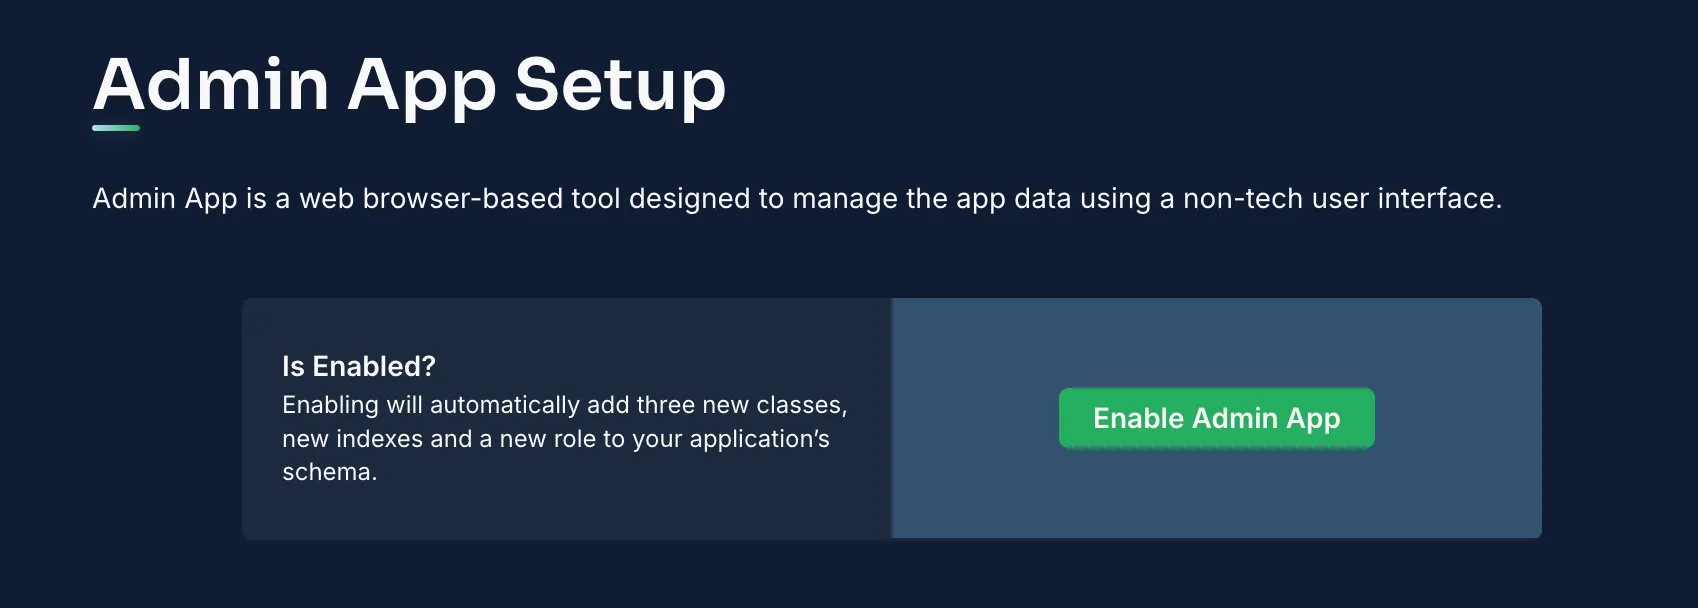
This feature helps non-technical team members view and manage records without diving into the code.
You’ve learned how to build a backend for Symfony using Back4App. This included:
- Creating a new project on Back4App as a foundation.
- Configuring the database with classes, fields, and relationships.
- Securing data with ACLs and CLPs.
- Leveraging Cloud Code for server-side logic.
- Managing user authentication (sign-up, login, password reset).
- Handling file storage with the REST API.
- Setting up Cloud Jobs for periodic tasks.
- Integrating webhooks to connect external services.
- Navigating the Back4App Admin Panel for easy data management.
These steps give you a strong framework for building and scaling your Symfony application. Expand on this architecture to handle more complex logic, integrate payment gateways, or add advanced security features. With Back4App, you save time and effort on hosting and infrastructure—so you can focus on delivering the best possible user experience.
- Build a production-ready Symfony app by customizing your Back4App backend for higher traffic and advanced performance needs.
- Integrate advanced features like role-based access, analytics, or third-party APIs for payments.
- Explore official Back4App docs for deeper insights on security, logs, and monitoring.
- Check out more tutorials to combine this backend with real-time services or to create dynamic websites with live updates.
By following these strategies, your Symfony project gains a powerful and efficient backend. Embrace Back4App to ease maintenance and rapidly evolve your application’s capabilities. Good luck building your next Symfony masterpiece!
