How to Build a Remix Frontend and Connect It to a Backend?
In this tutorial, you’ll build a To-Do List application using Remix and connect it to a managed backend service on Back4app.
This step-by-step guide is designed to help you master essential CRUD operations and design a dynamic user interface using Remix.
Building a full-stack application involves setting up both a frontend and a backend. By using Back4app, you can leverage a scalable backend-as-a-service (BaaS), so you can focus on creating a compelling user experience without getting bogged down in server configuration.
Back4app provides a ready-to-use database, authentication, cloud functions, and SDKs for seamless integration. With these capabilities, you can quickly prototype, build, and deploy your Remix application.
By following this tutorial, you will:
- Initialize a modern Remix project using industry-standard tools.
- Connect your Remix frontend to a Back4app backend using the Parse SDK.
- Containerize your Remix app and deploy it via Back4app Web Deployment.
Before you begin, make sure you have the following:
- Node.js and npm installed on your system. Verify by running node -v and npm -v in your terminal.
- Basic Remix knowledge, including routing, loaders, and actions. Familiarity with React concepts is helpful since Remix builds on React.
- A Back4app account to configure and manage your backend services. Sign up at Back4app if you haven’t already.
With these tools at hand, you’re set to create your Remix application and integrate it with a robust backend.
First, set up your local development environment and initialize your Remix project. This will ensure you have a clean and efficient foundation for your application.
Start by installing the Remix project using the following command. Replace todo-app with your desired project name:
Navigate into your new project directory:
Run the development server to verify everything is working:
Open the URL provided in your terminal to confirm that your Remix app is running successfully.
Back4app offers a powerful, managed backend powered by Parse. You’ll create a data model for your tasks, which will serve as the backbone for your To-Do List application.
- Name your application (for example, TodoRemixApp) and select NodeJS/Parse as the backend type.
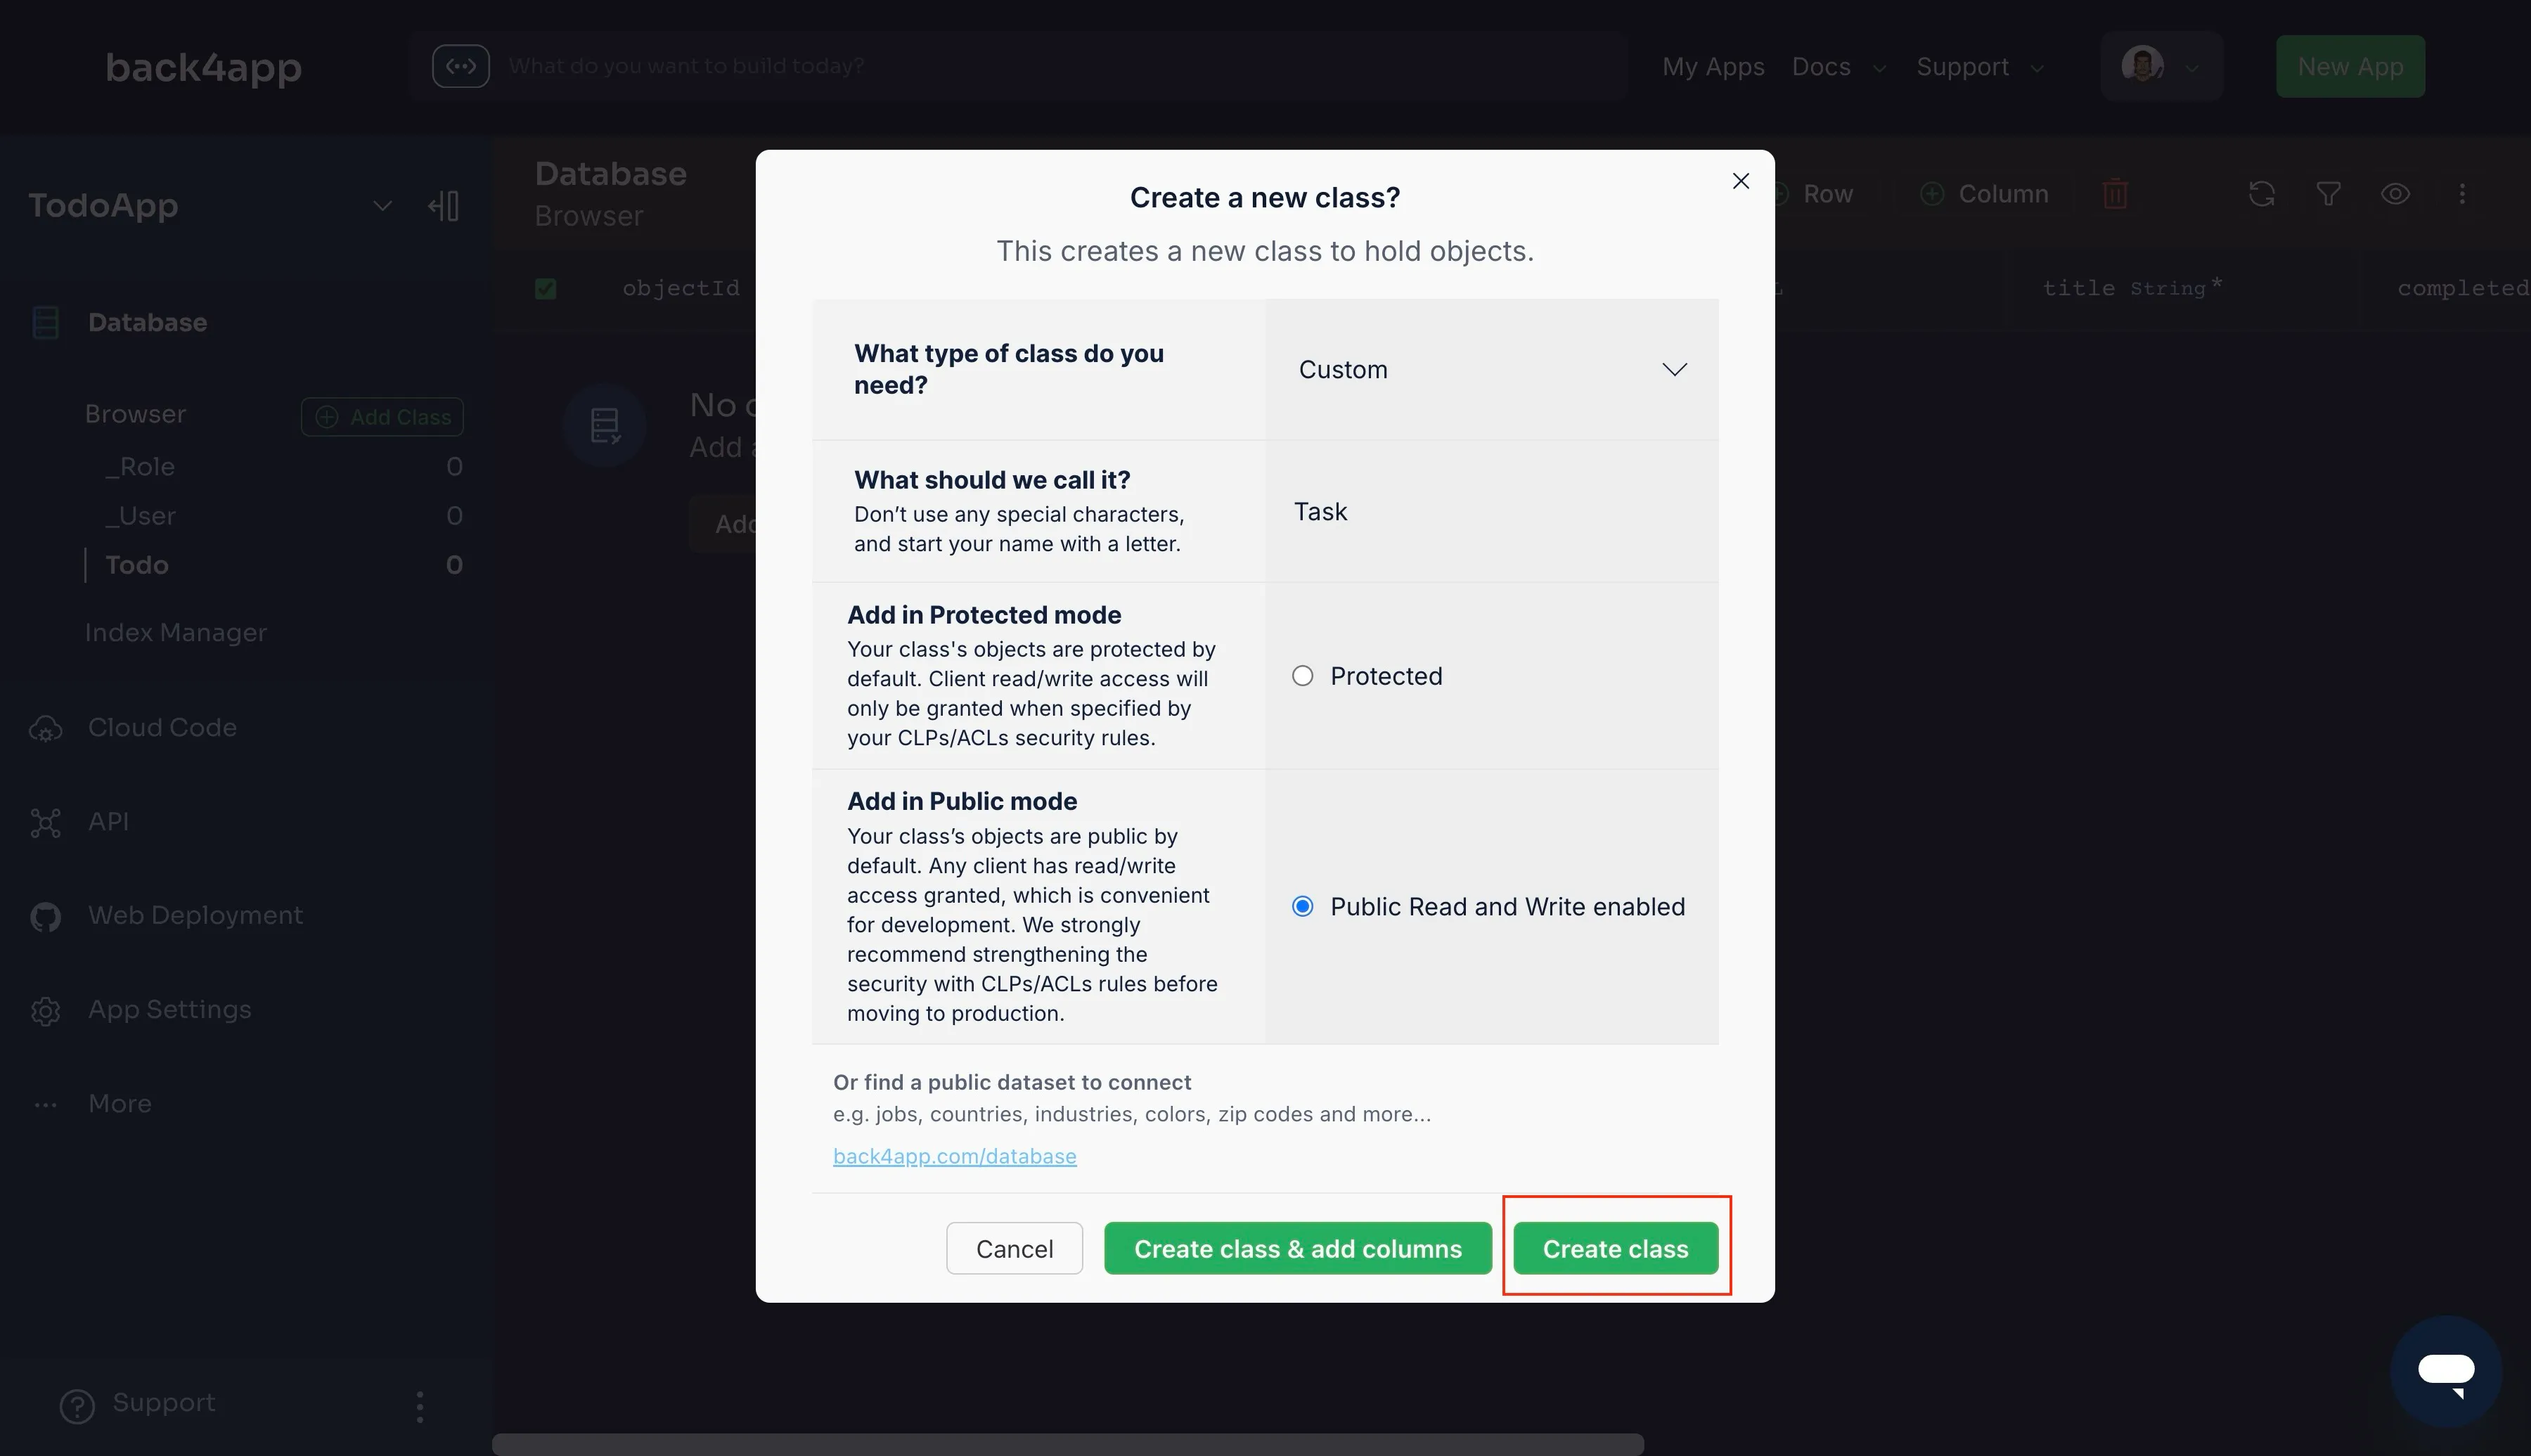
- In the "Database" > "Browser" section, click "Create a Class" and choose "Custom." Name the class Task and set its Class Level Permissions to allow public read and write (you can refine these settings later).
- Add the following fields to the Task class:
- title (String) – The name of the task.
- description (String) – Details about the task.
- completed (Boolean) – Indicates if the task is done.
- dueDate (Date) – Deadline for the task.
- Click "Save" to finalize the schema.

You’ll use the Parse JavaScript SDK to connect your Remix app with Back4app. Install the SDK by running:
Next, configure Parse within your Remix application. Open the file app/root.tsx and add the following initialization code at the top. Replace 'your-application-id' and 'your-javascript-key' with your credentials from the Back4app Dashboard (under App Settings > Security & Keys):
To ensure that Parse is fully initialized when your loader function runs, especially on the server side.
Add this code to your layout function in the root.tsx file.
This setup allows your Remix routes and actions to interact with your Back4app backend seamlessly.
With your backend configured, you’ll now build the To-Do List interface using Remix. This involves creating routes, loaders, and actions to handle data fetching and mutations.
In Remix, every route corresponds to a file under the app/routes directory. Open app/routes/_index.tsx and add the following code to define the page’s structure and data operations:
This route uses Remix’s loaders and actions to fetch tasks from Back4app and handle user interactions like adding, toggling, and deleting tasks.
Create a CSS file at app/global.css to define the basic look and feel of your application:
Import the CSS file in your app/root.tsx by adding:
Your Remix app now has a functional To-Do List interface that interacts with Back4app’s backend.
Back4app Web Deployment offers a containerized environment for your applications. You’ll package your Remix app into a Docker container and deploy it.
Before containerizing, build your Remix app into a production-ready bundle:
Create a Dockerfile in your project’s root with the following content:
This Dockerfile builds your Remix project and prepares it for production using a minimal Node.js runtime.
Build your Docker image locally:
Run the container to test the deployment:
Visit http://localhost:8080 in your browser to verify that your Remix app is running correctly.
Push your project to GitHub:
Then, log in to Back4app Web Deployment and follow these steps:
- Click "Create New App" and name your project.
- Select GitHub Repository and authorize Back4app.
- Choose your todo-remix repository.
- Select Dockerfile Deployment and confirm the build settings.
- Click "Deploy" to start your build.
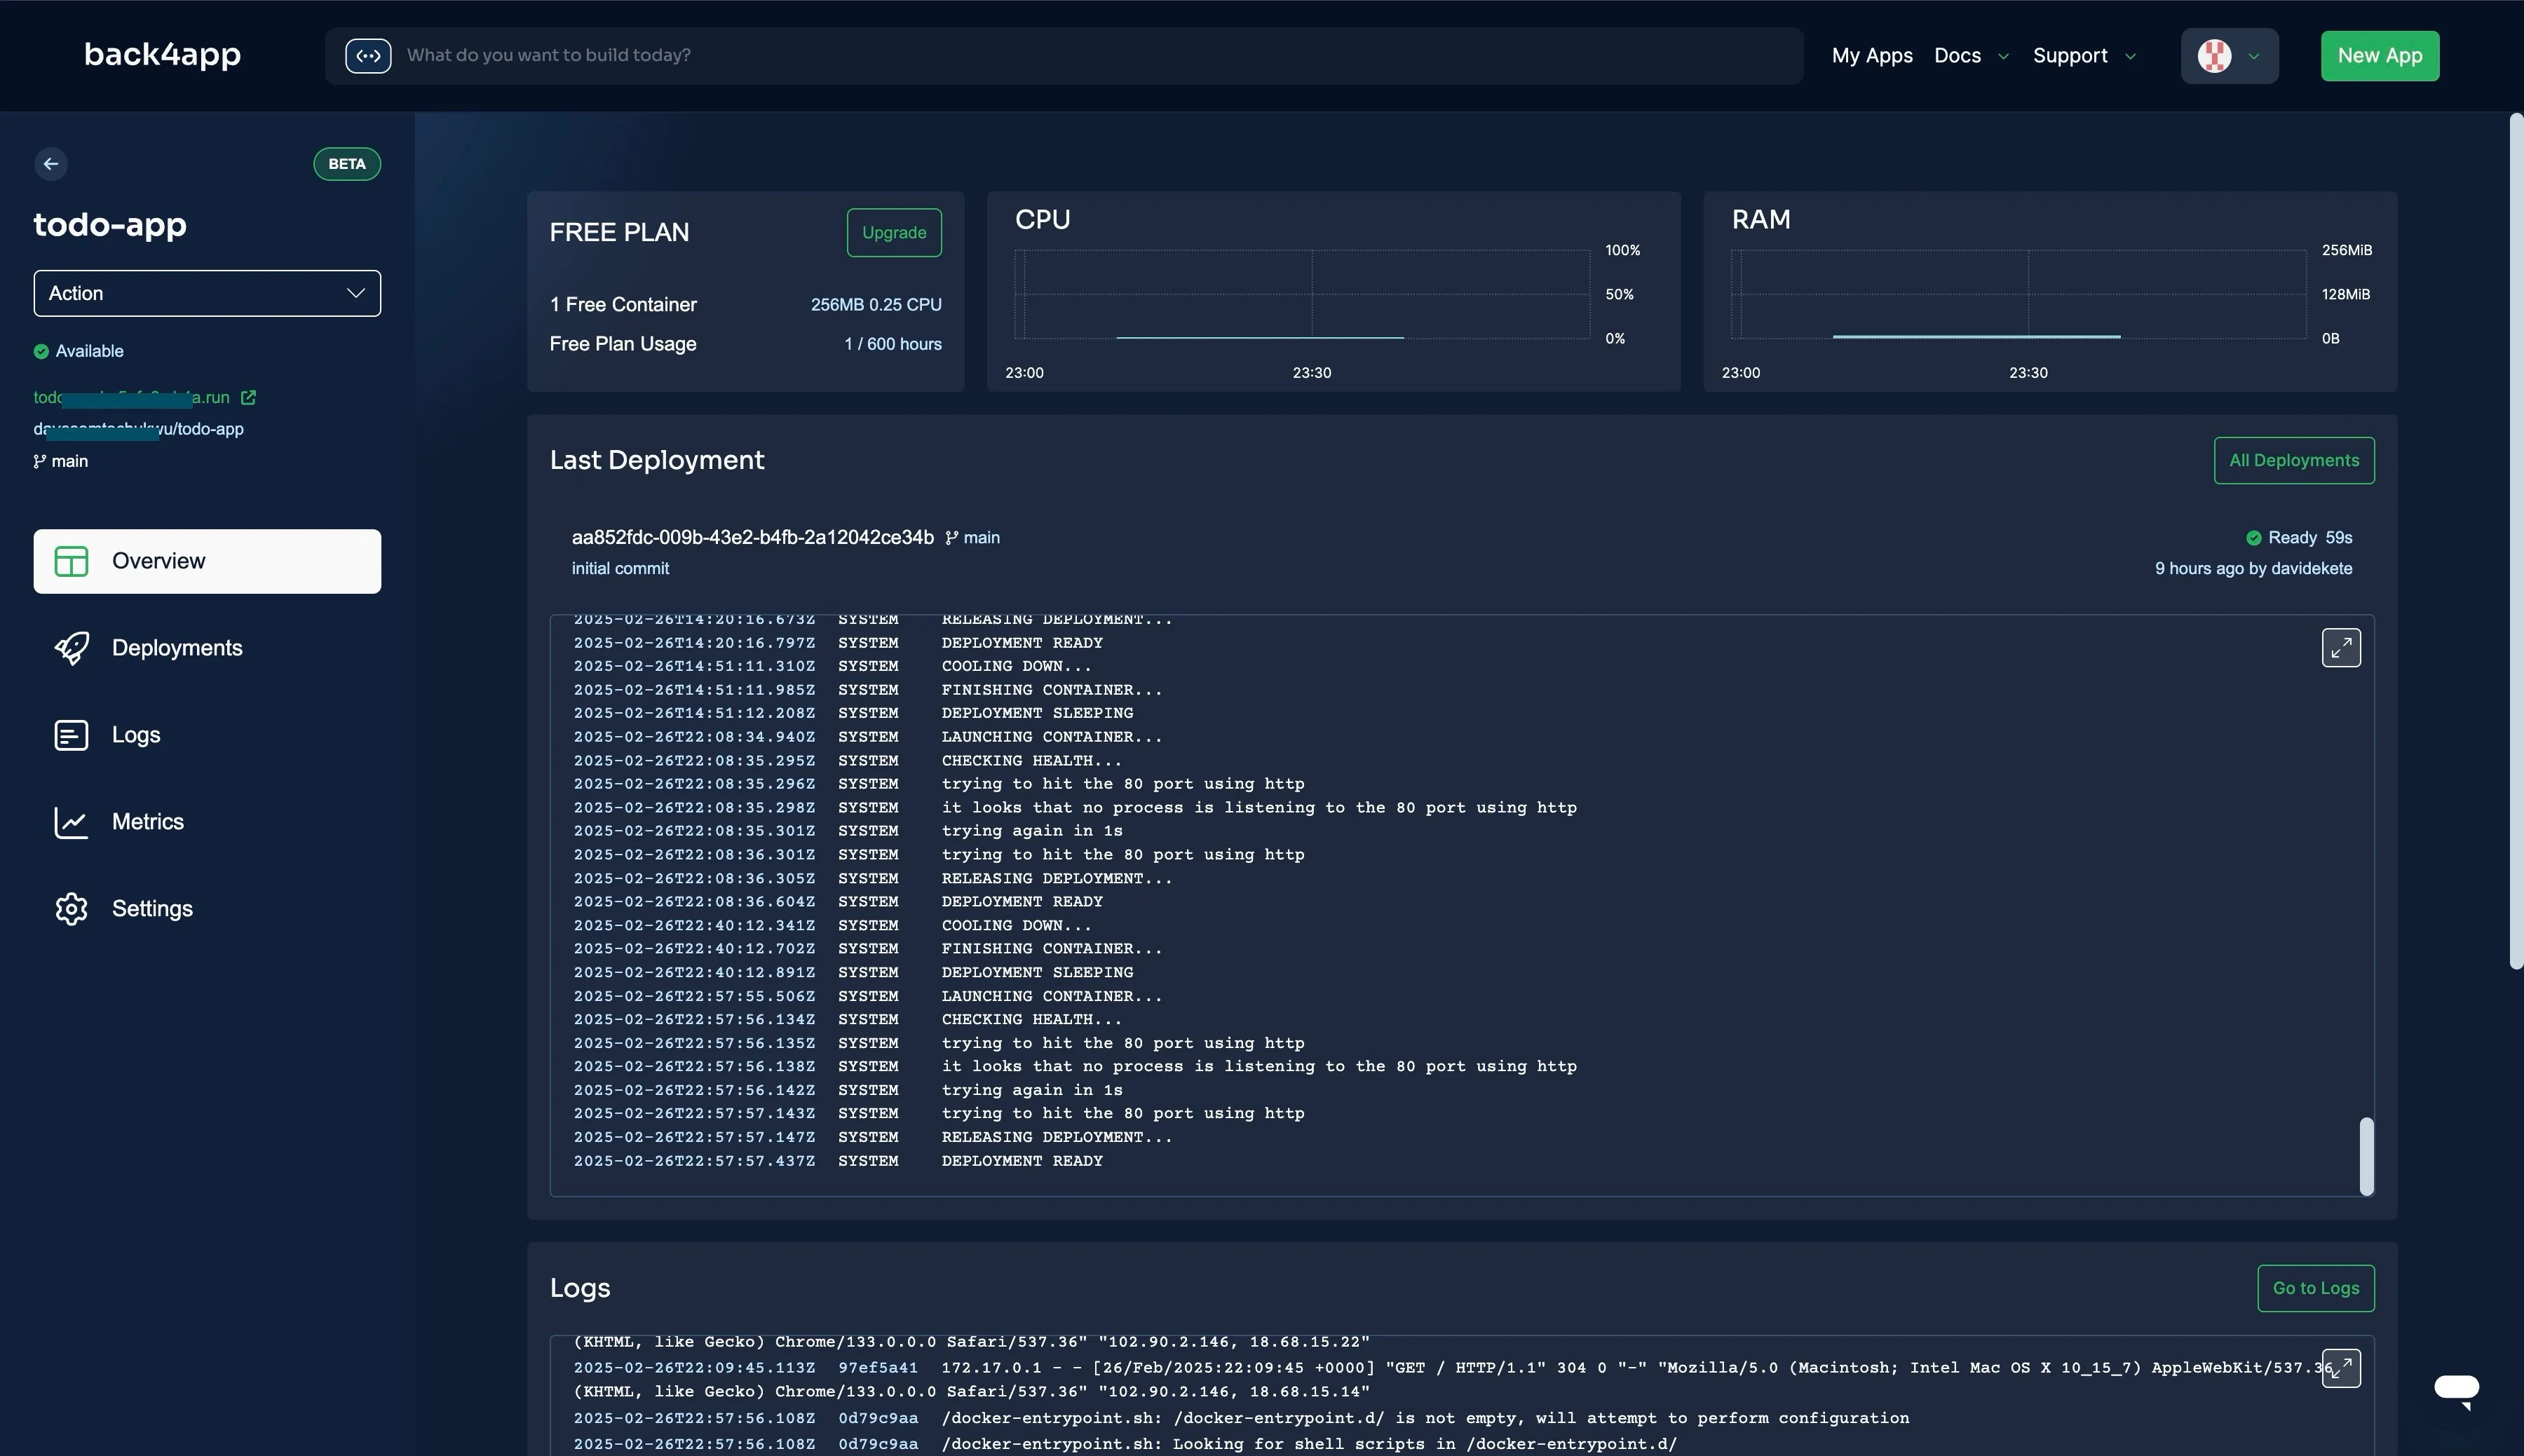
After deployment, monitor your container via the Back4app Dashboard. You can view logs, manage builds, and configure custom domains.

Once deployed, ensure your application functions as expected. Here’s how to verify frontend-backend integration:
- API Connectivity: Open your browser’s developer console (F12) and check network requests when adding, toggling, or deleting tasks.
- Data Persistence: Add tasks through the UI and refresh the page to confirm they’re saved. Verify changes in the Back4app Database Browser under the Task class.
- CRUD Operations: Test toggling completion status and deleting tasks. If issues arise, inspect the console and API logs.
- Edge Case Handling: Try submitting empty inputs to ensure your validations are effective.
Follow these recommendations to enhance security, performance, and scalability:
- Optimize API Calls: Use batch requests and select only necessary fields in queries.
- Environment Variables: Store sensitive keys (Application ID and JavaScript Key) in a .env file and reference them securely.
- Access Control: Implement dynamic ACLs to restrict data modifications to authenticated users.
- Cloud Code: Offload complex logic to Back4app Cloud Code for improved performance and security.
You have successfully built a full-stack To-Do List application with Remix and connected it to a Back4app backend.
This tutorial guided you through initializing a Remix project, integrating a manage service for backend interactions, and containerizing your application for deployment.
Now that your app is live, consider expanding its features with advanced user management, real-time updates, or third-party integrations.
For further guidance, explore the Back4app Documentation and Remix resources.

