How to Create a CRUD Application with Elm?
In this walkthrough, you will learn how to build a complete CRUD (create, read, update, delete) application using Elm.
We'll employ Back4app as our backend service to manage data effortlessly. This guide explains how to configure a Back4app project, design a flexible data schema, and integrate CRUD operations into an Elm application using REST API calls.
Initially, you'll set up a Back4app project, here named Basic-CRUD-App-Elm, which provides a robust, non-relational database. You will design your data model—either manually or using Back4app’s intelligent AI Agent.
Next, you will manage your backend with the Back4app Admin App, which offers an intuitive drag-and-drop interface for data manipulation.
Finally, you'll connect your Elm app to Back4app by making RESTful API requests while ensuring secure data operations.
By the end of this tutorial, you’ll have a production-ready Elm application that supports core CRUD functionalities and secure user authentication.
- Learn how to build an Elm CRUD application paired with a non-relational backend.
- Understand how to structure a scalable backend and connect it with an Elm front-end.
- Use the Back4app Admin App for seamless create, read, update, and delete actions.
- Explore deployment options, including Docker, to launch your Elm application with ease.
Before you begin, ensure you have:
- An Elm development environment. Install Elm and use your favorite editor.
- Familiarity with Elm basics, functional programming, and HTTP requests. Check the Elm Guide if needed.
- Log in to your Back4app account.
- Click on the “New App” button from your dashboard.
- Name your project: Basic-CRUD-App-Elm and follow the instructions to complete setup.
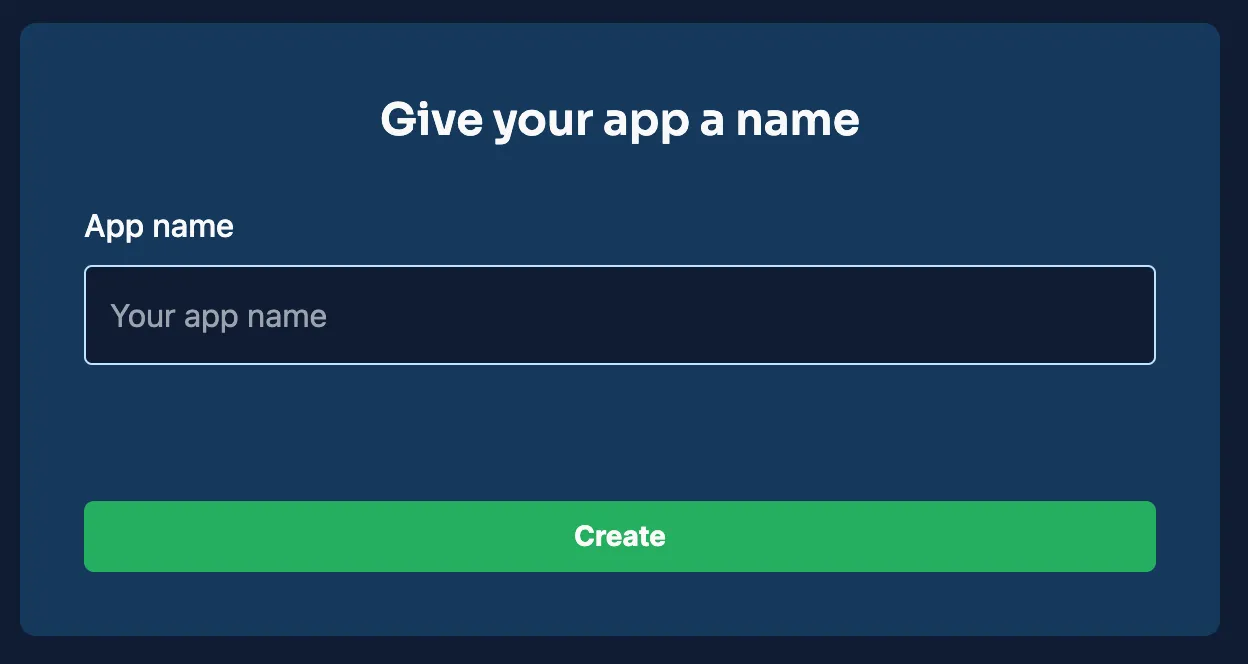
Once your project is ready, it will appear on your dashboard, setting the stage for your backend configuration.
For this CRUD application, you will create several collections (or classes) in Back4app. Below are examples of the main collections and their fields to support CRUD operations.
This collection stores details about each entry.
Field | Type | Details |
|---|---|---|
_id | ObjectId | Auto-generated unique identifier. |
title | String | Name of the item. |
description | String | Brief description of the item. |
createdAt | Date | Timestamp marking creation. |
updatedAt | Date | Timestamp marking last update. |
This collection handles user authentication and credentials.
Field | Type | Details |
|---|---|---|
_id | ObjectId | Auto-generated unique identifier. |
username | String | Unique username for the user. |
String | Unique email address. | |
passwordHash | String | Encrypted password for security. |
createdAt | Date | Timestamp for when the account was created. |
updatedAt | Date | Timestamp for the last account update. |
You can add these collections and fields manually via the Back4app dashboard.
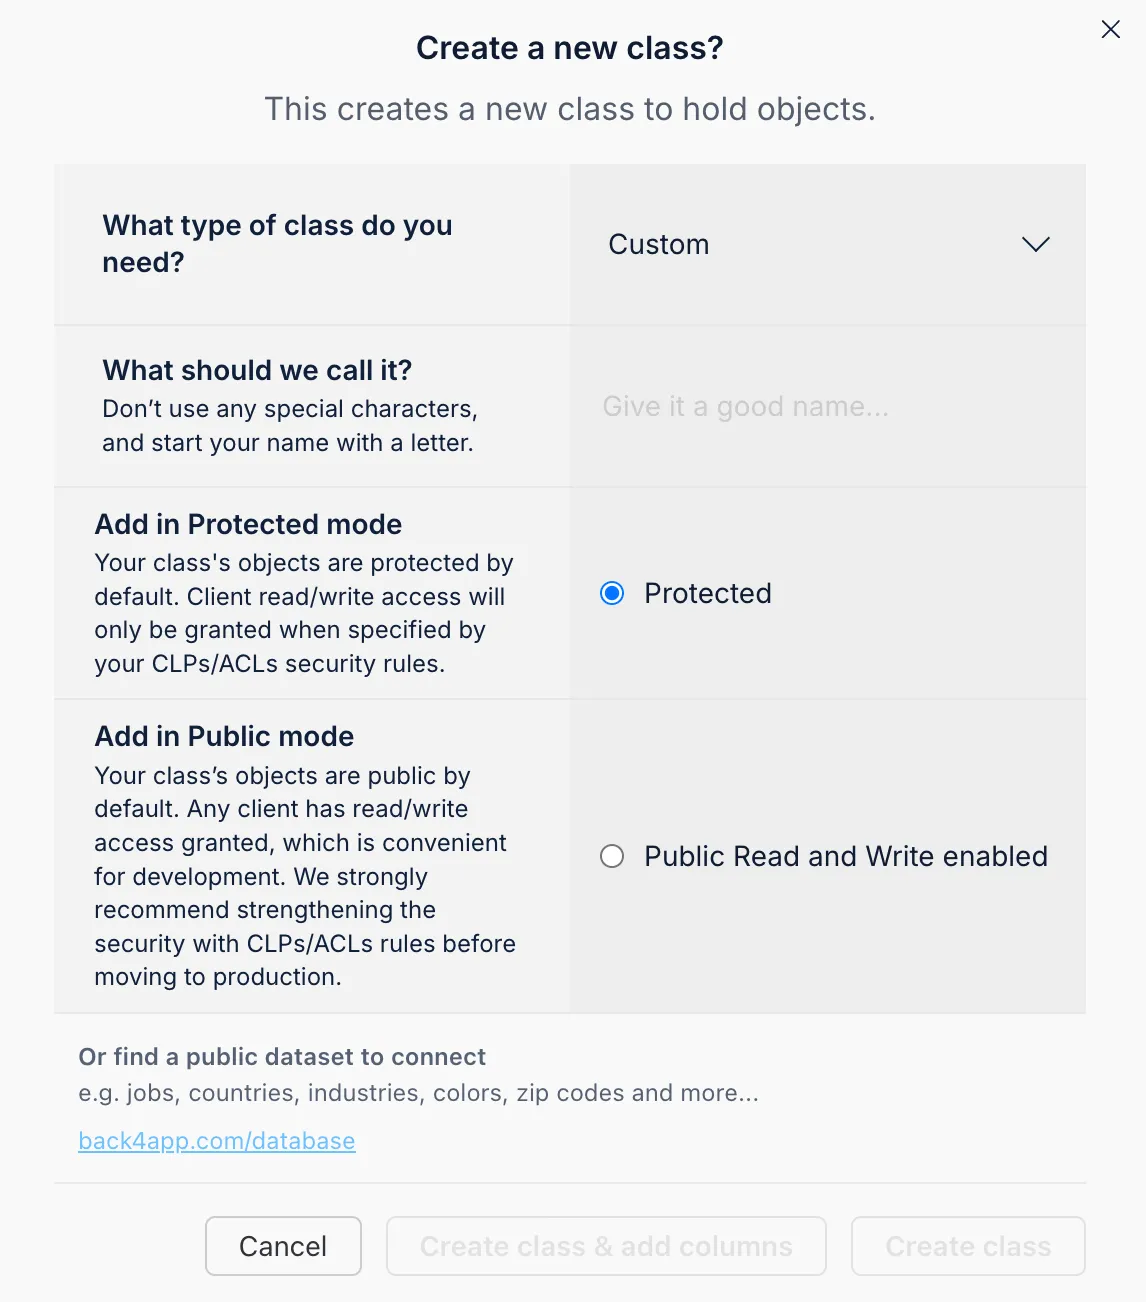
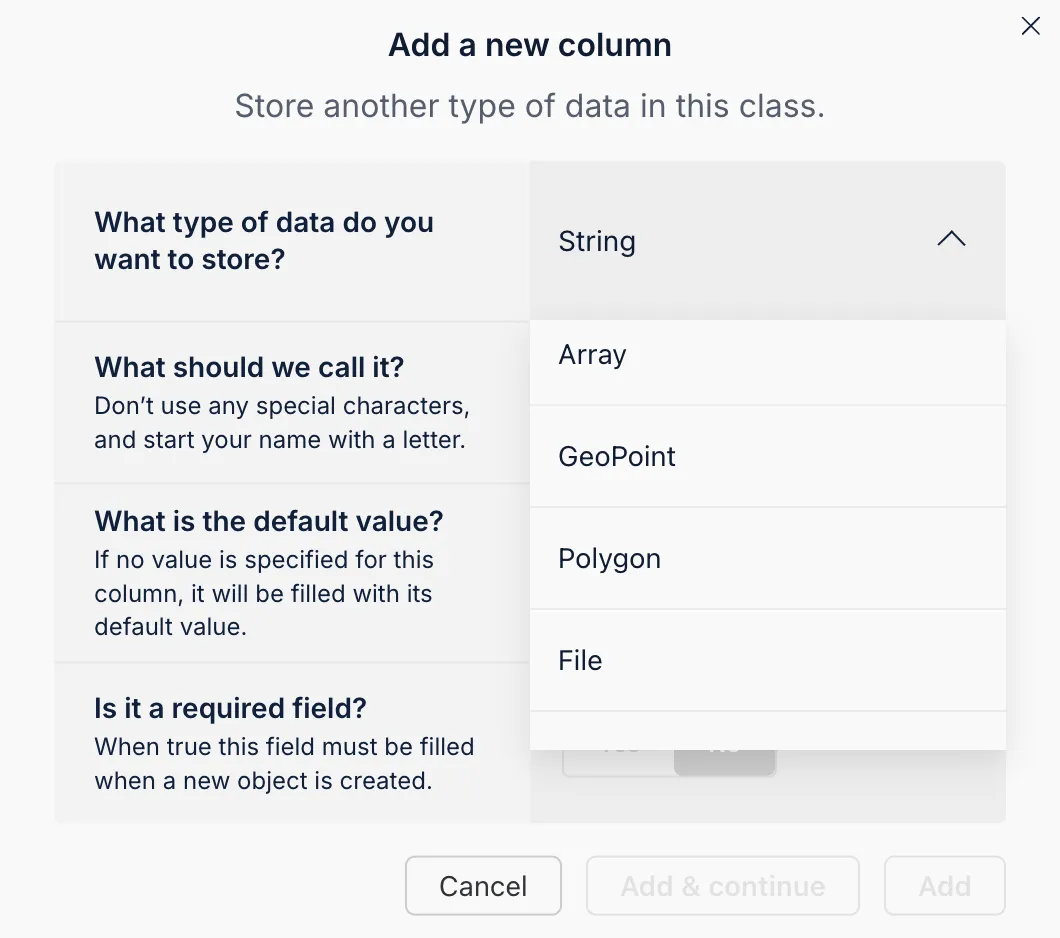
You may add fields by selecting the appropriate type, naming the field, and specifying if it’s mandatory.
The Back4app AI Agent simplifies the creation of your data schema based on your description. This automated process ensures your schema is set up for all necessary CRUD actions.
- Access the AI Agent: Sign in to your Back4app dashboard and locate the AI Agent in your project settings.
- Detail Your Data Schema: Describe the collections and fields you need.
- Review and Confirm: Check the proposed schema and approve it to configure your backend.
This smart approach saves time and ensures a robust, consistent data schema.
Back4app’s Admin App gives you a no-code interface to manage your backend data. Its user-friendly design allows you to perform CRUD actions such as adding, viewing, editing, and deleting records.
- Go to the “More” menu on your Back4app dashboard.
- Select “Admin App” and click “Enable Admin App.”
- Create your admin account, which will also set up roles like B4aAdminUser and system collections.
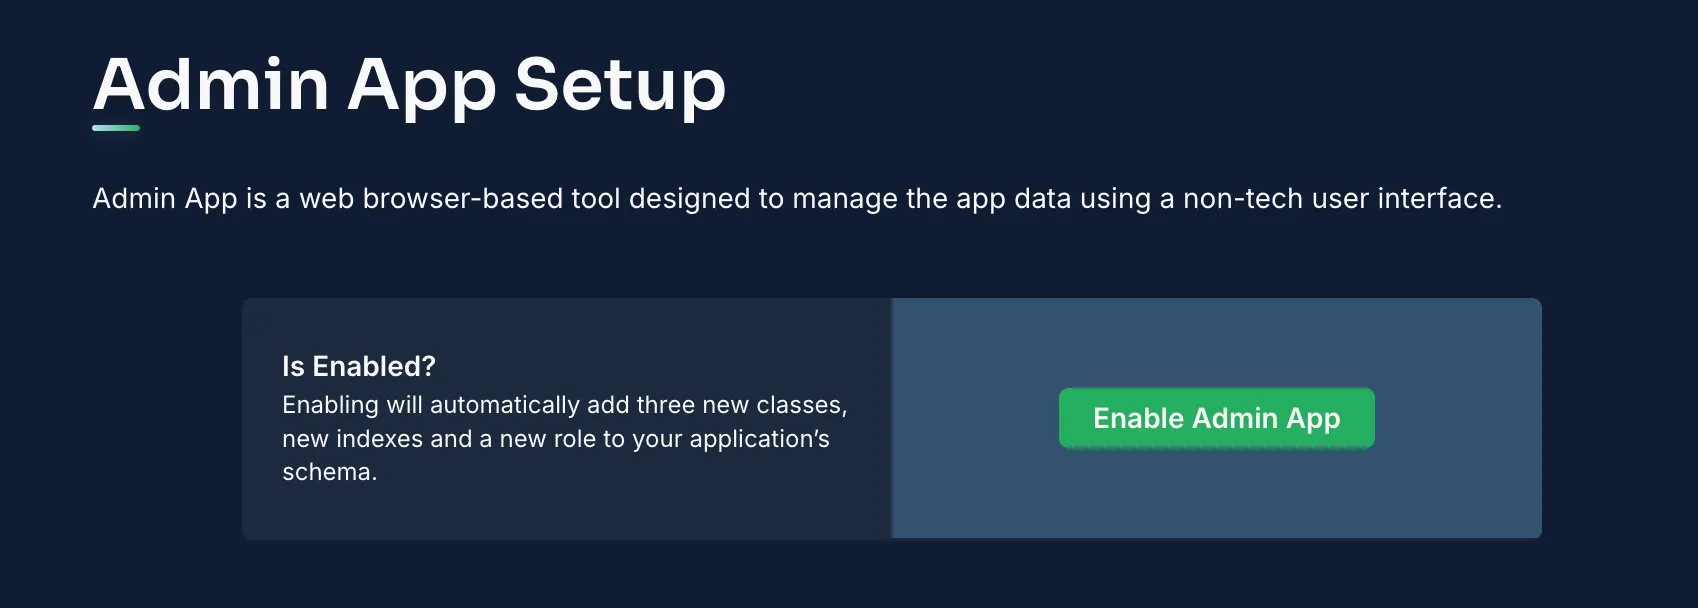
Once activated, log in to the Admin App to manage your data.
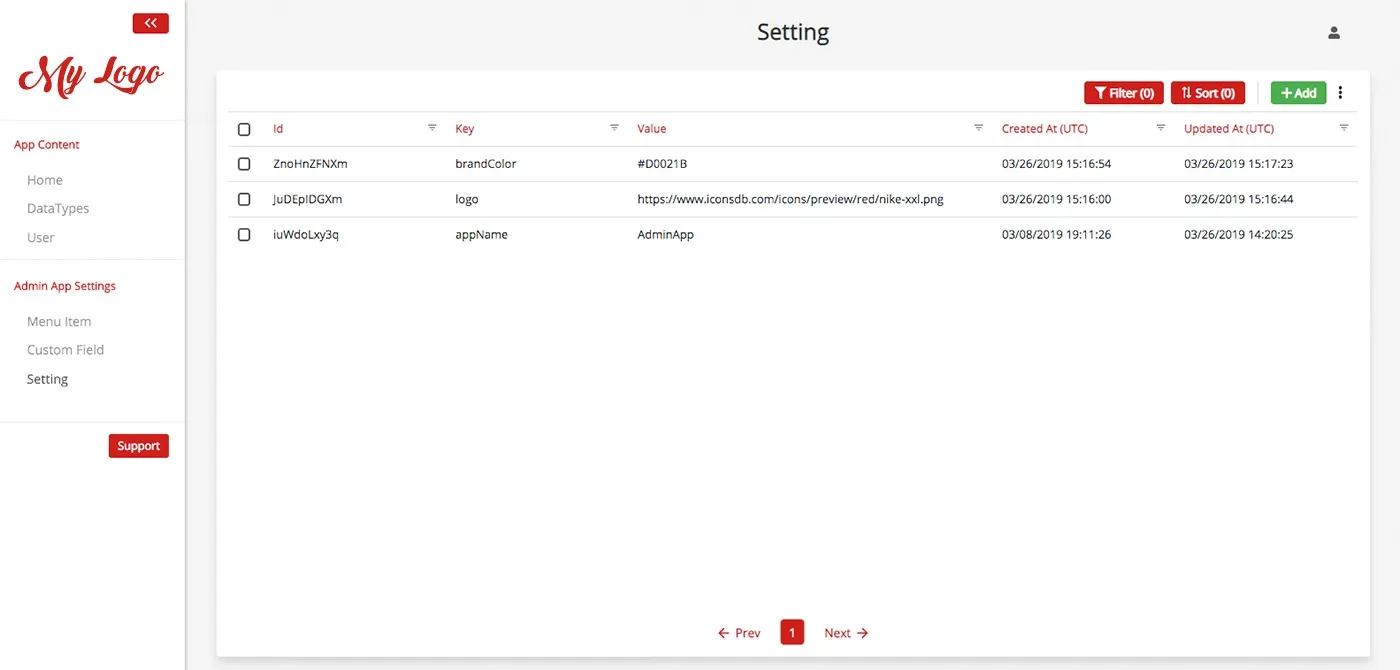
Within the Admin App, you can:
- Insert Records: Choose “Add Record” in a collection (e.g., Items) to create new entries.
- Inspect/Edit Records: Click on any record to view details or modify data.
- Remove Records: Delete entries that are no longer required.
This easy-to-use interface streamlines data management.
With your backend configured, it’s time to link your Elm application to Back4app.
Since Elm doesn’t support a dedicated Parse SDK, we will use its built-in HTTP capabilities to interact with Back4app's REST endpoints.
Below is an Elm module example using the Http package to retrieve a list of items:
You can also implement POST requests in Elm to add new records:
Repeat similar patterns for update and delete operations using PUT and DELETE methods.
Protect your data by setting up ACLs on your objects. For example, to restrict an item to its creator, you could use:
Define CLPs in the Back4app dashboard so that only authenticated users can access specific collections.
Back4app leverages the built-in User collection for handling authentication. In your Elm app, you will manage sign-ups and logins via REST API calls.
Follow a similar approach for login and session management.
Back4app supports seamless deployment. You can deploy your Elm application using various methods including Docker.
Compile Your Elm Code: Run the Elm compiler to generate JavaScript:
Bash1elm make src/Main.elm --output=dist/main.js- Prepare Your Assets: Ensure your generated JavaScript and HTML files are ready for deployment.
A typical Elm project layout might look like:
If containerizing, add a Dockerfile:
- Link Your Repository: Host your Elm project on GitHub.
- Configure Deployment Settings: In the Back4app dashboard, choose the Web Deployment feature, connect your repository (e.g., Basic-CRUD-App-Elm), and select the desired branch.
- Set Build Commands: Specify the build command (e.g., elm make src/Main.elm --output=dist/main.js) and the artifact location.
- Deploy Your App: Hit Deploy and monitor the logs until your app is live.
Congratulations! You have built an Elm-based CRUD application integrated with Back4app.
You set up a project named Basic-CRUD-App-Elm, designed collections for Items and Users, and managed data via the Back4app Admin App.
Furthermore, you connected your Elm application using REST API calls and implemented security measures.
Future Enhancements:
- Expand Features: Integrate advanced search capabilities, detailed views, or real-time updates.
- Boost Backend Functions: Experiment with cloud functions, third-party integrations, or role-based access.
Happy coding and enjoy building with Elm and Back4app!
