Manual SDK integration
In this section you will learn how to manually install Parse iOS SDK into your Xcode project.
At any time, you can access the complete Project built with this tutorial at our GitHub repository.
In this tutorial we will use a basic app created in Objective-C with Xcode 9.1 and iOS 11.
To complete this tutorial, you need:
- An app created at Back4App.
- Xcode.
- Basic iOS app.
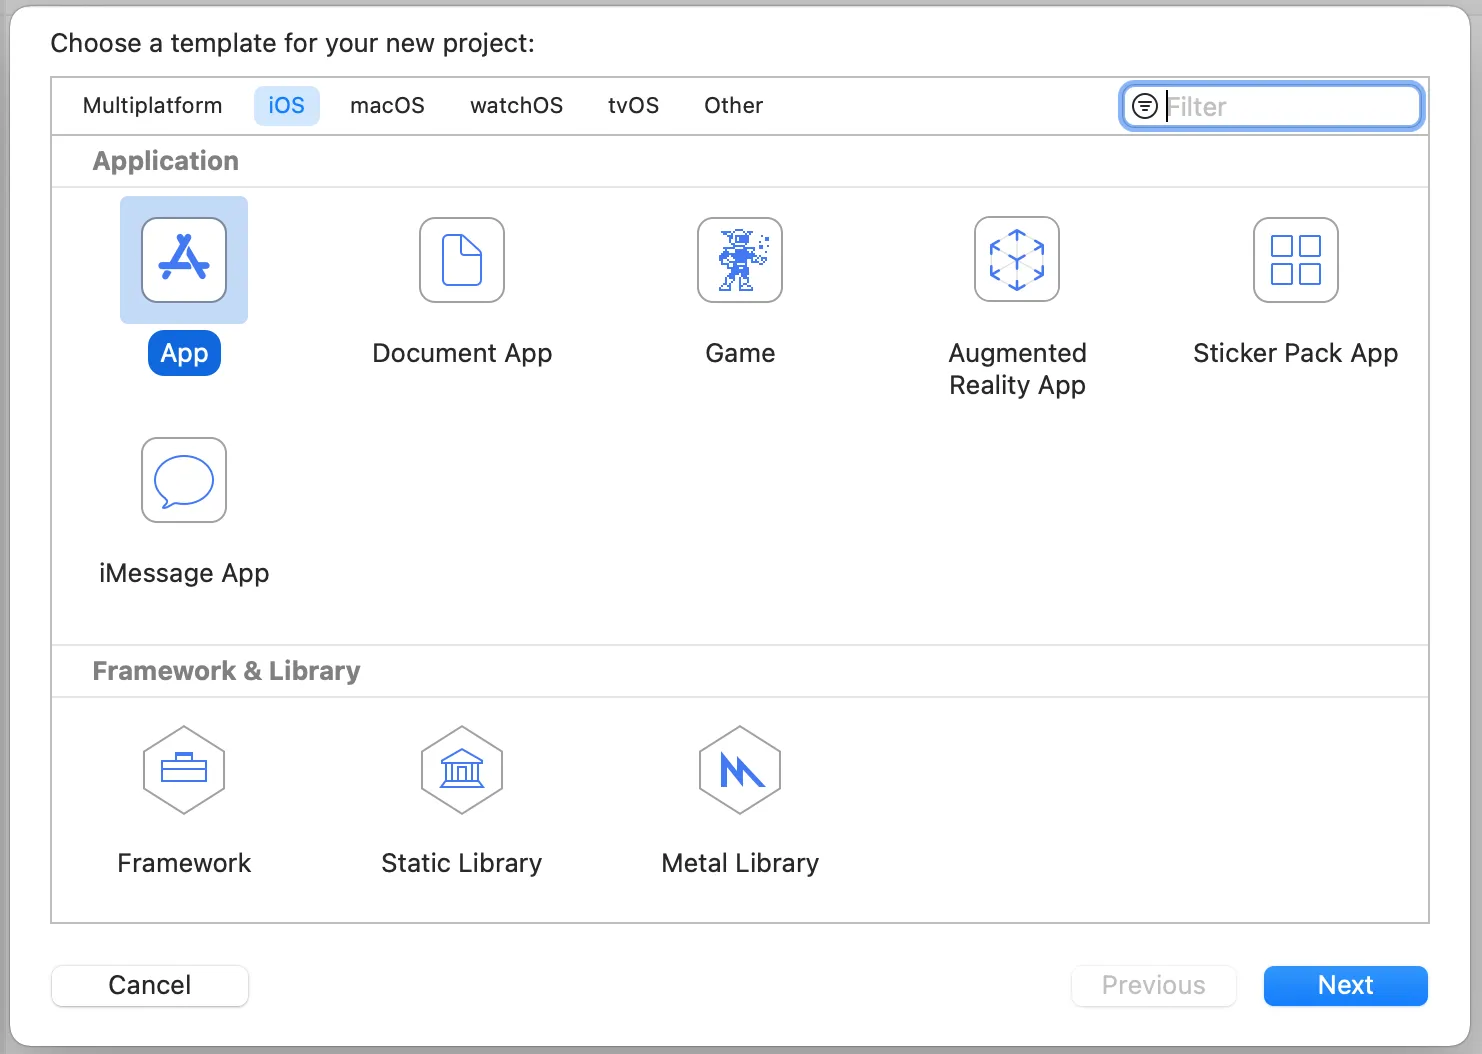
- Note:If you don’t have a basic app created you can open Xcode and hit File-> New-> Project -> iOS. Then select App. After you create your basic app you are ready to follow this guide.


Note: Parse iOS SDK works with iOS 7.0 or higher.
Download Parse’s latest version from Github. Extract the file and keep the Parse.framework folder that you will be using soon.
Parse depends on Bolts Framework in order to work. Download the latest version of Bolts, build it and keep the Bolts.framework folder.
If you have trouble building Bolts, you can download it pre-built from our website:
Or if you prefer, we have the full projects running in Swift for IOS 13, Bolts 1.9 and Parse 1.17.3 here:
Parse relies in a number of libraries in order to work. Please add the following libraries to your project:
- Parse.framework
- Bolts.framework
- libz.tbd
- libsqlite3.tbd
- Foundation.framework
- CFNetwork.framework
- SystemConfiguration.framework
- StoreKit.framework
- Security.framework
- QuartzCore.framework
- MobileCoreServices.framework
- CoreLocation.framework
- CoreGraphics.framework
- AudioToolbox.framework
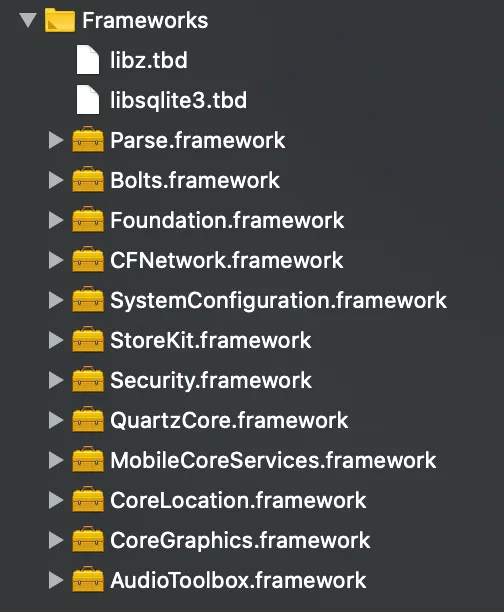
At the end, your project target must look like this:

At this point, you have learned how to get started manually with iOS apps.
Learn more by walking around our iOS Tutorials or check Parse open source documentation for iOS SDK.