Querying with NSPredicate
In this section you will learn how to use NSPredicate to define your queries in Objective-C.
At any time, you can access the complete Project built with this tutorial at our GitHub repository.
In this tutorial we will use a basic app created in Objective-C with Xcode 9.1 and iOS 11.
To complete this tutorial, you need:
- An app created at Back4App.
- Xcode.
- Basic iOS app.
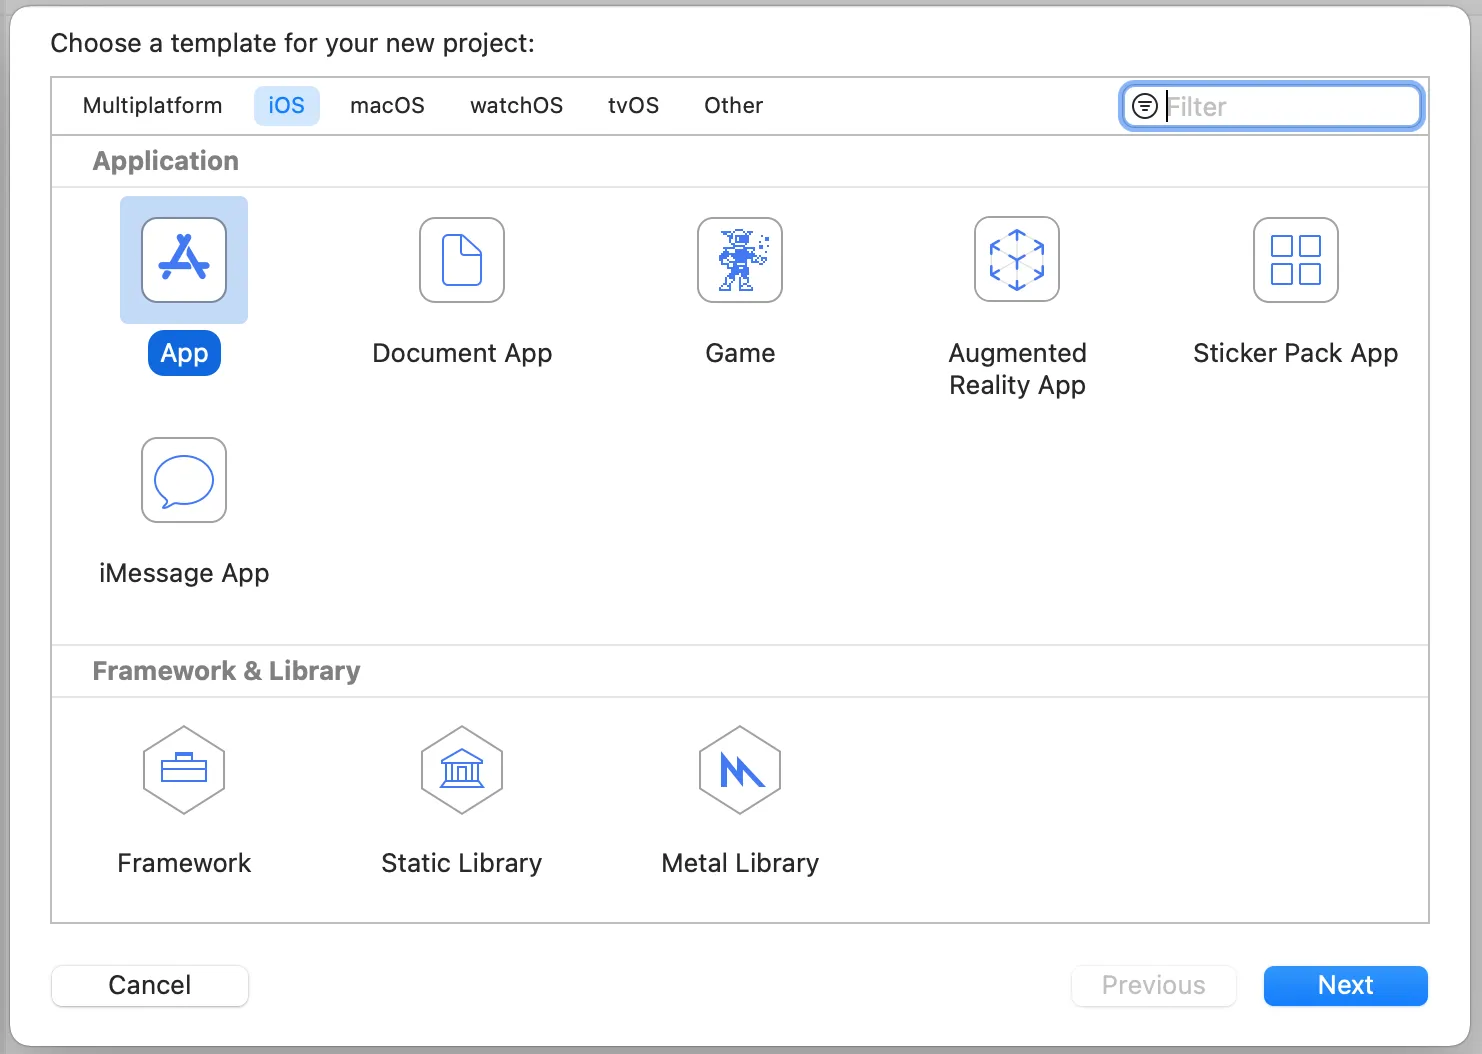
- Note:If you don’t have a basic app created you can open Xcode and hit File-> New-> Project -> iOS. Then select App. After you create your basic app you are ready to follow this guide.


Note: Parse iOS SDK works with iOS 7.0 or higher.
Download the template at Back4App’s GitHub repository, and unzip files in your project folder.
You can do that using the following command line:
- Open Xcode.
- Click on File->Open.

3. Navigate to the project folder and double click on QuickStartObjcExampleApp.xcworkspace.

4. Wait for Xcode to open the project.
Usually for Objective-C you have two options for building queries: using the ‘PFQuery’ or the ‘NSPredicate’. Both work similarly but depending on how many constraints you want to use, it might make more sense using one instead of the other.
For instance, a simple query using PFQuery would be:
But a more complex query could become
So, depending on each case, you can choose to use ‘NSPredicate’ instead. A simple query using ‘NSPredicate’ would be:
While a more complex query could become:
You can, then, execute your query:
At this point, you have learned how to get started with iOS apps.
Learn more by walking around our iOS Tutorials or check Parse open source documentation for iOS SDK.