Facebook Login
This section guides you on how to use the Facebook API for JavaScript in a Parse environment through Back4App.
In this tutorial, you will learn how to link the Facebook SDK to your Parse dashboard and how to implement Facebook login, signup, logout, link and unlink functions.
By following the below-mentioned steps, you will be capable of building a system like this: Back4App JavaScript Example Facebook Login App.
At any time, you can access the complete Android Project built with this tutorial at our GitHub repository.
To complete this tutorial, you will need:
- Basic JavaScript App connected with Back4App.
- Note: You can use the app created in our JavaScript Install Parse SDK tutorial or any app connected to Back4App.
- A domain for your app.
- Note: It’s necessary to have a domain to start using the Facebook Login API. To know more about web hosting take a look at Back4App WebHosting tutorial.
- A Parse Server at version 2.6.5 or higher.
- Note: The Parse Facebook SDK only works on Parse Server version higher than 2.6.5, which this tutorial will be using. So, if you’re using a lower version of Parse, consider upgrading it.
To start using the Facebook SDK for JavaScript, you need to follow these steps:
- Set up your Facebook App.
- Activate the Facebook Login by clicking on Facebook login > Quickstart, which is present on the left menu, then follow the Facebook Quickstart Documentation carry out the activation.
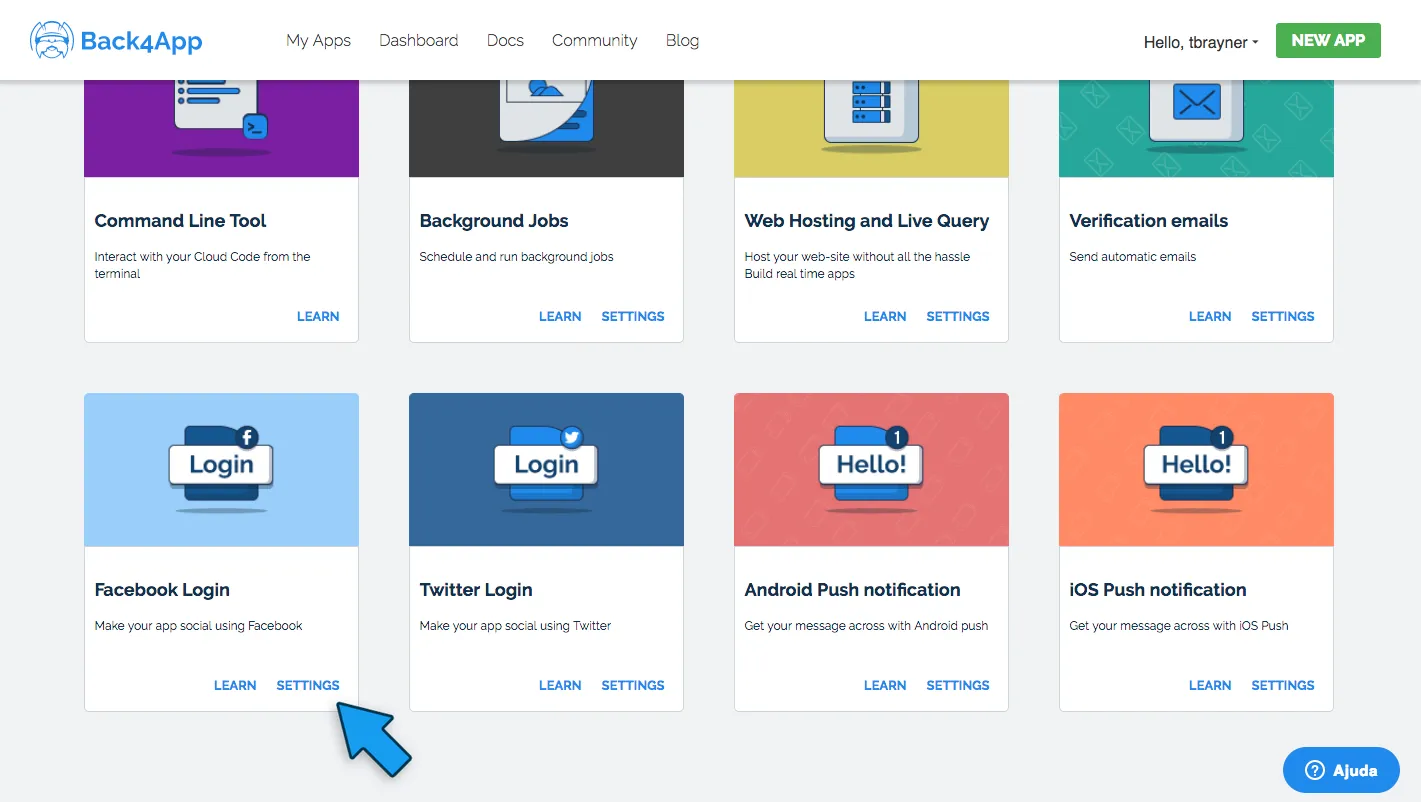
- To link Back4app with your Facebook App, log in to your Back4App account, click on Server Settings of your App and click on Settings of the ''Facebook Login'' block. It should look like this:

5. Then, add your Facebook App ID, which can be found on the Dashboard of your Facebook App. 6. Follow these instructions for loading the Facebook JavaScript SDK into your application. 7. Replace your call to FB.init() with a call to Parse.FacebookUtils.init(). For example, if you load the Facebook JavaScript SDK asynchronously, your fbAsyncInit function will look like this:
Start by making a log in with Facebook function that saves the user to the Parse database.
Unfortunately, it’s not possible to use the login button provided by Facebook, as logging in with it would not save the new user to the Parse Dashboard. However, when you use the Parse SDK for Facebook, it solves the problem on the server side.
For an easy design of the Facebook Login button, using HTML and CSS, look at this implementation: Facebook Login Button.
To start the Login Implementation, assign an onClick event that calls the following logIn function to your Facebook Login button. To build this function, follow the steps mentioned below:
- Use the Parse.FacebookUtils.logIn to perform the Facebook log in together with Parse, this function receives Facebook’s permissions as arguments. In this example, these permissions correspond to the public profile and email.
Note: See Facebook Login Permission Reference for more details.
2. Check if the user is already in the database. If he is, just redirect him to another page. 3. Make a call to FB.api to get information about the new user. In this example, it’s possible to access the ID, name, email and permissions of users.
Note: To know more about this function click here.
4. Set the properties, username and email of the user and save it to the database. 5. Redirect the page.
The logIn() code is the following:
The log out function is way simpler than the log in one. This time, you will be able to use the button provided by Facebook. However, it will be used just for log out purposes, because it’s necessary to use the Parse’s function to log in. Thus, you should only use this button when the user is already logged in to Facebook and want to log out.
To see the official Facebook reference to the Facebook button click here.
Here’s how you can implement this button using the Facebook SDK:
Note: this element has a callback onlogin, which calls our function logOutWithFacebook when the user logs out. Yeah, that’s right: the onlogin event is fired on log out.
The logOutWithFacebook function will simply log out the user from his current Parse session and redirect him to another page, as shown below:
The last features available for Parse Facebook are link and unlink functions.
While Linking is the act of associating an existing Parse.User to his Facebook account and Unlinking refers to removing this association. This association can be seen in your Parse Dashboard, in the authData column, right here:

You can use the data in the column to validate your link and unlink functions.
The link function checks if the current user is linked before trying to link him again. It is quite simple and uses the Parse.FacebookUtils SDK, as shown below:
For the unlink function, simply call Parse.FacebookUtils.unlink on the current Parse User, as you can see:
Go to the authData column in your Parse Dashboard to confirm that it is empty after the function call.
At this point, you have learned not only how to configure and use the Facebook login and logout functions with your app, but also how to use them with Back4App and Parse.
You now master the use of the Parse Facebook SDK and can start using it at will.
See more about Parse SDK at JavaScript SDK API Reference and Parse open source documentation for Javascript SDK.