How to Build a Backend for C#?
In this tutorial, you’ll learn how to build a backend for C# using Back4App.
We’ll explore how to integrate key Back4App features—such as database management, cloud functions, REST and GraphQL APIs, user authentication, and real-time queries—to create a secure, scalable, and highly efficient backend development environment for your C# applications.
Whether you’re using ASP.NET Core or targeting the .NET Framework, Back4App accelerates your workflow by offering essential infrastructure tools for building backend applications.
This streamlined approach can save you time by eliminating the need to configure servers and databases manually.
Along the way, you’ll also learn how to apply advanced security options, schedule tasks with Cloud Jobs, and integrate webhooks for extended functionality.
By the end of this guide, you’ll have a solid foundation for creating web applications or other backend applications in C#. You’ll be ready to customize this basic setup for more complex business logic or external API integrations.
To complete this tutorial, you will need:
- A Back4App account and a new Back4App project Getting Started with Back4app. You can sign up for free if you don’t have an account. This guide shows how to create and configure your Back4App project.
- C# development environment You can use Visual Studio or Visual Studio Code for ASP.NET Core or .NET Framework projects. .NET Download Page
- Familiarity with C# Basic knowledge of the C# programming language and object-oriented concepts. Microsoft C# Docs.
- .NET SDK (for ASP.NET Core or .NET Framework) Make sure you have the latest .NET SDK installed for your platform. .NET Download Page
Ensure you have these in place before you begin so the walkthrough proceeds smoothly.
- Log in to Back4App and create a new project. This will serve as the foundation for your C# backend.
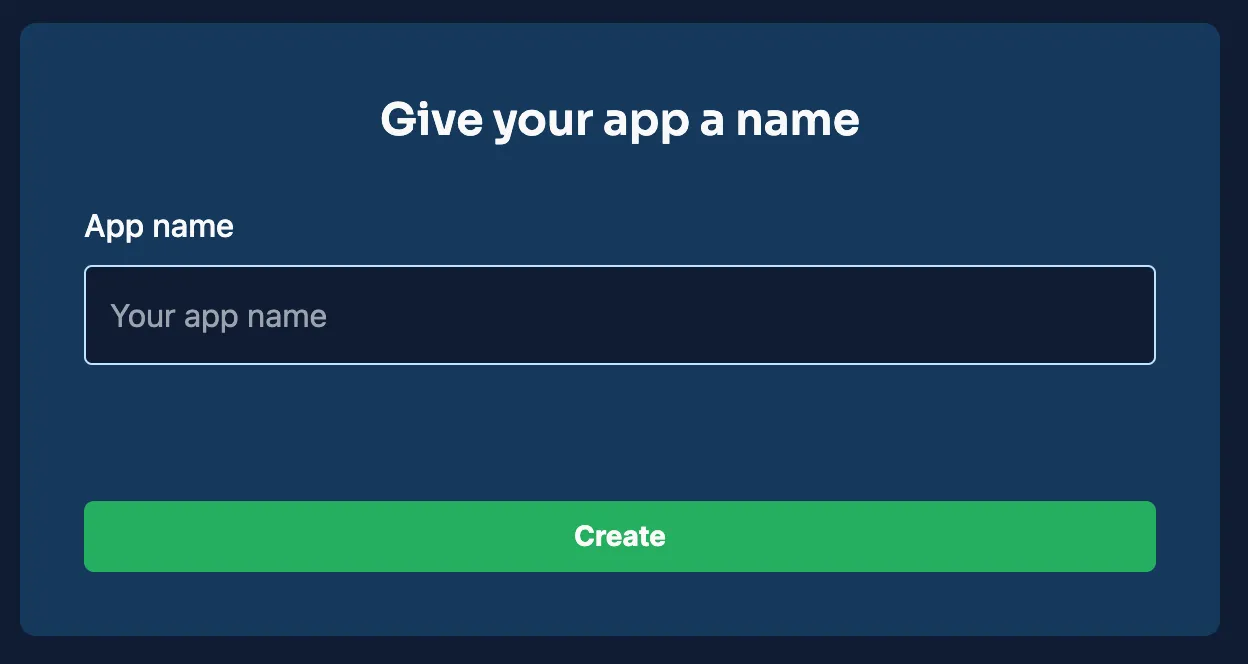
- Click “New App” in your Back4App dashboard.
- Name your project (e.g., “CSharp-Backend-Tutorial”).

After creation, you will see it listed in your dashboard. This new project will handle database operations, authentication, real-time queries, and more.
- Install the Parse .NET SDK (if applicable).
- In your C# project (ASP.NET Core or .NET Framework), add the Parse SDK via NuGet:
- Initialize Parse: Retrieve your Application ID, Client Key (sometimes called .NET key), and Server URL from your Back4App project’s “App Settings” or “Security & Keys”.
With this step, you’ve set up your C# application to communicate securely with your Back4App backend. You can now interact with your app data via the Parse .NET SDK.
- Creating a Data Model: Define your schema (e.g., a “Todo” class) through your Back4App dashboard or by saving an object from code.
- Creating a Data Model using the AI Agent:
- Open the AI Agent in your Back4App Dashboard.
- Describe your data model (e.g., “Create a TODO schema for a C# demo”).
- Let the AI Agent generate the classes and fields automatically.
- Reading and Writing Data using the SDK:
- Reading and Writing Data using REST API:
- Reading and Writing Data using GraphQL API:
- Working with Live Queries (optional):
- Enable Live Queries in the Server Settings on Back4App.
- In your C# app, you can subscribe using dedicated libraries if available, or via WebSockets. Check the .NET SDK docs for current support. This feature is helpful when building web applications that require real-time updates.
- Overview:
- ACLs: Control read/write access at the object level.
- CLPs: Restrict actions at the class level (Public vs. Authenticated Users vs. Specific Roles).
- Setting up Class-Level Permissions:
- Go to the “Database” section in the Back4App dashboard.
- Select your class (e.g., “Todo”) and open Class-Level Permissions.
- Configure “Requires Authentication” or more restrictive settings as needed.
- Configuring ACLs in C#:
This approach ensures only authorized users can read or modify your backend data, protecting your backend development from unauthorized access.
Cloud Code lets you run server-side logic in JavaScript (even if your client is in C#). Use it for validations, triggers, or custom business logic. You don’t need separate servers—Back4App hosts and scales your code for you.
- Back4App CLI or Dashboard
- Install b4a CLI and run:
- Or paste your function in Cloud Code > Functions in your app’s dashboard.
From your C# code:
Or call via REST/GraphQL for other backend applications.
Back4App’s Parse User class handles password hashing, session tokens, and secure login flows. This is critical for web applications that need user accounts.
If you want to integrate social logins (e.g., Google, Apple, Facebook), refer to Social Login Docs. In many cases, you’ll configure credentials and call specialized Parse methods or add extra packages if they are available for the .NET ecosystem.
Once uploaded, you can retrieve the URL for display in client applications. You can also set security rules to restrict file uploads to authenticated users.
Email verification helps confirm ownership of user accounts, and password resets increase user convenience and security. Both can be set in the Back4App dashboard.
- Go to App Settings > Email Settings.
- Enable Email Verification and Password Reset.
- Customize the email templates as needed.
In C#, once you’ve enabled these features, new users will receive verification emails automatically. You can also trigger password resets programmatically:
Use Cloud Jobs to automate tasks like data cleanup or sending periodic reports. These run on Back4App’s servers without direct user input.
Deploy it, then schedule via App Settings > Server Settings > Background Jobs in the Back4App dashboard.
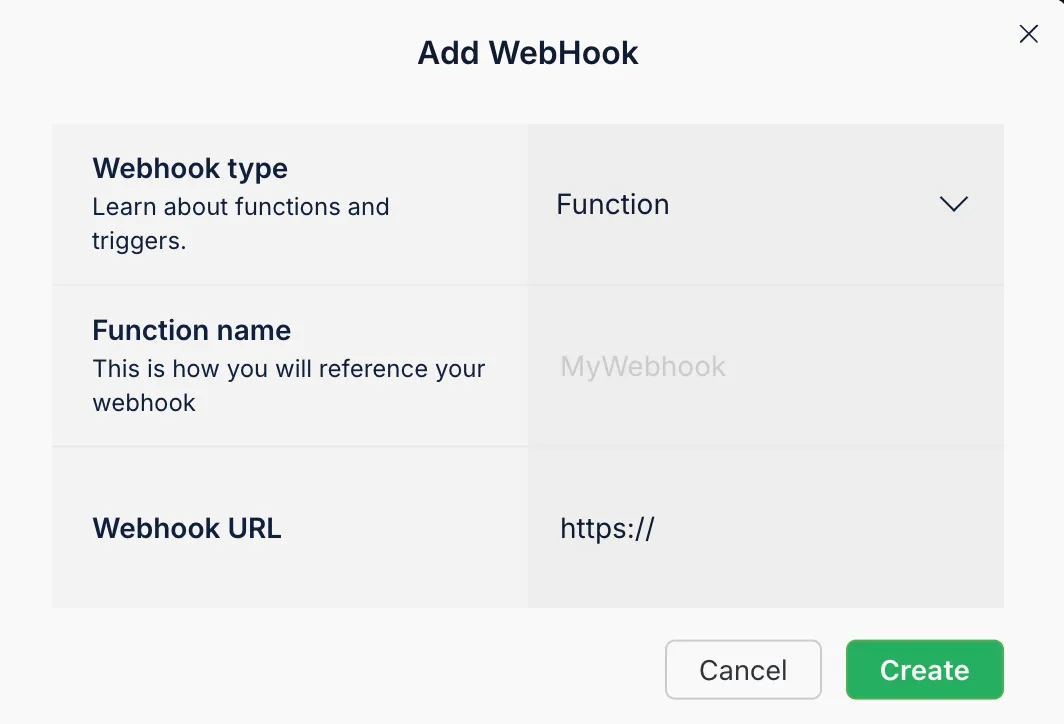
Webhooks let Back4App send HTTP POST requests to external endpoints whenever specific events occur in your app.
- Go to More > WebHooks in your app’s dashboard.
- Add a new Webhook and specify the endpoint URL (like a Slack Webhook or a custom server).
- Choose the event triggers (e.g., “New record in Todo class”).

You can extend this by making HTTP requests in Cloud Code triggers (like beforeSave or afterSave) if you need more complex logic.
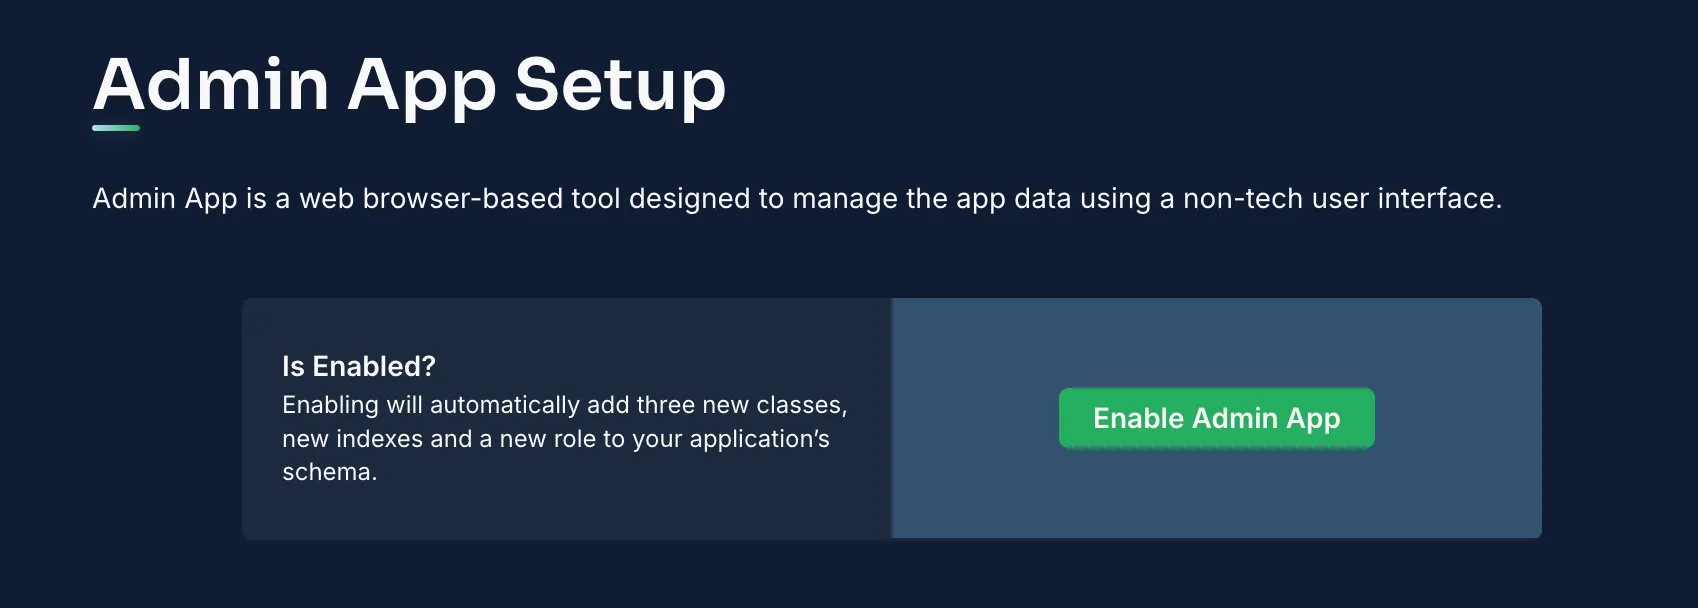
- Where to Find It: In your app’s dashboard, go to More > Admin App.
- Features: The Admin App offers a visual interface for CRUD operations, logs, background jobs, and analytics. This is perfect for non-technical users or quick data fixes.

By enabling and configuring the Admin App, you get a convenient way to handle routine data management tasks in your web applications.
Congratulations! You’ve learned how to build a backend for C# using Back4App. This guide has shown you how to:
- Create and configure a new Back4App project for C# backend development.
- Use the .NET SDK to save, query, and manage relational data.
- Secure your data with ACLs and CLPs.
- Implement user authentication and session management.
- Write server-side logic in Cloud Code and schedule tasks with Cloud Jobs.
- Handle file uploads and external integrations with webhooks.
- Explore the Admin Panel for easy database administration.
These skills are a solid foundation for building advanced backend applications in C#.
You can now integrate custom business logic, add more complex relational structures, and even combine external APIs for real-world scenarios.
Whether you’re using ASP.NET Core or targeting the .NET Framework, Back4App helps you focus on building great apps instead of maintaining servers.
- Deepen your knowledge of C# and Back4App by exploring more advanced data models or performance optimization.
- Integrate external APIs to enhance your functionality—like payment gateways or messaging services.
- Check out Back4App’s official docs for advanced security tips, logs analysis, and real-time analytics.
- Build production-ready applications by expanding on this setup and deploying your projects to the cloud.
With this flexible and scalable setup, you’re ready to take on any backend development challenge in C# with Back4App. Happy coding!
