How to Build a Backend for Gatsby?
In this tutorial, you’ll learn how to build a backend for Gatsby using Back4App.
We will show you how to integrate Back4App’s features—such as database management, Cloud Code Functions, REST API and GraphQL query capabilities, user authentication, and real-time queries (Live Queries)—to create a secure, scalable, and robust backend that can be accessed from your Gatsby site.
You’ll also see how Back4App’s quick setup and intuitive environment can drastically reduce the time and effort it takes to handle backend tasks.
By the end, you’ll know exactly how to build a backend for Gatsby that stores and retrieves data, handles authentication, integrates cloud functions, and more.
This sets you up to easily incorporate custom logic, add third-party APIs, or expand your data model without having to worry about traditional server maintenance.
- Complete Backend Integration: You’ll create a scalable backend structure for your Gatsby site, incorporating Parse SDK, which is perfect for dynamic data needs.
- Time Savings: Back4App provides tools like the AI Agent, real-time queries, and cloud jobs that speed up backend creation.
- Extendable Skills: After finishing, you’ll be able to adapt these concepts for more advanced Gatsby features, like create pages at build time or hooking into serverless functions for dynamic operations.
- A Back4App account and a new Back4App project Getting Started with Back4app. If you do not have an account, you can create one for free. Follow the guide above to get your project ready.
- Familiarity with JavaScript and Gatsby’s concepts Gatsby Official Documentation. Read the docs or a beginner’s tutorial if you’re new to Gatsby.
Make sure you have these requirements set up. This ensures a smooth experience as you create a new file for configuration or run GraphQL queries in your Gatsby environment.
The first step in how to build a backend for Gatsby on Back4App is creating a new project. If you have not already:
- Log in to your Back4App account.
- Click the “New App” button on your dashboard.
- Give your app a name (e.g., “Gatsby-Backend-Tutorial”).
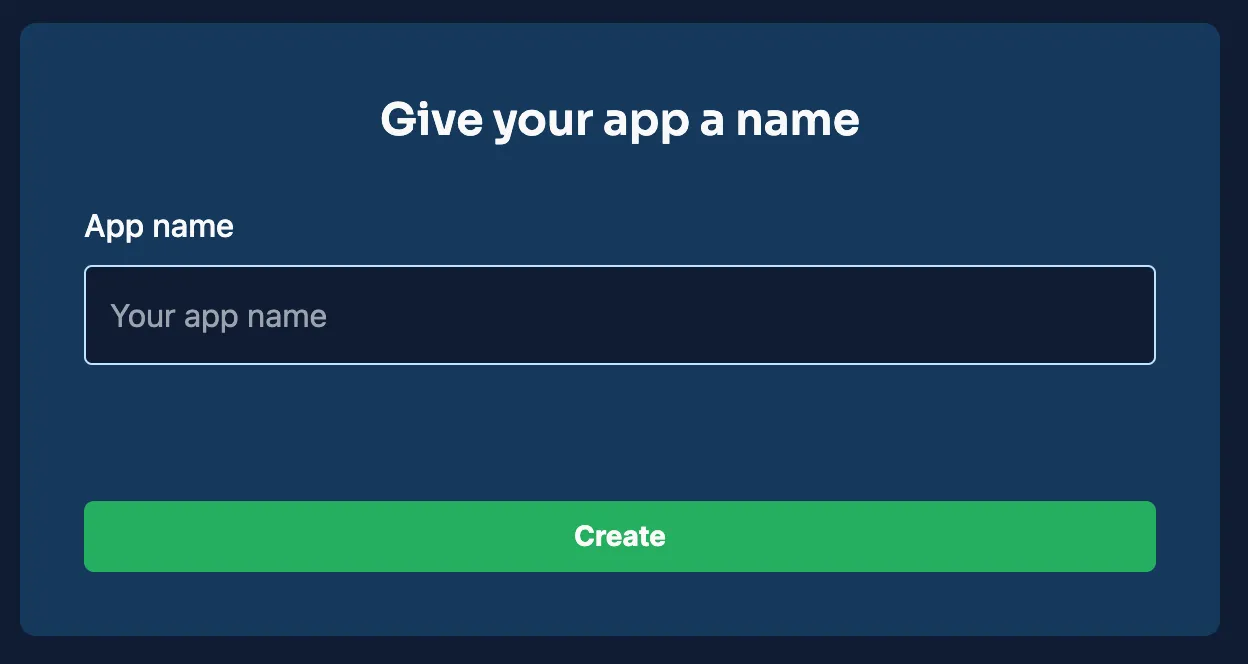
After you create the project, it will appear in your Back4App dashboard. We’ll use this project as the core of our backend.
Back4App uses the Parse Platform to manage your data, offer real-time features, handle user authentication, and more. For Gatsby, you can still npm install parse and then integrate it into your source files:
Retrieve Your Parse Keys: In your Back4App dashboard, locate your Application ID and JavaScript Key, typically under “App Settings” or “Security & Keys.” You’ll also find the Parse Server URL (often something like https://parseapi.back4app.com).
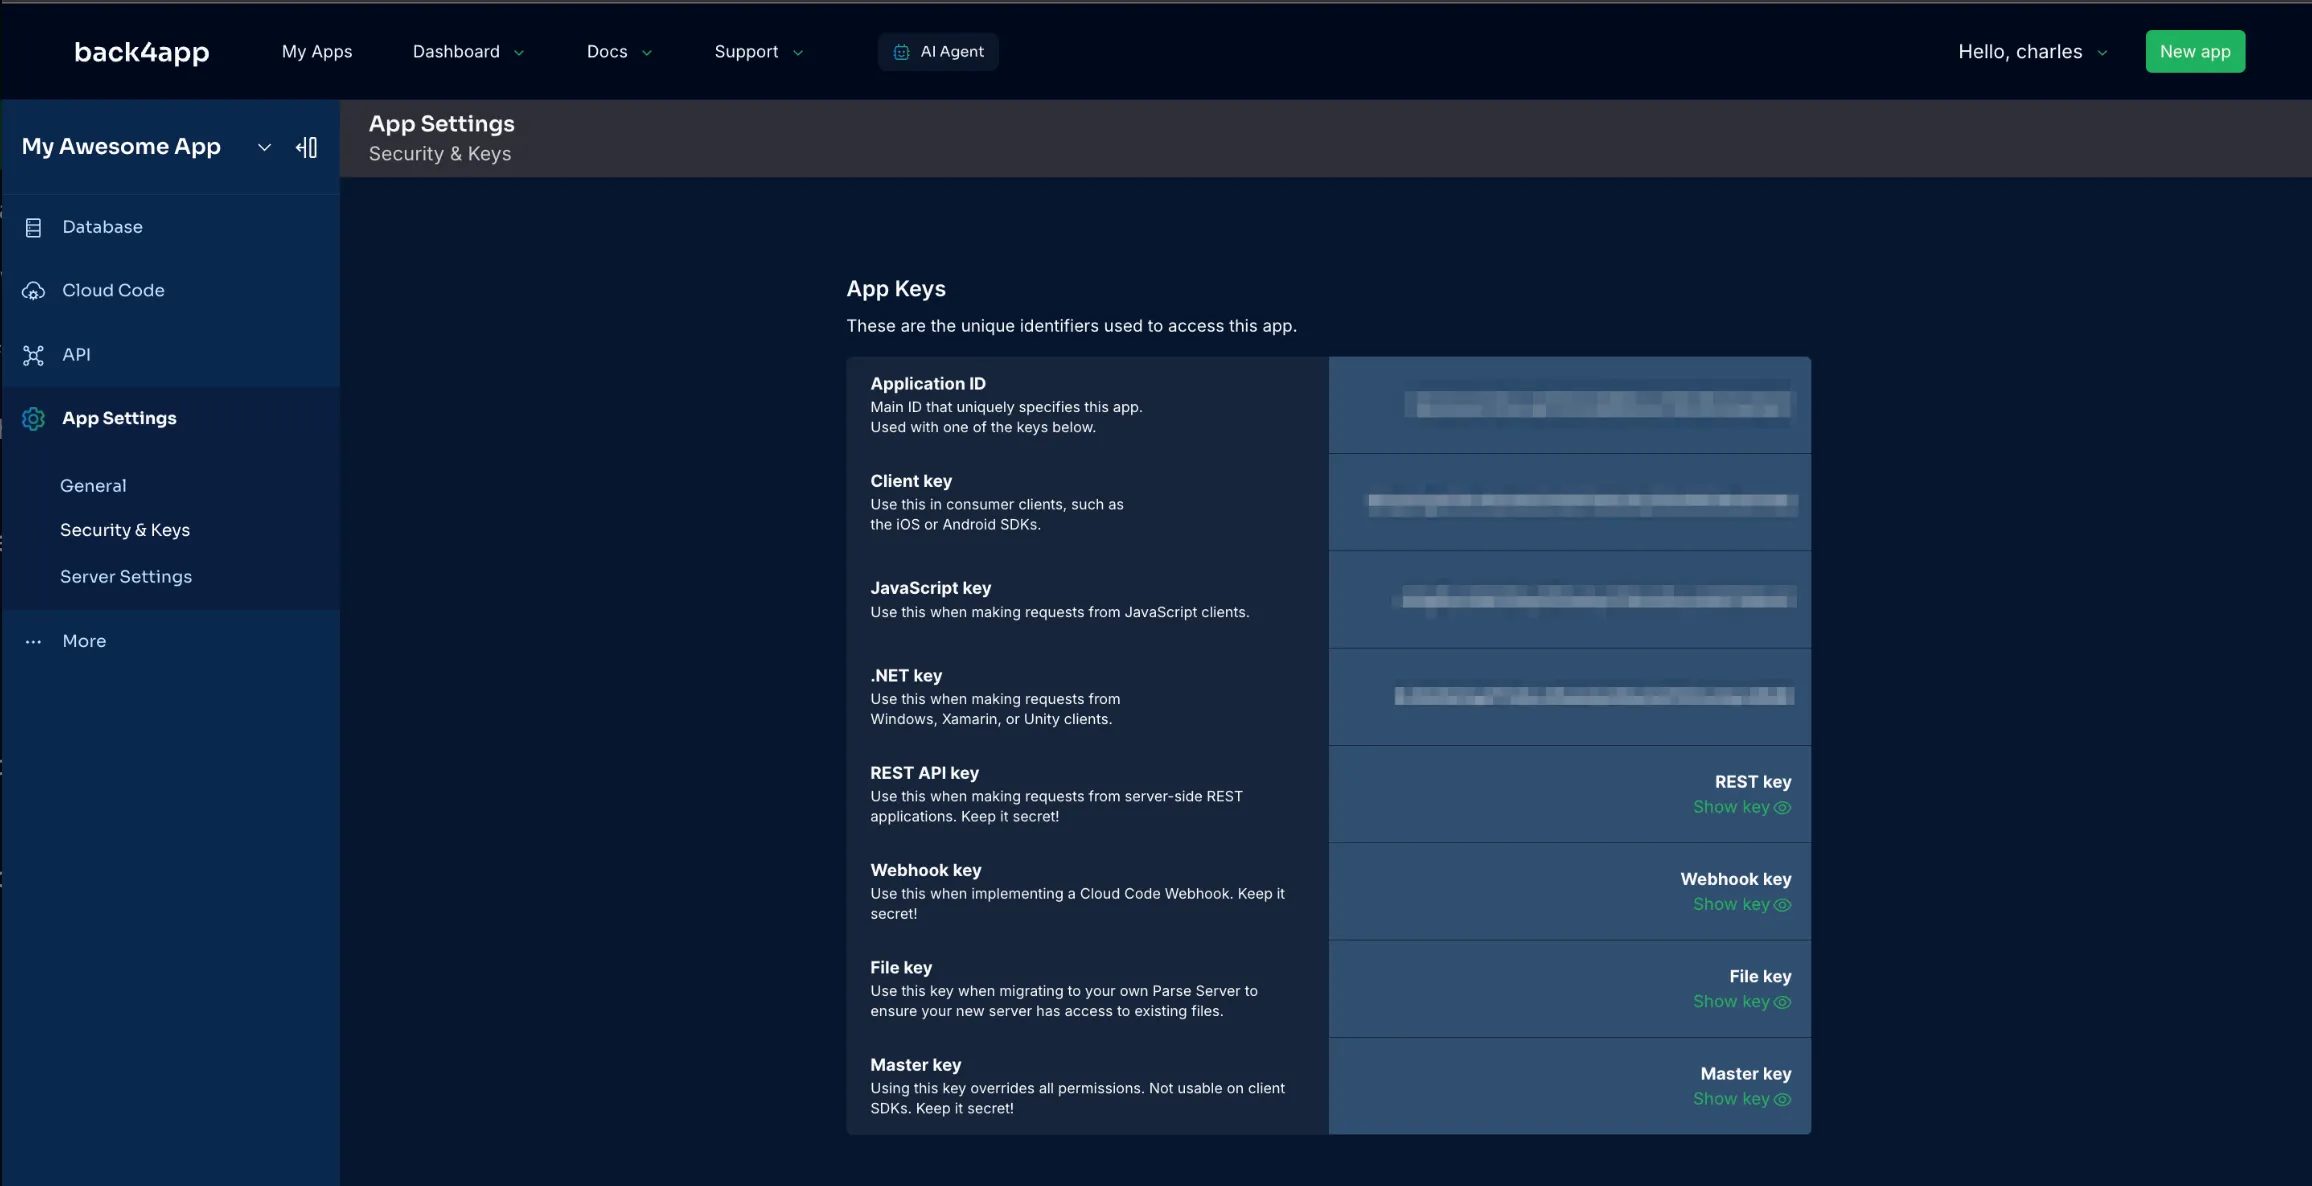
Install the Parse SDK in your Gatsby site:
Create a parseConfig.js in your Gatsby project’s root directory or within src/:
Whenever you import Parse from parseConfig.js in your Gatsby files (e.g., in gatsby-node.js, gatsby-browser.js, or pages/components), you’ll have a pre-configured instance ready to make queries to your Back4App backend.
In Back4App, data is managed as “classes” (similar to tables) with fields for your data. Let’s create a “Todo” class for demonstration. We’ll show a few ways you can save and retrieve data in Gatsby with Parse.
- Navigate to the “Database” section in your Back4app dashboard.
- Create a new class (e.g., “Todo”) and add columns like title (String) and isCompleted (Boolean).
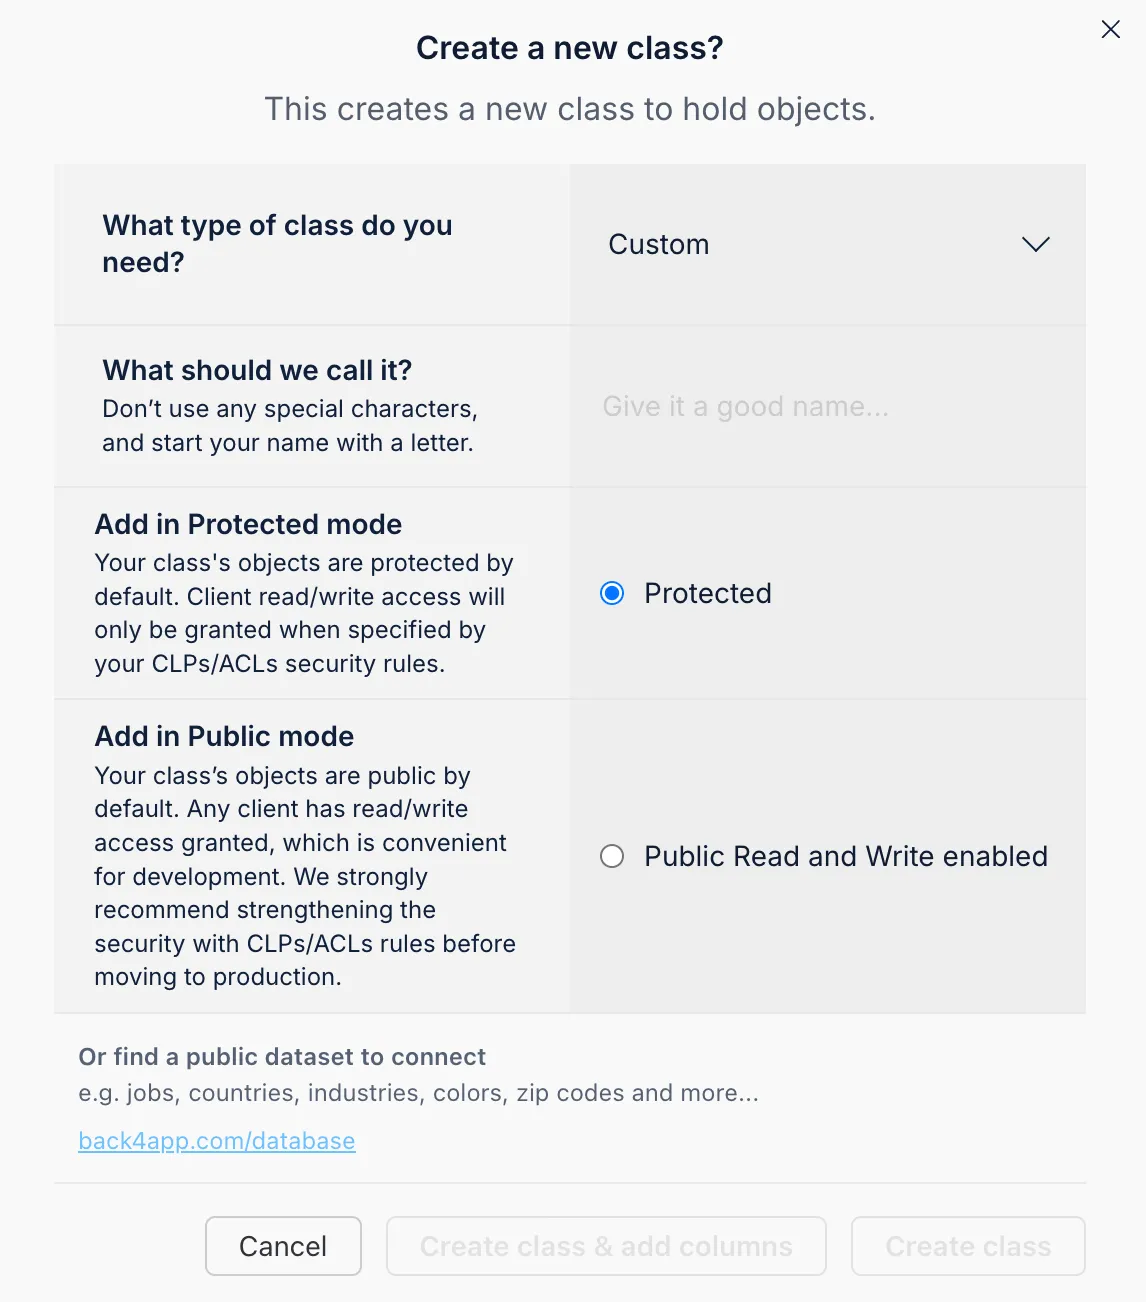
Or you can let Parse automatically create columns when objects are first saved from your code.
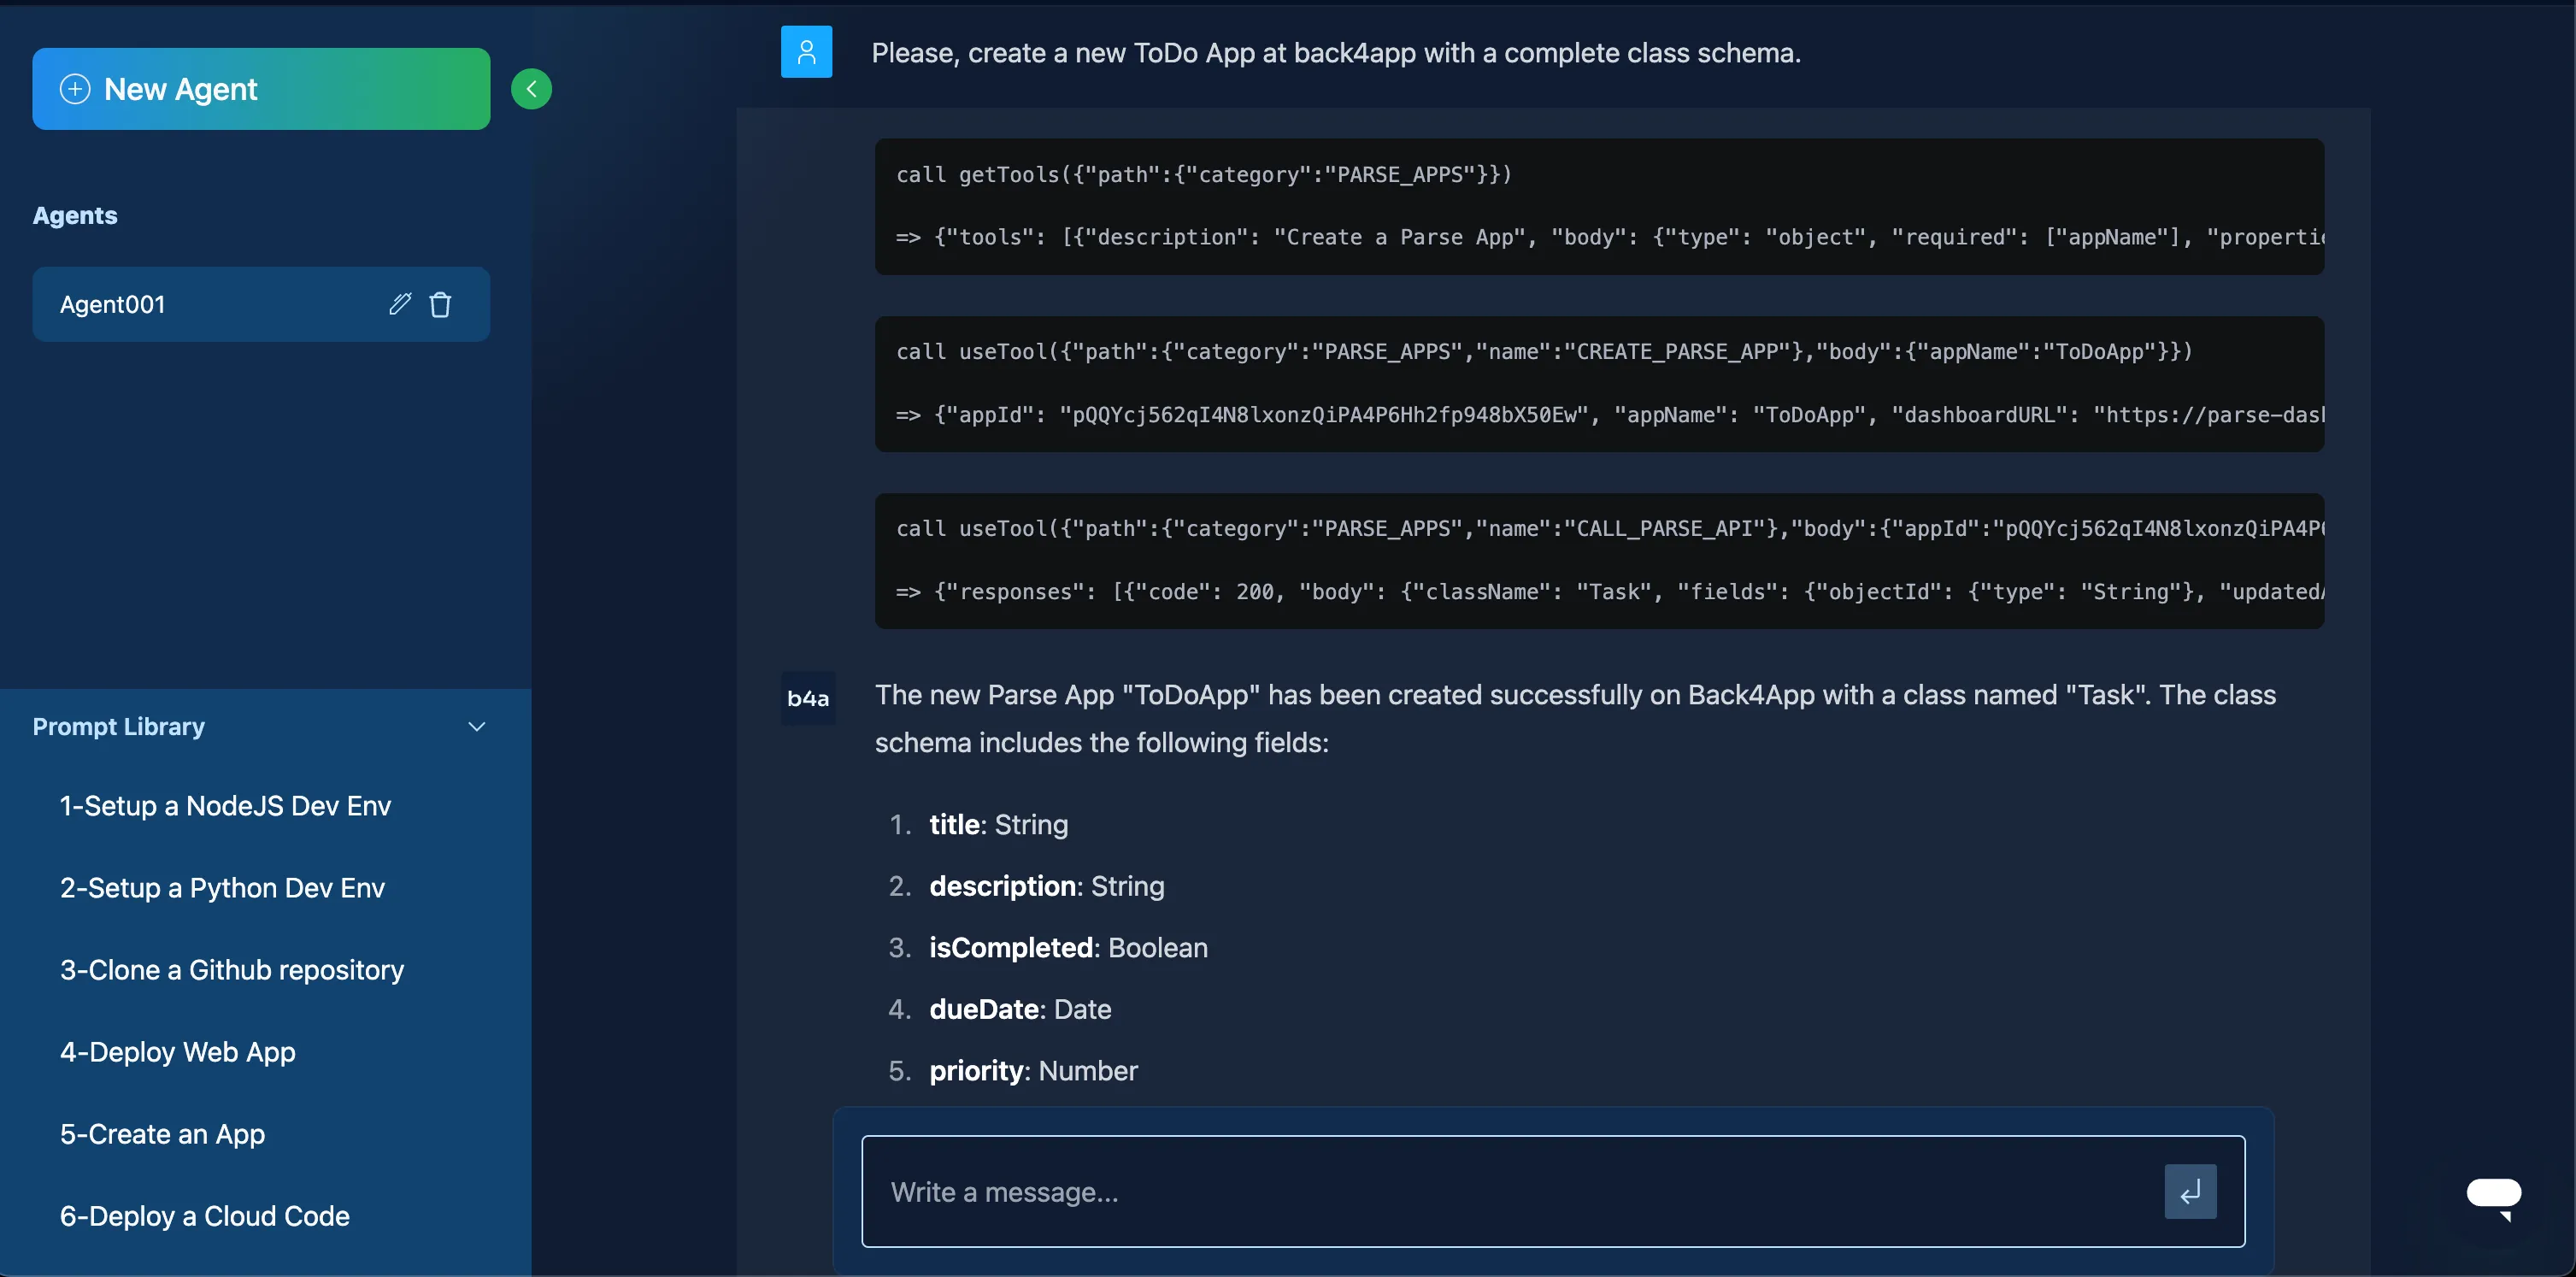
Back4App provides an AI Agent to help define your data structure.
- Open the AI Agent from your App Dashboard or menu.
- Describe your data model (e.g., “Please create a new Todo app schema with a title and completion status.”).
- Let the AI Agent generate the schema for you.
A sample snippet in Gatsby could look like this (for example, in a React-based page or in gatsby-browser.js):
Alternatively, you can interact with the database via the REST API:
Back4App also supports a GraphQL API, so you could run queries or mutations like:
This is especially convenient if you want your Gatsby site to pull data via GraphQL queries at build time.
Gatsby is a static site generator, but you can still set up dynamic real-time connections using Parse Live Queries. This can be useful in browser-run code or in your own serverless hooks.
- Enable Live Queries in your Back4app dashboard (under Server Settings).
- Add the Live Query Server URL to parseConfig.js:
- Subscribe to a class for real-time notifications:
This will push real-time data updates to your Gatsby project’s front-end.
ACLs (Access Control Lists) let you define permissions on individual objects, while CLPs (Class-Level Permissions) apply to entire classes in your Back4App database.
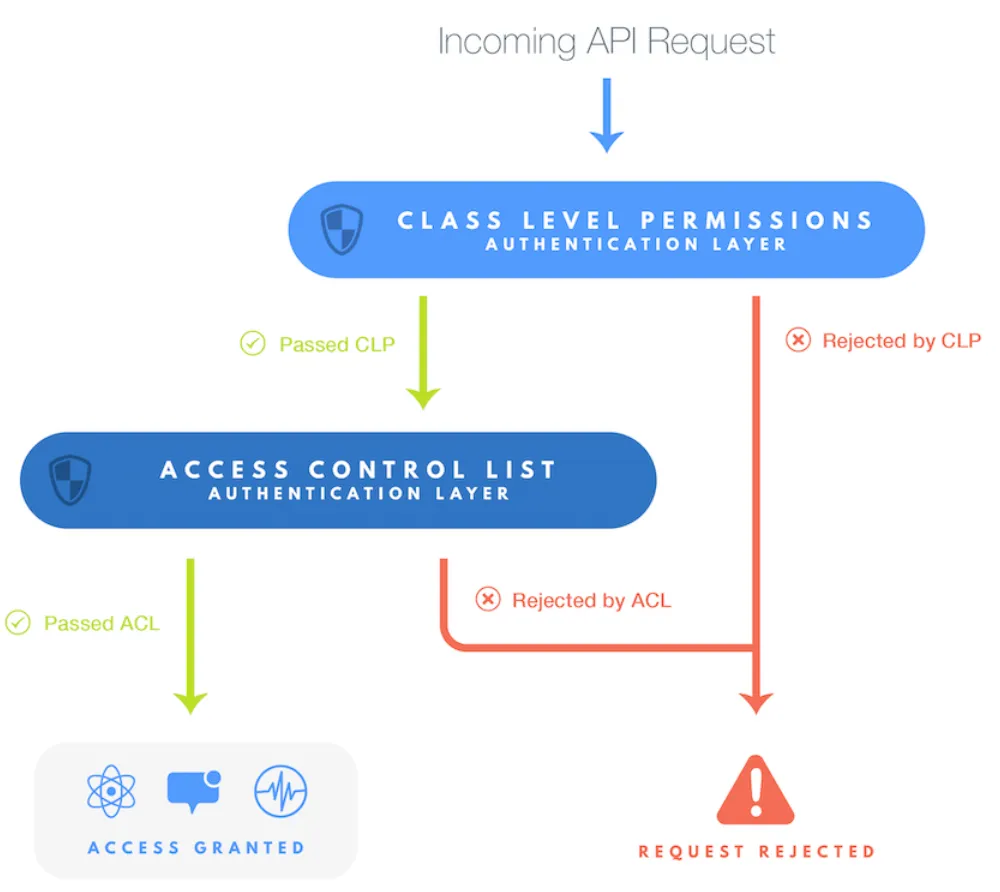
- Go to Database in your Back4App Dashboard.
- Select the class (e.g., Todo).
- Click the Class-Level Permissions tab.
- Configure whether the class is publicly readable, requires authentication, or is restricted to certain roles.
In your Gatsby code, you can define ACLs for each new object:
With Cloud Code, you can add custom server-side logic to your Back4App backend. This is great for business rules, REST API transformations, triggers, or data validations that you may want to keep secure and off the client side.
- Via Back4App CLI: Install and configure the CLI, then run b4a deploy.
- Via Dashboard: Go to Cloud Code > Functions in your dashboard, paste your code into main.js, and click Deploy.

From Gatsby/Parse SDK:
Back4App uses the Parse.User class for authentication. By default, it handles password hashing, sessions, and secure storage.
After logging in, you can call Parse.User.current() to check if a user is logged in.
You can integrate Google, Facebook, Apple, and other providers with additional setups. Read more in the Social Login Docs.
Use Parse.File to upload images or other files. For example, in a Gatsby component:
You can then attach this file to a Parse Object, store it, and later retrieve the file URL to display in your Gatsby site.
Email verification confirms the user’s email address, and password reset flows improve user experience. Both are easily configured in Back4App.
- Navigate to your app’s Email Settings in the dashboard.
- Enable email verification and set up the password reset email template.
- Use the Parse SDK methods (e.g., Parse.User.requestPasswordReset(email)) to trigger reset emails.
Use Cloud Jobs for automating recurring tasks, like removing stale data or sending daily digests. For example:
Then schedule it under App Settings > Server Settings > Background Jobs.
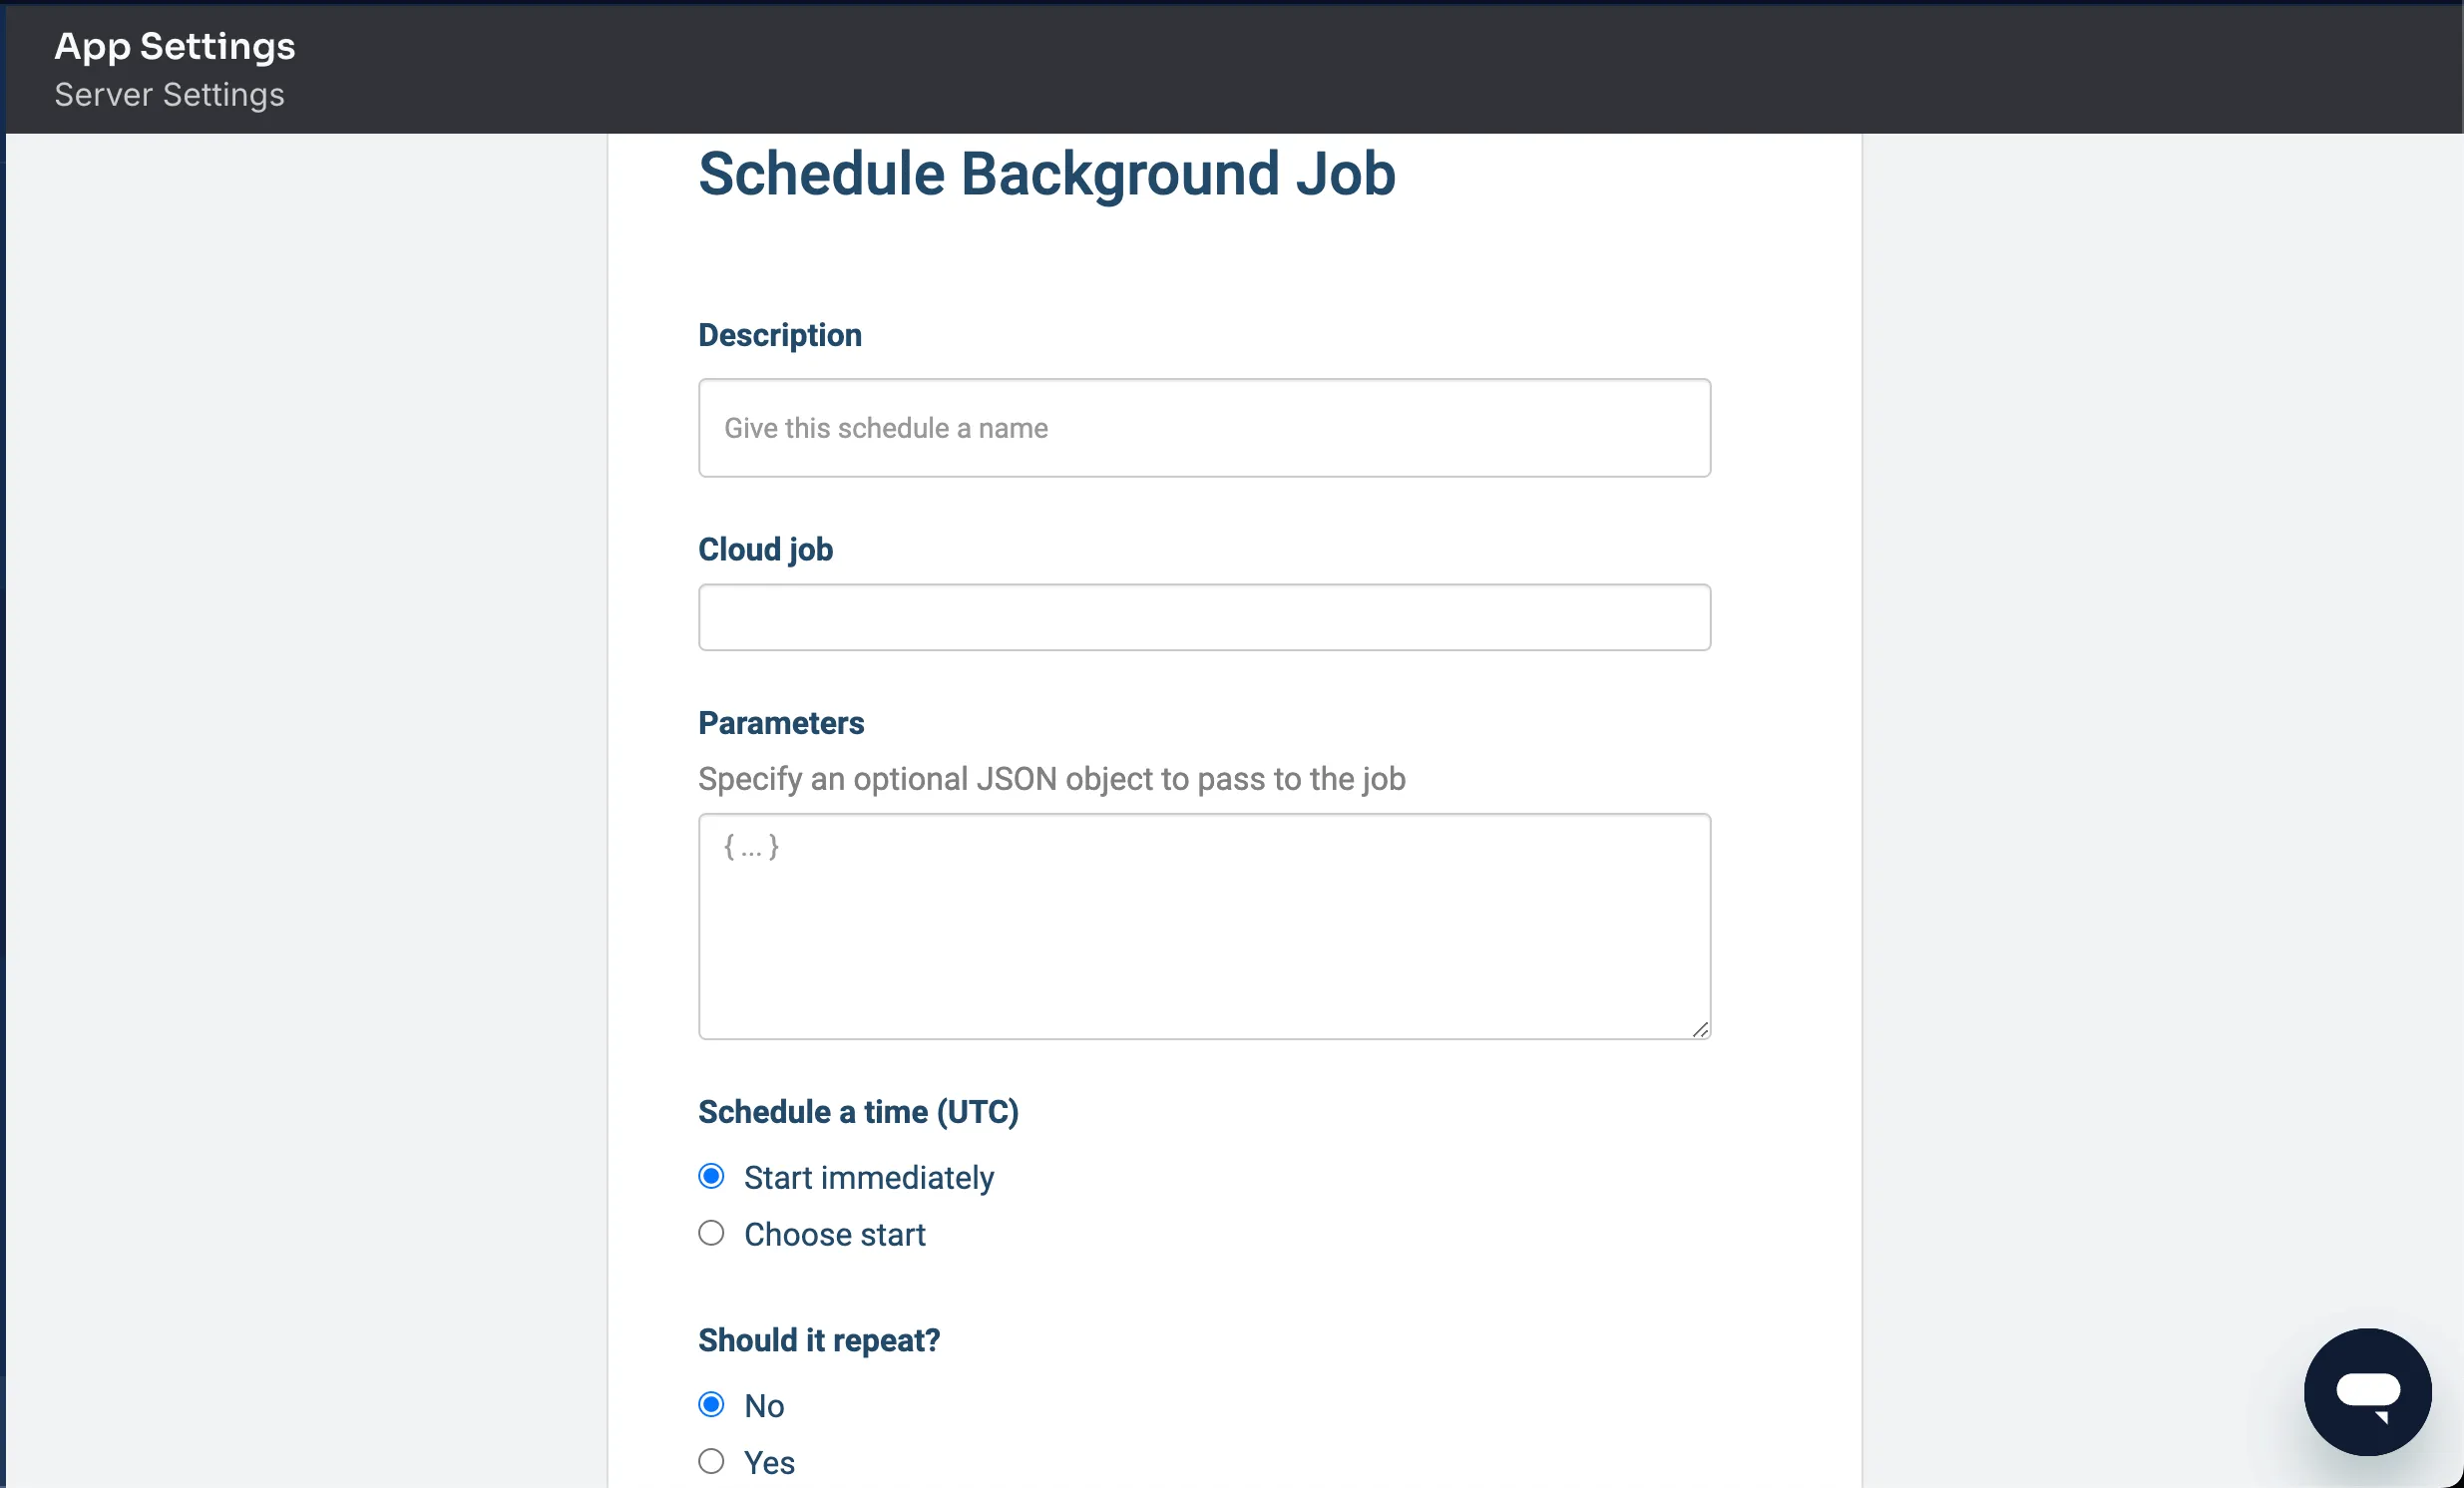
Webhooks let your Back4App app send HTTP requests to external services when specific events happen—like a new record creation.
- Go to your Back4App dashboard > More > WebHooks.
- Add a new Webhook, specifying the endpoint URL for an external service.
- Select what triggers the Webhook (e.g., afterSave on the Todo class).
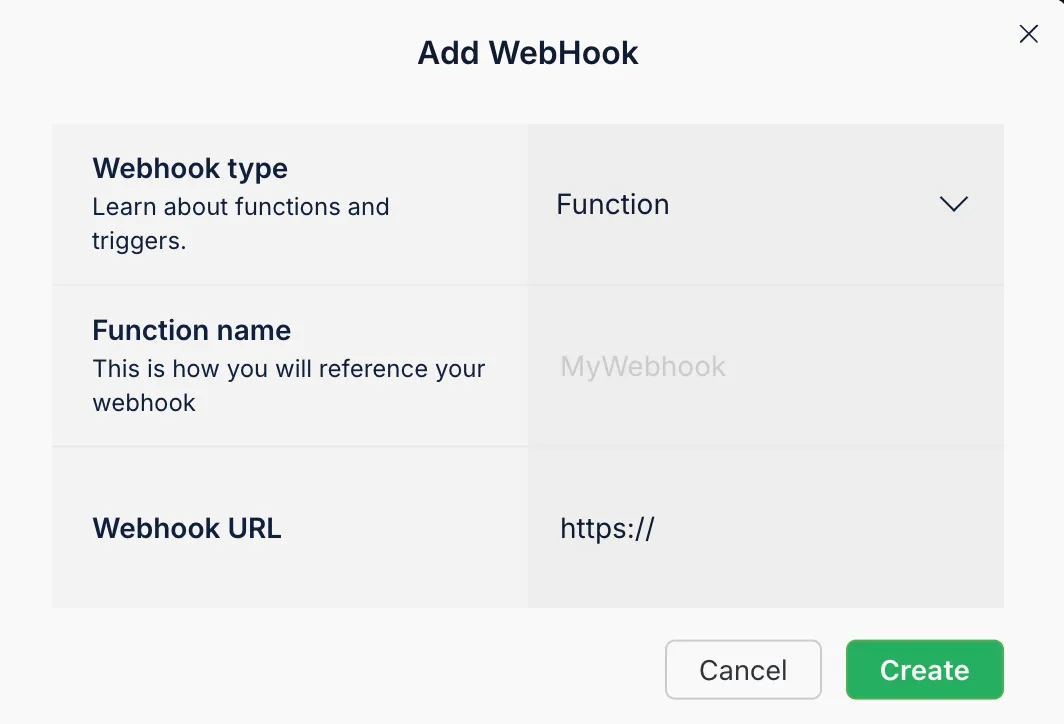
You can also integrate with Slack or payment gateways by adding the proper endpoint.
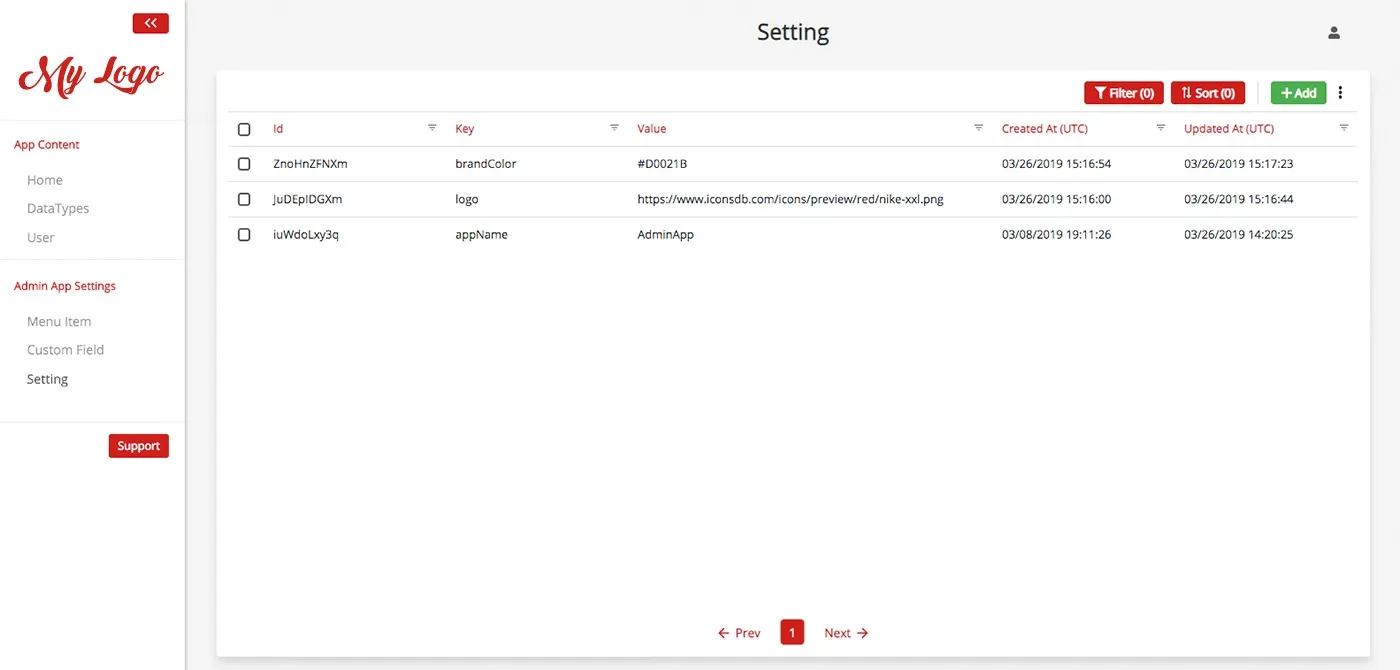
Back4App’s Admin App is a model-centric interface for data management. You can give non-technical users secure access to perform CRUD operations on your classes.
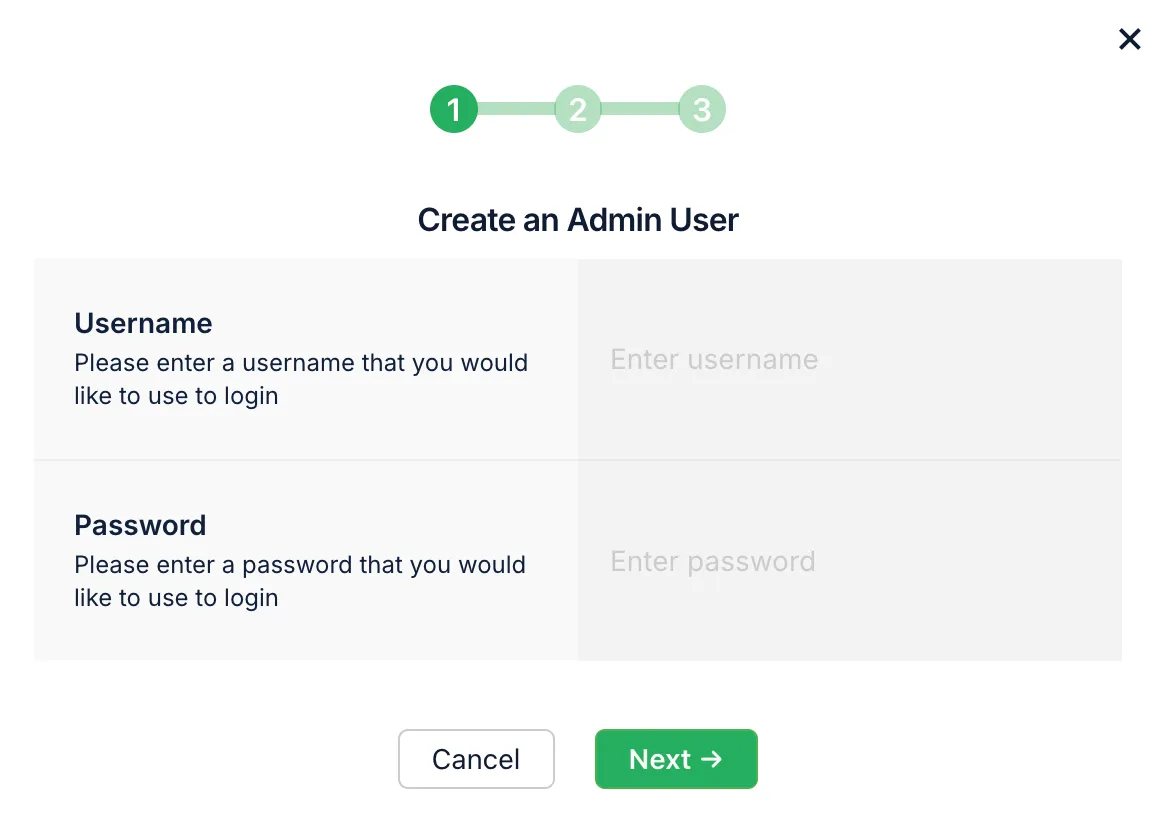
Go to App Dashboard > More > Admin App and click “Enable Admin App.”
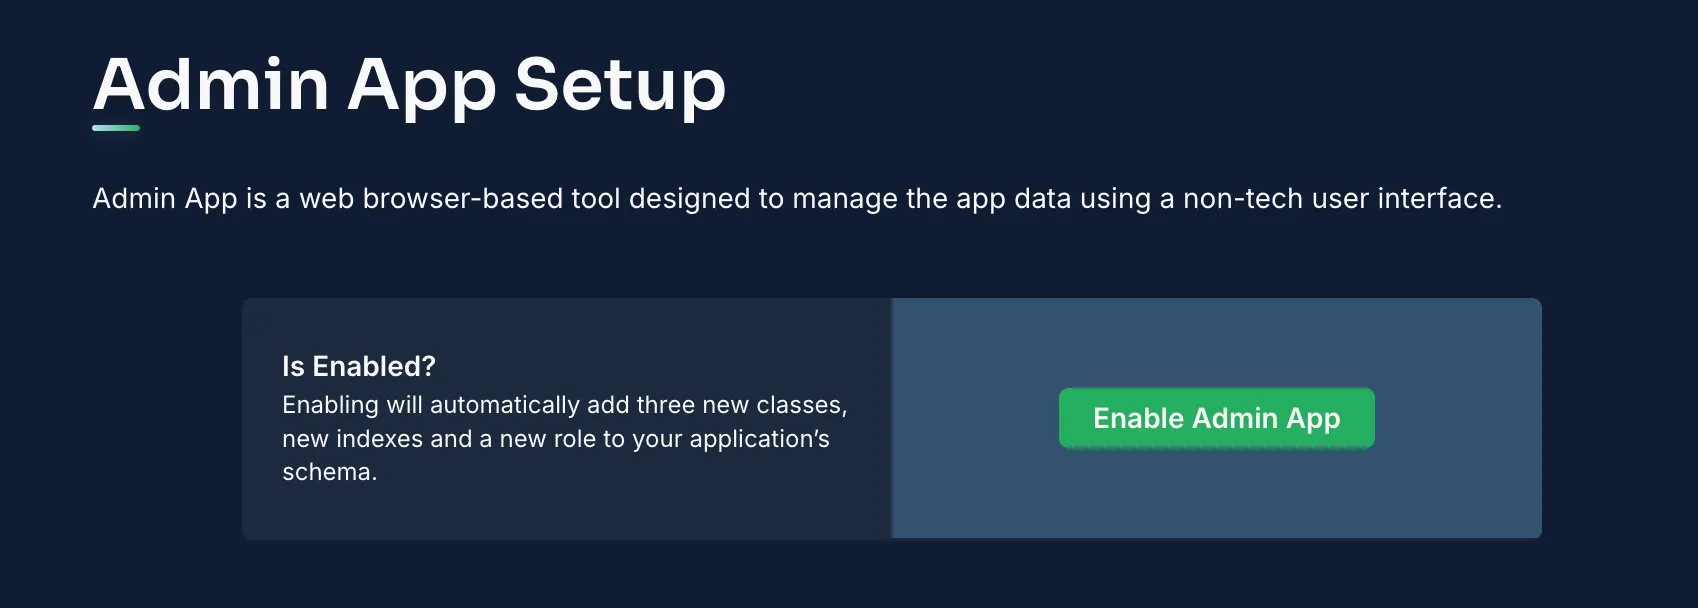
Then create an Admin User and choose a subdomain for the admin interface.
You can now log into your Admin App to view and modify data without writing code.
In this tutorial, you discovered how to build a backend for Gatsby using Back4App. You’ve learned to:
- Configure a secure database with classes, custom fields, and relationships.
- Use the Parse SDK, along with REST API and GraphQL query options, for data transactions.
- Set up ACLs and CLPs for data security.
- Write and deploy Cloud Code to extend business logic and triggers.
- Manage user authentication with sign-up, login, password reset, and email verification.
- Handle file storage for images and documents.
- Schedule automated tasks with Cloud Jobs.
- Integrate external services through Webhooks.
- Leverage the Admin App for easy data administration.
With these skills, your Gatsby site can harness powerful dynamic features while still taking advantage of Gatsby’s static rendering. From here, you can:
- Expand your data model and add advanced business logic.
- Integrate more external APIs for a truly comprehensive platform.
- Follow Back4App’s official docs for deeper dives into security, performance, and analytics.
- Experiment with Gatsby’s build-time features—for instance, “create pages” from dynamic data or set up a “gatsby source” plugin for your Back4App backend.
Now you have a strong foundation for building future-proof, data-driven apps with Gatsby and Back4App.
