How to Build a Backend for jQuery?
In this tutorial, you'll learn how to build a backend for jQuery using Back4app.
We will integrate Back4app’s essential features—database management, Cloud Code, REST and GraphQL APIs, user authentication, and real-time queries—to create a secure and scalable backend.
This backend will communicate with your jQuery-based frontend through AJAX calls and other common jQuery methods.
Back4app's intuitive environment reduces the time needed to set up servers or databases.
By following a few simple steps, you'll gain hands-on experience with ACLs, class-level permissions, data modeling, file uploads, and more.
By the end of this tutorial, you will have a solid foundation for a fully functional jQuery-based app connected to a Back4app backend.
You'll be ready to add custom logic, integrate external APIs, and secure your data with fine-grained control.
To complete this tutorial, you will need:
- A Back4app account and a new Back4app project Getting Started with Back4app. If you do not have an account, you can create one for free. Follow the guide above to get your project ready.
- Node.js (version 14 or above) installed (Optional) While Node.js is not strictly required for jQuery in a browser, you may need it for running local test servers or installing npm packages if you wish to do local testing. Installing Node.js
Make sure you have all these prerequisites in place before starting, so you can follow along smoothly when building your jQuery-based front end and connecting it to Back4app.
To begin your jQuery backend project, create a new Back4app project:
- Log in to your Back4app account.
- Click the “New App” button in your Back4app dashboard.
- Give your app a name (e.g., “jQuery-Backend-Tutorial”).
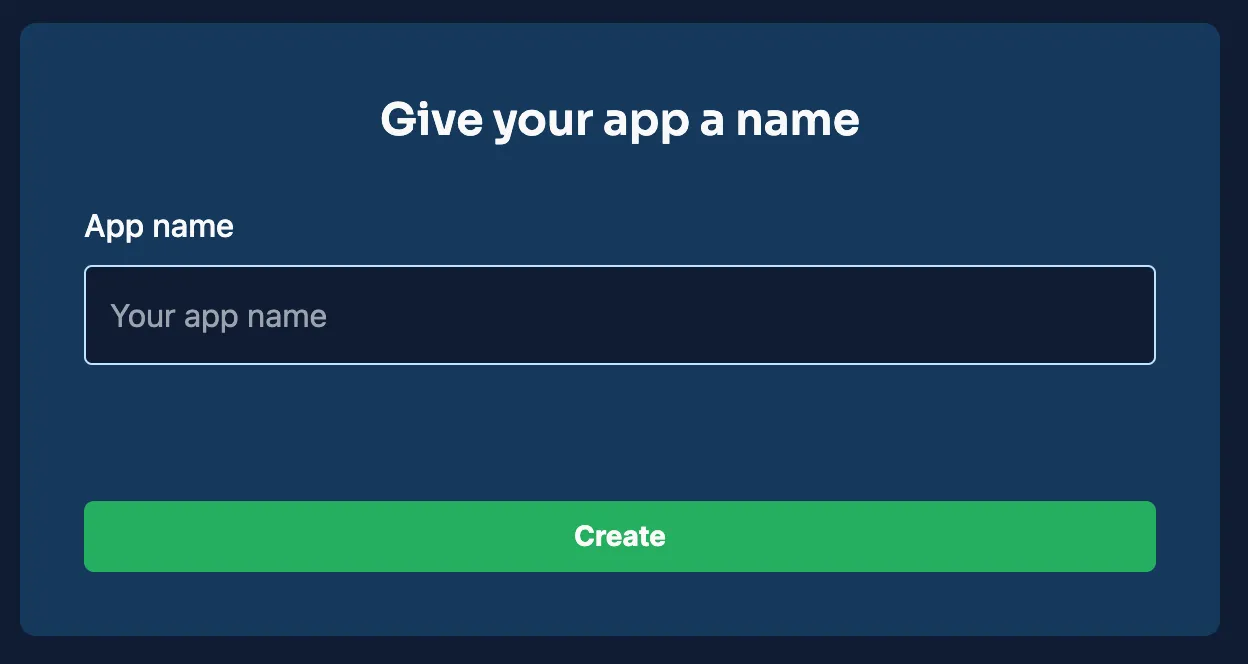
When the project is created, you’ll see it in your Back4app dashboard. This will be the base of your backend configurations for jQuery.
Back4app uses the Parse Platform for data and real-time features. If you want to use the Parse SDK directly with jQuery, you can load it as a script in your HTML.
Retrieve your Parse Keys: In the Back4app dashboard, open your app’s “App Settings” or “Security & Keys” to find:
- Application ID
- JavaScript Key
- Parse Server URL (usually https://parseapi.back4app.com)
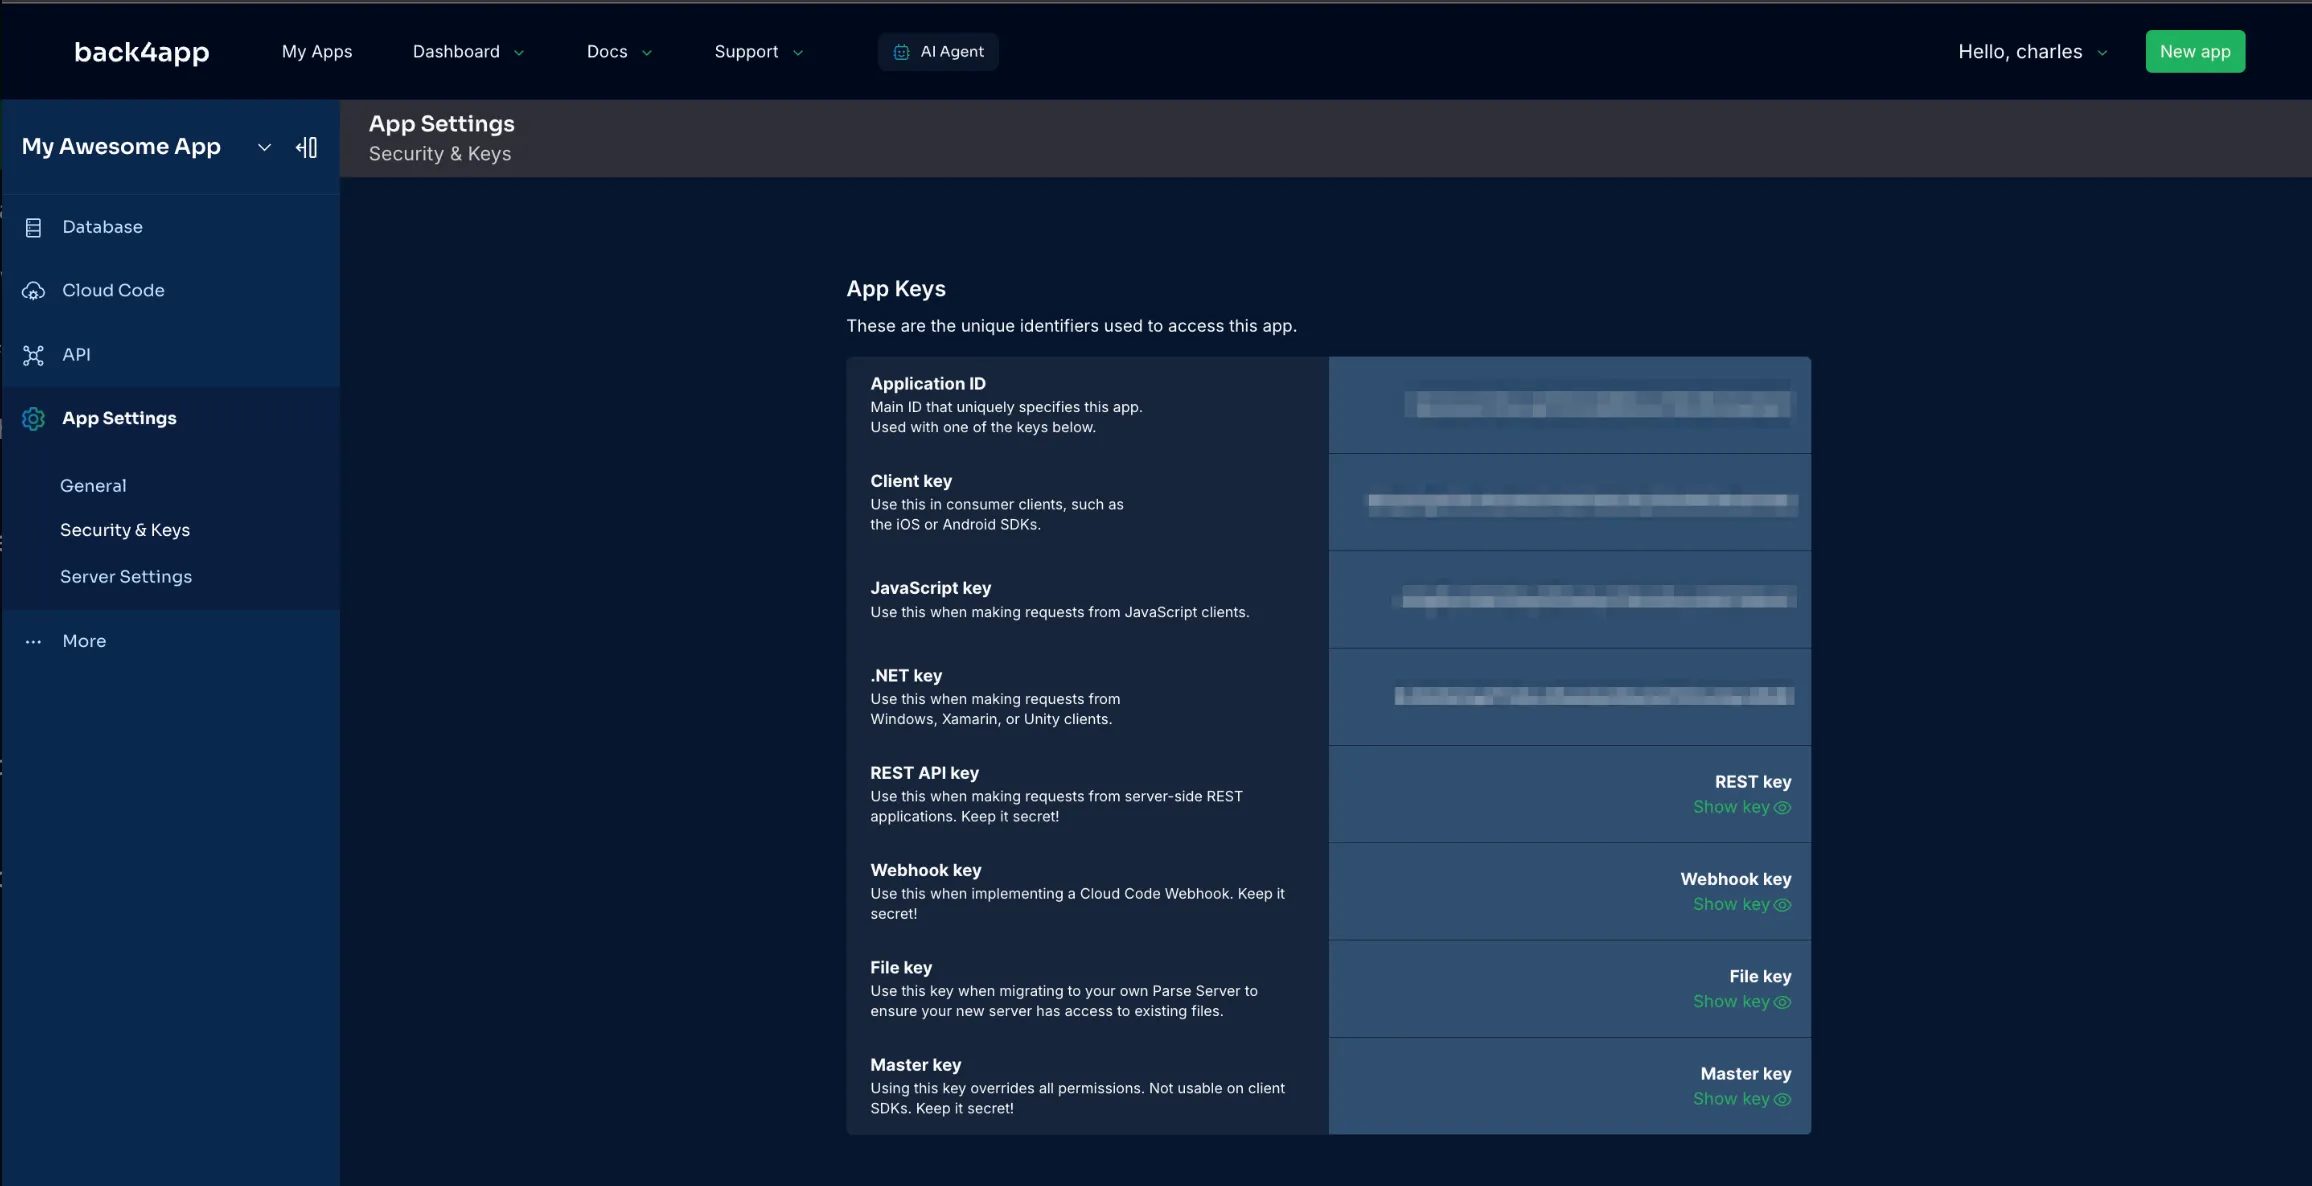
Include the Parse SDK in your HTML file:
In a jQuery environment, you can load jQuery first, then Parse, and interact with Parse objects in your scripts. This connection ensures that all data calls to your Back4app backend go through the Parse Platform.
After integrating the Parse SDK, you can save and fetch data from the Back4app database. Here’s a simple example of creating and retrieving “Todo” objects using jQuery and Parse:
You can also call REST APIs using cURL:
Or use GraphQL:
In the Back4app dashboard:
- Go to “Database.”
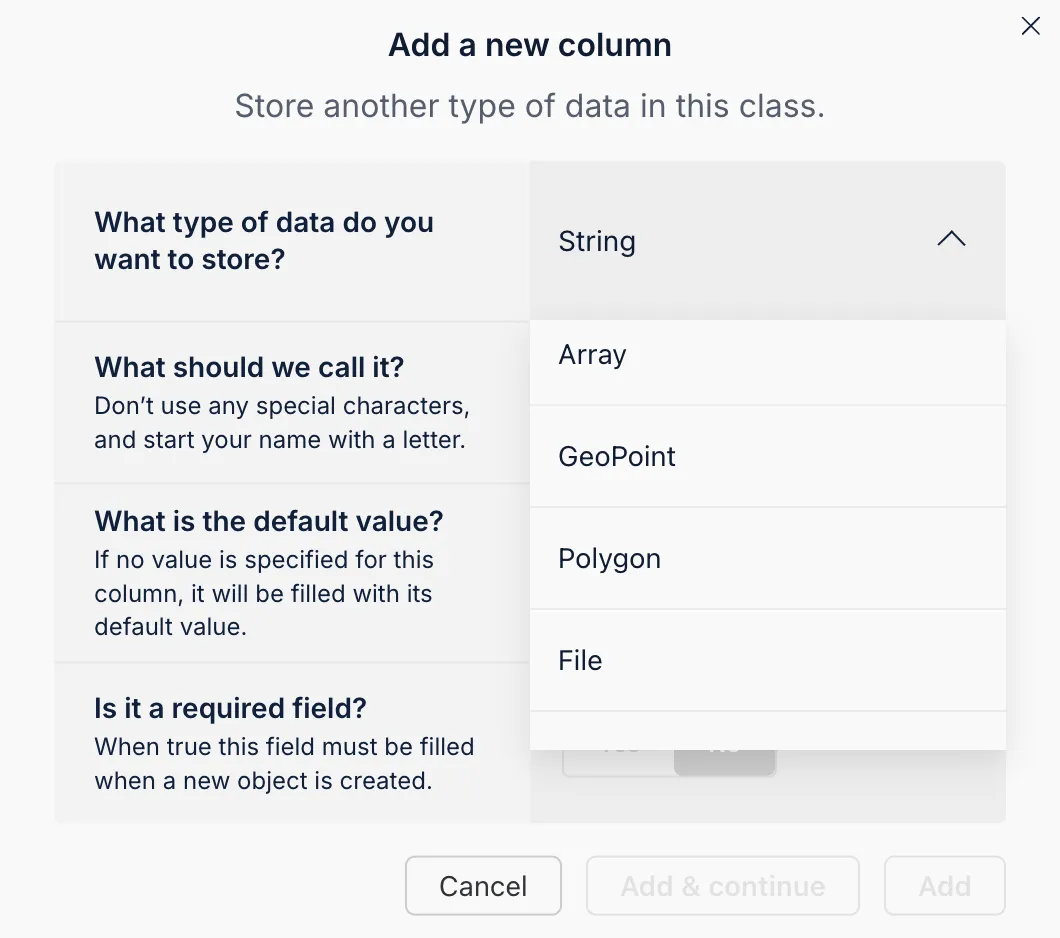
- Create a new class (e.g., “Todo”) and add columns like title (String) and isCompleted (Boolean).
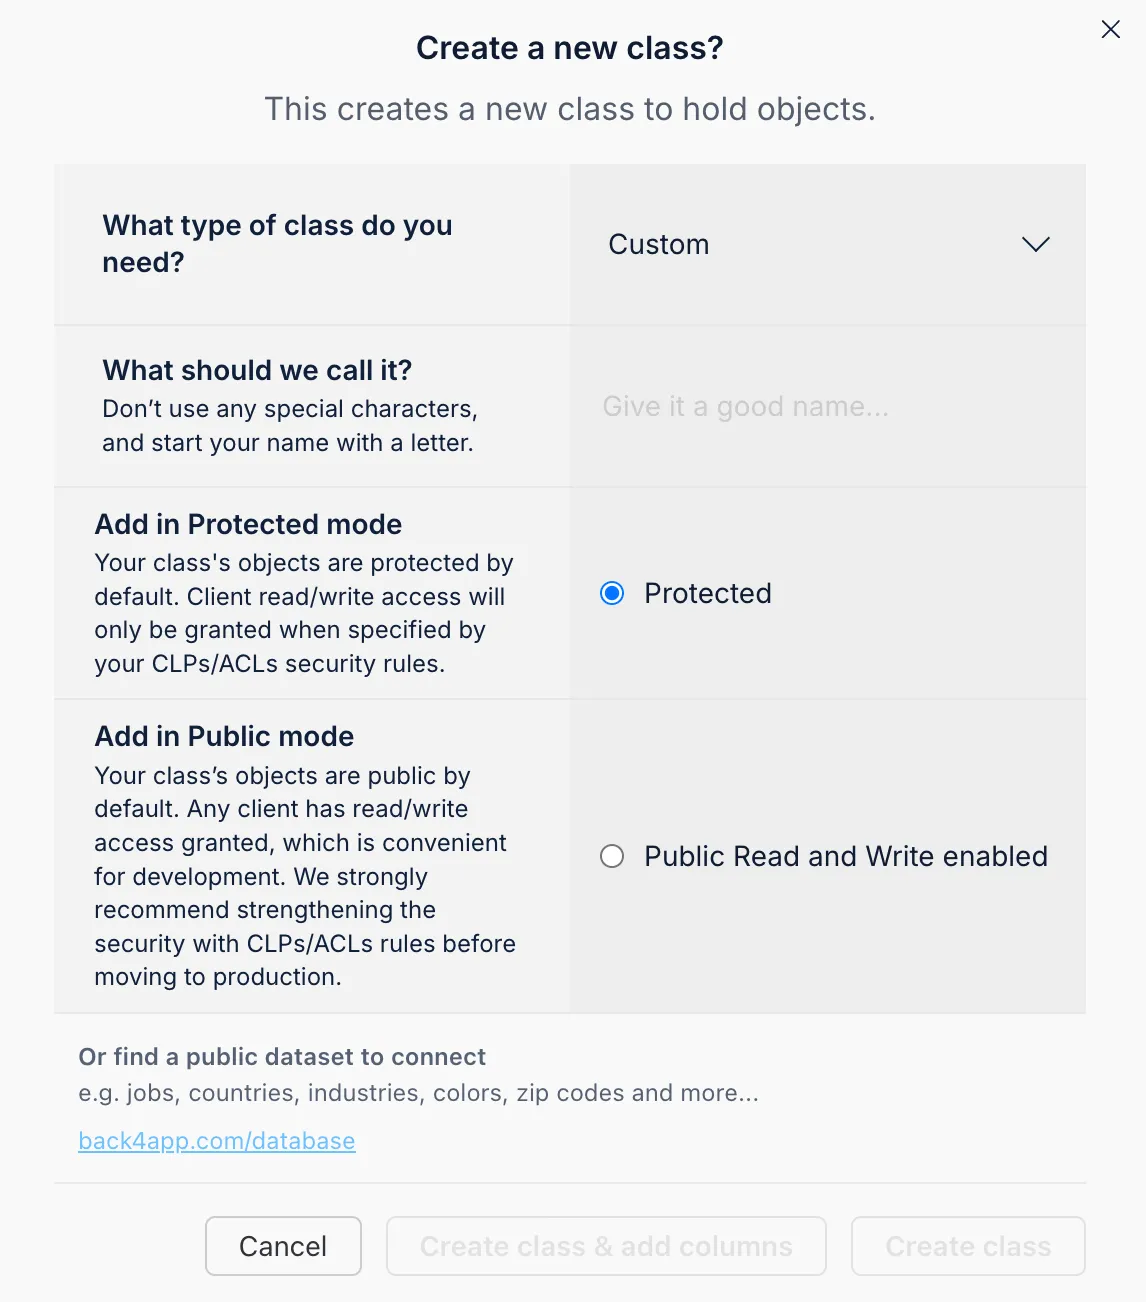
You can also let Parse automatically create columns the first time you save an object.
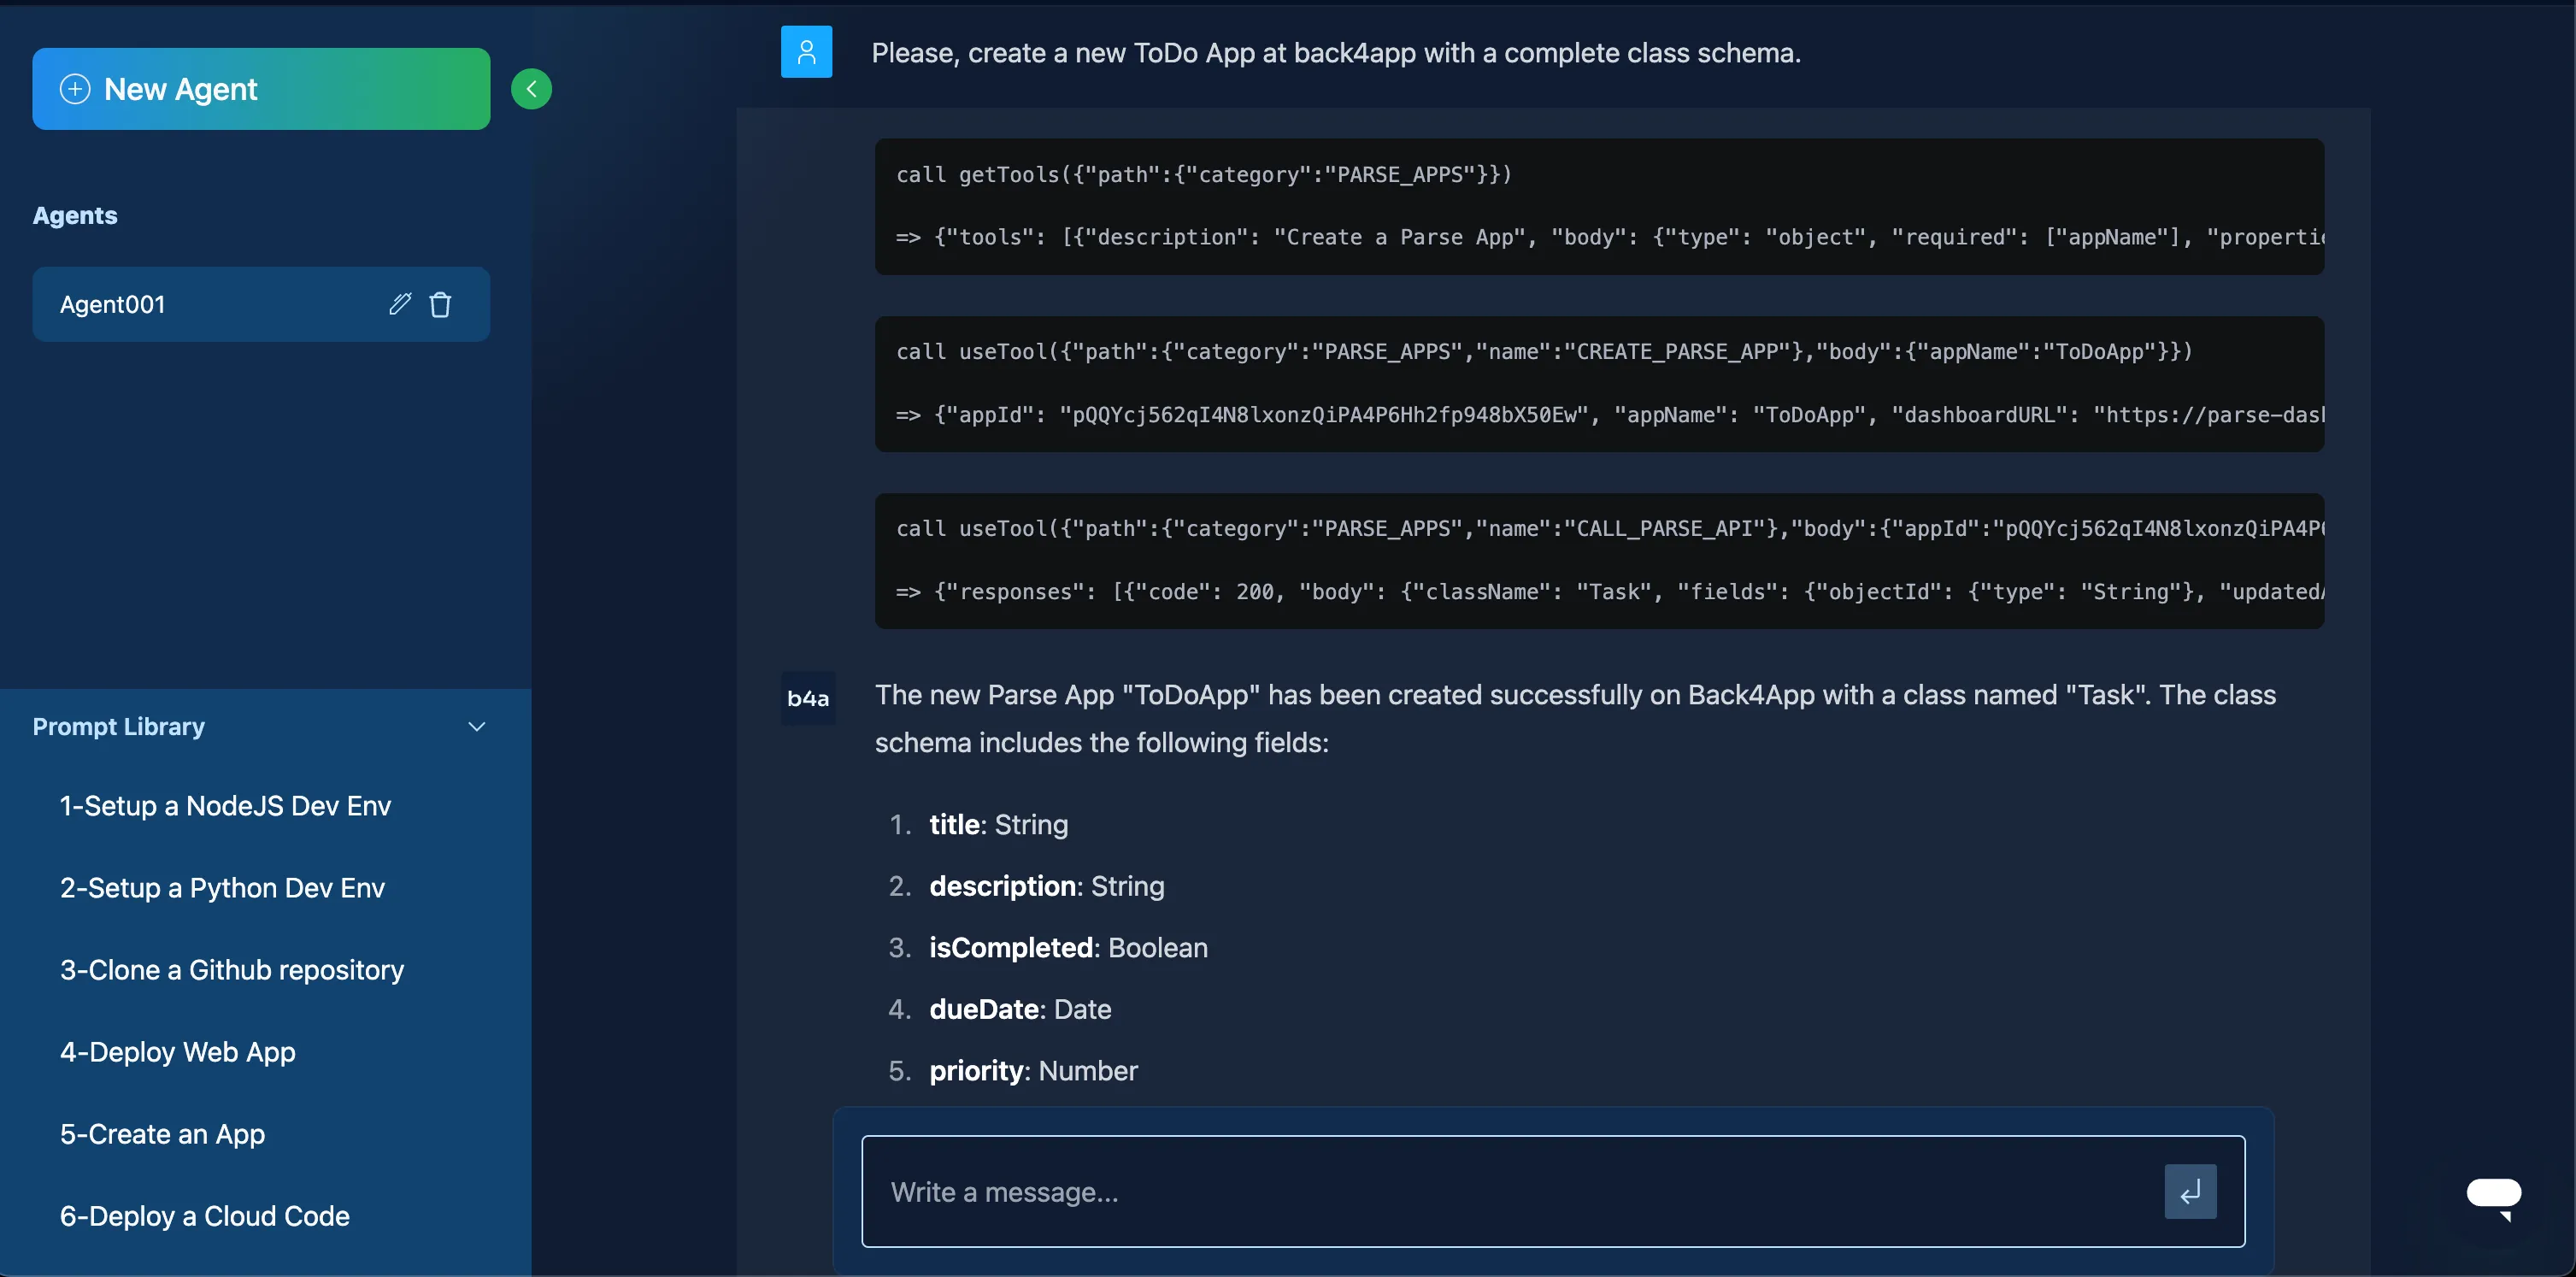
Back4app has an AI Agent for data modeling:
- Open the AI Agent in your app’s dashboard or menu.
- Describe your data model (e.g., “Create a ToDo App with a class schema.”).
- Let the AI Agent generate the schema.
If you have a Category class linked to many Todo items, you can use Pointers or Relations:
For real-time updates in your jQuery app:
- Enable Live Queries in your Back4app dashboard under Server Settings.
- Initialize a Live Query subscription:
This subscription notifies you in real time whenever a “Todo” object is created, updated, or deleted.
ACLs (Access Control Lists) and CLPs (Class-Level Permissions) let you control who can read and write data at object or class levels.
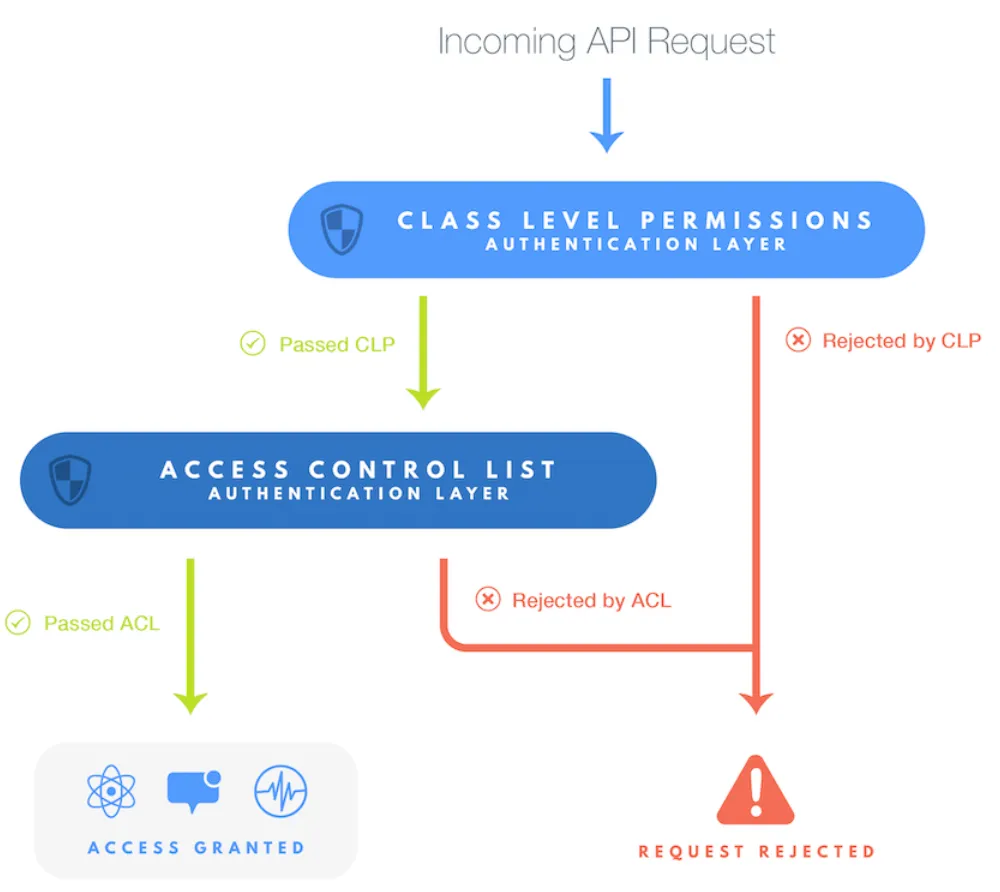
An ACL is set on individual objects to limit access:
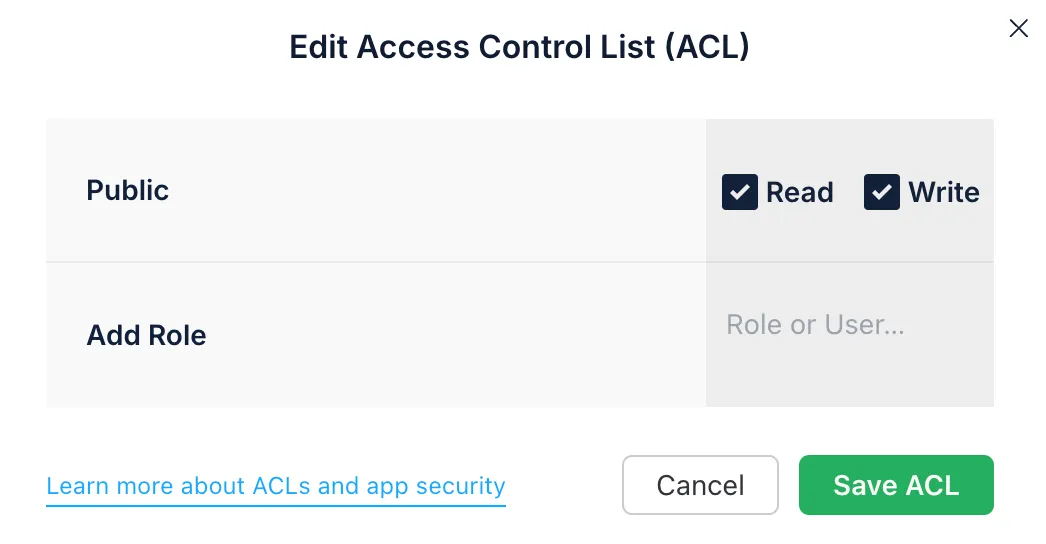
CLPs control default permissions for an entire class:
- In your Back4app Dashboard, open the Database section.
- Select your class (e.g., “Todo”).
- Go to the Class-Level Permissions tab to configure public, authenticated, or role-based access.
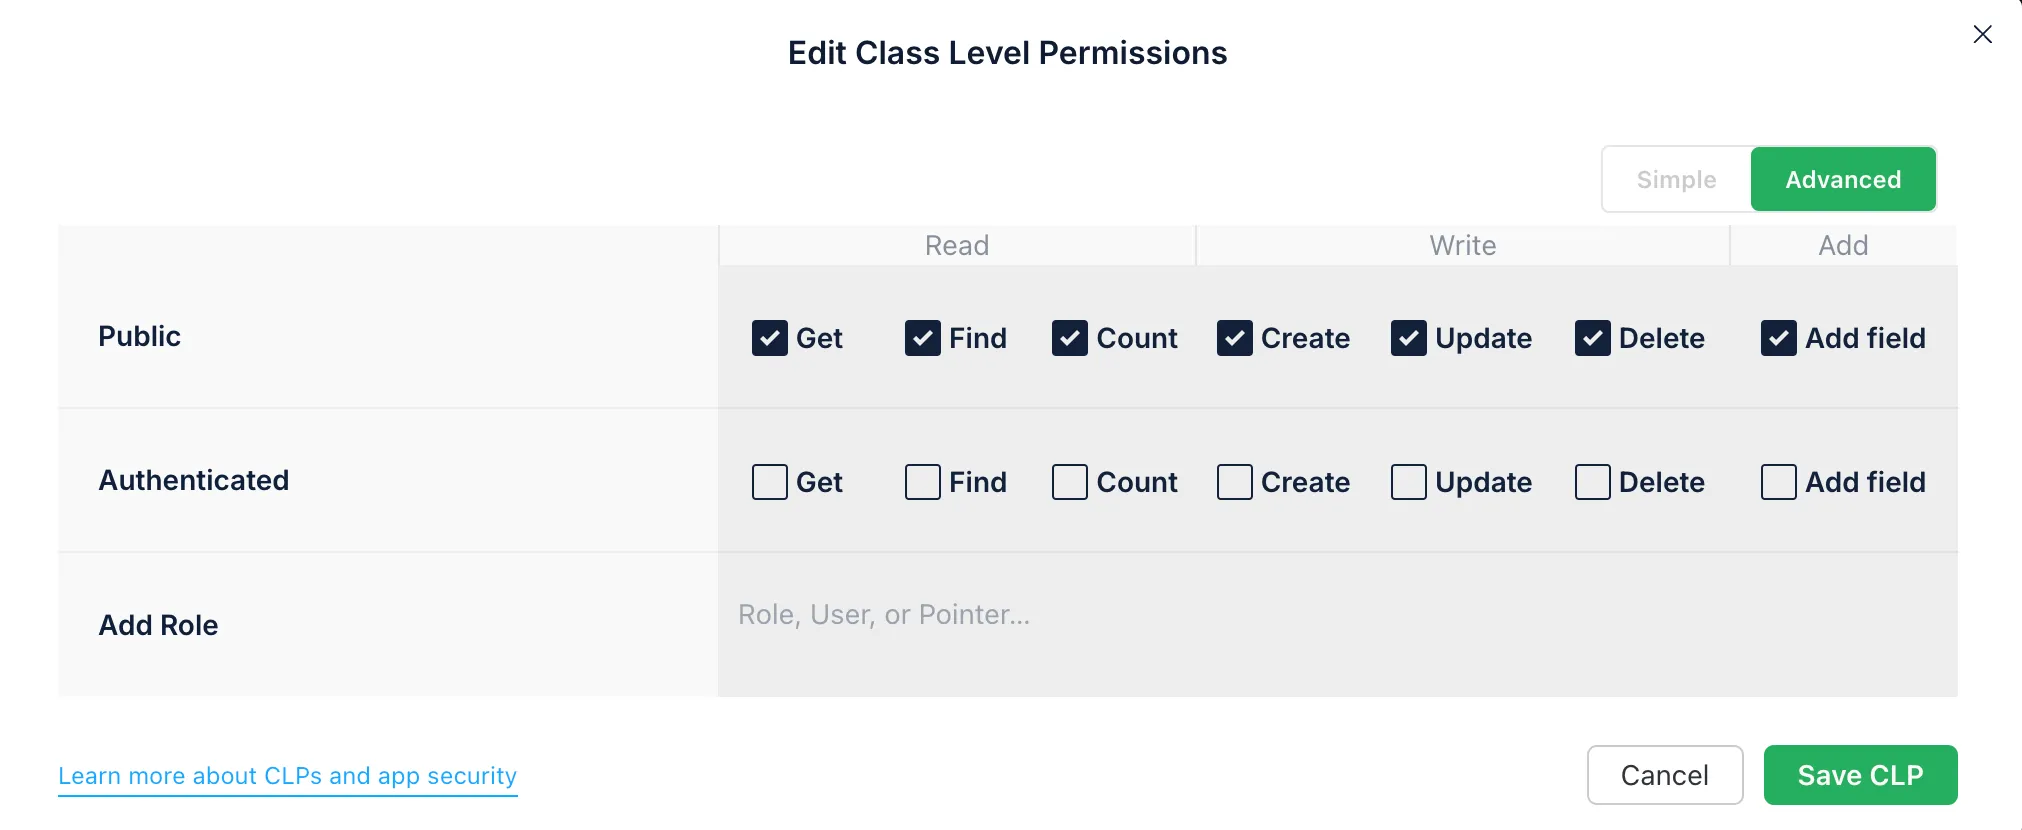
Combine ACLs for object-level security with CLPs for broader restrictions. For more, see App Security Guidelines.
Cloud Code runs custom JavaScript on the server side, letting you add business logic, data validations, or external API calls.
You place your code in main.js (or a similar file), deploy it to Back4app, and let the Parse Server handle execution. You can also use NPM modules for more complex logic.
- Through the Dashboard:
- In your app’s dashboard, go to Cloud Code > Functions.
- Copy/paste the function into main.js.
- Click Deploy.

From jQuery, you can call a Cloud Function like this:
Back4app employs the Parse.User class for authentication. Password hashing, session tokens, and secure storage are handled automatically.
You can retrieve the current user:
Logout:
Back4app supports Google, Facebook, Apple, and other OAuth providers. For more, see the Social Login Docs.
Use Parse.File to handle uploads:
You can store the file in a class by assigning it to a field:
Retrieving the file URL:
You can manage who can upload files by modifying the file upload settings in Parse Server:
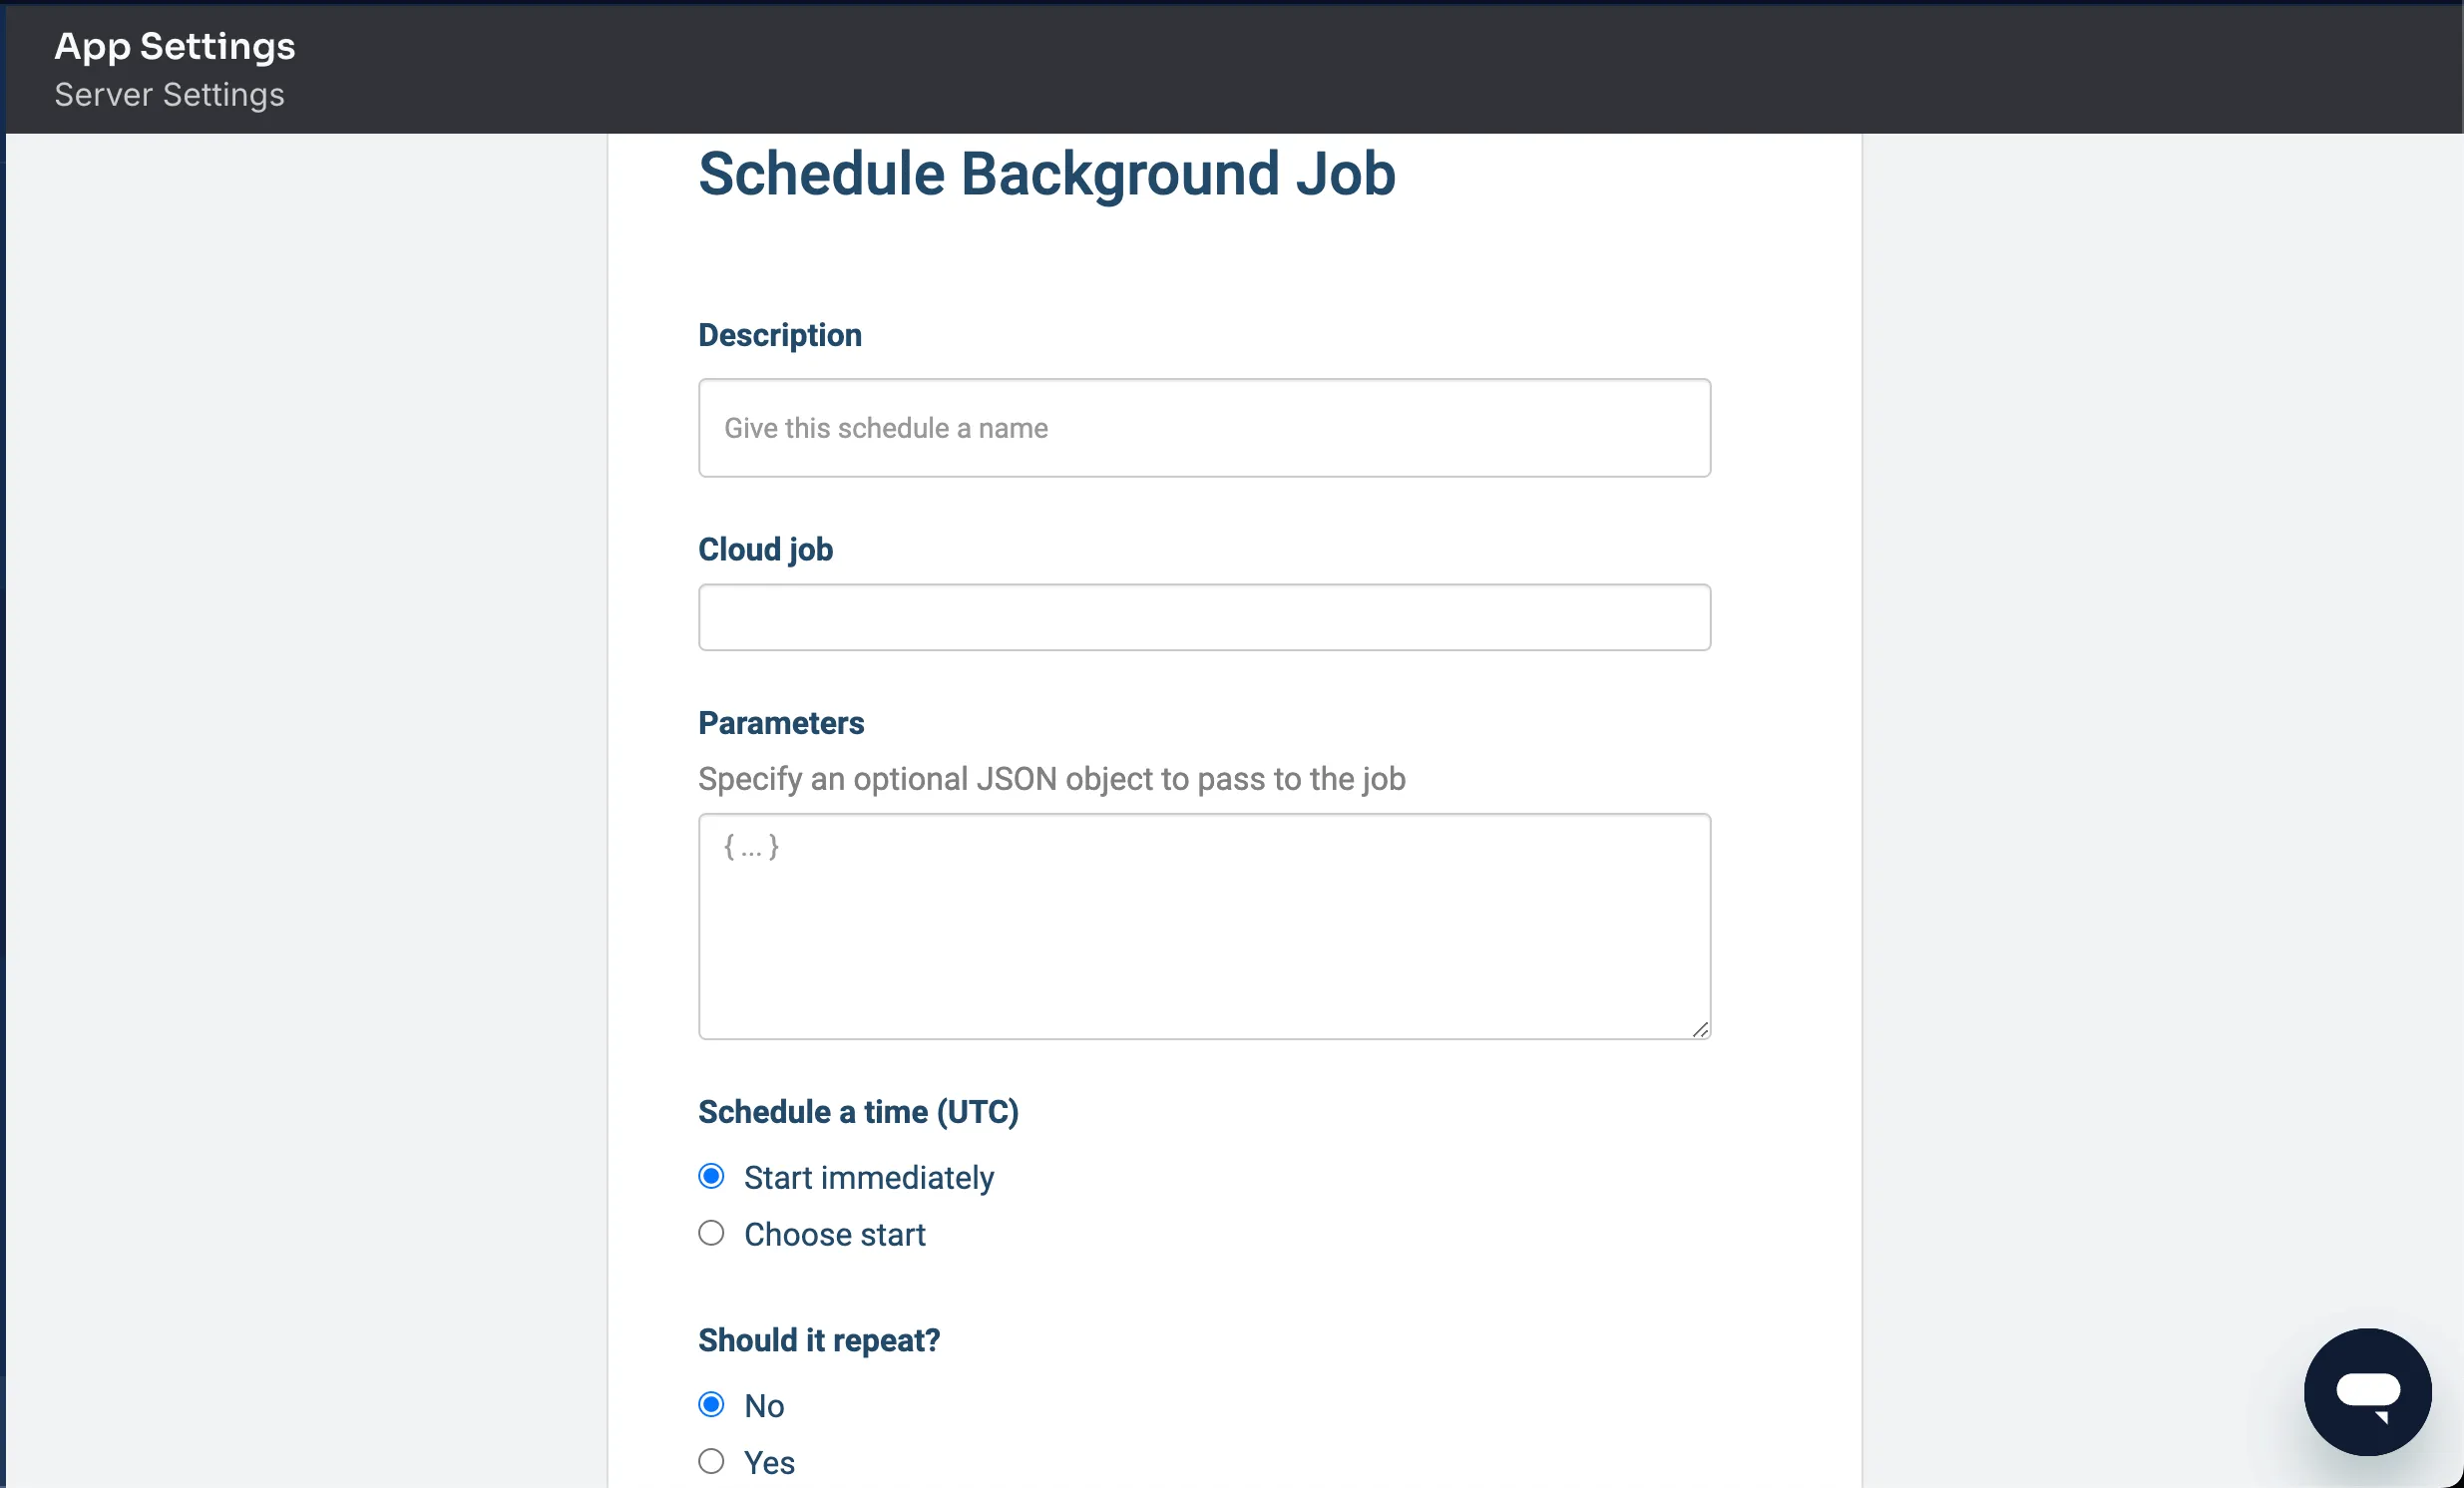
You can run routine tasks, like deleting old data:
In the dashboard, go to App Settings > Server Settings > Background Jobs to schedule it.
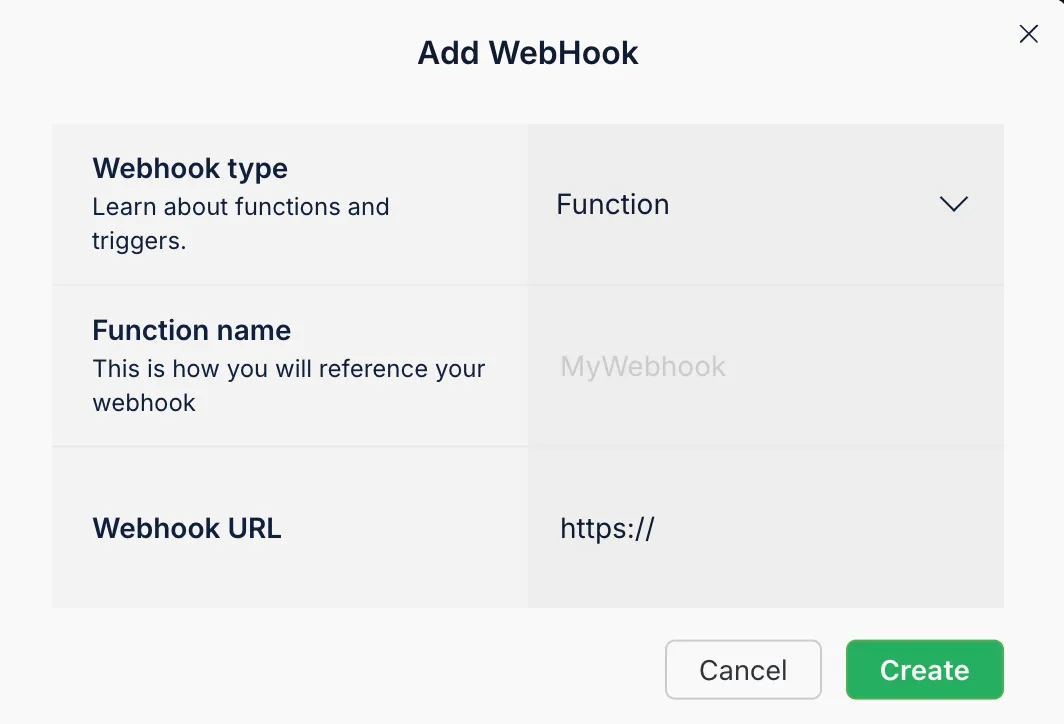
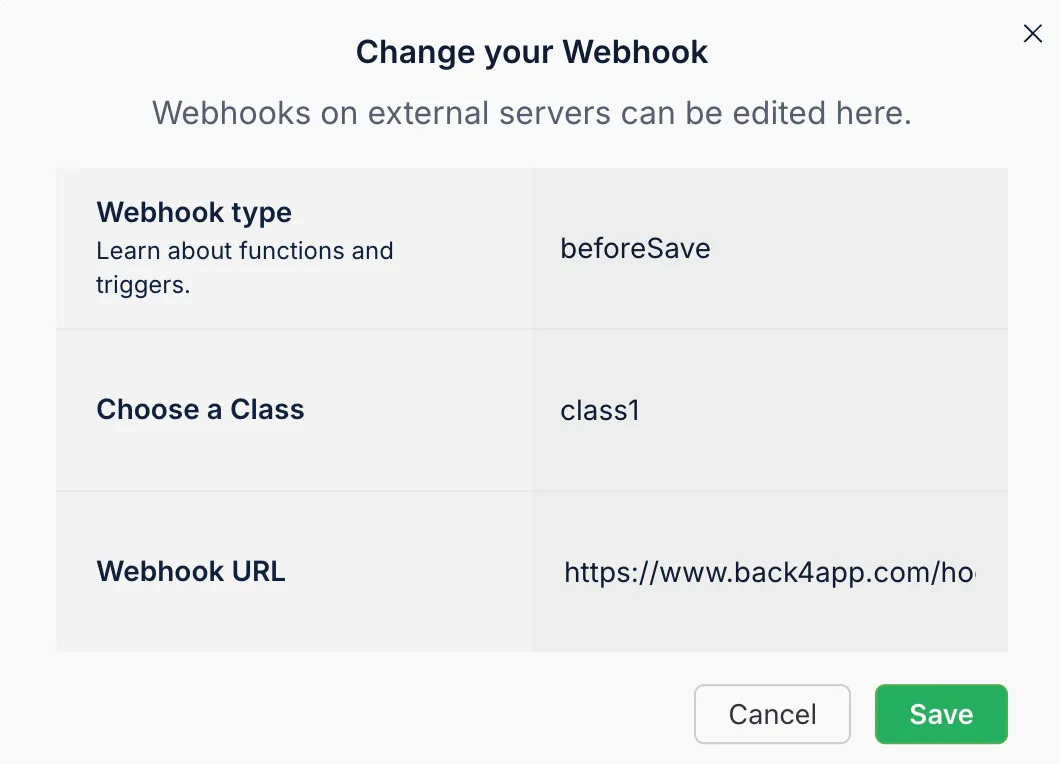
Webhooks let your app send HTTP requests to an external service whenever certain events happen:
- Go to More > WebHooks in your Back4app dashboard.
- Add a new Webhook with your external endpoint.
- Configure triggers for events like “new record in the Todo class.”
You might integrate Slack or a payment gateway like Stripe by sending event data through webhooks.
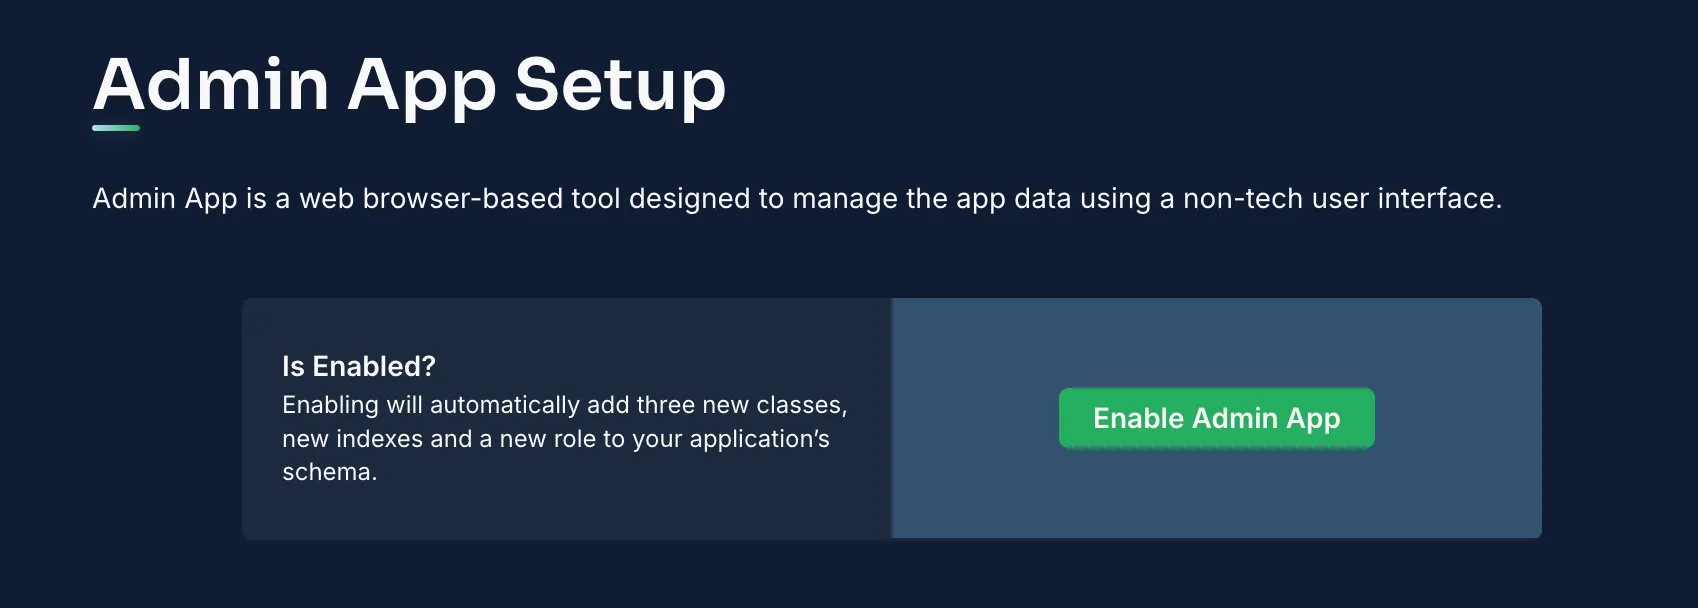
The Back4app Admin App offers a non-technical, web-based interface for CRUD operations.
Go to App Dashboard > More > Admin App and click “Enable Admin App”:
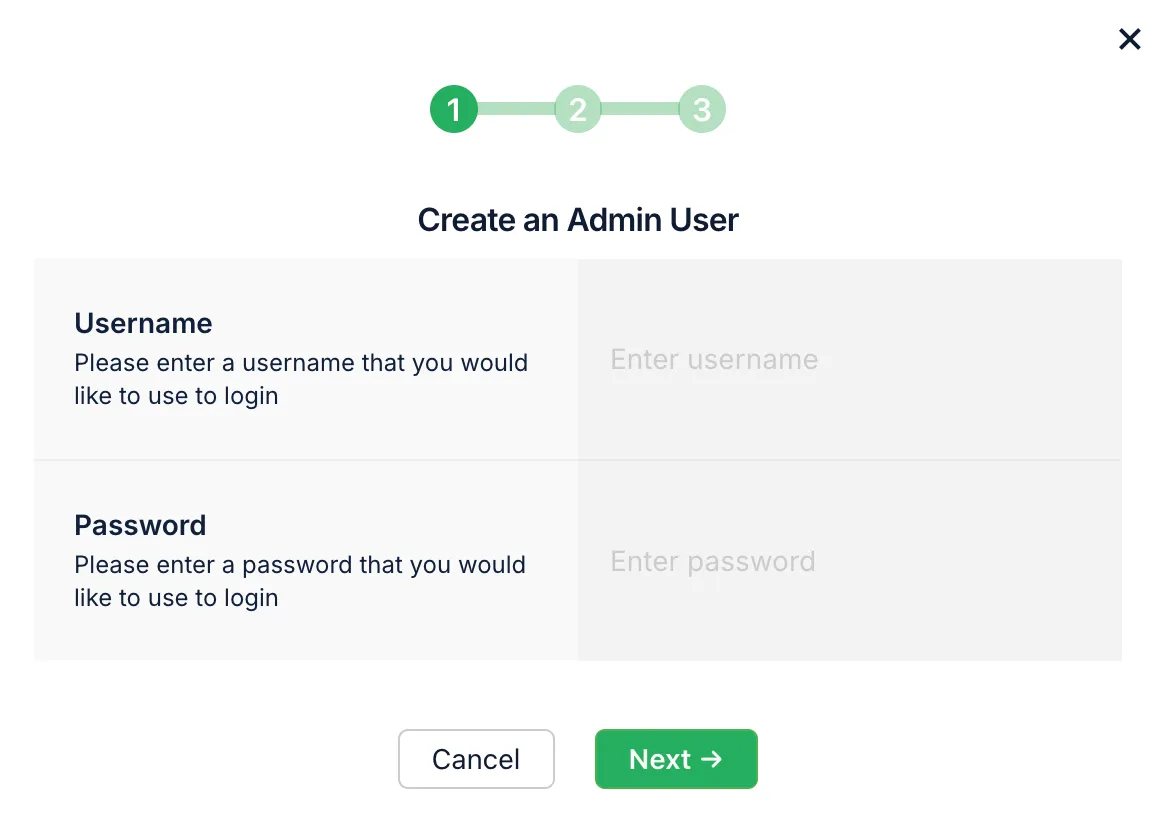
Create a First Admin User, which automatically creates a new role (B4aAdminUser) and classes in your schema:
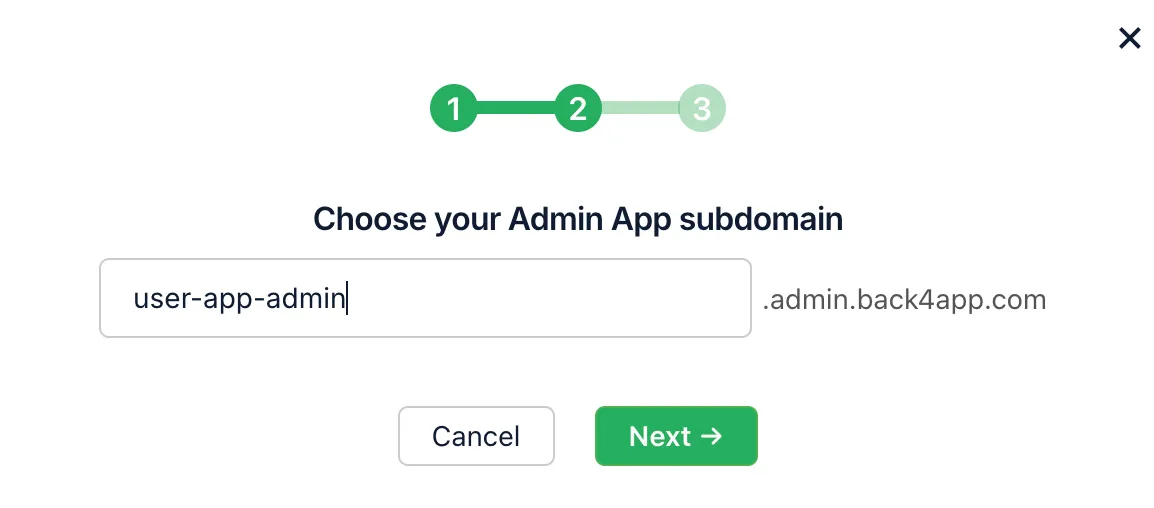
Pick a Subdomain for accessing the admin app:
Log In using your new admin credentials:
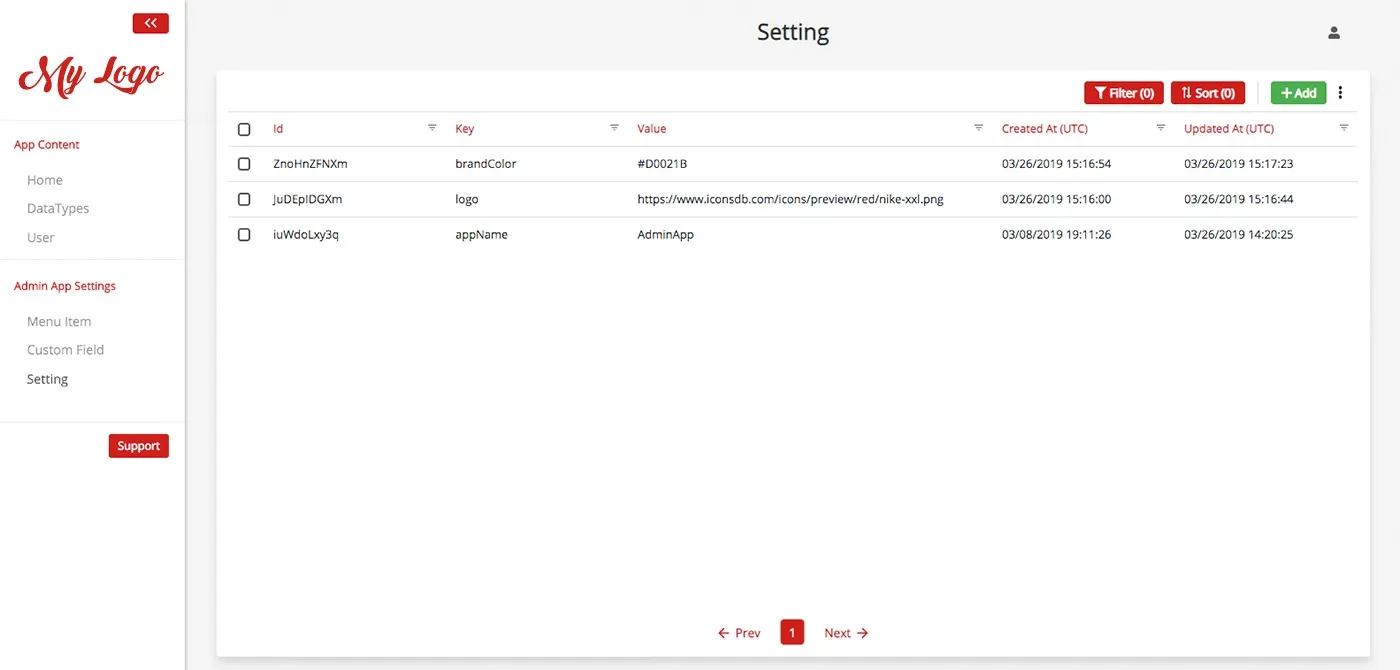
Once enabled, this Admin App lets you manage data or grant access to team members without coding.
In this guide, you learned how to build a backend for jQuery with Back4app. You:
- Created a new Back4app project as your backend foundation.
- Set up a database, including schema design and data relations.
- Used ACLs and CLPs for fine-grained security.
- Deployed Cloud Code for custom server-side logic.
- Configured user authentication, file storage, and real-time updates.
- Scheduled background jobs and integrated webhooks for external services.
- Explored the Back4app Admin Panel for simpler data management.
You’re now equipped to extend this basic jQuery + Back4app setup into a full production solution. Continue integrating advanced features like social login or more detailed security rules. Enjoy building your scalable, data-driven applications!
- Go production-ready: Add advanced role-based permissions, caching strategies, and performance tuning.
- Integrate third-party APIs: For payments, messaging, or analytics.
- Explore Back4app docs: Dive deeper into advanced security, logs, or analytics.
- Create real-world apps: Use jQuery’s simplicity combined with Back4app’s powerful backend services.
