How to Build a CRUD App with Ionic?
In this guide, you'll create a comprehensive CRUD (Create, Read, Update, Delete) application using Ionic.
This tutorial demonstrates how to set up an app that manages data efficiently while integrating with Back4app as your backend service. You'll begin by configuring a Back4app project called Basic-CRUD-App-Ionic to serve as your robust data store.
Following that, you'll design a scalable data schema by defining collections and fields—either manually or by utilizing the Back4app AI Agent. This ensures your application’s backend is prepared to handle essential data operations.
Next, you'll take advantage of the intuitive Back4app Admin App, which offers a drag and drop interface for seamless data management, enabling easy execution of CRUD operations.
Finally, you'll integrate your Ionic frontend with Back4app using REST/GraphQL calls , and secure your backend with advanced access controls.
By the conclusion of this tutorial, you'll have built a production-ready Ionic application that not only supports basic CRUD functionality but also incorporates user authentication and robust data management.
- Understand how to construct a CRUD application that efficiently manages data using a dependable backend service.
- Learn how to design a scalable backend schema and integrate it with an Ionic frontend for a superior user experience.
- Explore how to manage data through a user-friendly, drag and drop interface provided by the Back4app Admin App.
- Gain insights into securing your backend with access control measures.
Before you begin, ensure you have:
- An Ionic development environment. Install the Ionic CLI by following the instructions at Ionic Framework Docs. Make sure you have Node.js (v14 or above) installed.
- Familiarity with TypeScript, Angular (or your preferred framework for Ionic), and REST APIs. Refer to the Ionic documentation for additional insights.
- Log in to your Back4app account.
- Select “New App” from your dashboard.
- Assign your project the name: Basic-CRUD-App-Ionic and follow the prompts to complete setup.
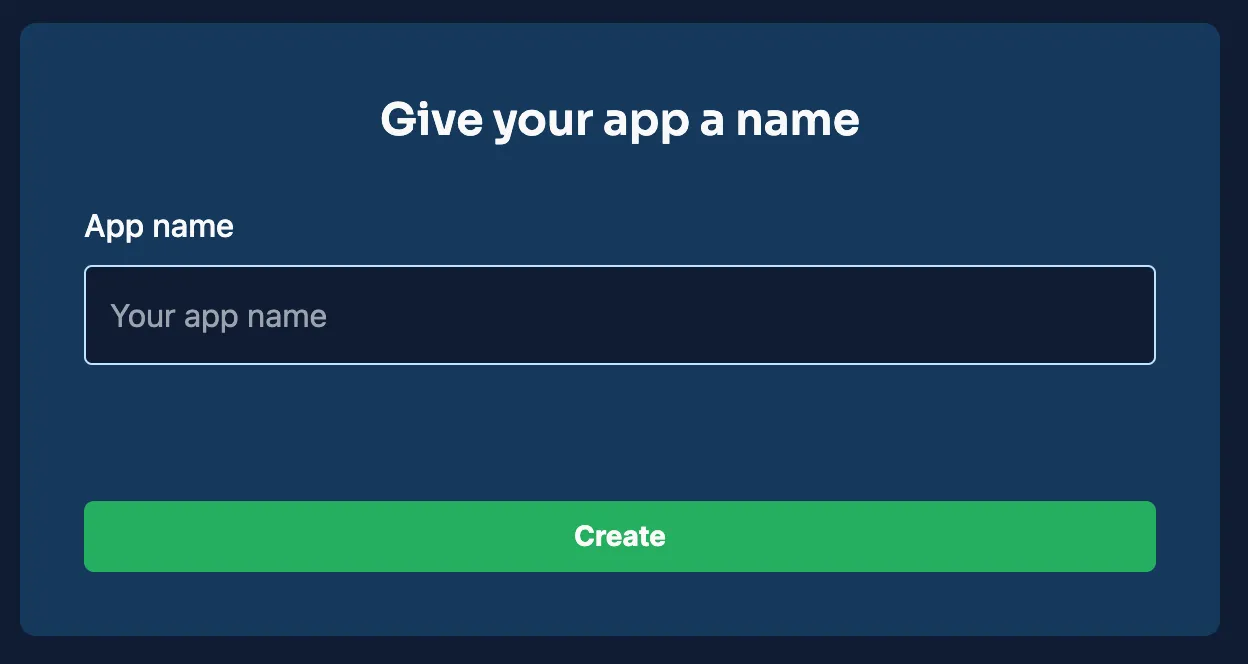
Once your project is created, it will be listed on your Back4app dashboard, serving as the foundation for your backend configuration.
For your CRUD application, you'll need to define several collections. Below are examples of collections and corresponding fields to structure your database effectively.
This collection holds details about each item.
Field | Data Type | Description |
|---|---|---|
_id | ObjectId | Auto-generated primary key. |
title | String | The name or title of the item. |
description | String | A brief summary of the item. |
created_at | Date | Timestamp when the item was created. |
updated_at | Date | Timestamp for the latest update. |
This collection stores user credentials and related details.
Field | Data Type | Description |
|---|---|---|
_id | ObjectId | Auto-generated primary key. |
username | String | Unique username for the user. |
String | Unique email address. | |
password_hash | String | Encrypted password for authentication. |
created_at | Date | Timestamp when the user was created. |
updated_at | Date | Timestamp when the user details were modified. |
You can set up these collections directly in the Back4app dashboard by creating a new class for each and adding the appropriate columns.
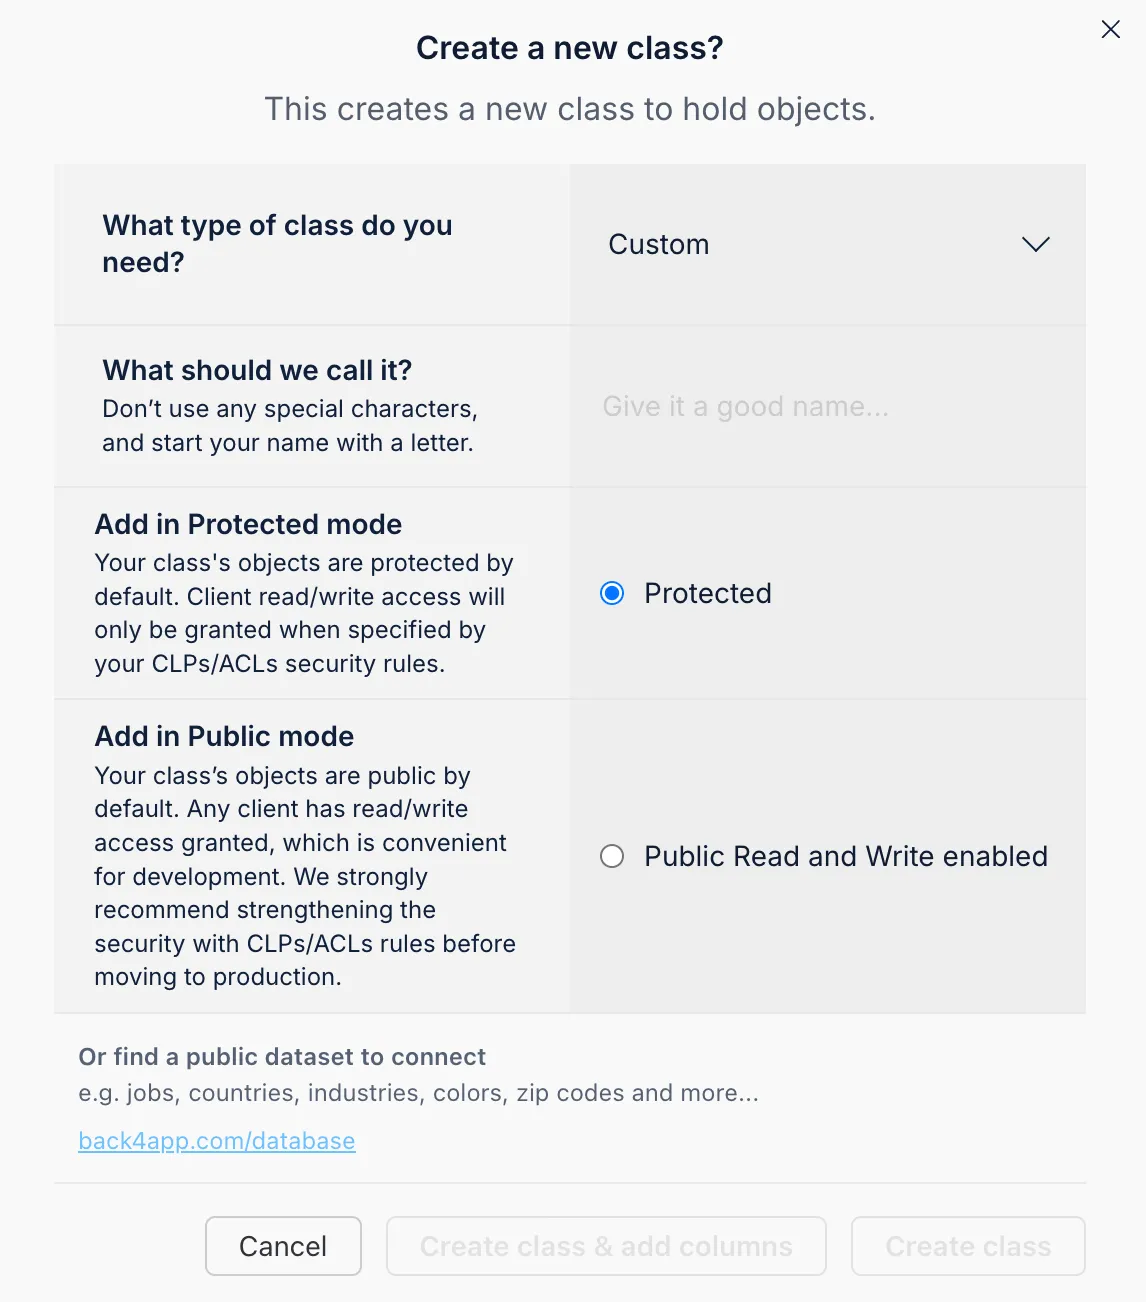
Easily configure each field by selecting its data type, assigning a name, and setting default values or requirements.
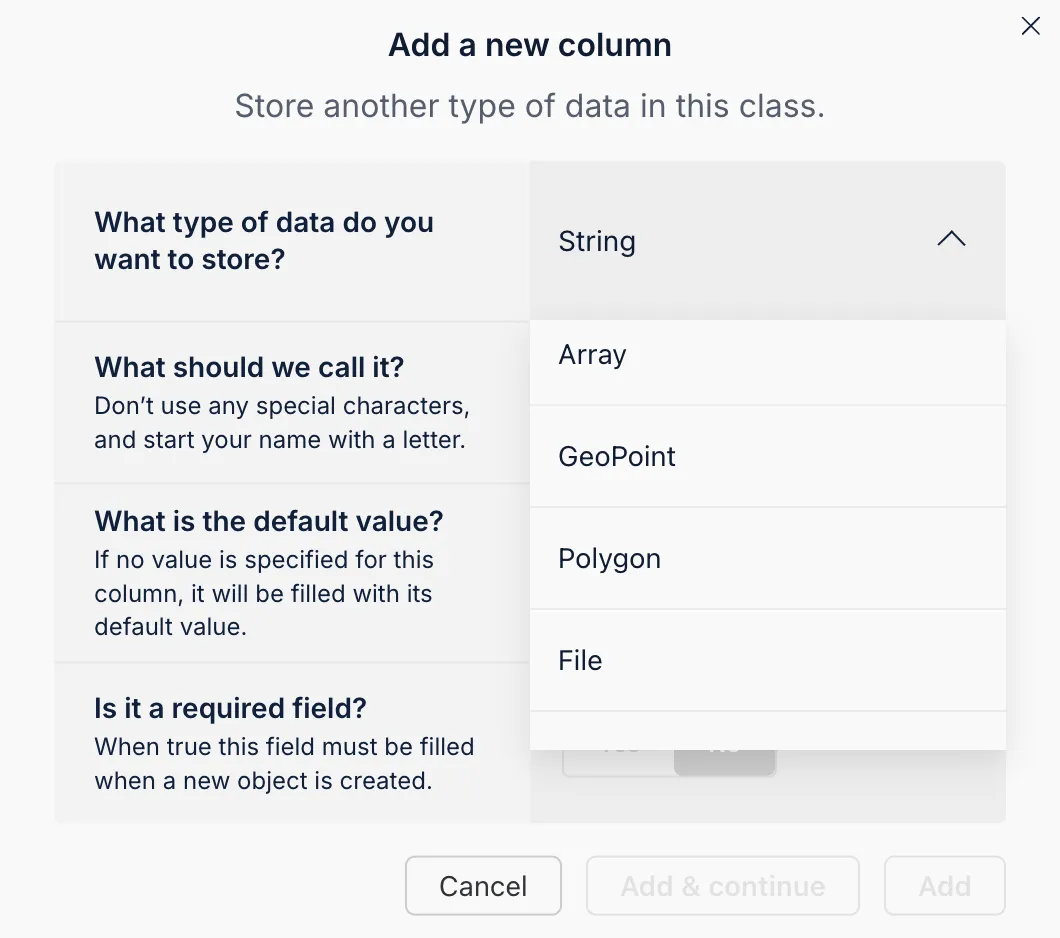
The Back4app AI Agent simplifies the schema creation process. By describing your data model in a prompt, the agent auto-generates the necessary collections and fields.
- Access the AI Agent: Navigate to the AI Agent via your Back4app dashboard.
- Define Your Data Model: Input a detailed prompt that outlines the required collections and their fields.
- Review and Implement: Evaluate the suggested schema and apply it to your project.
This approach not only saves time but also ensures consistency and optimal setup for your backend.
The Back4app Admin App is a no-code tool that enables you to manage your backend data easily through a drag and drop interface. This intuitive tool allows you to execute CRUD operations effortlessly.
- Go to the “More” menu on your Back4app dashboard.
- Select “Admin App” and click “Enable Admin App.”
- Set up your admin credentials by creating your first administrator account. This step also configures roles (e.g., B4aAdminUser) and system collections.
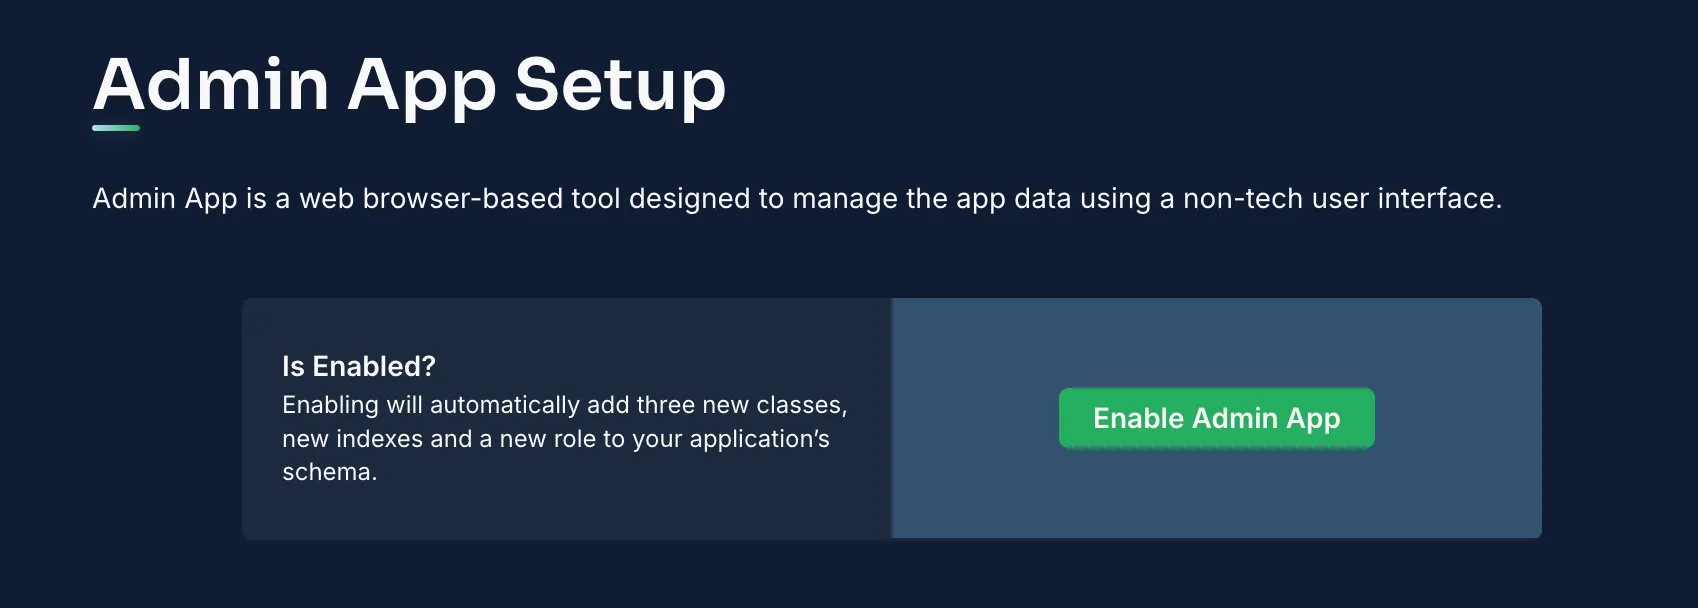
After activation, log in to the Admin App to begin managing your data.
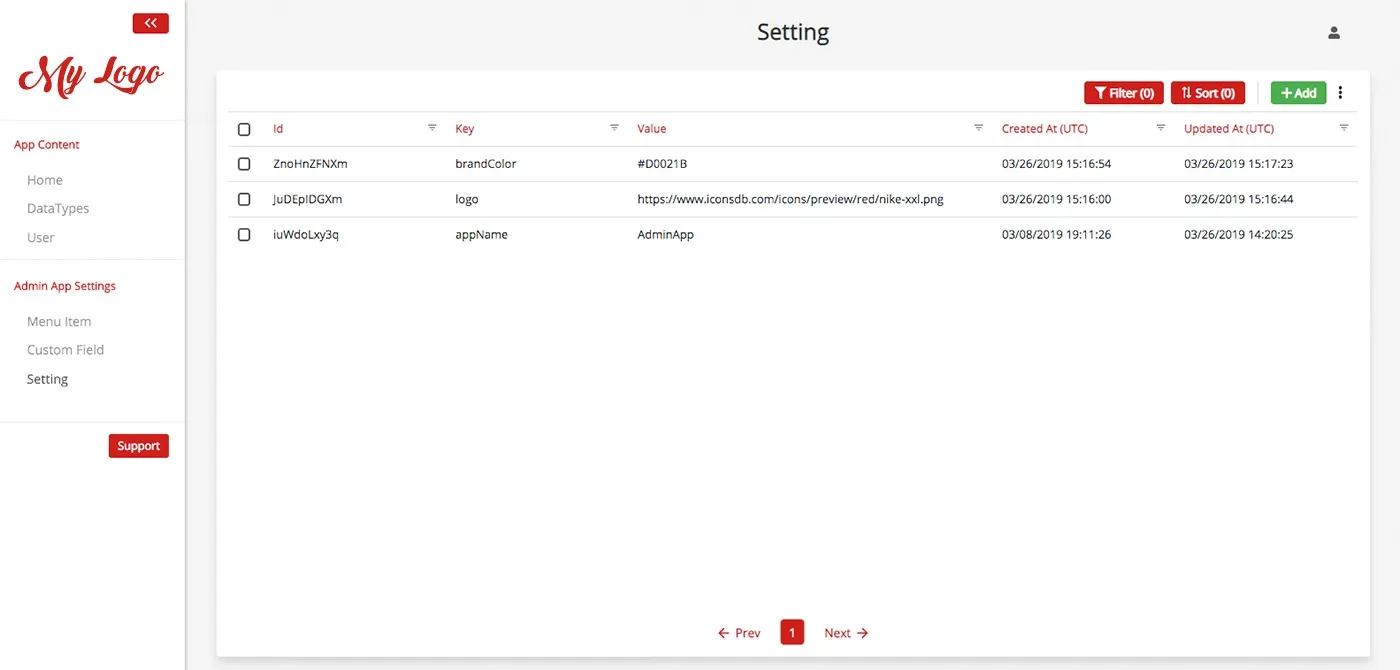
Within the Admin App, you can:
- Add Records: Click the “Add Record” button in a collection (e.g., Items) to insert new entries.
- View/Modify Records: Select an entry to inspect or edit its details.
- Remove Records: Use the delete function to eliminate unnecessary entries.
This streamlined interface enhances the overall user experience by simplifying data management tasks.
With your backend configured, it's time to connect your Ionic frontend to Back4app.
You can execute CRUD operations using REST or GraphQL. For example, to retrieve items using REST:
Integrate these API calls into your Ionic components based on your application's needs.
Enhance your data security by applying ACLs to objects. For instance, to create a private item:
Within the Back4app dashboard, set up CLPs for each collection to define default access rules. This configuration restricts access to sensitive data to authenticated or authorized users only.
Back4app uses Parse’s User class to manage authentication. In your Ionic application, implement user registration and login as follows:
A similar pattern can be followed for implementing login and session management. Additional features like social logins, email verification, and password recovery can also be configured via the Back4app dashboard.
Congratulations! You have successfully developed a basic CRUD application using Ionic integrated with Back4app. In this tutorial, you:
- Configured a project named Basic-CRUD-App-Ionic on Back4app.
- Designed detailed database collections for Items and Users.
- Managed your data using the efficient Back4app Admin App.
- Connected your Ionic frontend with the backend using REST/GraphQL APIs.
- Secured your backend with robust ACLs and CLPs.
- Implemented user authentication to manage user accounts.
- Expand Your Frontend: Enrich your Ionic application with additional views, navigation, and real-time updates.
- Integrate Advanced Features: Consider incorporating cloud functions, third-party API integrations, or enhanced role-based access controls.
- Consult Further Resources: Explore the Back4app documentation and Ionic resources for advanced optimization and customization techniques.
By following this tutorial, you now possess the skills to build and secure a dynamic, production-ready CRUD application using Ionic and Back4app. Enjoy coding and further experimentation!
