How to Build a Backend for Yii 2?
In this tutorial, you will learn how to build a backend for Yii 2 using Back4app.
Yii 2 is a popular open source PHP framework that helps you create secure and efficient web applications.
By integrating the Yii framework with Back4app, you can take advantage of powerful features such as database management, cloud functions, REST and GraphQL APIs, user authentication, and real-time queries – all while speeding up your backend development process.
You will see how to leverage Back4app’s environment to cut down on manual server configuration, letting you focus on writing your Yii 2 code.
By following these steps, you will gain hands-on experience with essential functionalities, including robust security controls (ACLs, CLPs), scheduling recurring tasks, and setting up external integrations via webhooks.
By the end of this tutorial, you will have a solid backend structure in place for your Yii 2 project, ready to scale into production or enhance with custom business logic.
You will also be well-prepared to integrate third-party APIs or build new features into your web applications.
To complete this tutorial, you will need:
- A Back4app account and a new Back4app project Getting Started with Back4app. If you do not have an account, sign up for free and follow the linked guide to get your project ready.
- A local Yii 2 development environment You can download Yii 2 using Composer and follow the Yii 2 Official Guide for setup.
- PHP (version 7.4 or above) installed You’ll need a compatible PHP environment to run Yii 2 and manage Composer packages.
- Familiarity with PHP and basic Yii 2 concepts If you are new to the Yii framework, check out the Official Yii 2 Documentation.
Make sure you have all of these prerequisites in place before you begin. Having your Back4app project set up and your local Yii 2 environment ready will allow you to follow along more easily.
The first step to build a backend for Yii 2 is to create a new Back4app project. If you haven’t already done so, follow these steps:
- Log in to your Back4app account.
- Click the “New App” button in your Back4app dashboard.
- Name your app (e.g., “Yii2-Backend-Tutorial”).
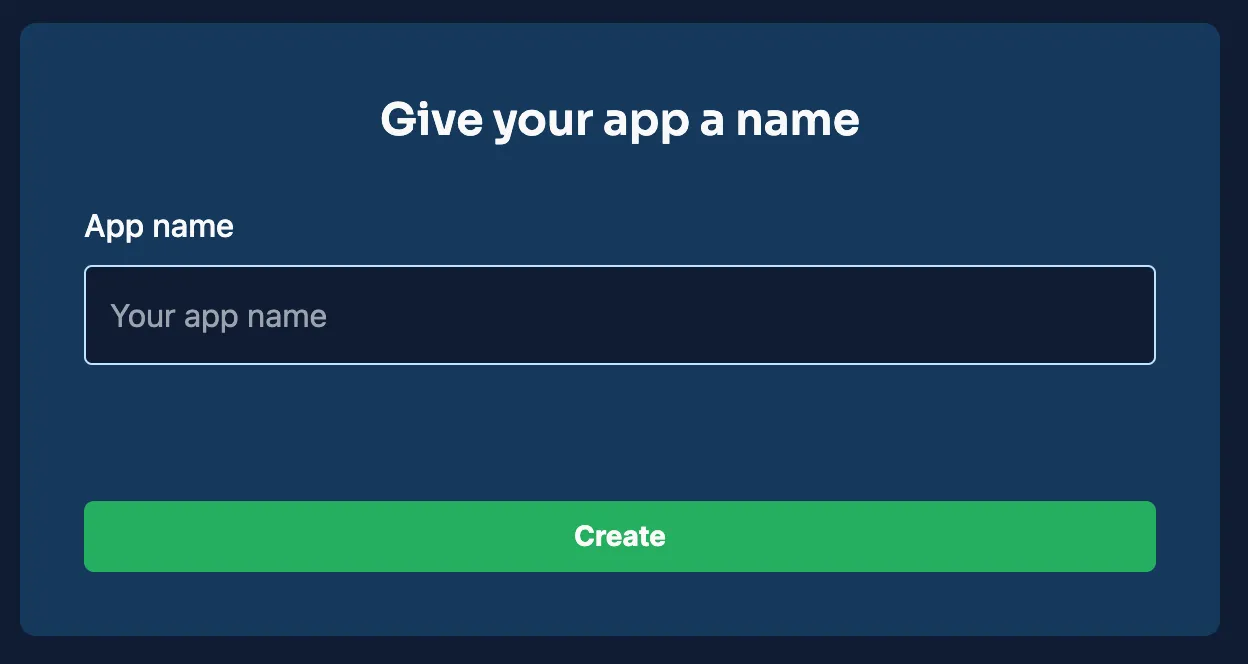
Once the project is created, you will see it on your Back4app dashboard. This serves as the foundation for all backend configurations we will explore in this tutorial.
Back4app uses the Parse Platform under the hood. While the Parse PHP SDK exists, you can also integrate your Yii 2 application with Back4app using Parse’s REST or GraphQL APIs.
This approach is flexible, letting you write code that sends HTTP or GraphQL requests to Back4app from your Yii controllers or models.
- In your Back4app dashboard, go to your app’s “App Settings” or “Security & Keys”.
- Locate your Application ID, REST API Key, and the Parse Server URL (usually https://parseapi.back4app.com).
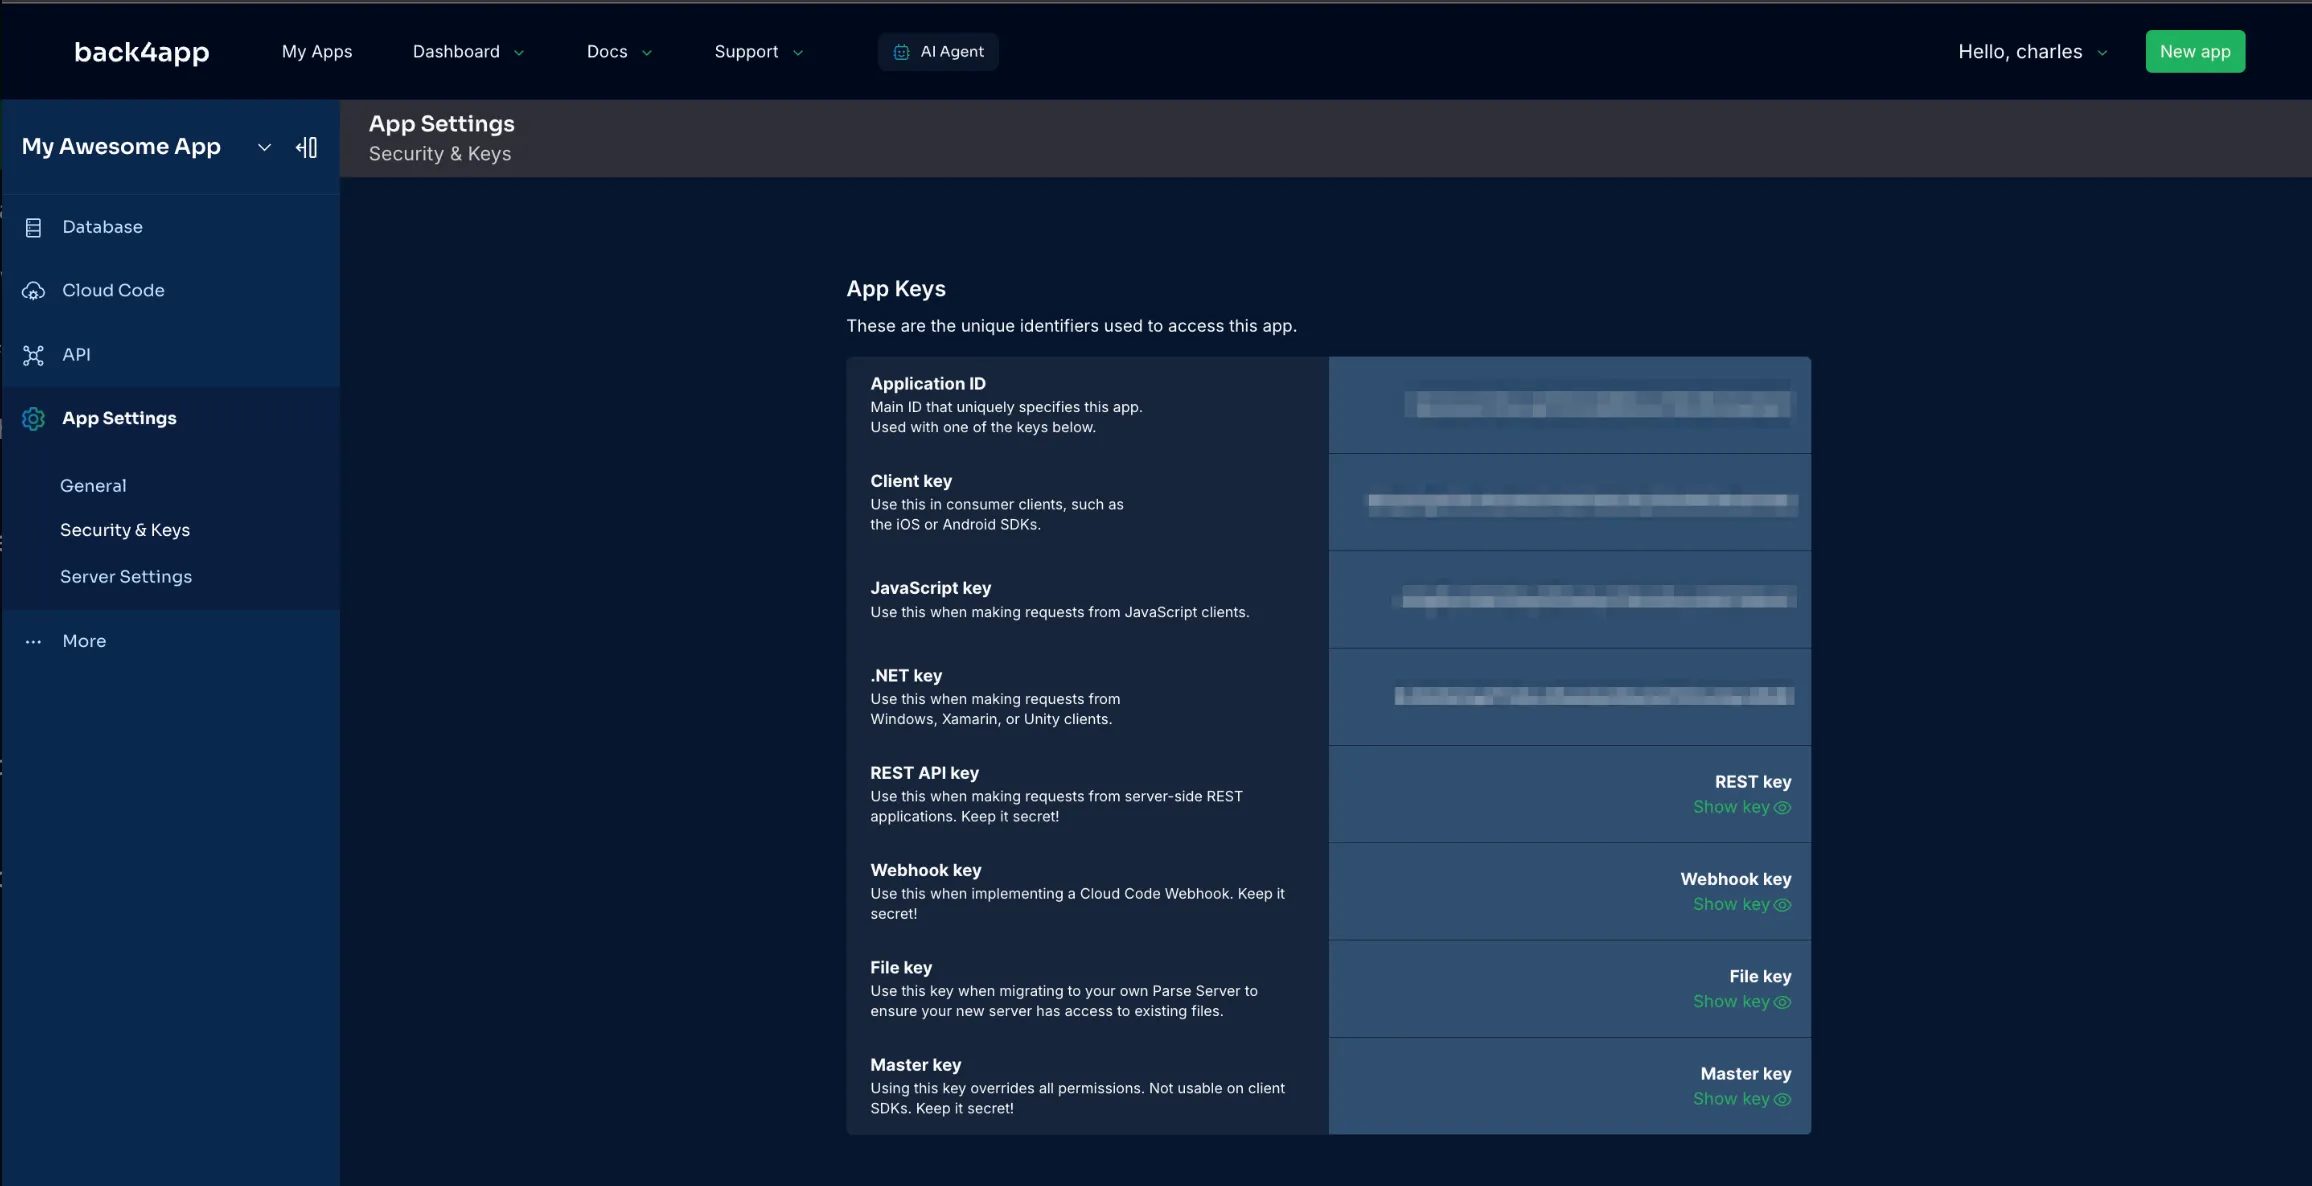
Keep these credentials close at hand. You will need them when making requests from your Yii 2 application to Back4app.
Your Back4app project comes with a cloud-based database that is automatically managed by the Parse Server. You can create a data model and store objects in it using REST, GraphQL, or the AI agent in Back4app.
- Open the “Database” section in your Back4app dashboard.
- Create a new class (e.g., “Todo”) and add columns such as title (String) and isCompleted (Boolean).
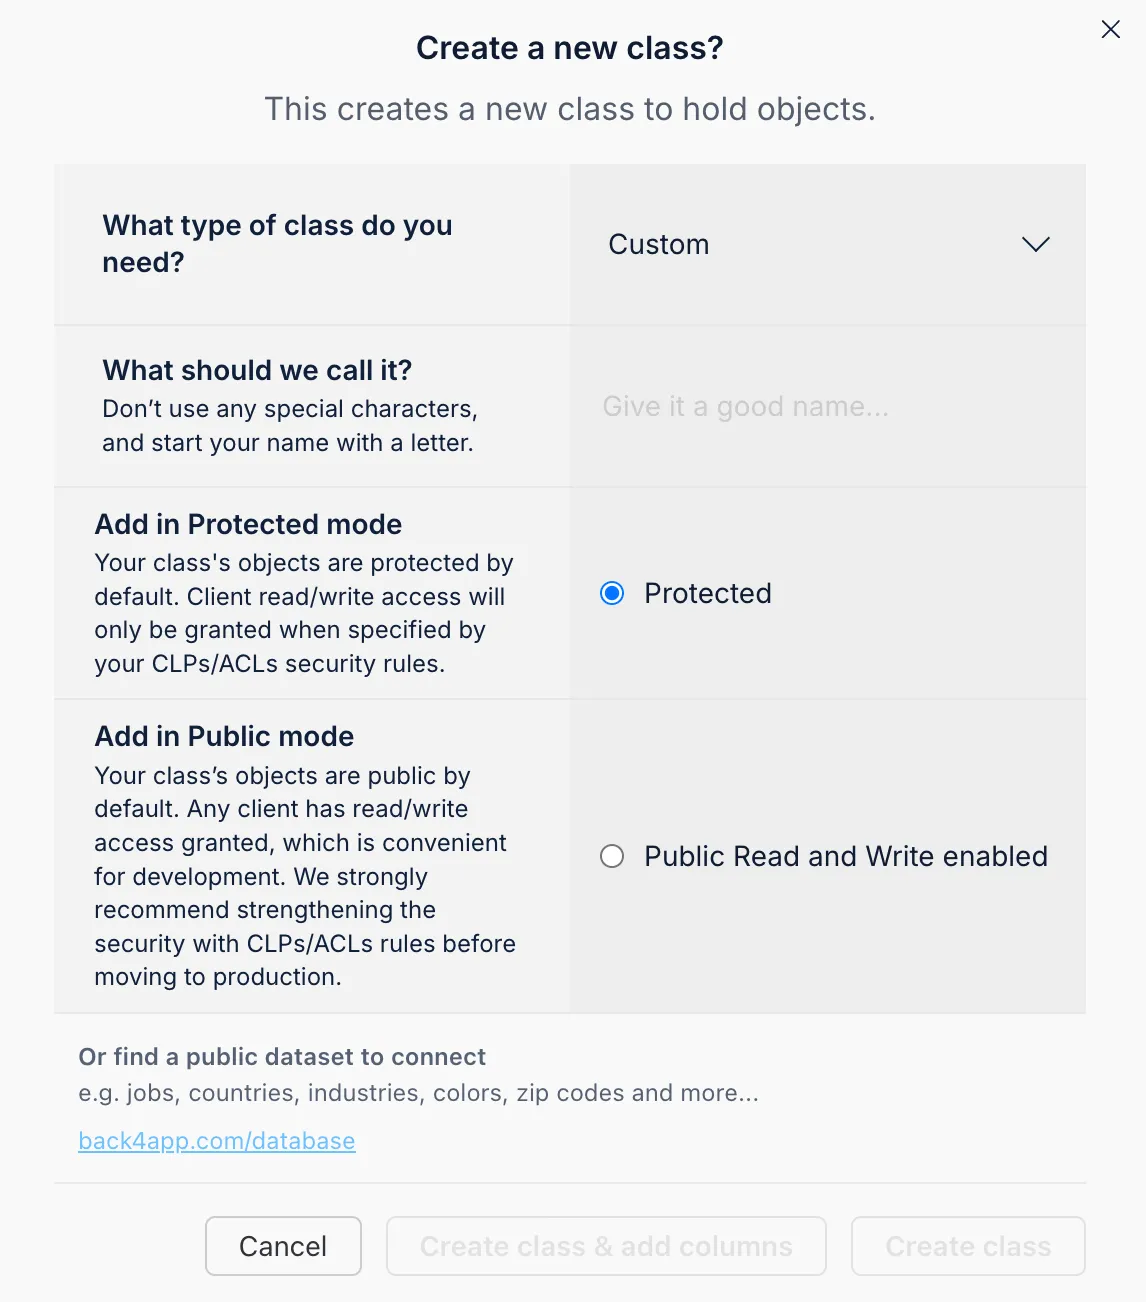
You can also let Parse create these columns automatically the first time your Yii code sends data. Furthermore, Back4app’s AI Agent can help you set up the schema:
- Open the AI Agent from your App Dashboard or the menu.
- Describe your data model (e.g., “Create a Todo App schema with a Todo class”).
- Allow the AI Agent to generate the schema.
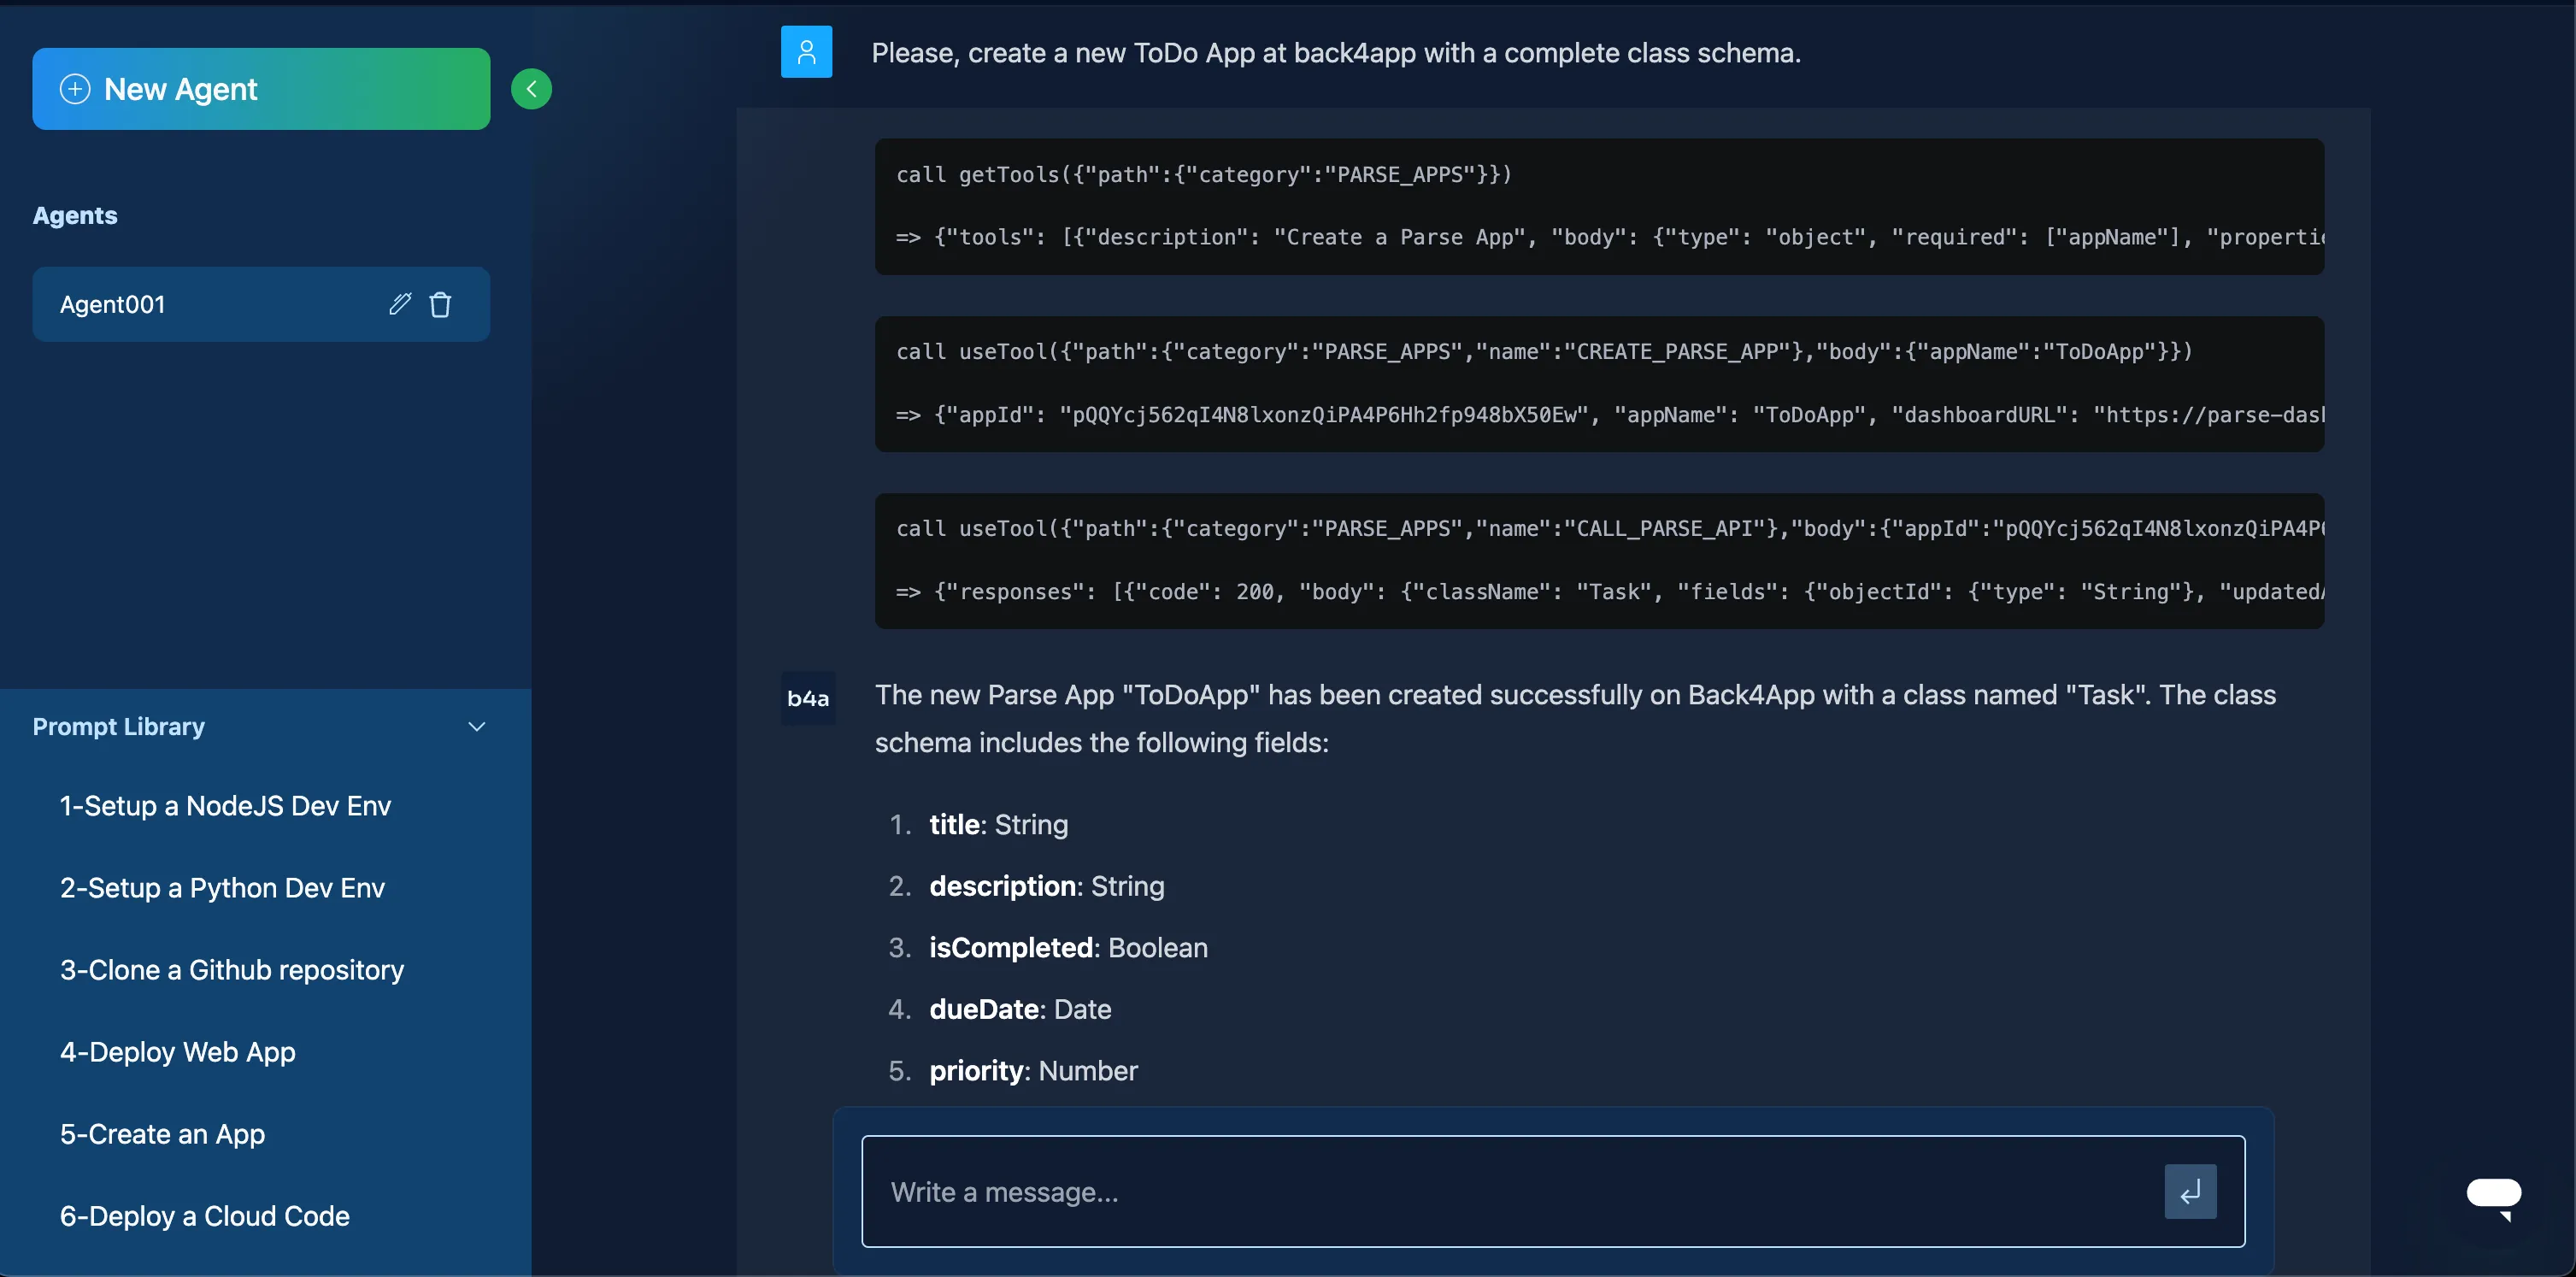
Below is an example of saving a Todo object using the REST API. You might implement this in a Yii 2 controller action using cURL or PHP’s file_get_contents() to post JSON data.
Example Yii 2 PHP code snippet (using cURL) in a controller:
Querying the same data with REST might look like:
You can also create and read data using Parse’s GraphQL interface. For instance, to create a Todo:
In Yii 2, you can use GraphQL libraries or simple HTTP requests to interact with the Back4app GraphQL endpoint: https://parseapi.back4app.com/graphql
For real-time updates, Back4app supports Live Queries, which let you subscribe to changes on a class. Although typical use in Yii 2 might be less common, you can still enable Live Queries in your Back4app settings and handle WebSocket connections in PHP. This is more advanced, so refer to the Parse Live Queries documentation for details on implementing real-time features in your PHP-based web applications.
Back4app offers Access Control Lists (ACLs) and Class-Level Permissions (CLPs) to protect your data. ACLs apply to specific objects, while CLPs define global permissions for each class.
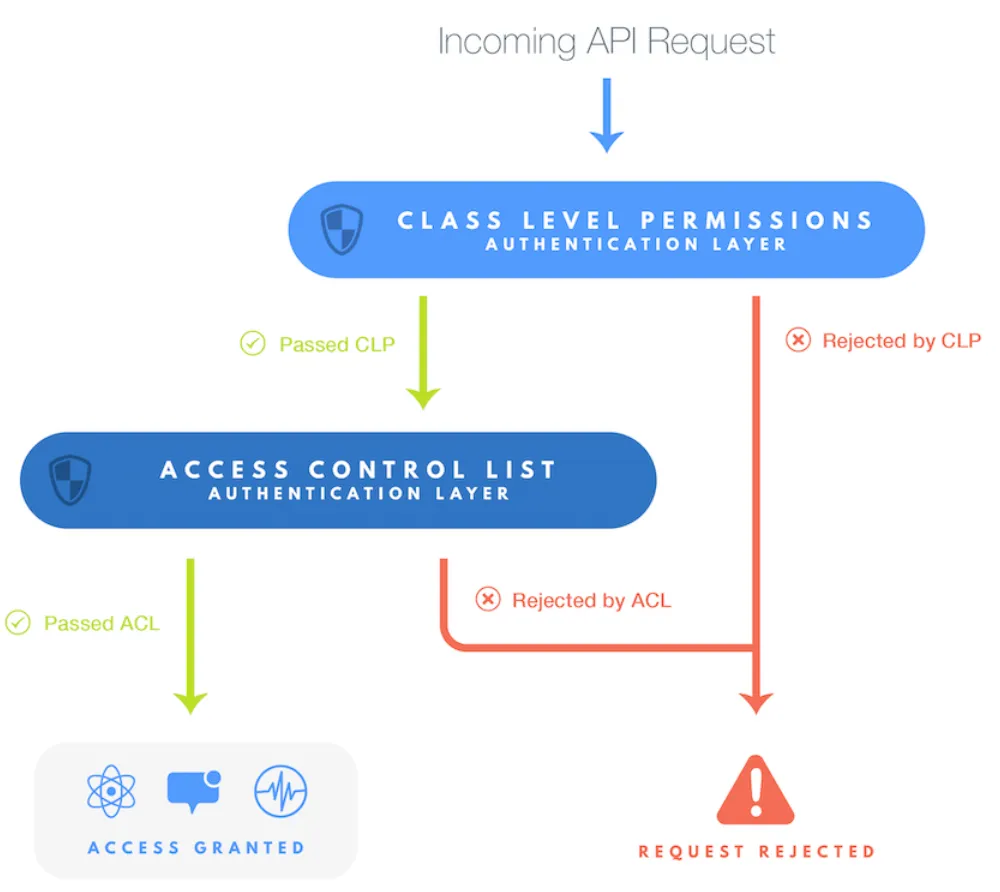
- Go to Database in your Back4app dashboard and select the class (e.g., “Todo”).
- Open the CLPs tab, and configure read/write permissions (e.g., “Requires Authentication” or “No Access”).
You can set ACLs for individual objects by including an _ACL field when creating or updating data via REST or GraphQL. For example, using REST:
This object can now only be accessed by the user with the specified objectId.
Using Cloud Code on Back4app allows you to run custom server-side logic without managing your own servers. You can create business logic, data validations, or triggers for object creation, updates, and deletions.
Below is a simple Cloud Code function (written in JavaScript) that calculates text length:
You can deploy your Cloud Code via the Back4app CLI or directly in the Cloud Code > Functions section of your Back4app dashboard:
- Back4app CLI:
- Dashboard: Copy/paste your code into main.js and click Deploy.

You can call your function from Yii 2 using a simple REST POST request:
Or via GraphQL:
Back4app uses the Parse User class as a foundation for secure authentication. You can create and verify users through REST or GraphQL calls.
For social logins (Google, Apple, Facebook, etc.), configure your OAuth settings in Back4app and your Yii 2 application to handle the necessary tokens. Refer to Back4app’s Social Login Docs for provider-specific guidelines.
Enable email verification and password reset in the Email Settings of your Back4app dashboard to improve user security:
- Go to Email Settings in your Back4app dashboard.
- Enable email verification and customize your email templates.
- Test that your emails are sent and received properly.
Back4app provides secure file storage via the Parse File system. While the Parse PHP SDK is an option, we’ll illustrate REST again for consistency.
This returns a url for the saved file. You can then store that URL in a class (like Photo) for later retrieval.
You can limit file uploads to only authenticated users or to specific roles by configuring Parse Server settings in your app. For more granular control, combine these settings with your ACL and CLP rules.
Email verification ensures users own the email addresses they register with, and password reset allows them to recover accounts.
- Enable Email Verification under App Settings > Email Settings.
- Customize the “From” address and email templates.
- Test by creating a new user to confirm the verification email is sent.
In your Yii 2 application, direct users to a route that triggers Parse’s password reset endpoint. The rest of the flow (like sending the actual email) is handled by the Back4app infrastructure.
Cloud Jobs in Back4app let you schedule routine tasks, such as cleaning data or sending notifications. Define them in your Cloud Code (main.js) and schedule them in the dashboard.
Webhooks allow your Back4app application to send automated HTTP requests to external services when events occur, like creating a new Todo.
- In your Back4app dashboard, go to More > WebHooks.
- Add a Webhook endpoint (e.g., https://your-external-service.com/webhook).
- Configure triggers (e.g., “New record in Todo class”).
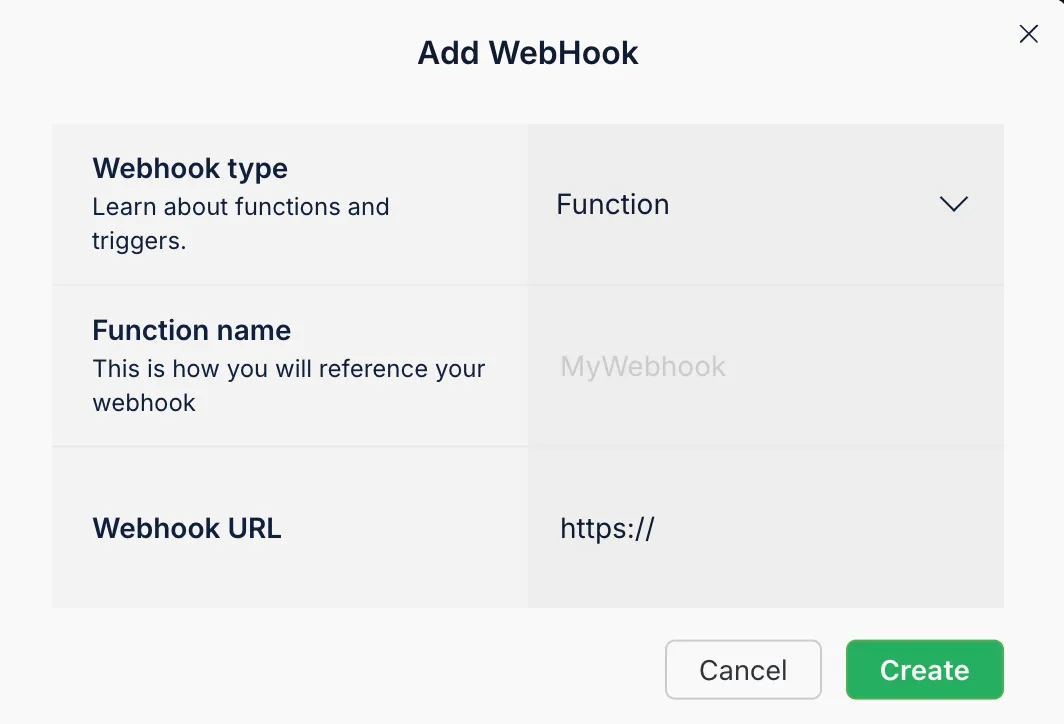
With webhooks, you can send notifications to other services (like Slack, Stripe, or your custom API) whenever a Todo object is created or updated.
The Back4app Admin App is a point-and-click interface for managing your data without writing code. You can enable it by visiting App Dashboard > More > Admin App and then Enable Admin App.
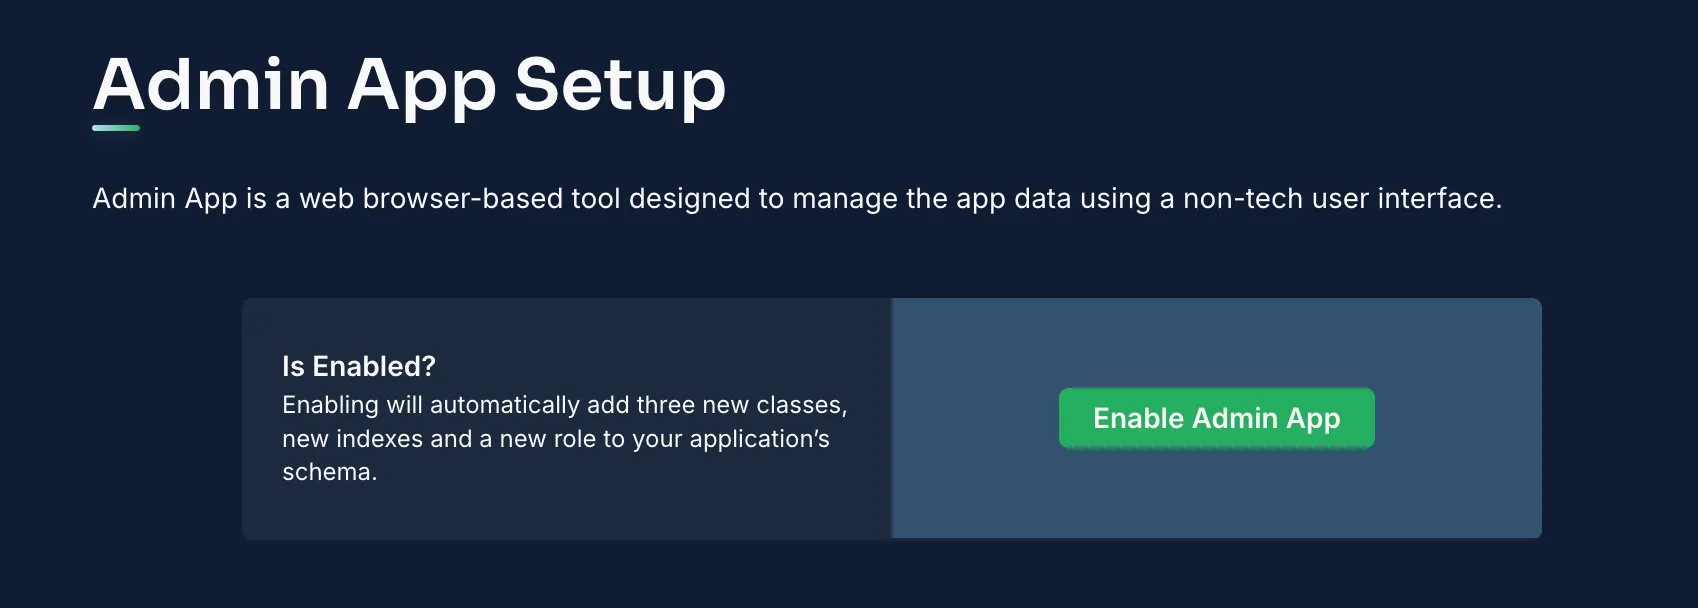
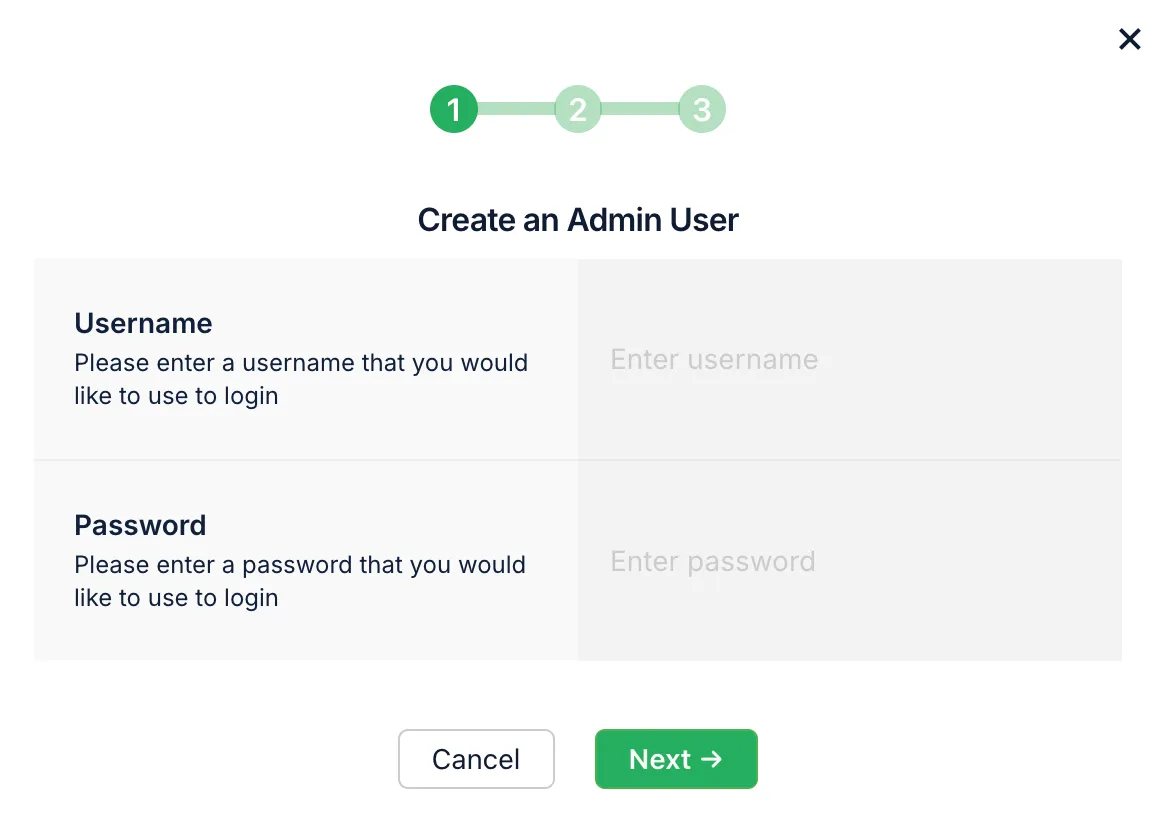
After creating an Admin User, you’ll have a dedicated subdomain for your Admin App. This gives authorized team members a clean interface for CRUD operations on your Back4app database, reviewing logs, or viewing analytics — no code needed.
In this tutorial, you discovered how to build a backend for Yii 2 using Back4app.
You configured a cloud-based database, set up robust security with ACLs and CLPs, scheduled background tasks with Cloud Jobs, and integrated external services through webhooks. You also saw how to manage user authentication and file storage securely.
Having combined an open source Yii framework for building web applications with Back4app’s scalable infrastructure, you now have a potent environment ready for development and growth.
- Move toward production by expanding your data models, applying additional security settings, and optimizing performance.
- Integrate external APIs (payment gateways, email providers) via Cloud Code or direct webhooks.
- Explore official Back4app docs for deeper topics like advanced security, log analysis, and performance optimizations.
- Learn more about building complex web applications with Yii 2 by using role-based access control, caching strategies, and advanced database relationships.
With this foundation, you can continue to enhance your Yii 2 project, focus on business-specific logic, and deliver robust, scalable functionality for your users. Enjoy coding and building modern web applications
