How to Build a Backend for NativeScript?
In this tutorial, you'll learn how to buila a backend for NativeScript using Back4app, an open source platform that simplifies backend development for mobile apps.
We'll walk through integrating essential Back4app features—like database management, Cloud Code Functions, REST and GraphQL api endpoints, user authentication, and real-time queries (Live Queries)—to create a secure and scalable backend for your NativeScript apps.
You'll also discover how Back4app drastically reduces setup time compared to manual server and database configurations.
We will explore advanced security mechanisms, scheduling tasks with Cloud Jobs, and using webhooks to connect with third-party services.
By the end of this guide, you'll have a flexible backend that takes advantage of NativeScript Core, which powers NativeScript’s cross-platform mobile solutions.
With this foundation, you'll be ready to integrate your own custom logic or external APIs as needed. This will be a major step toward developing production-ready NativeScript apps.
- A Back4app account and a new Back4app project Getting Started with Back4app. If you do not have an account, you can create one for free. Follow the guide above to get your project ready.
- Basic NativeScript development environment You can set this up using the NativeScript CLI or another preferred workflow. NativeScript Getting Started Guide.
- Node.js (version 14 or above) installed You will need Node.js for installing npm packages and running the NativeScript CLI. Installing Node.js
- Familiarity with JavaScript and NativeScript Core NativeScript Official Documentation. If you’re new to NativeScript, review the official docs or a beginner’s tutorial before starting.
Make sure you have all these prerequisites in place before you begin. Having your Back4app project set up and your local NativeScript environment ready will help you follow along more easily.
The first step in building your NativeScript backend on Back4app is creating a new project. If you haven't already, follow these steps:
- Log in to your Back4app account.
- Click the “New App” button in your Back4app dashboard.
- Give your app a name (e.g., “NativeScript-Backend-Tutorial”).
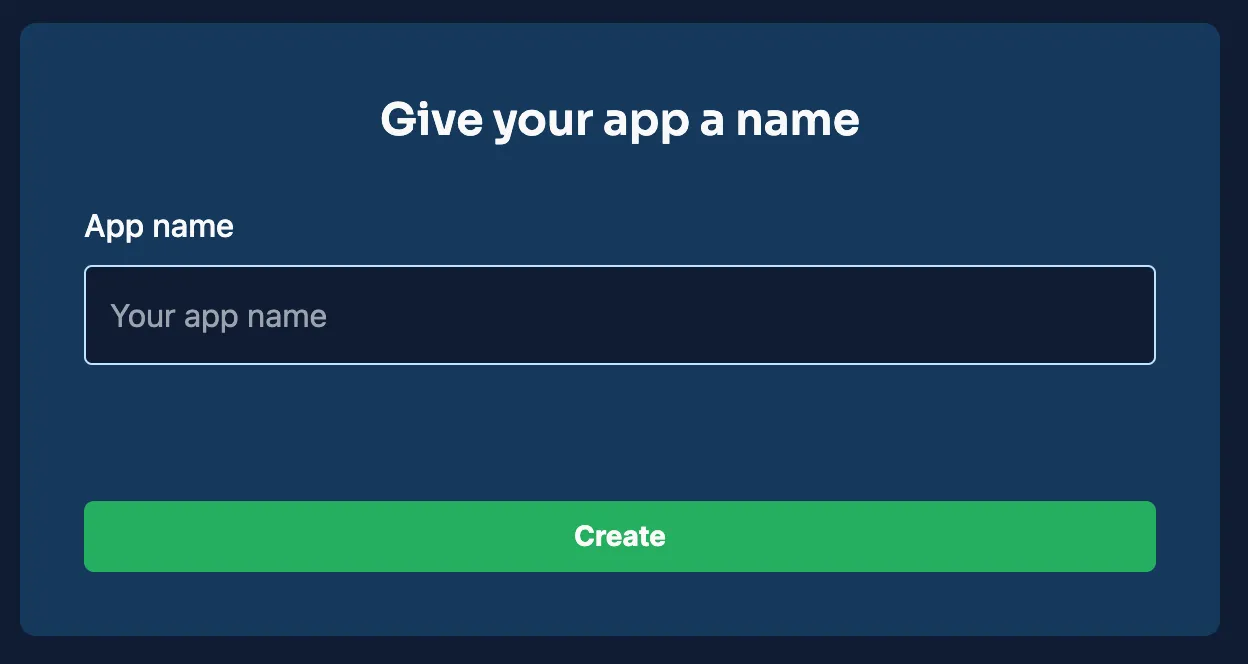
After creating the project, you’ll see it listed in your Back4app dashboard. This project will serve as the foundation for all backend configurations covered in this tutorial.
Back4app uses the Parse Platform to handle your data, real-time functionality, user authentication, and more. To connect your NativeScript app to Back4app, install the parse npm package and initialize it with the credentials you get from your Back4app dashboard.
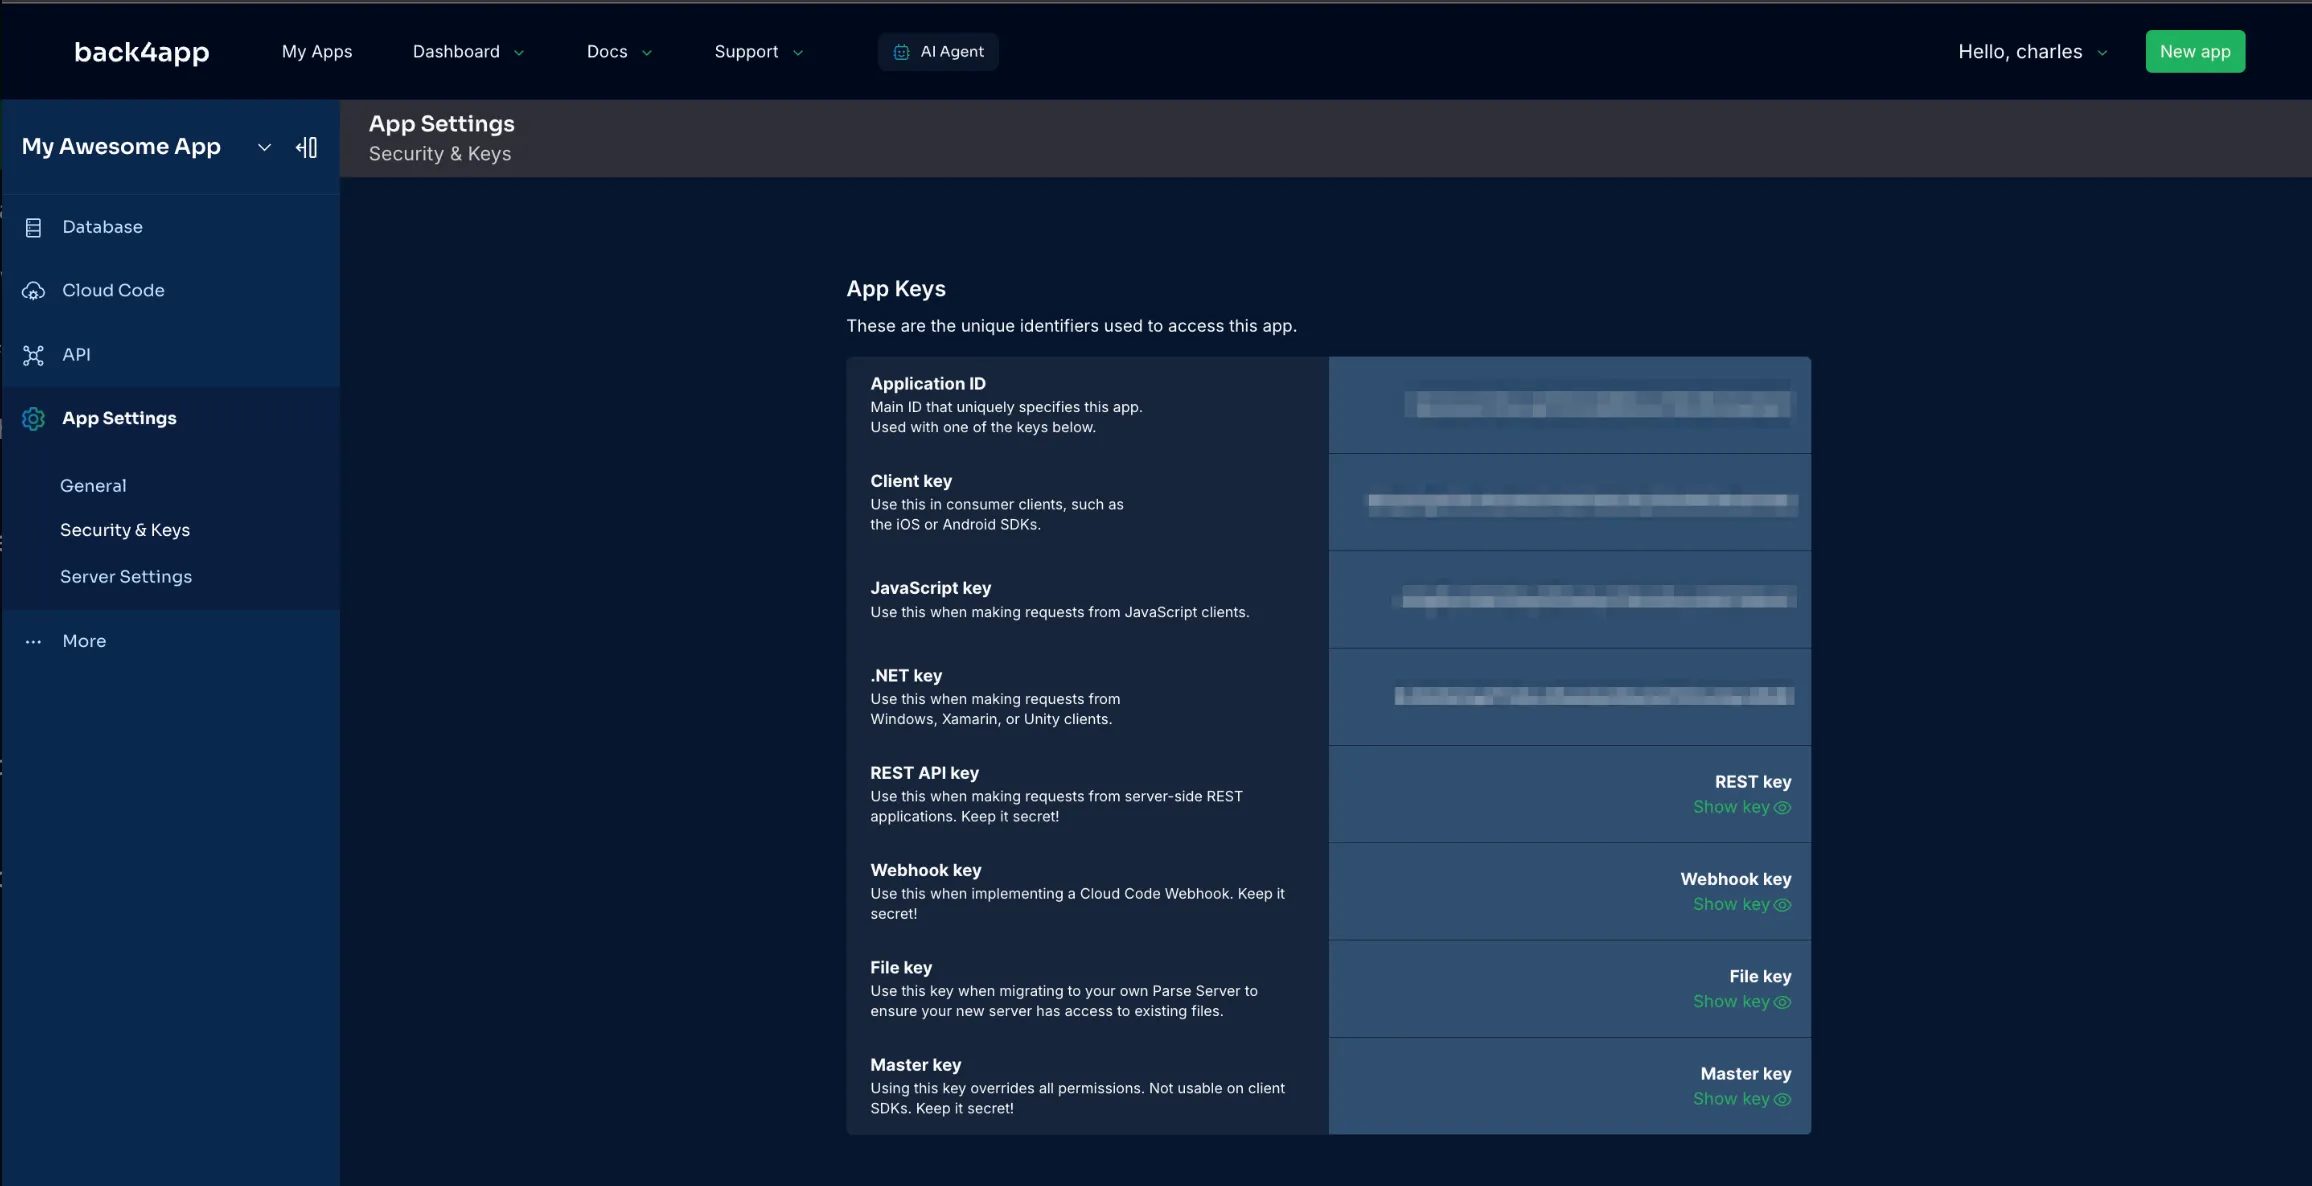
Retrieve your Parse Keys: In your Back4app dashboard, go to your app’s “App Settings” or “Security & Keys” section. Look for your Application ID, JavaScript Key, and Parse Server URL (in the format https://parseapi.back4app.com).
Install the Parse SDK:
Then, initialize Parse in a configuration file or your main entry file (e.g., app.js). For example, you might create a file named parseConfig.js in a NativeScript-based project:
Whenever you need to access Parse in your NativeScript app, simply import this file. By completing this step, you have established a secure connection between your NativeScript frontend and the Back4app backend, simplifying data operations.
With your Back4app project ready and the Parse SDK integrated, you can save and query data from your NativeScript app. Below is an example using the Parse.Object class to save and fetch a list of items:
You can also use Back4app’s REST API if you prefer direct HTTP calls:
Or use GraphQL:
This flexibility makes it convenient to build backend features for your NativeScript apps through the Parse SDK, REST, or GraphQL api endpoints.
By default, Parse can automatically create schema on the fly, or you can define your classes and data types in the Back4app dashboard:
- Go to the “Database” section in your Back4app dashboard.
- Create a new class (e.g., “Task”) and add columns like title (String) and isCompleted (Boolean).
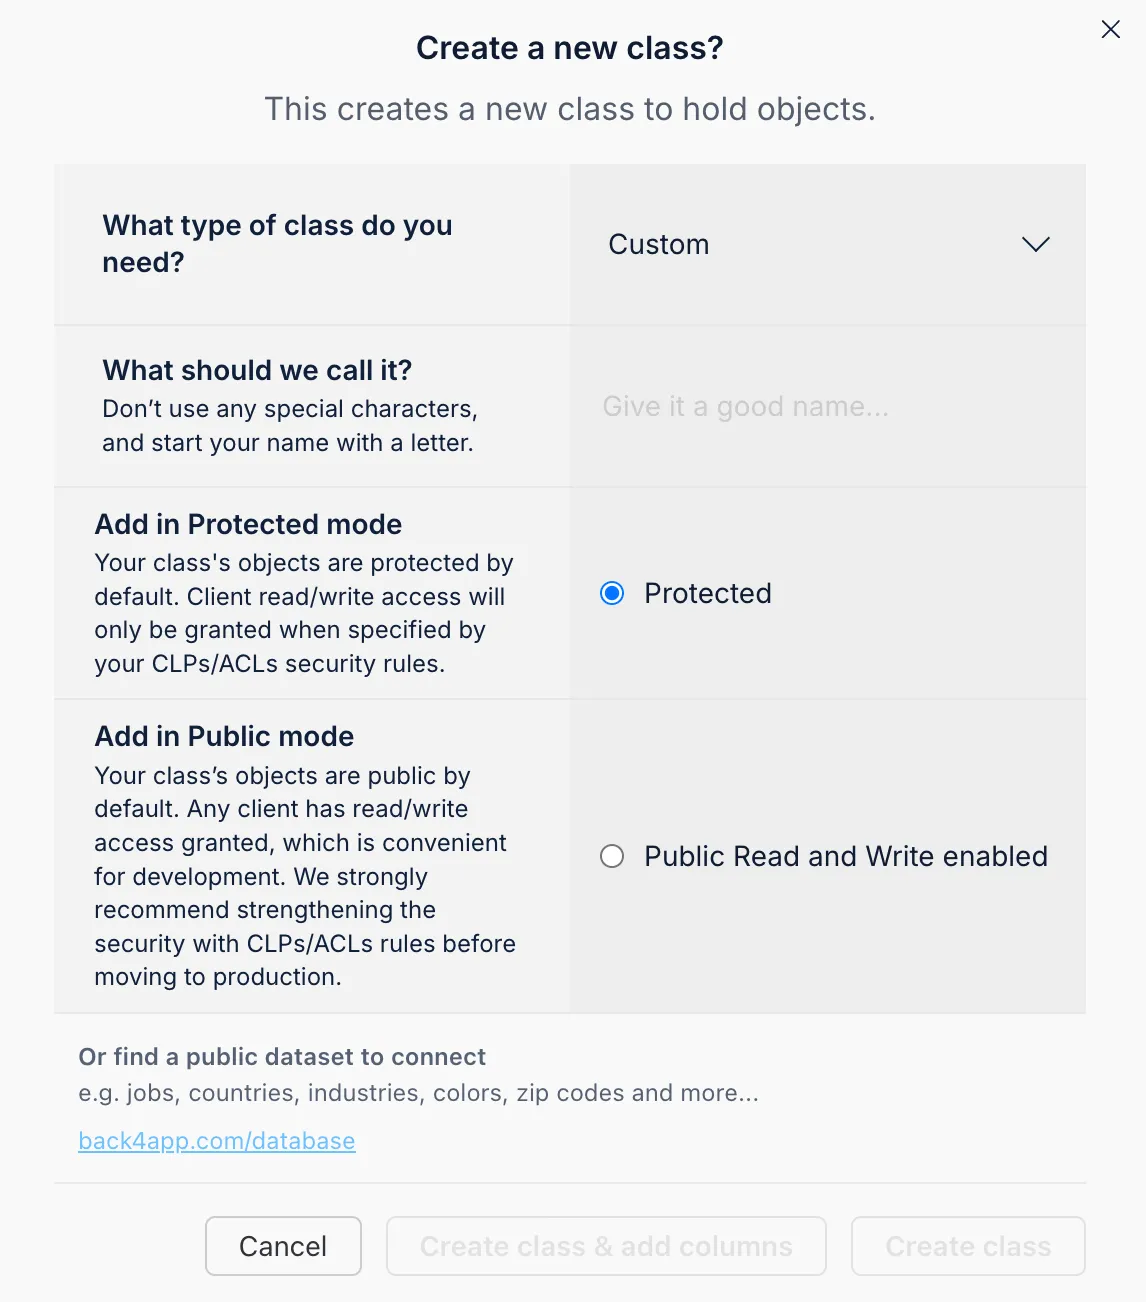
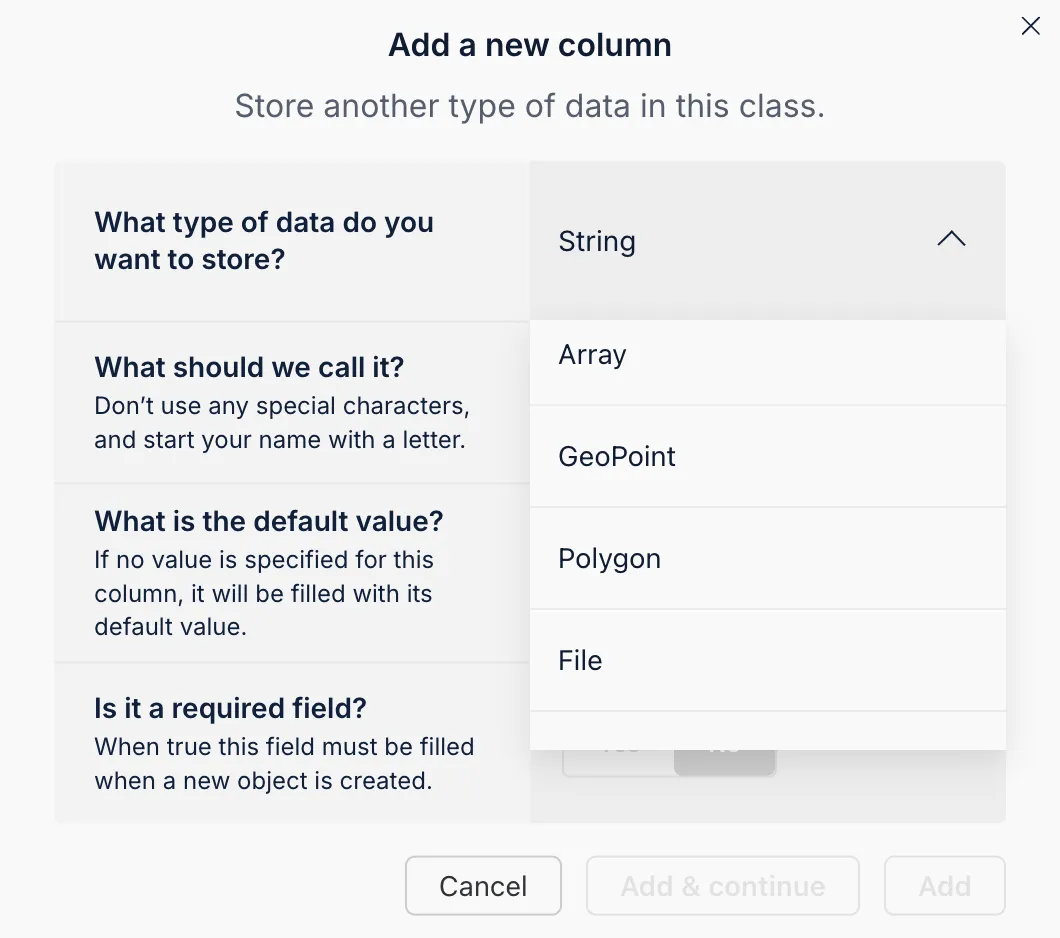
Back4app supports data types like String, Number, Boolean, Object, Date, File, Pointer, Array, Relation, GeoPoint, and Polygon. You can either let Parse create these columns when you first save an object or define them for more control.
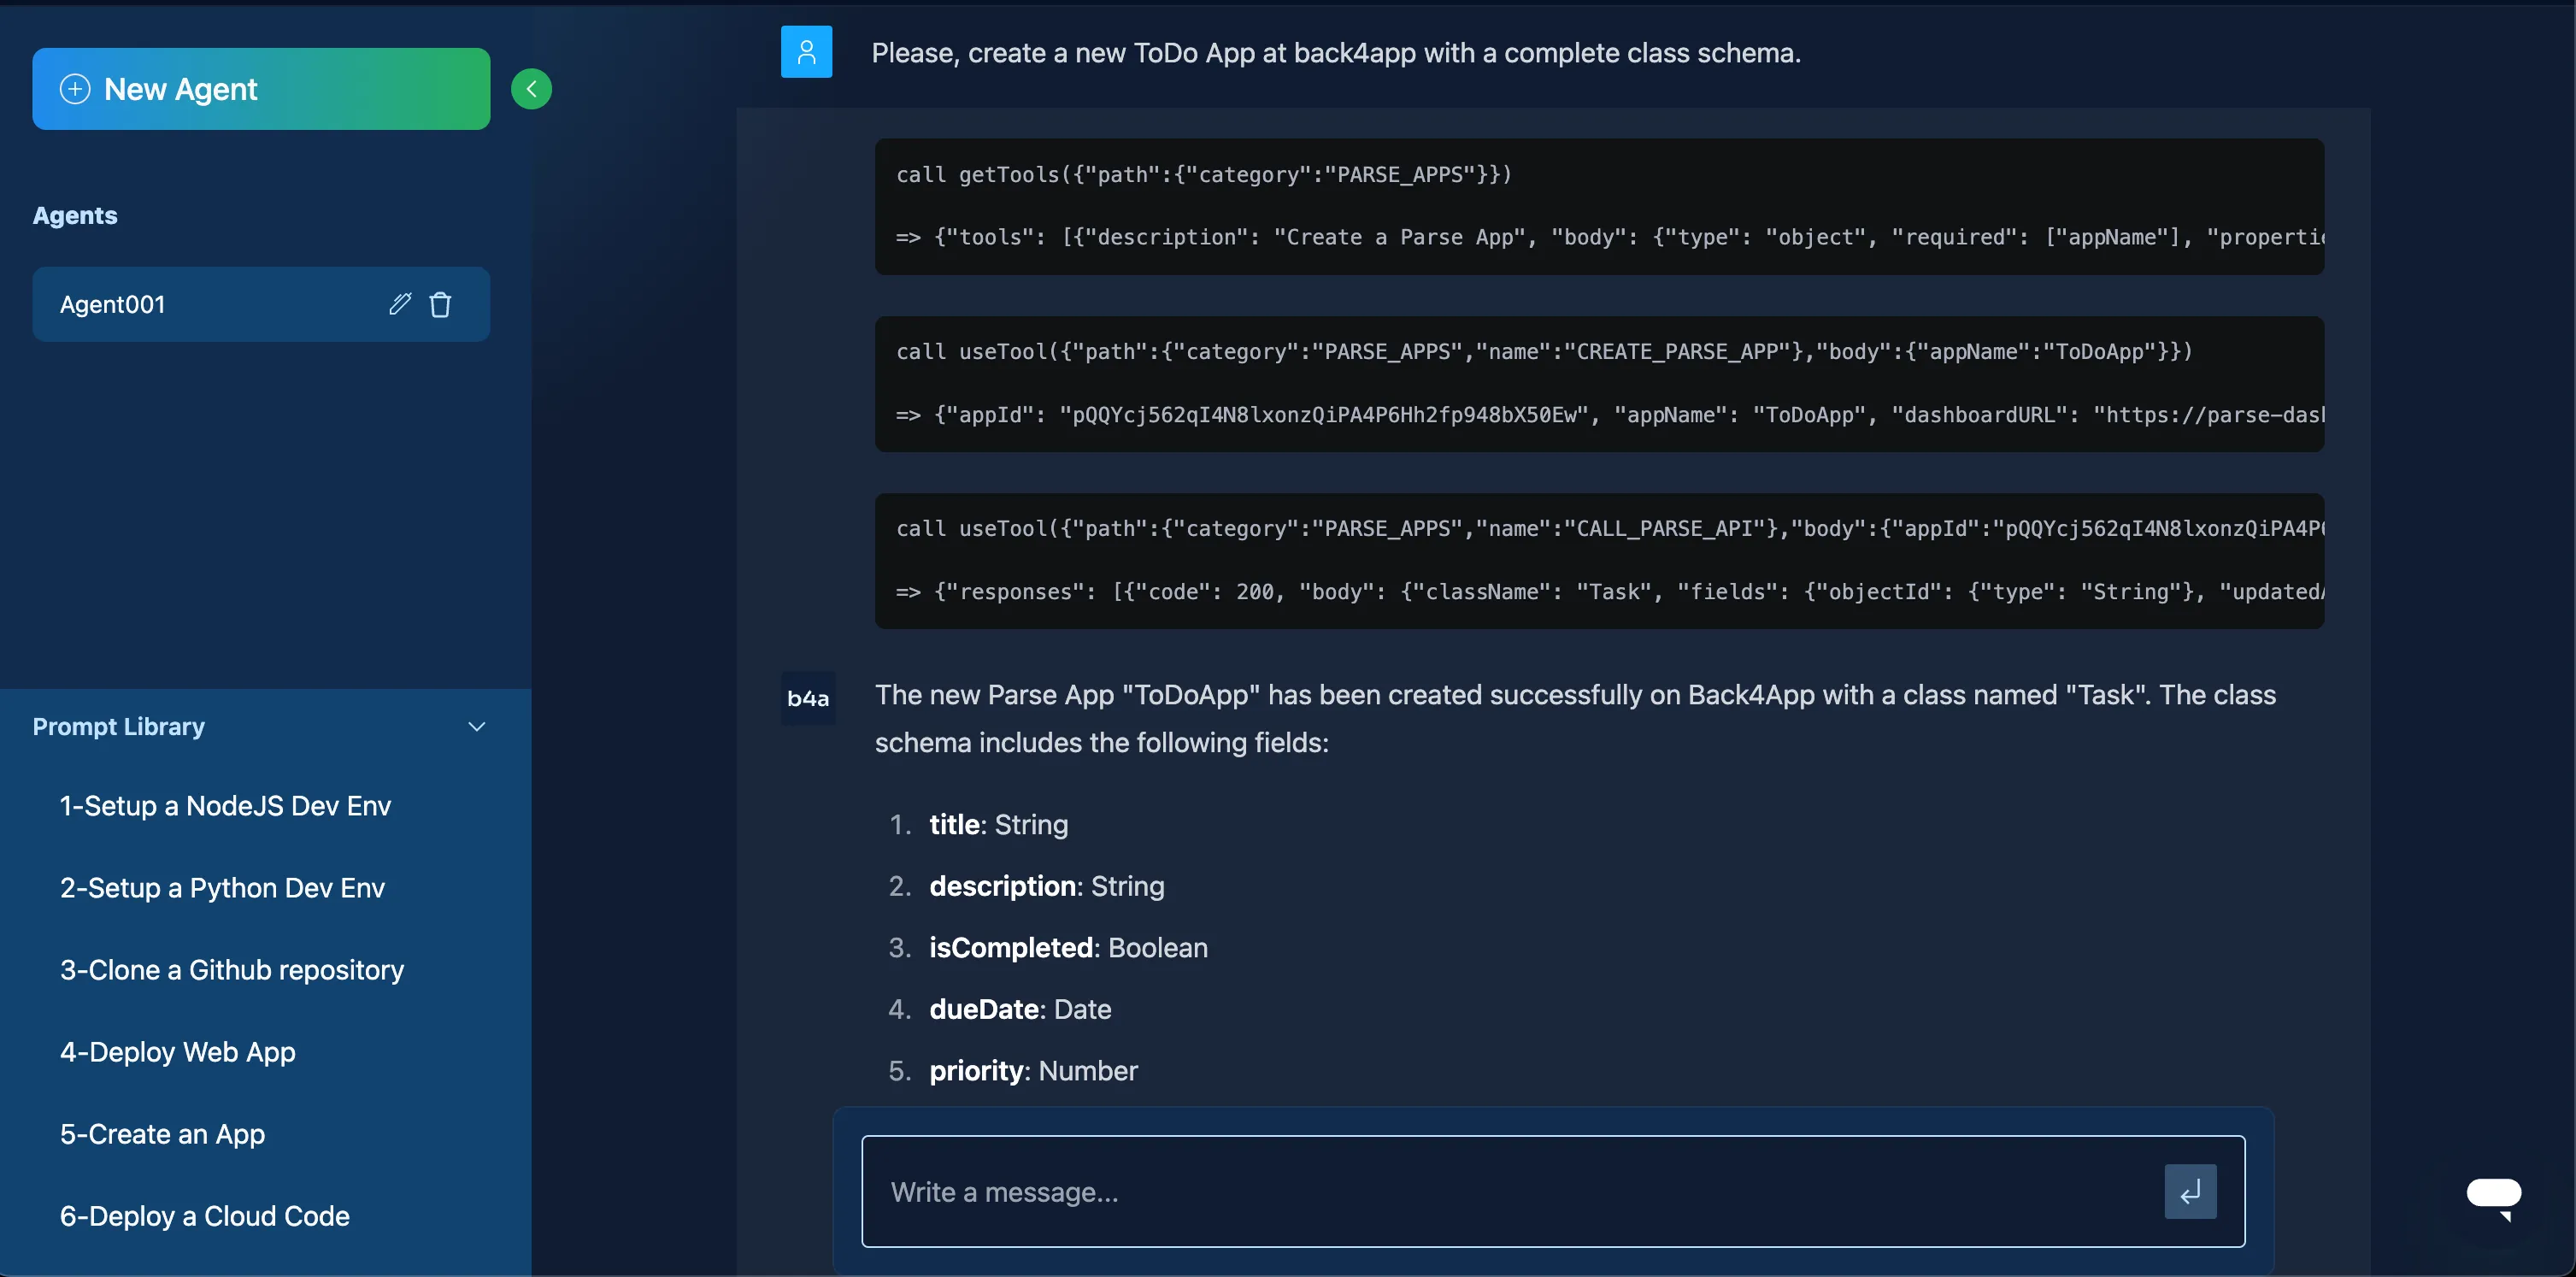
Using Back4app’s AI Agent can also help you auto-generate schemas:
- Open the AI Agent in your App Dashboard.
- Describe your desired data model (e.g., “Please create a new Task class for mobile apps with isCompleted and dueDate fields.”).
- Let the agent create the schema automatically.
If you want relational data—like a Category object that points to multiple Task items—use Pointers or Relations in Parse:
This approach helps you fetch complete data for a Task and its related Category in a single query.
For real-time updates, enable Live Queries under Server Settings in the Back4app dashboard. NativeScript developers can subscribe to changes in a specific class. Update your Parse setup to include a Live Query server URL:
And then subscribe to real-time events:
This subscription automatically updates your UI whenever a Task is added, modified, or removed—perfect for live, collaborative NativeScript apps.
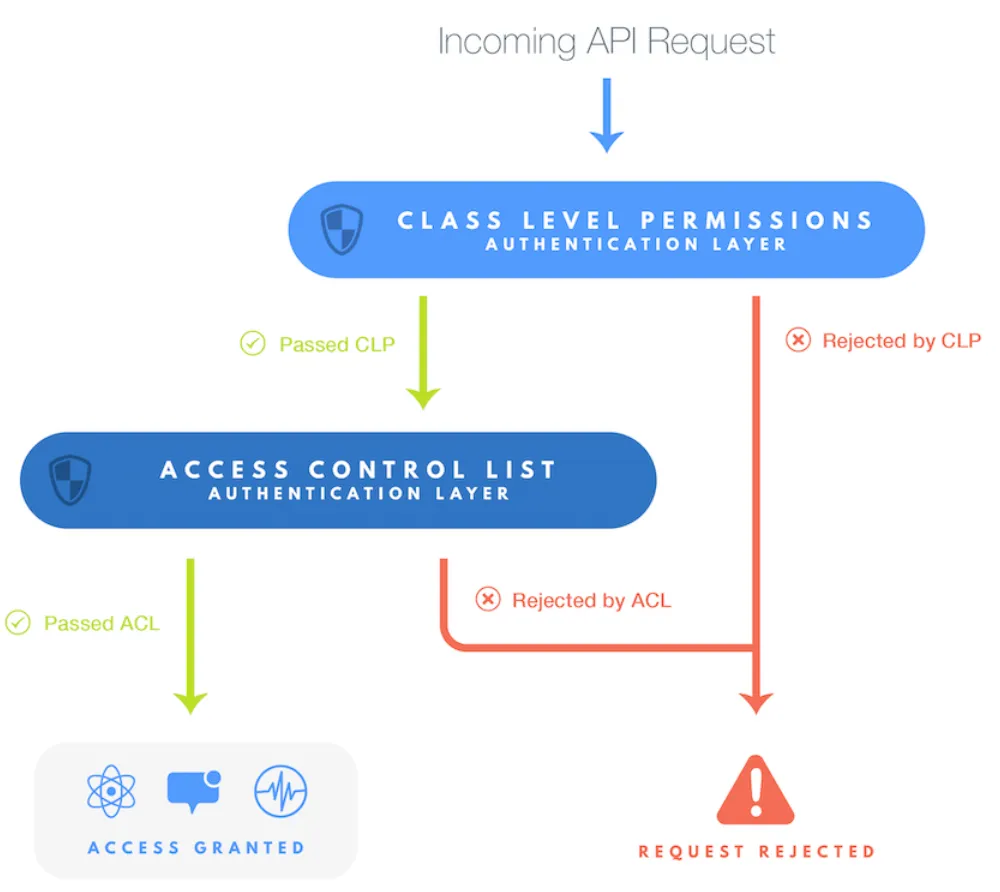
Back4app incorporates Access Control Lists (ACLs) and Class-Level Permissions (CLPs) to safeguard your data. These security models let you control read/write access both at the class and object levels.
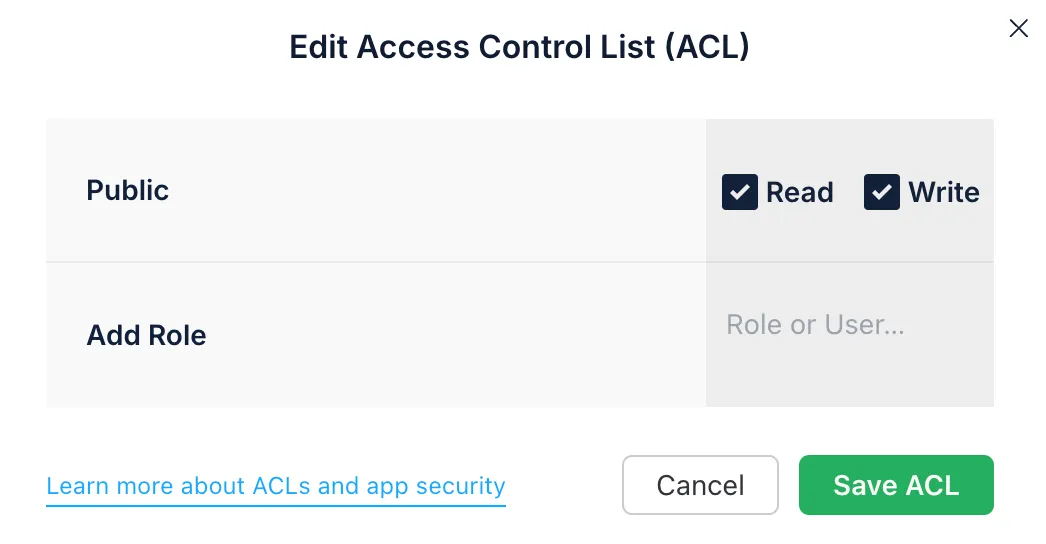
An ACL sets permissions for each object. For instance, to give only the owner read and write access:
This ensures only the specified user can modify or read the object.
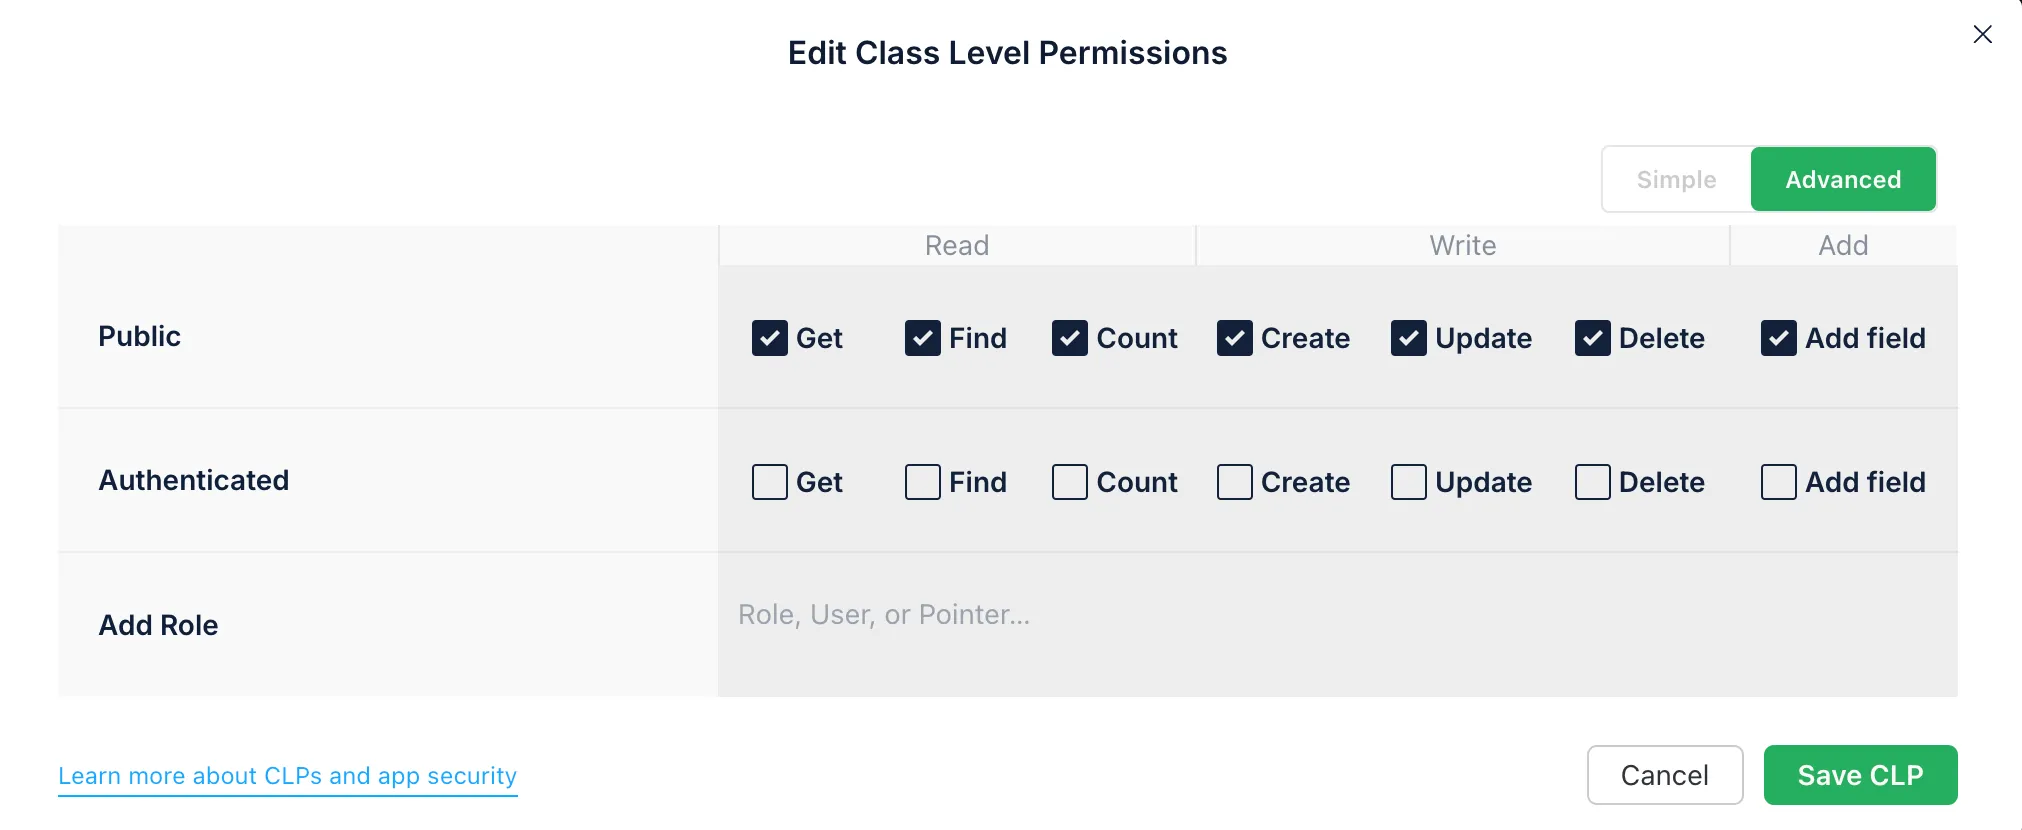
CLPs set the default permissions for an entire class:
- Open the Database in Back4app and select the relevant class.
- Access the Class-Level Permissions tab.
- Adjust permissions for the public, authenticated users, or specific roles as needed.
Combining ACLs and CLPs offers a strong security model for NativeScript apps. For more info, see App Security Guidelines.
Cloud Code lets you run custom JavaScript code on the server side, so you don't need to maintain infrastructure yourself. This is ideal for adding advanced logic or server-only integrations in your NativeScript backend.
You typically place your Cloud Code (JavaScript functions, triggers, and any required NPM modules) in a main.js file. Then you deploy it to Back4app, and it runs in the Parse Server environment without additional server configuration.
Example main.js Structure:
You can install and use NPM packages like axios for HTTP requests. This approach enables a wide range of integrations, from payment gateways to external APIs, all behind the security of your Back4app app.
- Business Logic: Automatic calculations, data transformations, or status updates.
- Data Validations: Ensure required fields are present before saving.
- Triggers: Run code when data is created, updated, or deleted.
- Integrations: Connect with external services for payments, analytics, or messaging.
- Security Enforcement: Validate incoming data or user roles before proceeding.
Here’s a simple function that computes text length:
Deploying via Back4app CLI:
- Install the CLI:
For Windows, download the b4a.exe file from the releases page.
- Configure your account key:
- Deploy your cloud code:
Deploying through the Dashboard:
- Go to Cloud Code > Functions in your dashboard.
- Paste your function code into main.js.
- Click Deploy.

From your NativeScript app using the Parse SDK:
You can also call it using REST or GraphQL:
This gives you a flexible way to integrate server-side logic into your NativeScript-based mobile apps.
Back4app uses the Parse User class to handle authentication, which includes password hashing, session tokens, and more. This eliminates much of the complexity associated with managing user accounts.
In your NativeScript app, you can create a new user:
A REST example might look like:
After logging in, Parse assigns a session token to the user. To check the currently logged-in user:
Logging out is simple:
Parse also integrates with OAuth providers like Google or Facebook. Setup varies per provider, so see Sign In With Apple and Others for details. For instance, with Facebook:
Enable these features in your Back4app dashboard:
- Navigate to Email Settings in your Back4app app.
- Enable email verification and password reset.
- Configure your email templates and “From” address.
Back4app supports file management through the Parse.File class. In NativeScript, you can upload images or documents similarly:
You can retrieve the file’s URL from the saved object:
Parse Server lets you configure file upload security:
This ensures you can limit or allow file uploads based on your security preferences.
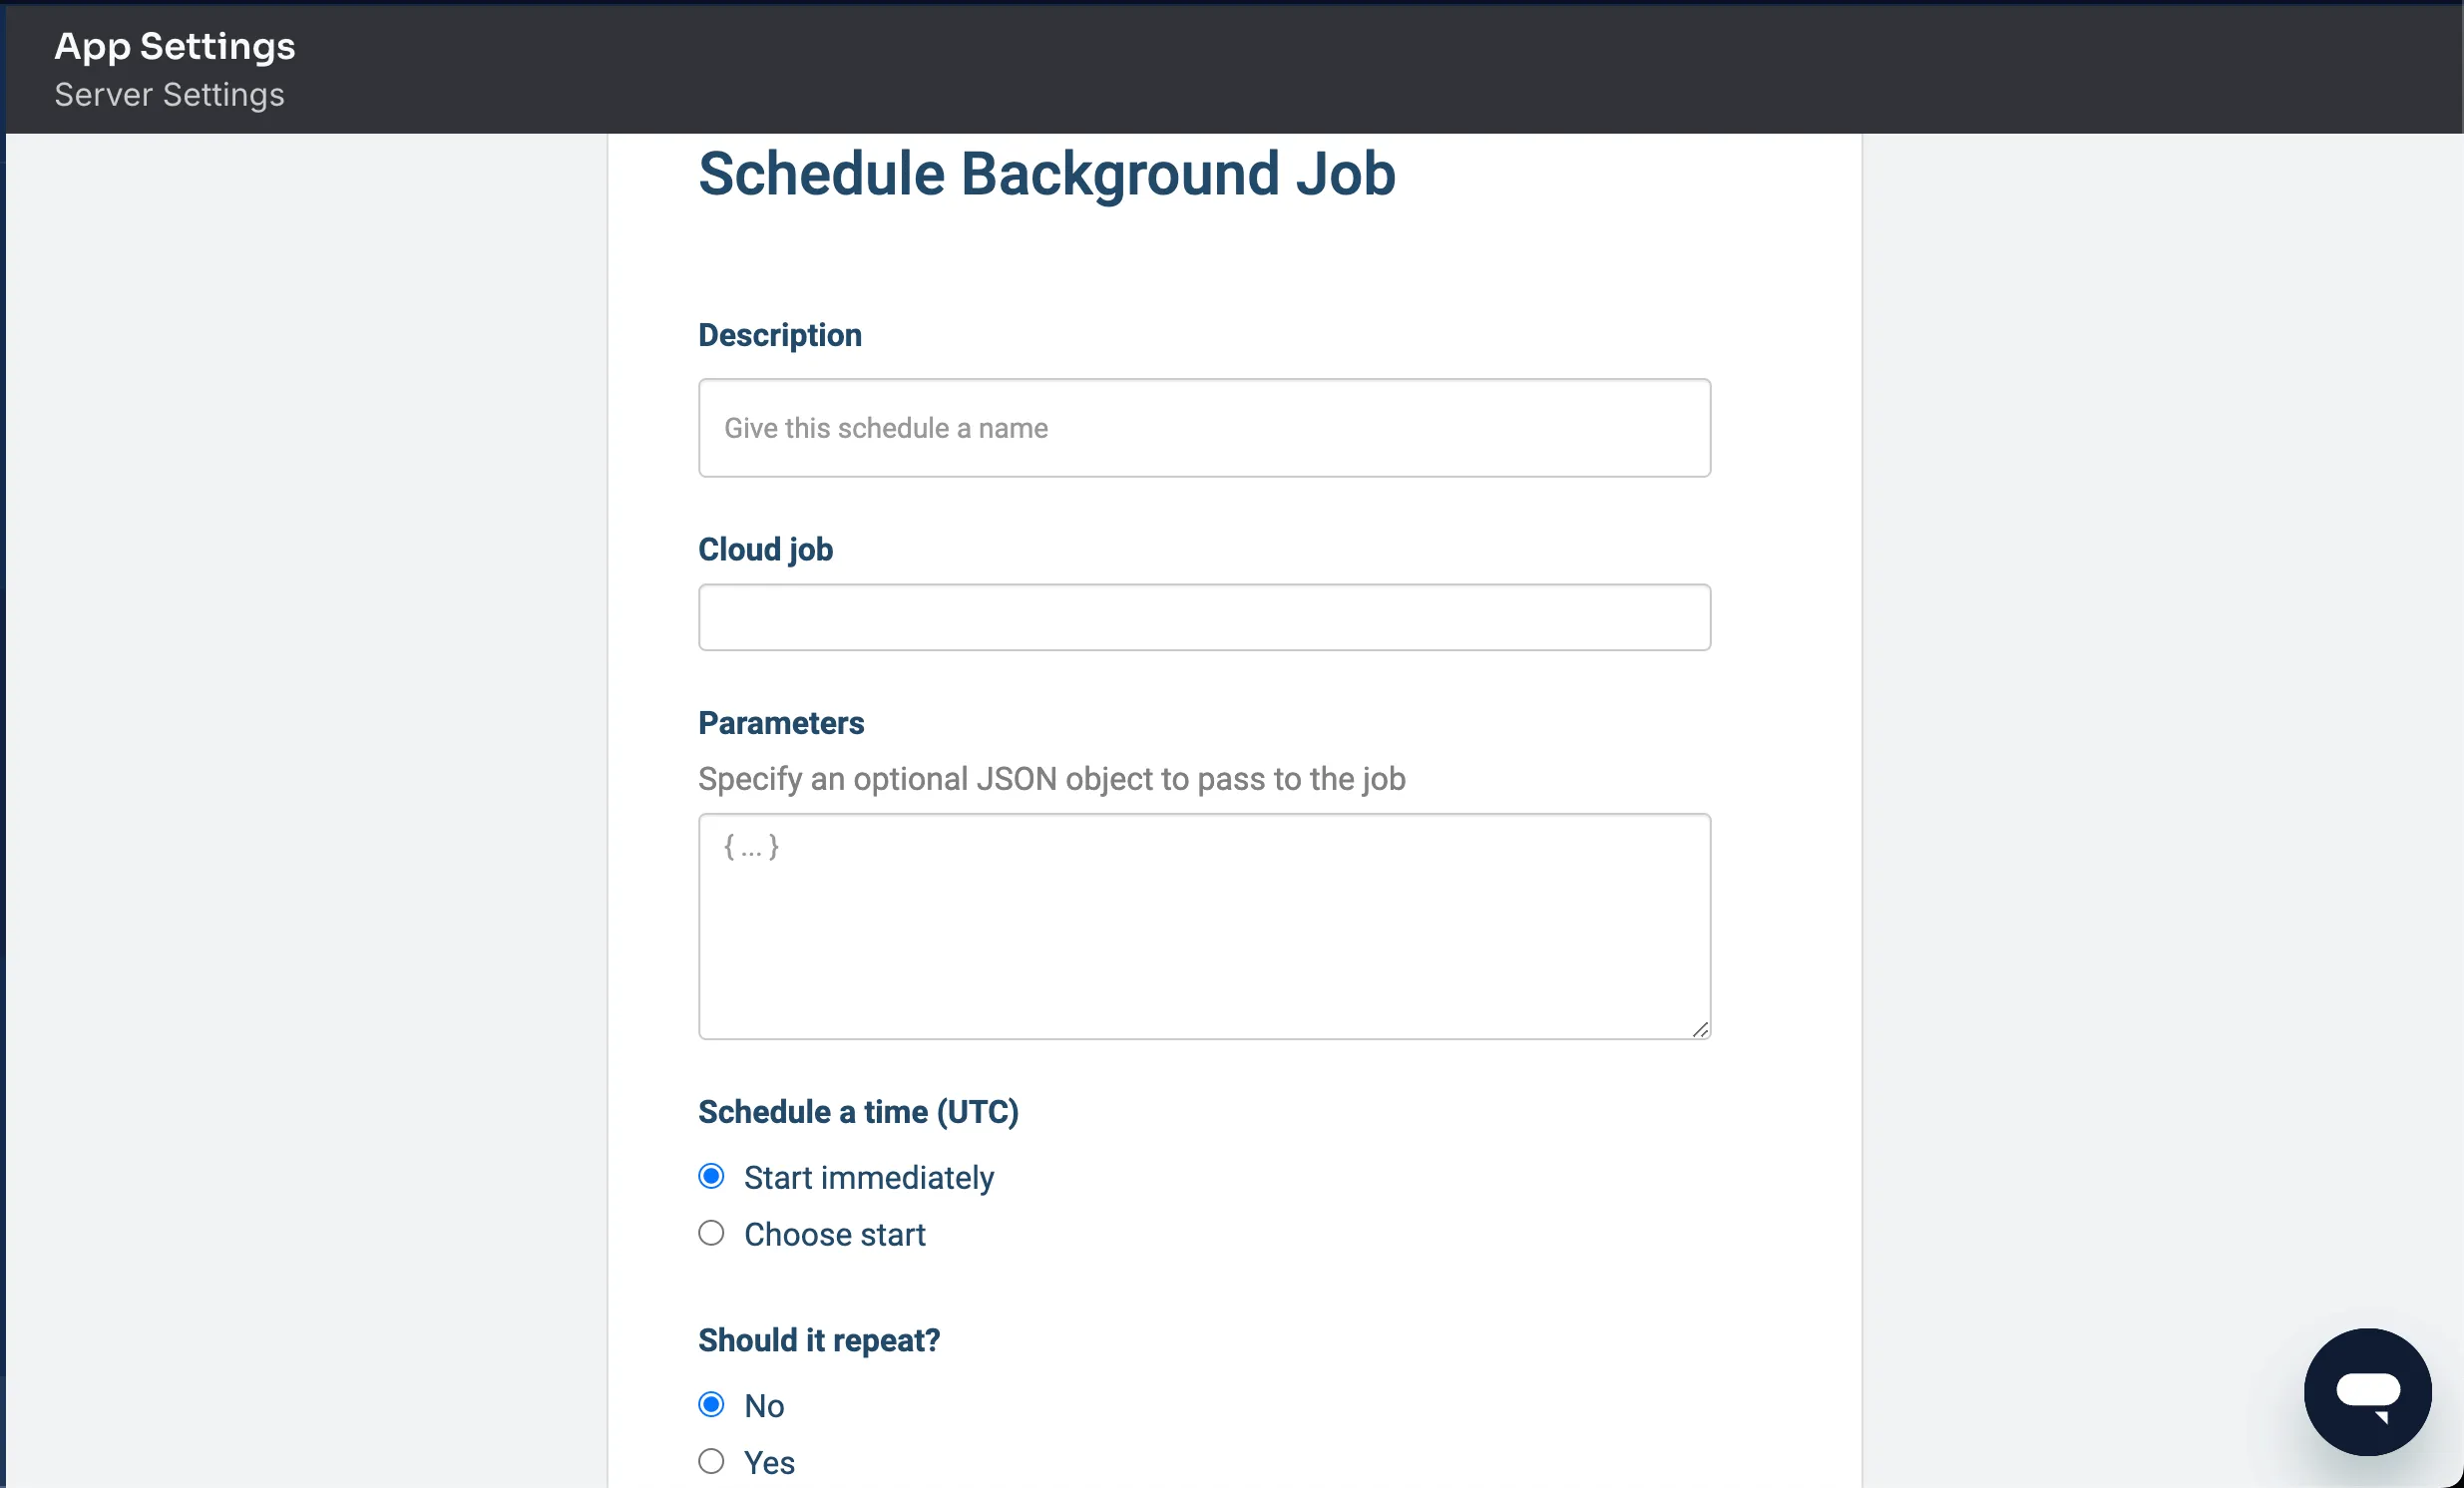
Cloud Jobs help you automate routine tasks, like removing stale records or sending notifications. For example:
- Deploy this job via CLI or the dashboard.
- In the Back4app Dashboard > Server Settings > Background Jobs, schedule it to run daily or at an interval of your choice.
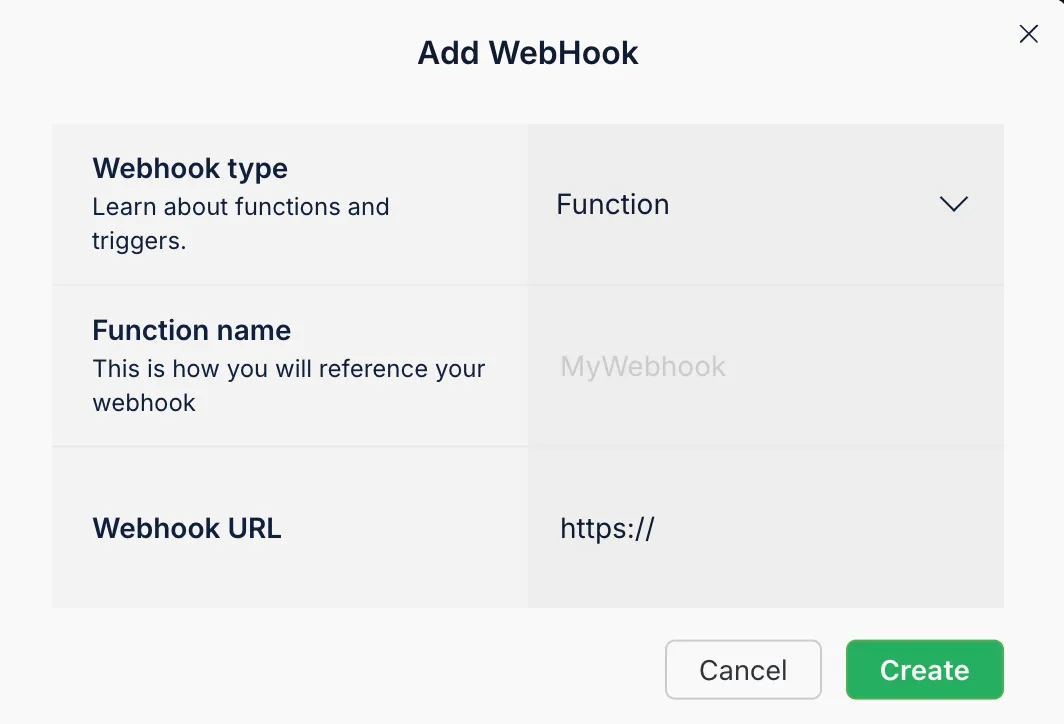
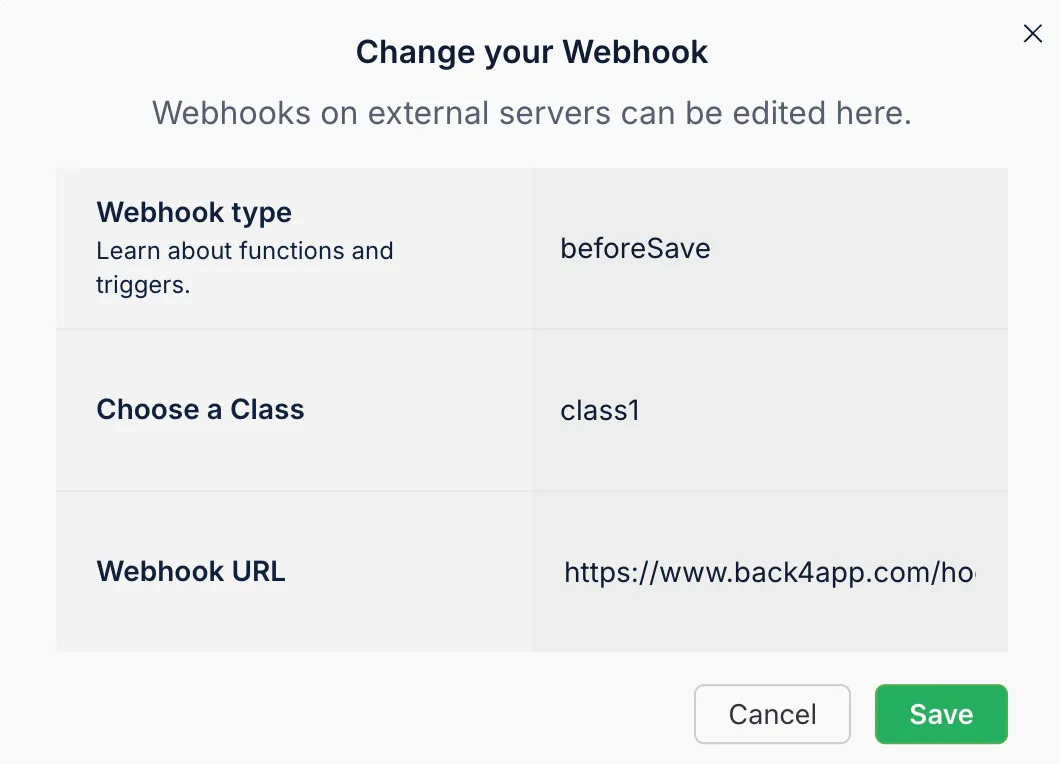
Webhooks let you send HTTP requests to external services when certain events happen in your app—like new records or user signups. This can be used to integrate with Slack, payment gateways, or analytics platforms.
- Go to the Webhooks configuration in your Back4app dashboard and select Add Webhook.
- Add your endpoint URL (e.g., https://your-service.com/webhook).
- Configure triggers for specific classes or events.
You can also define webhooks in Cloud Code or call external APIs directly in triggers like beforeSave or afterSave.
The Back4app Admin App is a model-centric, user-friendly interface for data management. It helps teams or non-technical users perform CRUD operations, create custom dashboards, and manage enterprise-level tasks without writing code.
- In your App Dashboard, click More > Admin App.
- Enable Admin App.
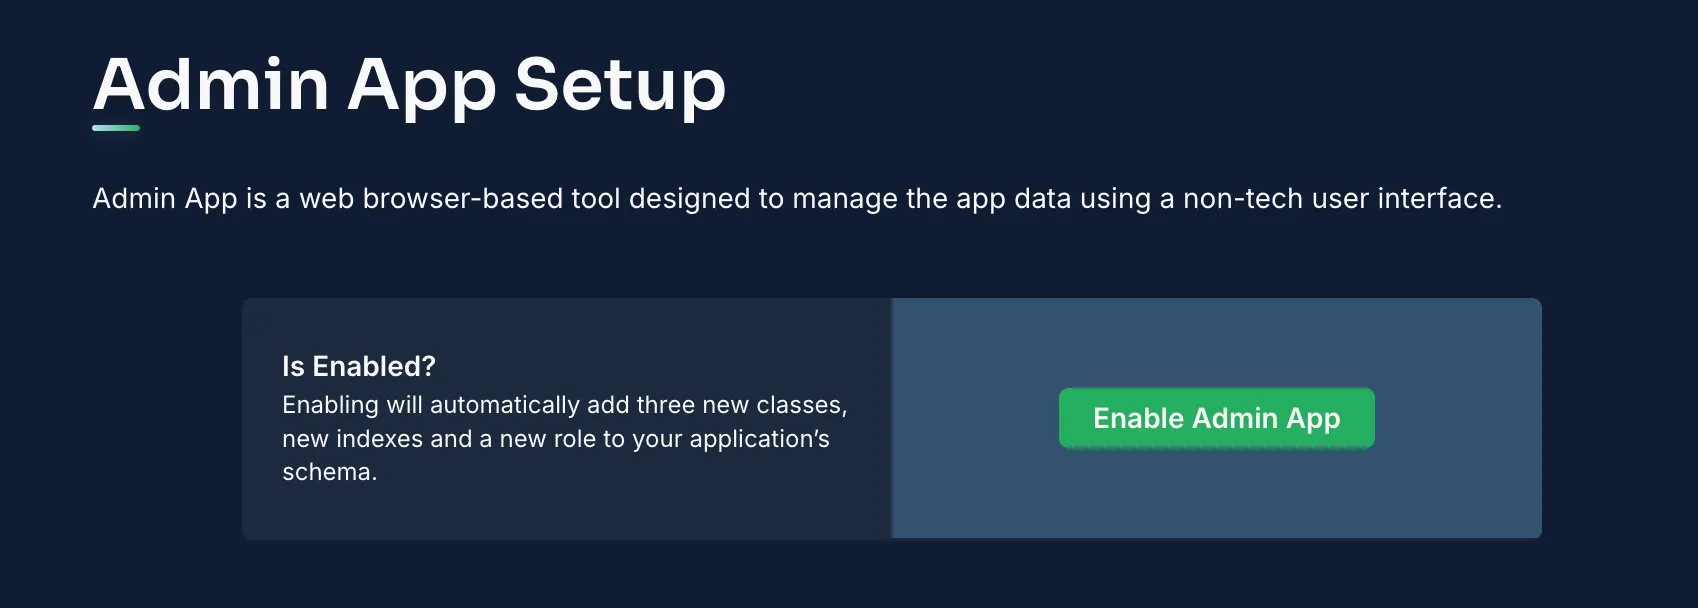
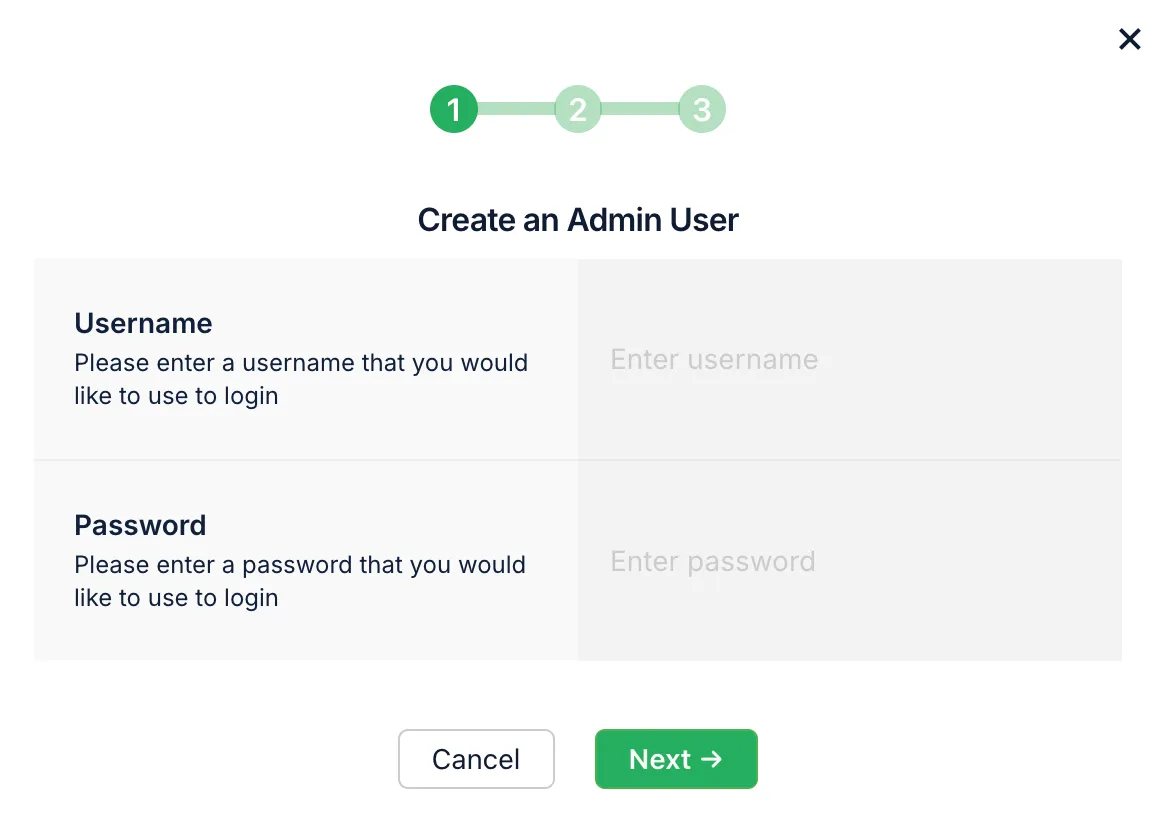
Create a first admin user (username/password). This setup adds the B4aAdminUser role and associated classes (B4aSetting, B4aMenuItem, etc.) to your schema.
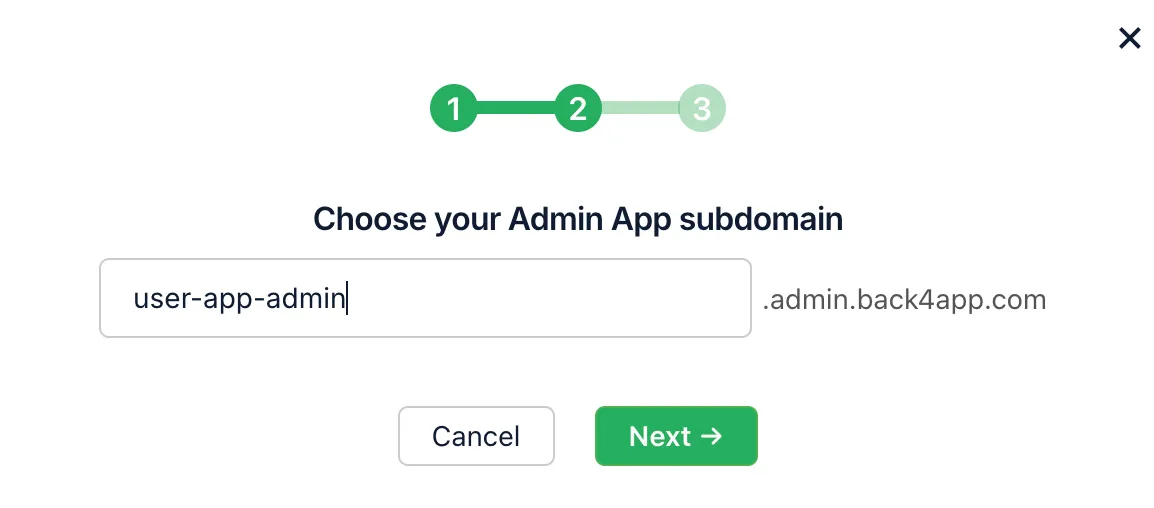
Choose a subdomain, then log in with your new admin credentials:
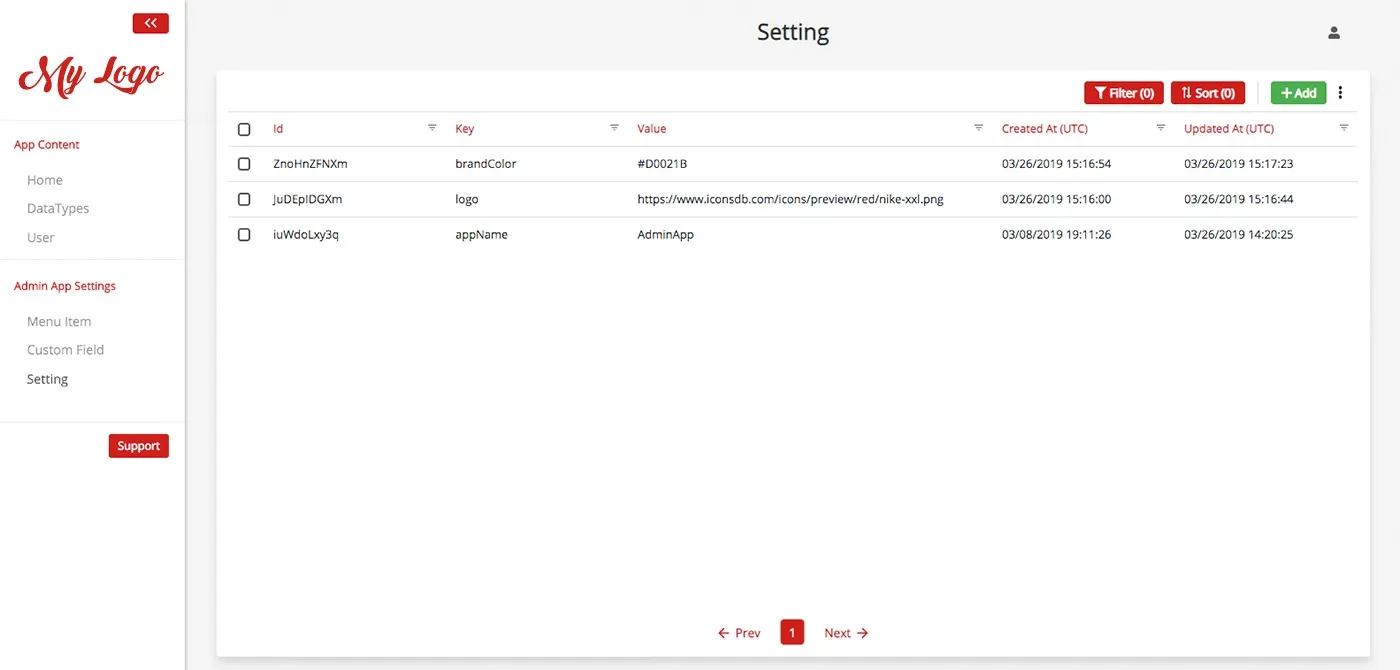
This portal allows for quick data manipulation without leaving a graphical interface—a great solution for collaborating with team members who might not be familiar with coding.
By following this guide, you have learned how to buila a backend for NativeScript using Back4app and:
- Created a secure backend for your NativeScript apps.
- Configured a database with classes, schemas, and relationships.
- Implemented real-time queries for live updates.
- Secured your data with ACLs and CLPs.
- Extended functionality with Cloud Code.
- Set up authentication for user sign-up, login, and session tokens.
- Managed file uploads and retrieval via Parse File.
- Scheduled Cloud Jobs for automated, periodic tasks.
- Created Webhooks for third-party integrations.
- Used the Back4app Admin Panel for code-free data management.
These steps form a robust foundation for building open source, cross-platform mobile apps with NativeScript Core. Continue exploring advanced features, incorporate more api endpoints, or integrate your own custom logic to tailor the backend to your app’s exact needs.
- Scale your NativeScript apps by optimizing performance, caching, and security rules.
- Explore advanced user management like role-based permissions.
- Check out official Back4app documentation for in-depth guides on security, logs, and performance.
- Experiment with real-world integrations such as payments or analytics tools.
Happy coding, and enjoy the streamlined development workflow that Back4app provides!
