How to Develop a Basic CRUD Application with SwiftUI?
In this guide, you will learn how to develop a fully functional CRUD (create, read, update, and delete) application using SwiftUI.
SwiftUI is a framework for building user interfaces for iOS, iPadOS, watchOS, tvOS, visionOS, and macOS.
We'll use Back4app as the backend service to manage our data. This tutorial walks you through configuring your Back4app project, designing your database schema, integrating with SwiftUI using API calls, and securing your backend.
- How to construct a CRUD app that handles data operations seamlessly.
- Techniques for designing a robust and scalable backend.
- Methods to connect a SwiftUI interface with Back4app using REST APIs.
- How to manage data securely with advanced access controls.
- Back4app Account: Ensure you have signed up and set up a new project on Back4app. Refer to Back4app Quickstart for assistance.
- SwiftUI Environment: Confirm that you have Xcode installed and a basic SwiftUI project created.
- Familiarity: Basic knowledge of Swift, SwiftUI, and RESTful APIs will be helpful.
Before You Start:
- Access your Back4app dashboard by logging into your account.
- Select “New App” to begin a fresh project.
- Name your project: For example, Basic-CRUD-App-SwiftUI, and follow the on-screen directions to complete the setup.
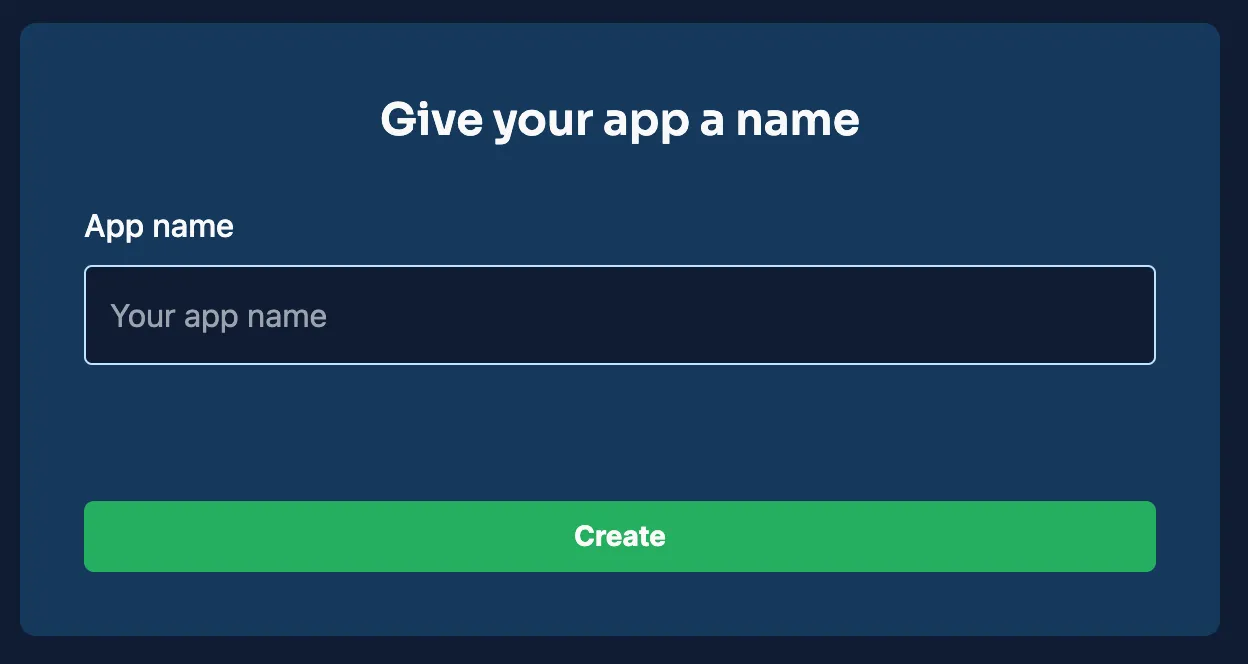
Once your project is created, it will appear in your dashboard, ready to be configured for backend operations.
For this CRUD application, you need to define several collections (classes). Below are examples that outline key collections along with their fields and types.
This collection stores details about each entry.
Field | Type | Purpose |
|---|---|---|
_id | ObjectId | Auto-generated primary key. |
title | String | Name or title of the item. |
description | String | Brief explanation about the item. |
created_at | Date | Timestamp marking creation. |
updated_at | Date | Timestamp of the latest update. |
This collection contains user credentials and profile details.
Field | Type | Purpose |
|---|---|---|
_id | ObjectId | Auto-generated unique identifier. |
username | String | Unique username for login. |
String | User's unique email address. | |
password_hash | String | Encrypted password for authentication. |
created_at | Date | Account creation timestamp. |
updated_at | Date | Timestamp of last account modification. |
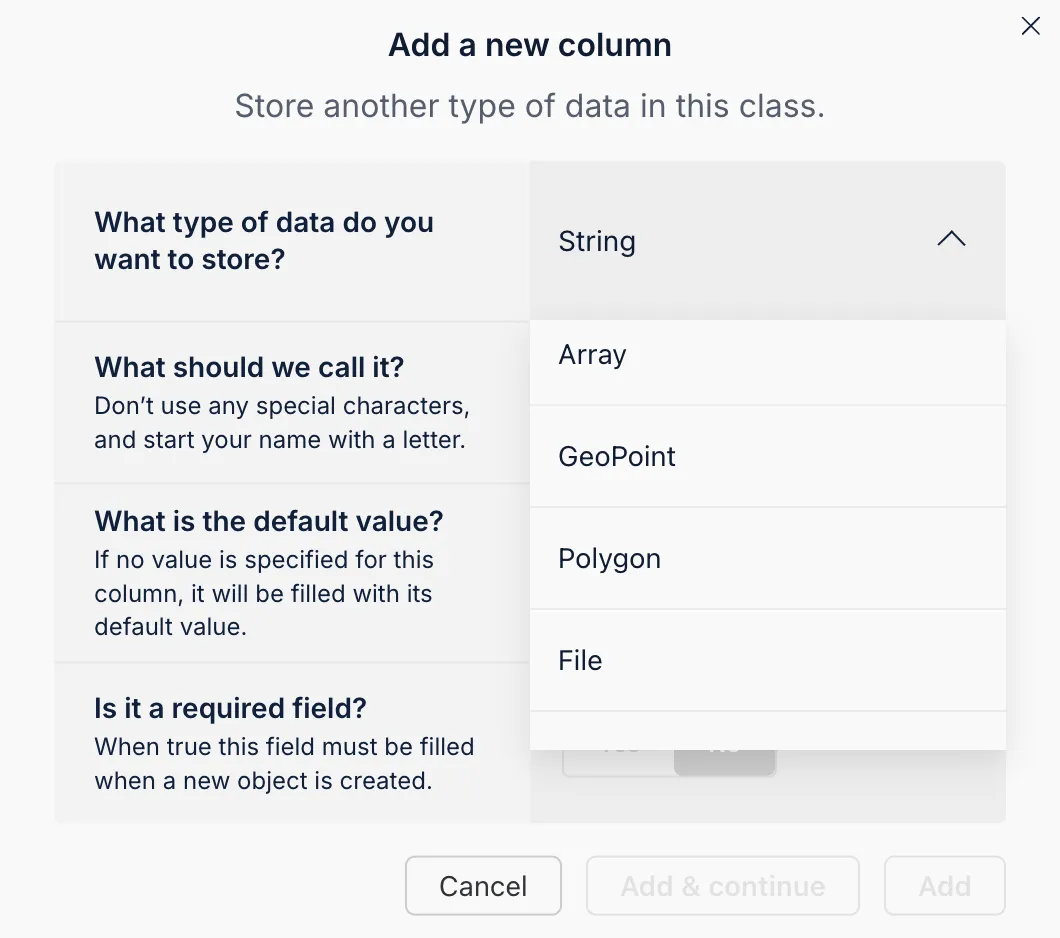
You can configure these classes manually via the Back4app dashboard by creating new classes and adding columns for each field.
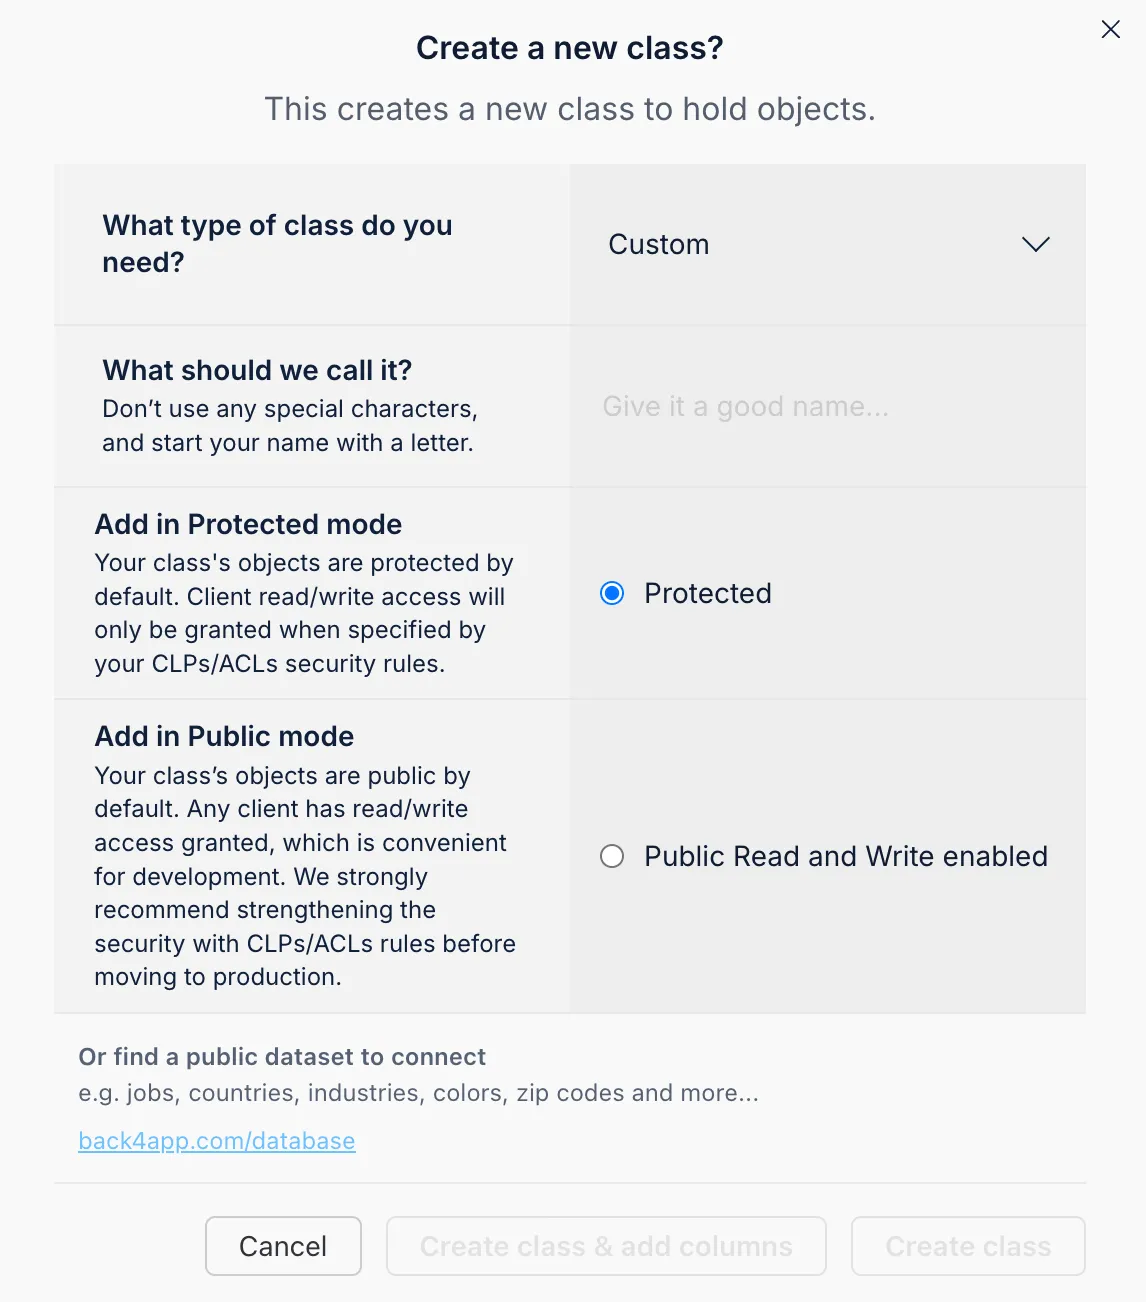
Utilize the dashboard tools to define the field name, type, default value, and required status.
The Back4app AI Agent streamlines the process of schema generation. It can automatically produce your database schema based on a textual prompt.
- Locate the AI Agent: Sign in and navigate to the AI Agent section in your project settings.
- Submit Your Schema Description: Input a detailed prompt that outlines the desired collections and fields.
- Review and Implement: After generation, verify the schema and apply the changes.
This feature saves time and ensures consistency in your database setup.
The Back4app Admin App is a no-code tool that simplifies data management. Its intuitive drag-and-drop interface enables you to perform CRUD operations effortlessly.
- Go to the “More” menu in your Back4app dashboard.
- Select “Admin App” and then choose “Enable Admin App.”
- Set Up Credentials: Create your initial admin user, which configures system roles automatically.
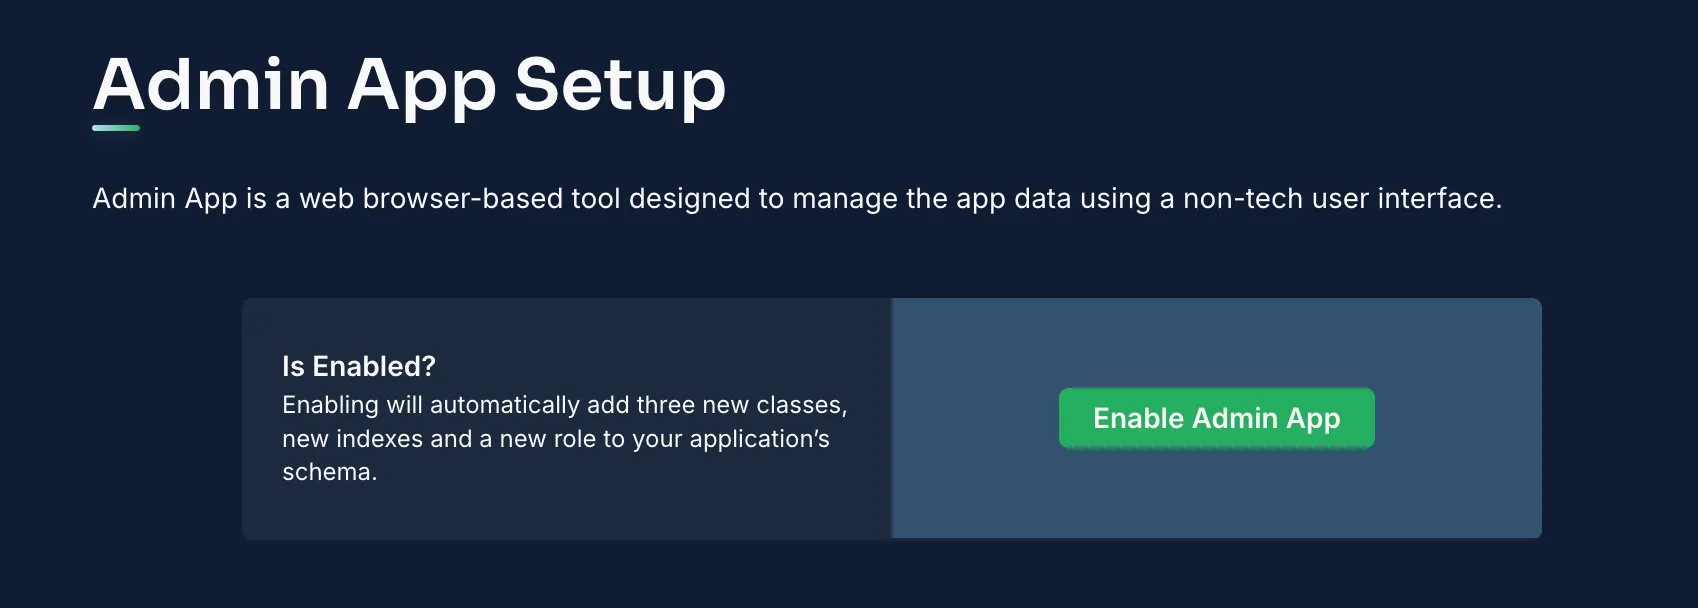
After activation, log into the Admin App to manage your collections.
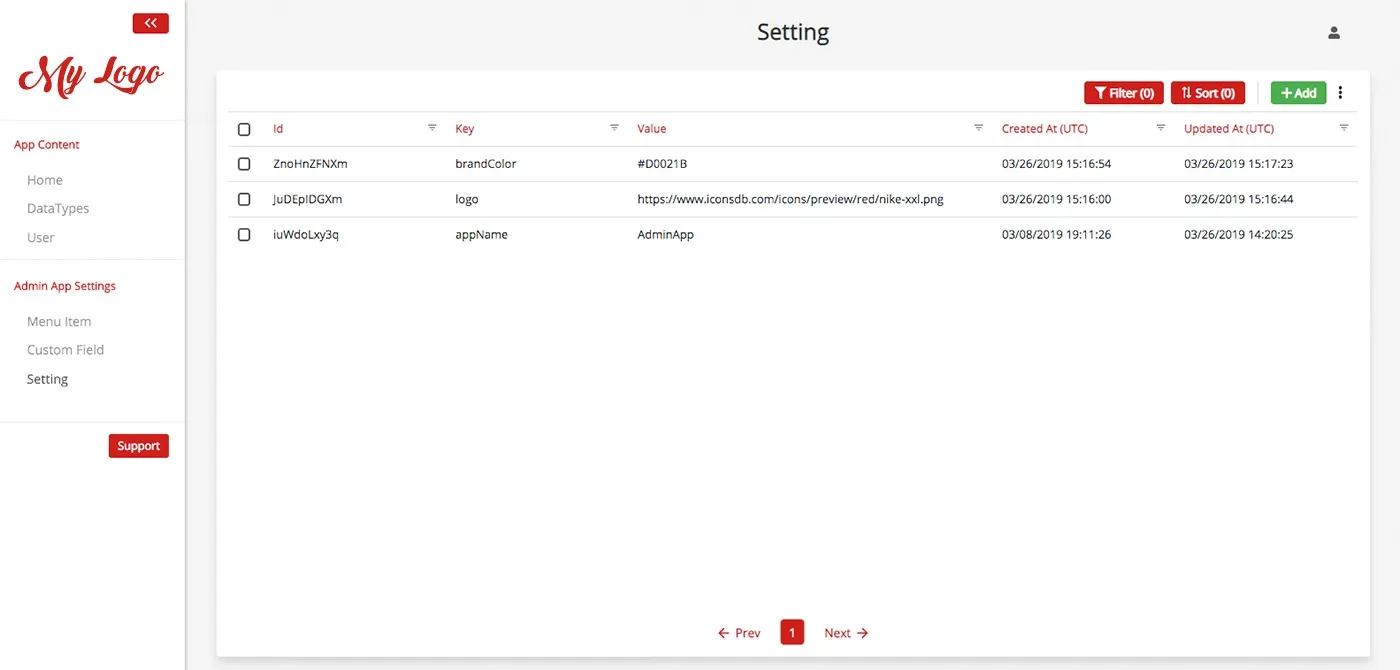
- Create: Use the “Add Record” option in any collection (e.g., Items) to add new data.
- Read/Update: Click on a record to view details and modify fields.
- Delete: Remove records using the delete function when they are no longer needed.
This interface enhances usability and simplifies everyday data operations.
With your backend in place, it’s time to connect your SwiftUI application to Back4app.
Instead of relying on the SDK, we’ll use REST API calls to interact with Back4app from our SwiftUI app.
Create a new SwiftUI view (e.g., ItemsListView.swift) and add the following code:
This view fetches data from Back4app via REST and displays it in a list.
- Creating New Items: Use URLSession with a POST request to add new entries.
- Updating Items: Implement PUT requests for modifying existing data.
- Deleting Items: Utilize DELETE requests to remove data.
Integrate these network operations within your SwiftUI views as needed.
Protect your data by setting Access Control Lists (ACLs) for your objects. For example, to create a secure item record:
Within your Back4app dashboard, adjust Class-Level Permissions (CLPs) for each collection to enforce who can read or write data by default.
Back4app leverages a User class to handle authentication. In your SwiftUI app, manage registration and login via REST API calls.
This approach can be extended for user login and session management.
Great job! You’ve successfully built a basic CRUD application using SwiftUI and Back4app.
You created a project titled Basic-CRUD-App-SwiftUI, designed your database schema for Items and Users, and connected your SwiftUI frontend to the backend via REST API calls.
Additionally, you learned how to secure your data with ACLs and implement user authentication.
- Expand Your UI: Enhance your SwiftUI interface with detailed views, animations, and interactive elements.
- Advanced Features: Incorporate additional backend logic such as Cloud Functions or real-time data updates.
- Explore More: Visit the Back4app documentation for further insights into optimizing your app and integrating more advanced functionalities.
By following this guide, you now have the essential skills to create a robust and scalable CRUD backend for your SwiftUI applications using Back4app. Enjoy building and innovating!
