Building a CRUD App with Jetpack Compose?
In this guide, you'll learn how to develop a CRUD (Create, Read, Update, Delete) application using Jetpack Compose for Android.
We'll illustrate how to manage data operations effectively by integrating your app with Back4app.
The project begins by setting up a Back4app instance named Basic-CRUD-App-JetpackCompose, which will serve as a solid backend infrastructure.
We'll outline how to design an optimal database schema by defining specific collections and fields—either manually or by leveraging Back4app's AI-driven tools. This ensures that your app’s data structure is robust enough for seamless CRUD operations.
Next, you will configure the Back4app Admin Console, a user-friendly, drag-and-drop interface that simplifies data management, making it straightforward to perform CRUD actions.
Finally, you'll connect your Jetpack Compose frontend with Back4app, utilizing either the Parse Android SDK (where applicable) or direct REST API calls, while enforcing strong security measures with advanced access controls.
By the end of this tutorial, you'll have an Android application that supports essential CRUD functionality, complete with user authentication and secure data handling.
- How to construct a CRUD-based application on Android using Jetpack Compose.
- Methods to create a scalable backend with Back4app.
- Strategies for using the intuitive Back4app Admin Console for data manipulation.
- Integration techniques with either the Parse Android SDK or REST APIs.
Before proceeding, ensure you have the following ready:
- A Back4app account with a newly created project. If you require assistance, check out Getting Started with Back4app.
- An Android development setup with Android Studio. Make sure you have the latest version of Android Studio installed along with Kotlin.
- Familiarity with Kotlin, Jetpack Compose, and RESTful APIs. For a quick refresher, visit the Jetpack Compose documentation.
- Sign in to your Back4app account.
- Select the “New App” option from your dashboard.
- Name your project: Basic-CRUD-App-JetpackCompose and complete the setup process.
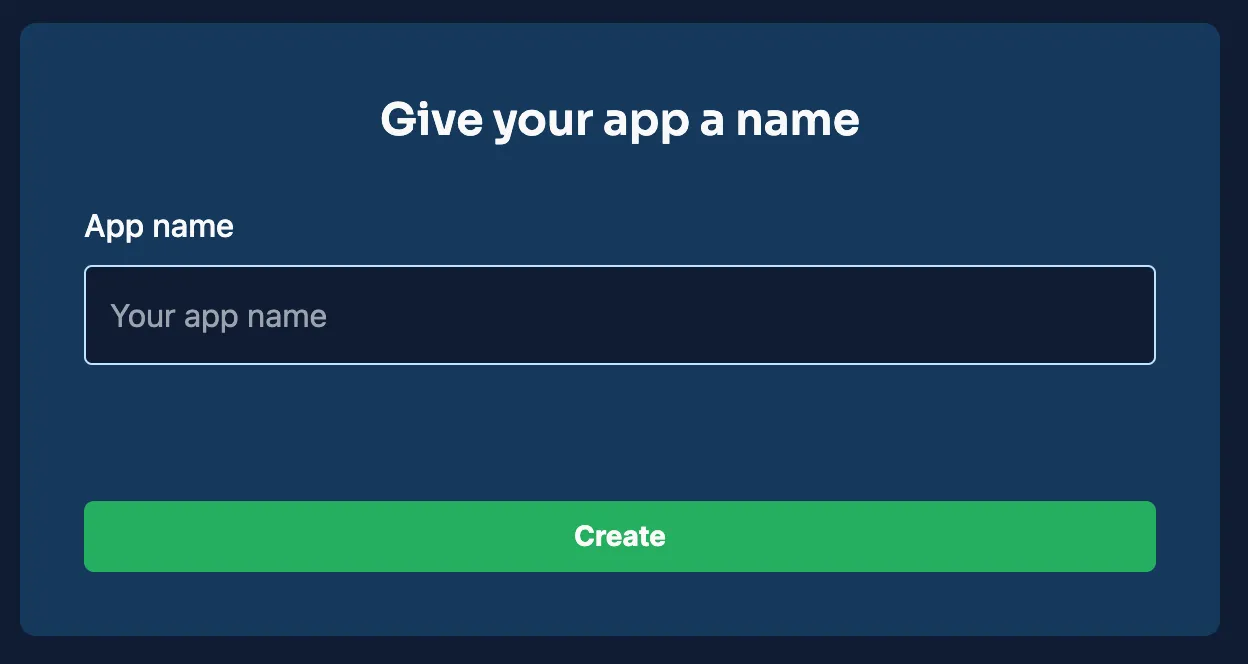
After setting up, your project will be visible in the Back4app console, laying the groundwork for your backend configuration.
For this CRUD app, you'll define several collections. Below are sample collections along with the necessary fields and data types, ensuring your backend is well-prepared for handling data.
This collection is used to store details about each entry.
Field | Type | Details |
|---|---|---|
_id | ObjectId | Auto-generated unique identifier. |
title | String | Name or title of the item. |
description | String | A short overview of the item. |
created_at | Date | Timestamp of when the item was added. |
updated_at | Date | Timestamp for the last update. |
This collection manages user profiles and authentication data.
Field | Type | Description |
|---|---|---|
_id | ObjectId | Auto-generated primary key. |
username | String | Unique user identifier. |
String | User's unique email address. | |
password_hash | String | Encrypted password for security. |
created_at | Date | Account creation timestamp. |
updated_at | Date | Last account update timestamp. |
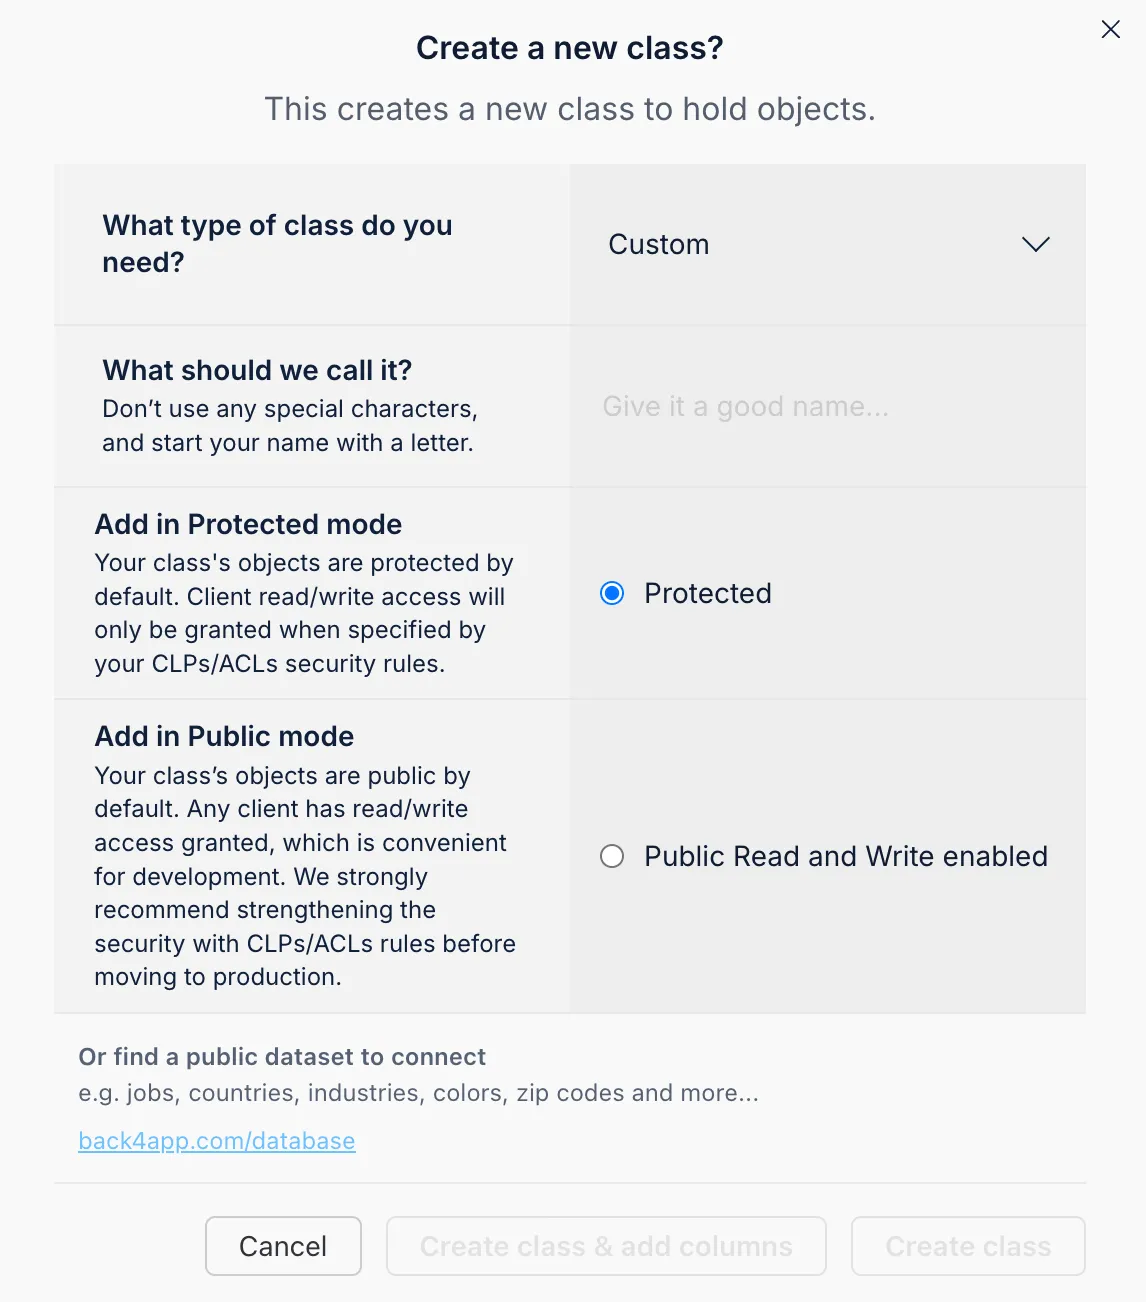
You can manually add these collections and fields via the Back4app dashboard by creating new classes and specifying the necessary columns.
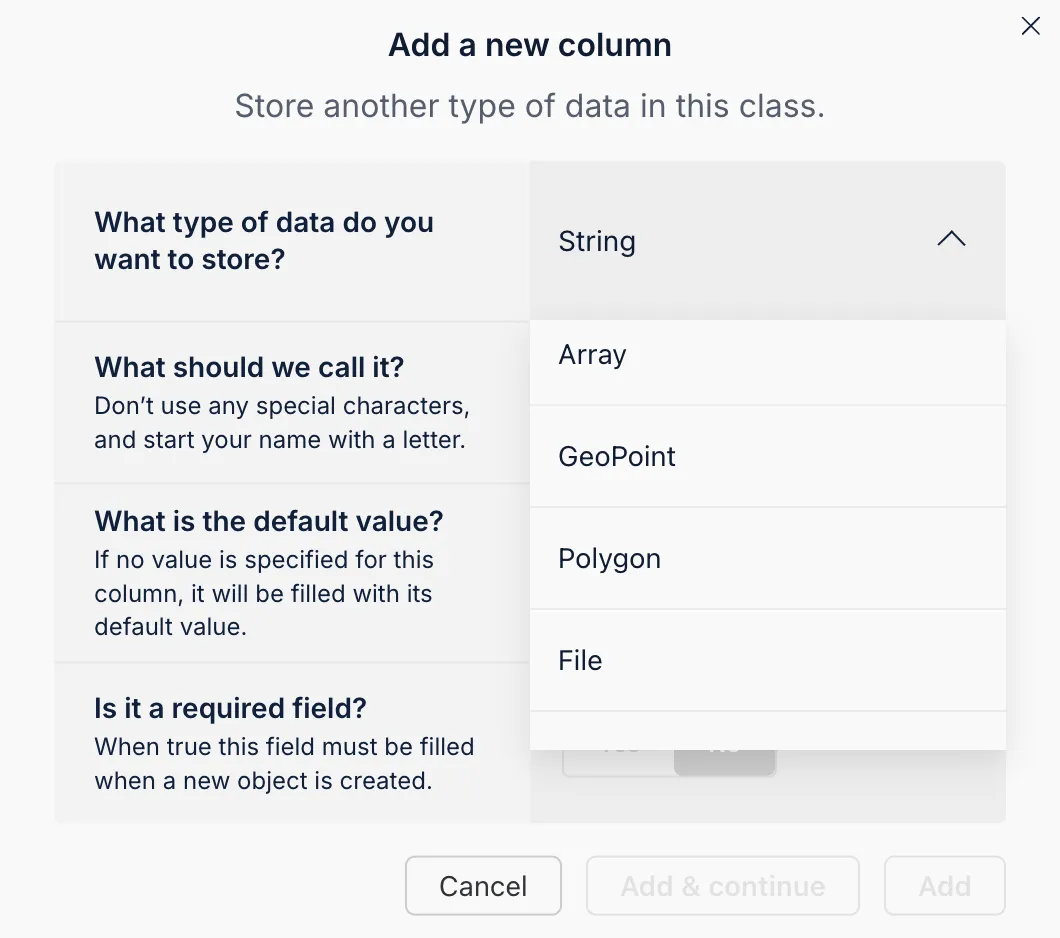
You can set each column by choosing a data type, naming it, assigning default values, and determining if it is mandatory.
The Back4app AI tool can automate your database schema creation by interpreting a prompt that outlines your desired collections and fields. This feature significantly accelerates project configuration.
- Access the AI Tool: Log into your Back4app console and navigate to the AI section.
- Input Your Schema Description: Provide a detailed prompt outlining the collections and their corresponding fields.
- Review and Apply: After generation, examine the proposed schema and integrate it into your project.
Using this AI method ensures that your database is structured correctly and optimized for your app’s needs.
The Back4app Admin Console is a versatile, no-code solution that allows you to oversee and manipulate your backend data effortlessly. Its intuitive interface supports drag-and-drop CRUD operations, making data management straightforward.
- Head to the “More” section in your Back4app dashboard.
- Select “Admin Console” and then choose “Activate Admin Console.”
- Set up your admin credentials by registering your first admin user, which also establishes necessary roles and system collections.
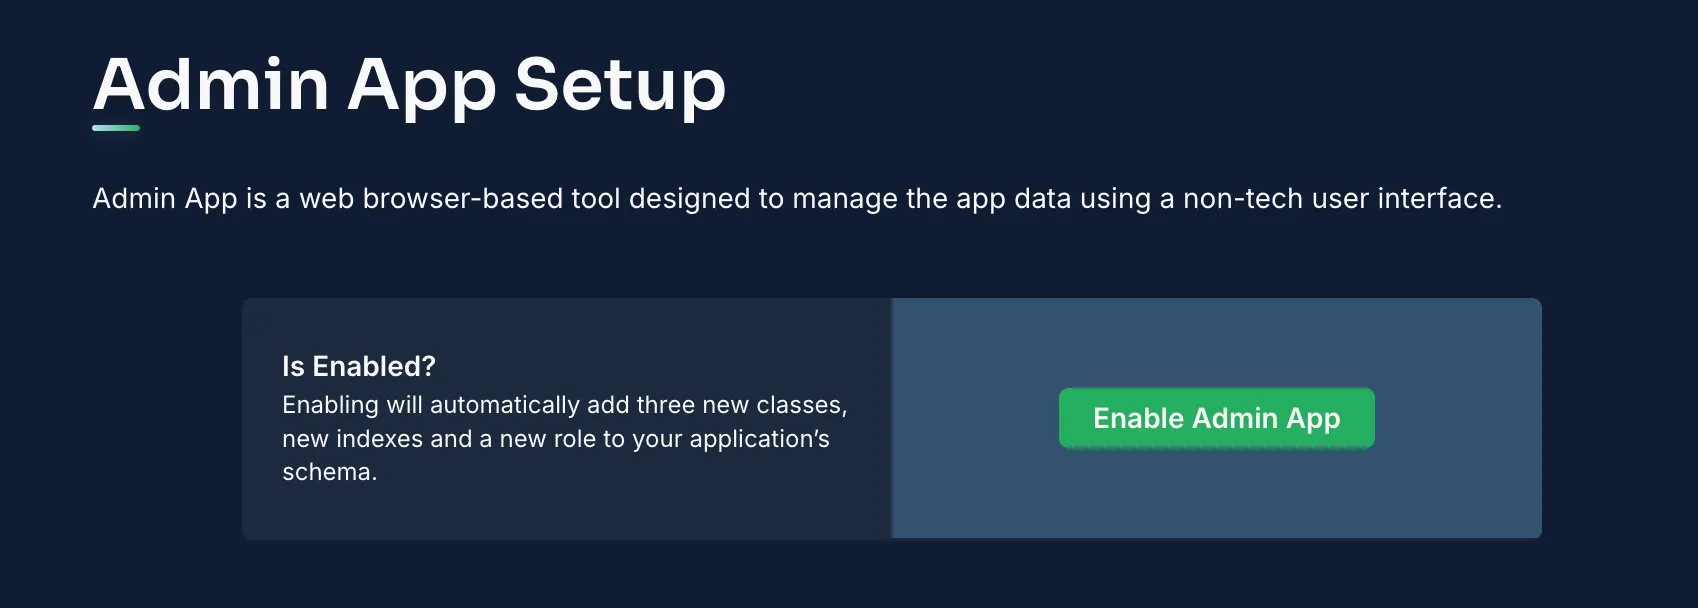
Once activated, log into the Admin Console to manage your collections.
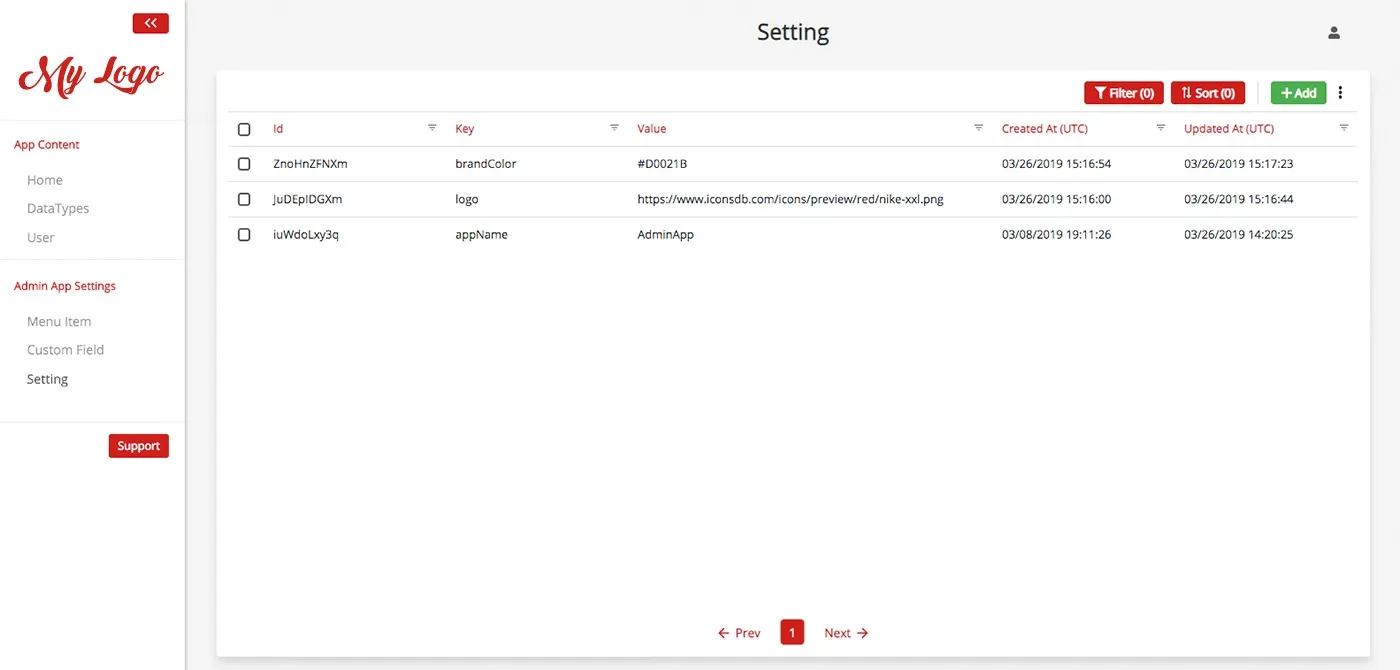
Inside the Admin Console, you can:
- Add Records: Use the “Add Record” feature within a collection (for instance, Items) to insert new entries.
- View/Edit Records: Click on any record to review or modify its fields.
- Remove Records: Select the delete option to eliminate obsolete records.
This simplified interface boosts productivity by making backend operations both accessible and efficient.
Now that your backend is configured, it's time to link your Android app built with Jetpack Compose to Back4app.
Add the Parse SDK Dependency: Update your build.gradle file:
Text1implementation 'com.parse:parse-android:latest.version'Initialize Parse in Your Application Class: Create or update your Application class (e.g., MyApplication.kt):
Kotlin1// MyApplication.kt 2package com.example.basiccrud 3 4import android.app.Application 5import com.parse.Parse 6 7class MyApplication : Application() { 8 override fun onCreate() { 9 super.onCreate() 10 Parse.initialize( 11 Parse.Configuration.Builder(this) 12 .applicationId("YOUR_APPLICATION_ID") 13 .clientKey("YOUR_CLIENT_KEY") 14 .server("https://parseapi.back4app.com") 15 .build() 16 ) 17 } 18}Implement CRUD in a Compose Screen: For example, create a screen to list items:
Kotlin1// ItemsScreen.kt 2package com.example.basiccrud 3 4import androidx.compose.foundation.layout.* 5import androidx.compose.foundation.lazy.LazyColumn 6import androidx.compose.foundation.lazy.items 7import androidx.compose.material.Button 8import androidx.compose.material.Text 9import androidx.compose.runtime.* 10import androidx.compose.ui.Modifier 11import androidx.compose.ui.unit.dp 12import com.parse.ParseObject 13import com.parse.ParseQuery 14import kotlinx.coroutines.Dispatchers 15import kotlinx.coroutines.withContext 16 17@Composable 18fun ItemsScreen() { 19 var items by remember { mutableStateOf(listOf<ParseObject>()) } 20 21 LaunchedEffect(Unit) { 22 withContext(Dispatchers.IO) { 23 val query = ParseQuery.getQuery<ParseObject>("Items") 24 try { 25 val result = query.find() 26 items = result 27 } catch (e: Exception) { 28 e.printStackTrace() 29 } 30 } 31 } 32 33 Column(modifier = Modifier.padding(16.dp)) { 34 Text(text = "Items", modifier = Modifier.padding(bottom = 8.dp)) 35 LazyColumn { 36 items(items) { item -> 37 Row( 38 modifier = Modifier.fillMaxWidth().padding(8.dp), 39 horizontalArrangement = Arrangement.SpaceBetween 40 ) { 41 Text(text = item.getString("title") ?: "No Title") 42 Button(onClick = { /* Trigger edit action */ }) { 43 Text(text = "Edit") 44 } 45 } 46 } 47 } 48 } 49}
If you prefer not to use the Parse SDK, you can interact with Back4app directly using RESTful APIs or GraphQL. For instance, to retrieve items via REST:
Integrate these API calls into your Compose components as required.
Enhance data security by assigning ACLs to your objects. For example, to create a record accessible only by its owner:
Within your Back4app console, adjust the CLPs for each collection. This ensures only authorized or authenticated users can access sensitive data.
Back4app utilizes Parse’s built-in User class for managing authentication. In your Jetpack Compose app, handle user sign-up and login using the Parse SDK.
Below is an example of a sign-up screen using Compose:
You can implement similar screens for login and session management. Additional features like social sign-in, email verification, and password recovery can be managed via Back4app's console.
Note: Deployment via Web is not applicable in this mobile app context.
Congratulations! You’ve now developed a complete CRUD application using Jetpack Compose and Back4app.
You set up a project named Basic-CRUD-App-JetpackCompose, designed an effective database schema for Items and Users, and utilized the Back4app Admin Console for easy data management.
Moreover, you integrated your Android frontend with Back4app, applying robust security measures along the way.
What’s Next?
- Expand Your Compose UI: Enhance your application with additional features like detailed item views, search capabilities, and live data updates.
- Incorporate More Backend Logic: Consider using Cloud Functions, integrating third-party APIs, or implementing role-based access controls.
- Further Learning: Explore the Back4app documentation and additional Compose tutorials to optimize performance and explore custom integrations.
By following this tutorial, you now have the tools to build a secure, efficient CRUD backend for your Android applications using Jetpack Compose and Back4app. Happy coding!
