How to Build a Backend for Ruby On Rails?
In this tutorial, you’ll learn how to build a backend for Ruby on Rails using Back4App.
We’ll explore the key steps to integrate your Rails application with essential Back4App features—like database interactions, Cloud Code Functions, REST and GraphQL APIs, user authentication, and real-time queries (Live Queries)—all running on the server side.
By leveraging the Ruby programming language, you’ll build a robust and scalable architecture that aligns with the view controller MVC pattern in Rails, enabling developers to speed up web application development.
You’ll also discover how Back4App drastically reduces time and effort by simplifying server and database management.
These automated features can save you from manually setting up a web server or dealing with complex infrastructures.
By the end, you’ll possess a flexible and secure structure, ready for production or further expansions—like additional integrations and advanced custom logic.
Whether you want to serve web pages or power data-driven web applications, Rails and Back4App offer a seamless synergy for creating modern solutions in popular programming languages.
To complete this tutorial, you will need:
- A Back4App account and a new Back4App project Getting Started with Back4app. If you do not have an account, you can create one for free. Follow the guide above to get your project ready.
- A Ruby on Rails development environment Ensure you have Ruby installed (preferably version 2.7 or above) and the Rails gem (Rails 6 or above). Install Rails
- Parse Ruby Client If you intend to use the Parse SDK directly, you can install the parse-ruby-client gem to handle data operations with Back4App.
- Familiarity with Rails MVC If you’re new to Ruby on Rails, review the official Rails guides or a beginner’s tutorial to understand Rails’ view controller MVC architecture before starting.
Make sure these prerequisites are in place before you begin. Having your Back4App project set up, plus your Rails application scaffold ready, ensures a smooth tutorial experience.
The first step in setting up a server side backend for your Rails application is creating a new project on Back4App. If you haven't done so:
- Log in to your Back4app account.
- Click the “New App” button in your Back4App dashboard.
- Give your app a name (e.g., “Rails-Backend-Tutorial”).
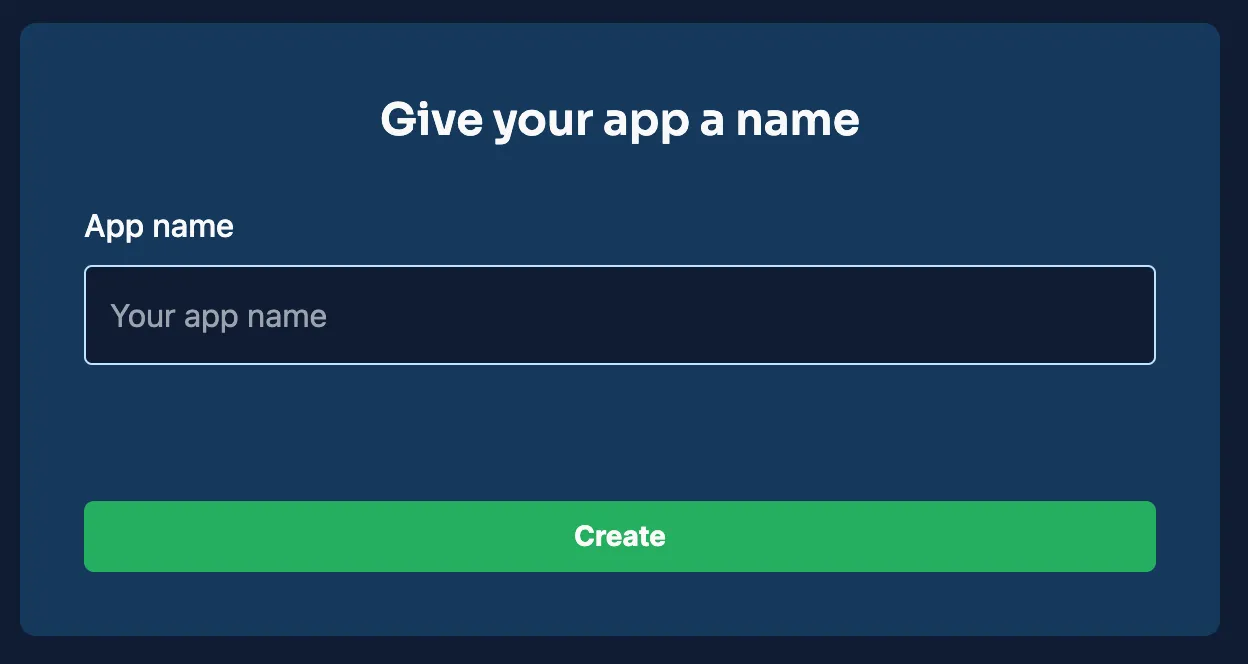
Once the project is created, it will be visible in your Back4App dashboard. This new project forms the core of all backend configurations in this tutorial.
To streamline database interactions and real-time queries, Back4App uses the Parse platform. If you want to integrate your Rails server with Parse directly, you may install the parse-ruby-client gem. Otherwise, you can rely on standard REST or GraphQL endpoints.
Retrieve your Parse Keys: In your Back4App dashboard, go to your app’s “App Settings” or “Security & Keys” to find your Application ID and REST API Key. You’ll also get your Parse Server URL (e.g., https://parseapi.back4app.com).
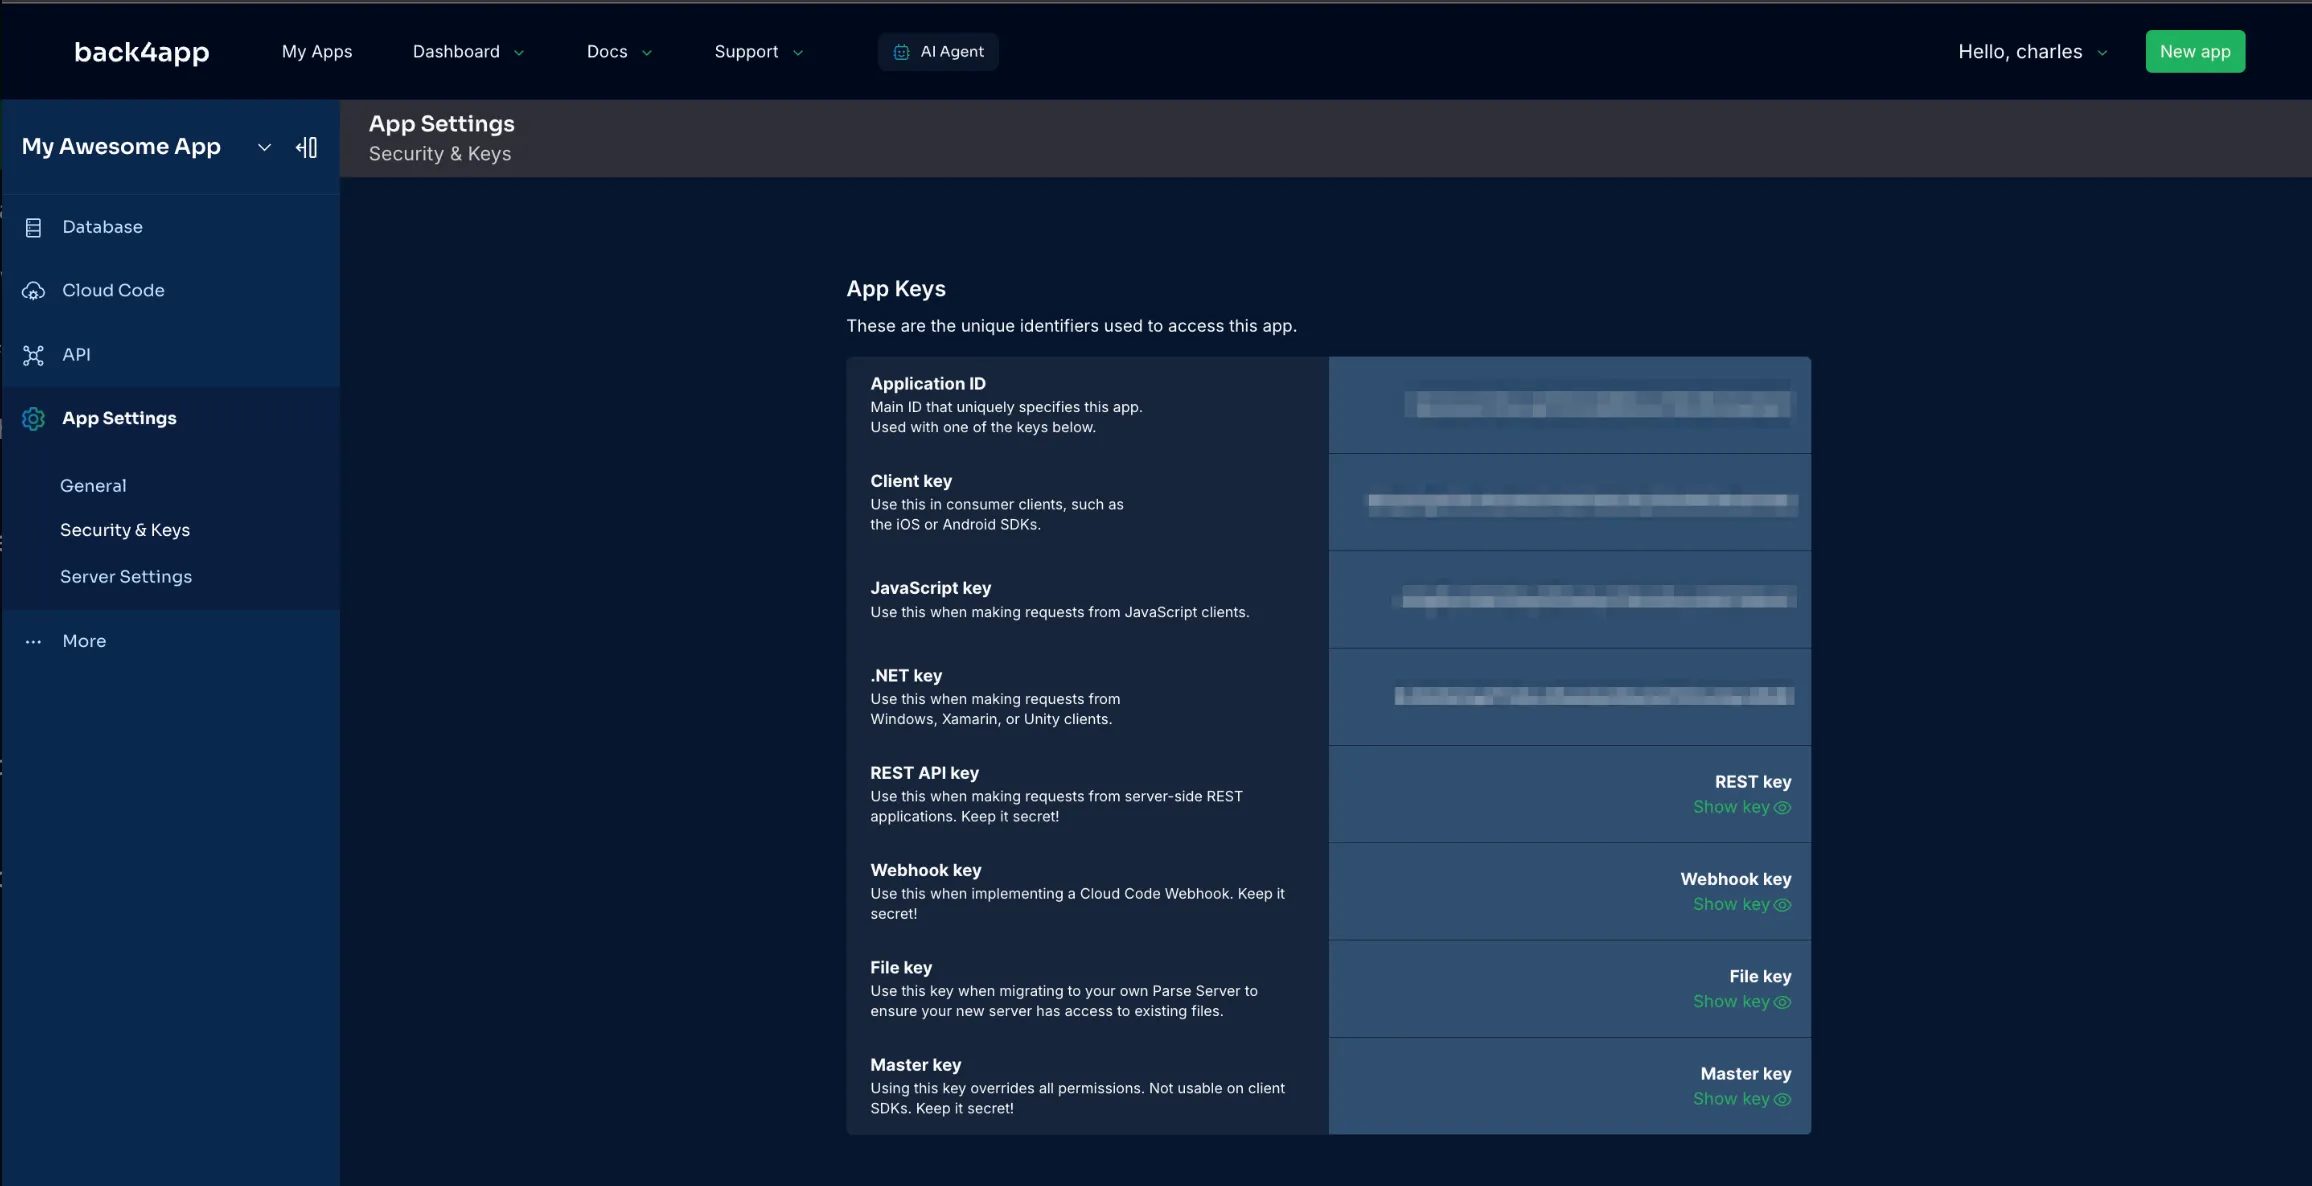
Add the parse-ruby-client gem to your Gemfile:
Then run:
Initialize Parse in an initializer, such as config/initializers/parse.rb:
At this point, your Rails application is able to communicate with Back4App for storing and retrieving data, orchestrating custom logic, and more. This integrated approach simplifies how your Ruby on Rails app handles the backend.
In many web applications, you define your data structure in Rails using ActiveRecord migrations. With Back4App, you also have the option to build your schema directly on the dashboard. For example, if you have a Todo model:
- Navigate to “Database” in your Back4App dashboard.
- Create a new class named “Todo” and add columns like title (String) and isCompleted (Boolean).
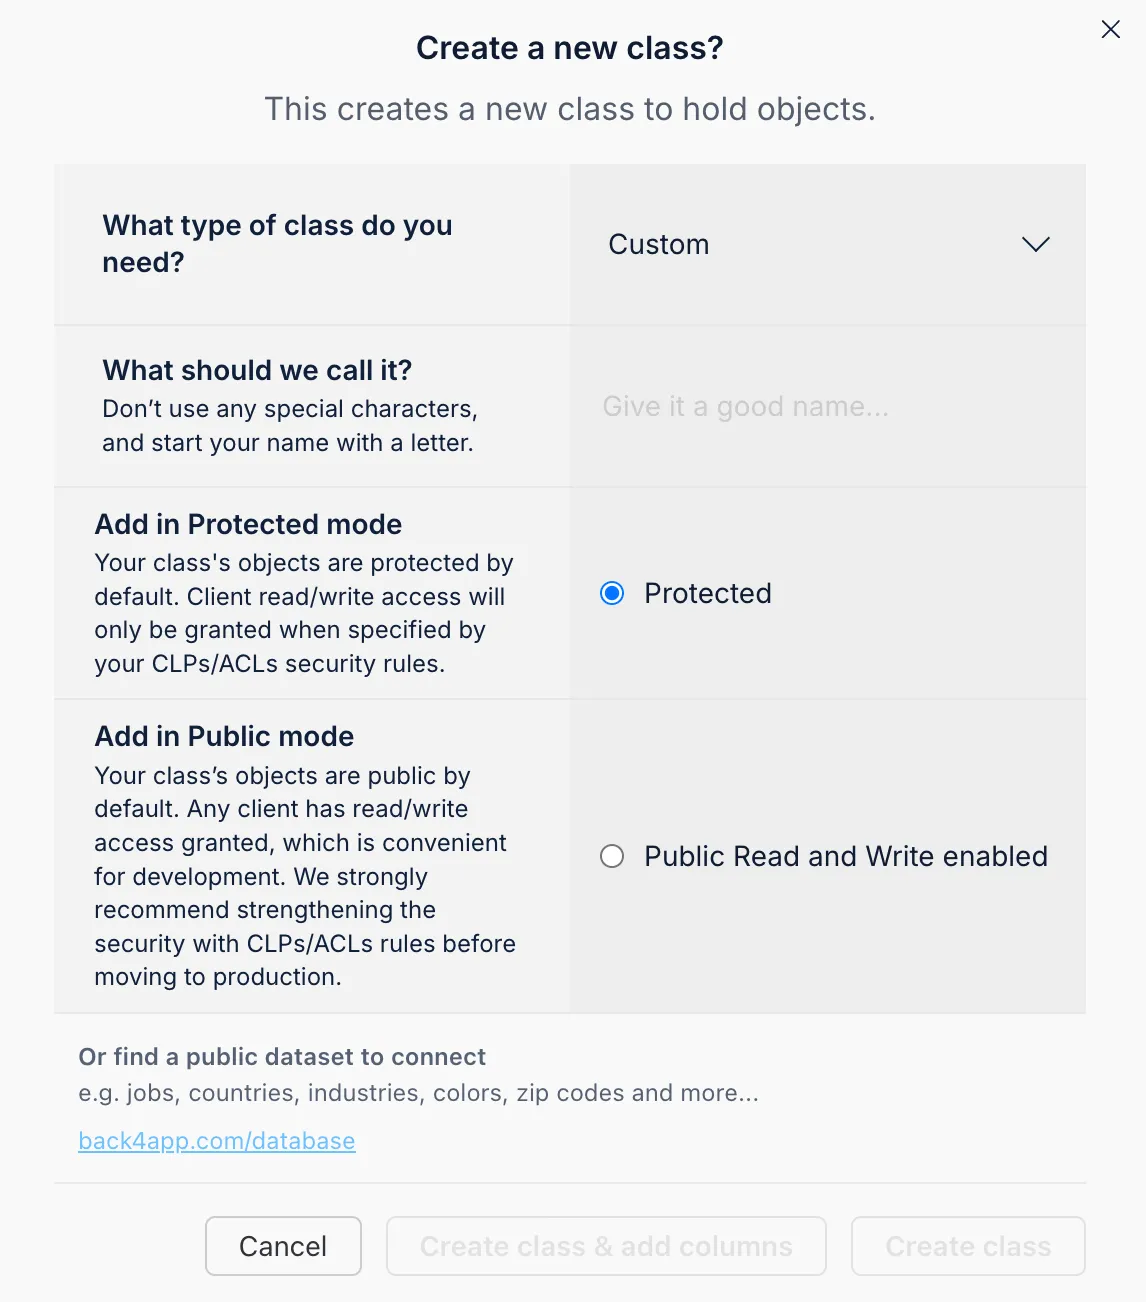
Back4App supports String, Number, Boolean, Date, File, Pointer, Relation, Array, GeoPoint, and Polygon. Rails typically manages these within its model definitions, but you can also let Parse create columns automatically on first save (if you use the Parse SDK or REST/GraphQL APIs).
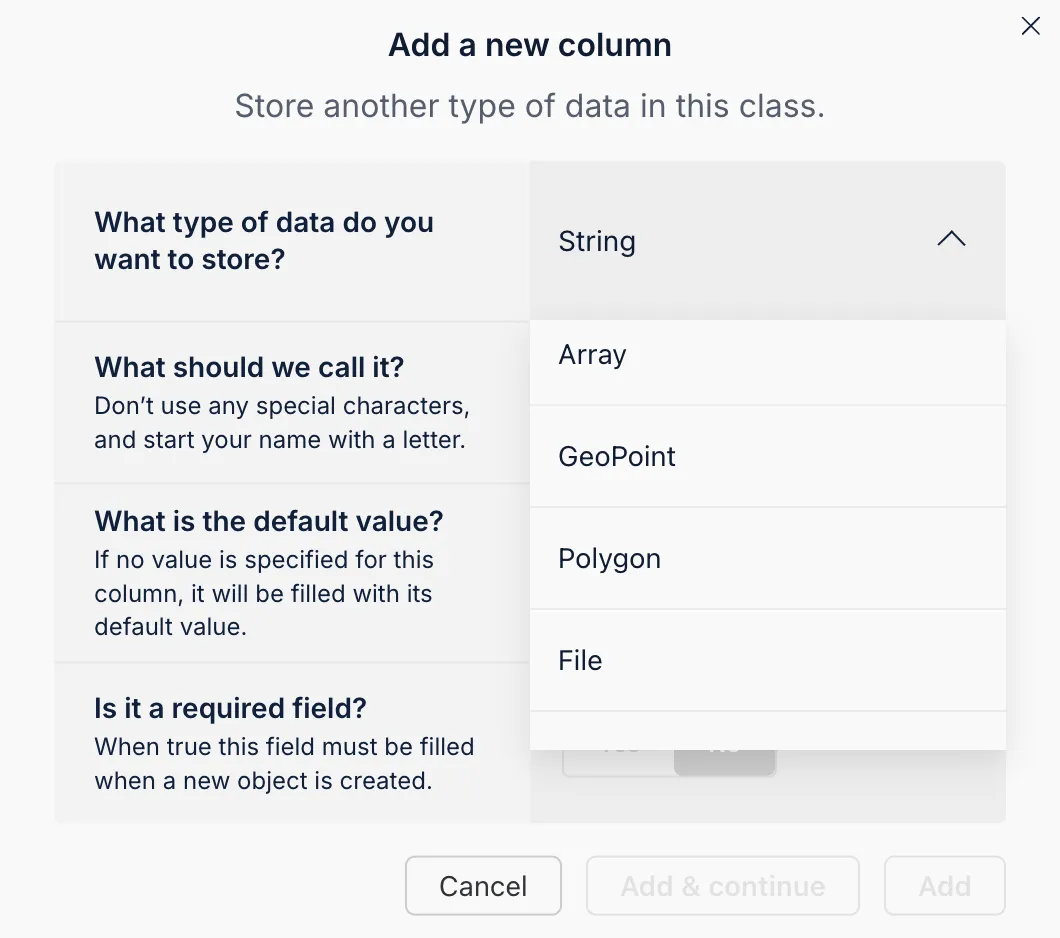
Back4App’s AI Agent can automate schema creation:
- Open the AI Agent from your dashboard.
- Describe your data model (e.g., “Please create a new ToDo App with a complete class schema.”).
- Let the agent generate your schema.
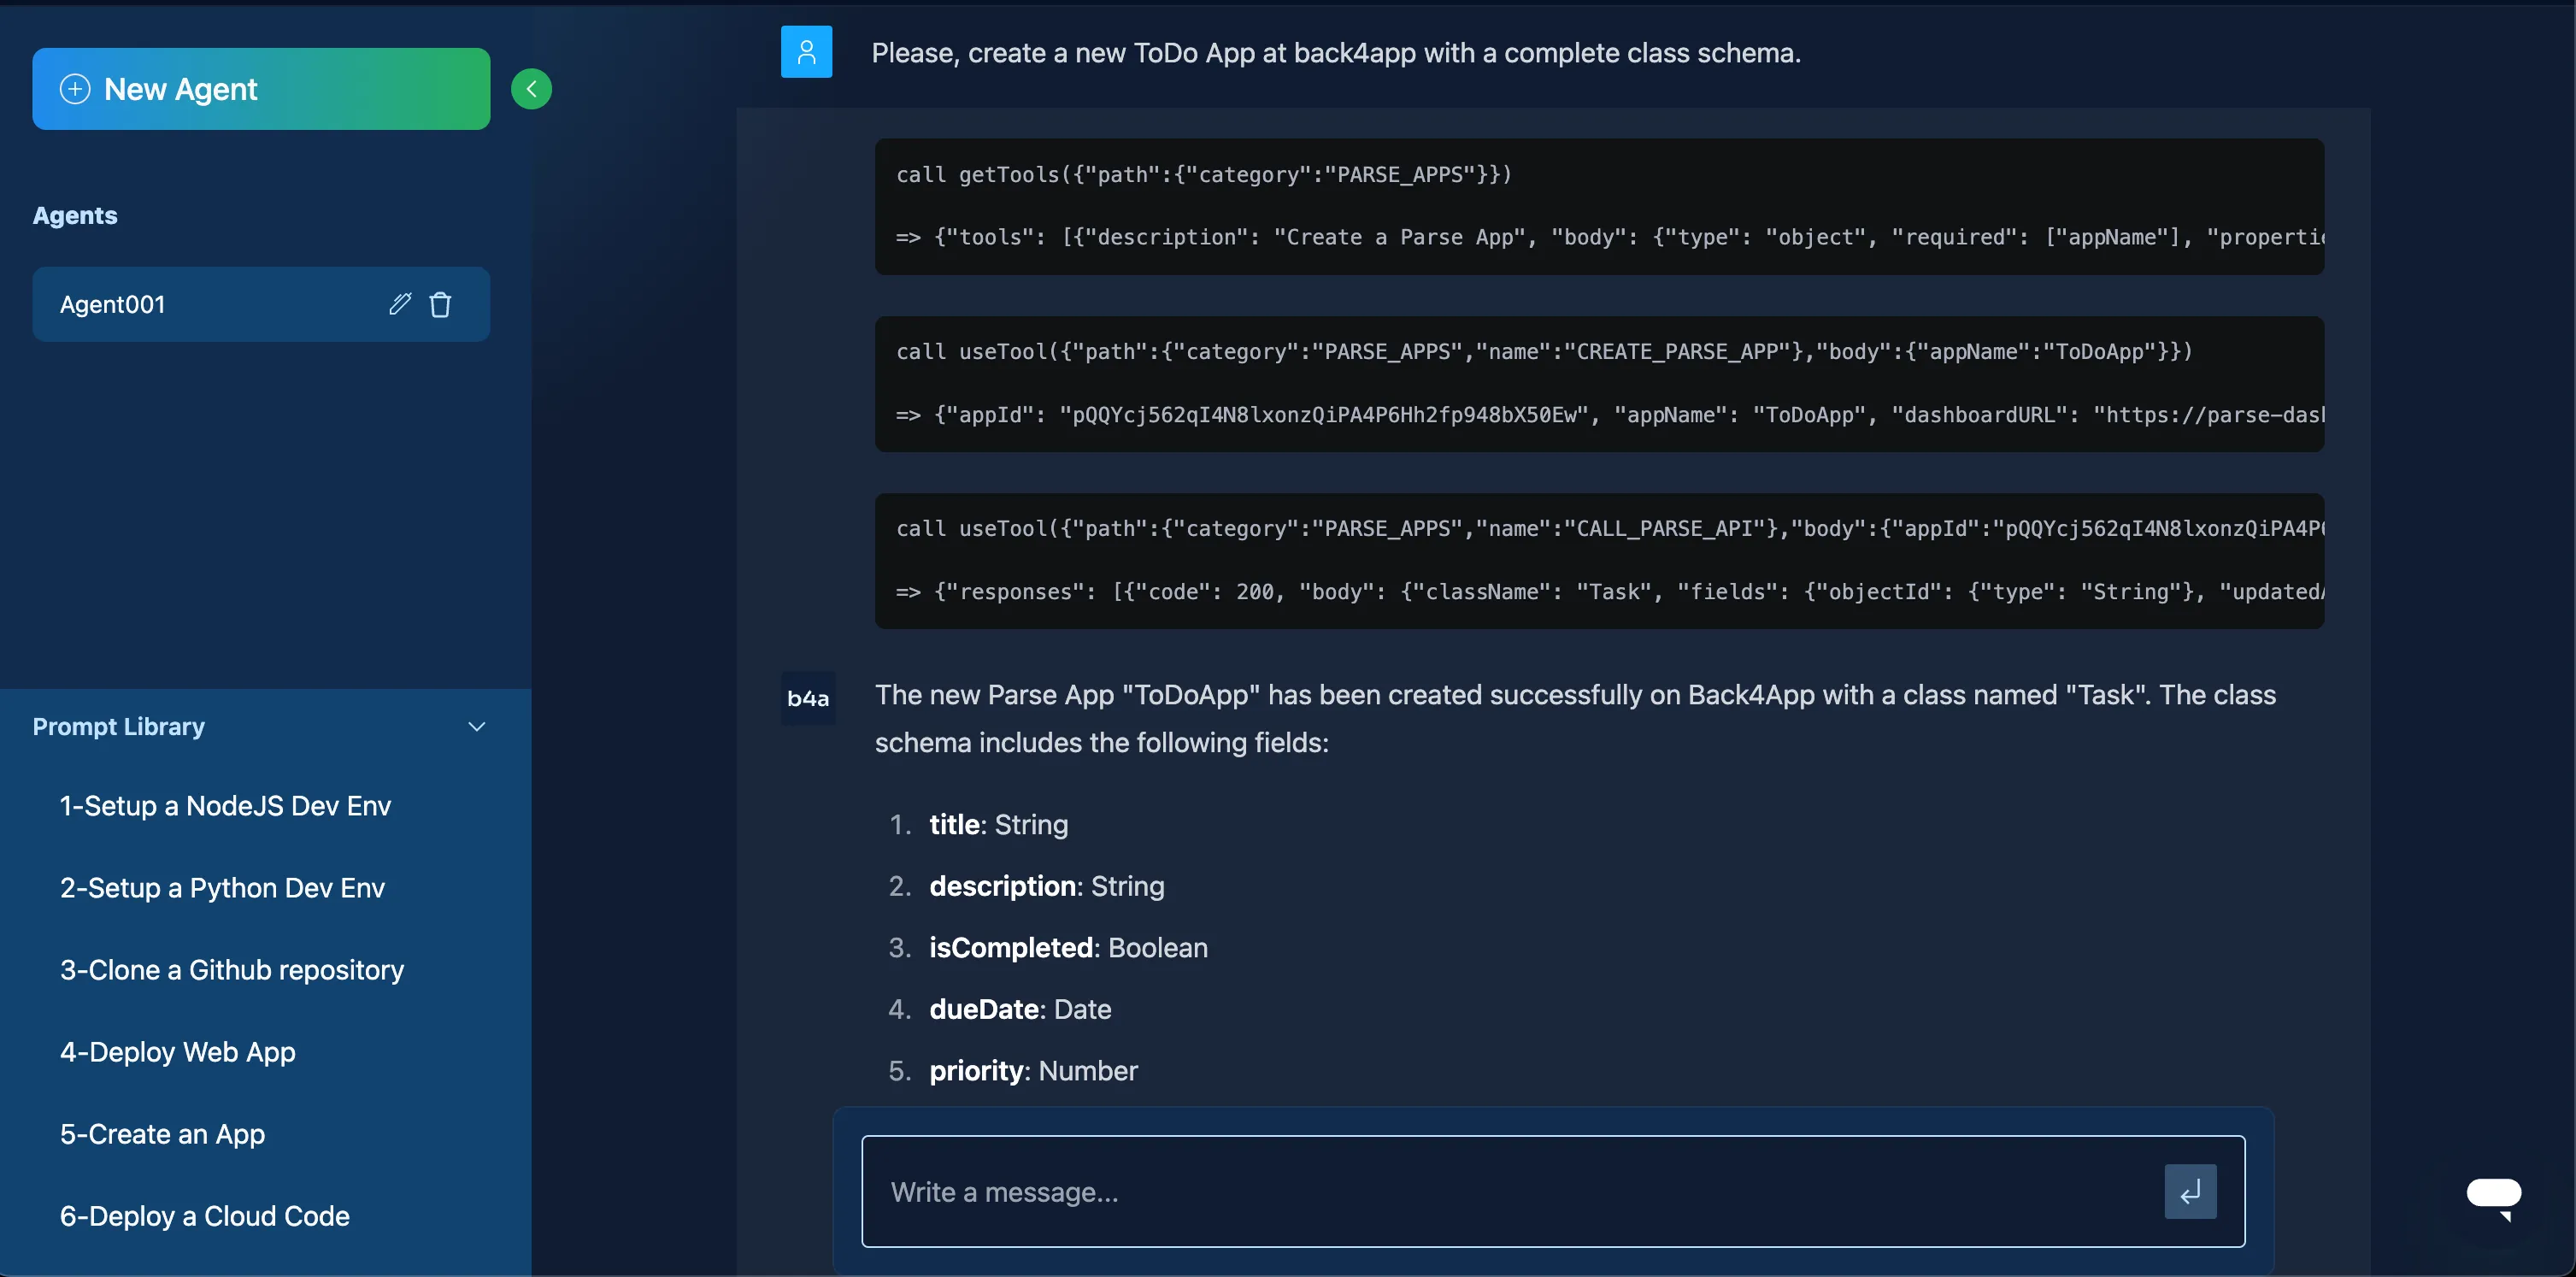
If you choose to integrate the parse-ruby-client, you can store a record like this:
Alternatively, you can use REST calls from within your Rails code (or any external client). For instance, to create a Todo:
Back4App also offers GraphQL:
If you want real-time updates in your Rails application, you can subscribe to Live Queries from a front-end or a WebSocket client. Enable Live Queries in your Back4App Server Settings, then connect to the wss://YOUR_SUBDOMAIN.b4a.io for an ongoing stream of changes. This is helpful for dynamic web applications that need immediate data refreshes.
Security is vital in web application development. Back4App offers Access Control Lists (ACLs) and Class-Level Permissions (CLPs) to control data visibility at both the object and class levels. This helps ensure only authenticated or authorized users can read/write sensitive data.
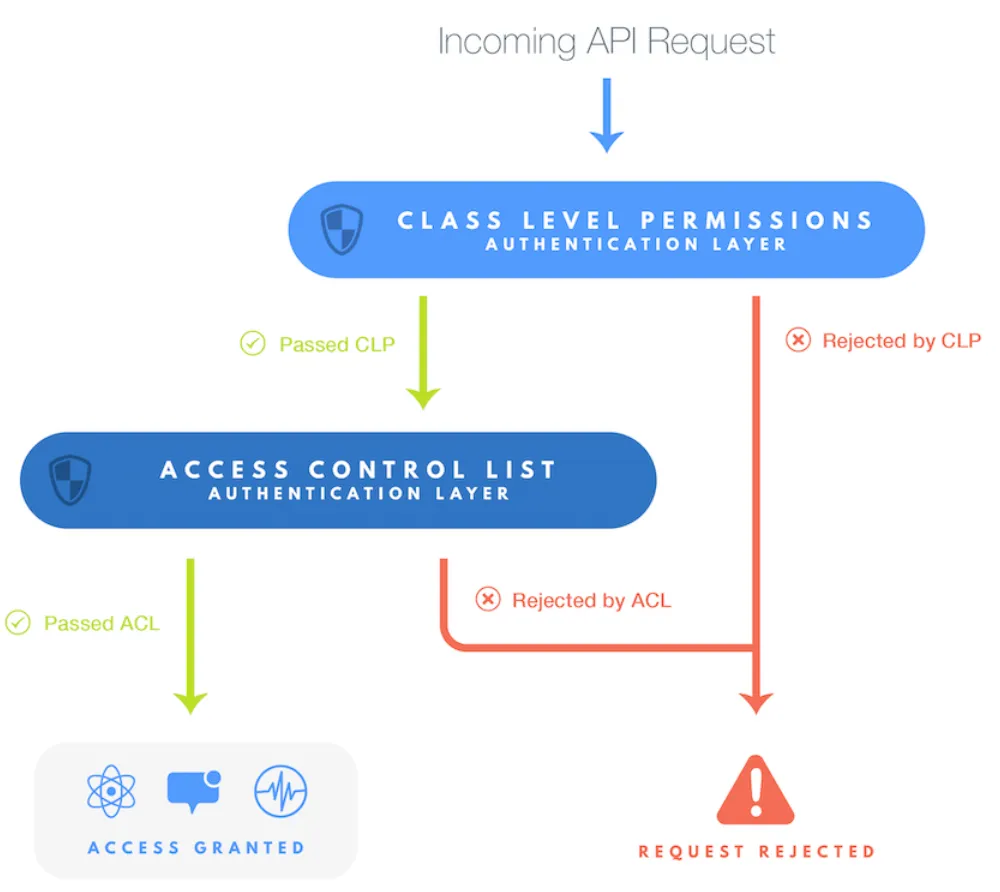
- Go to the Database in your Back4App dashboard.
- Select a Class (e.g., “Todo”).
- Open the CLPs tab to configure read/write access by roles, authenticated users, or the public.
You can set an ACL on an object so that only a specific user can read or modify it. In Rails with parse-ruby-client, it might look like:
Cloud Code runs server-side JavaScript, enabling developers to add custom logic, triggers, and validations without managing your own web server. You might want to handle extra server logic or do checks before saving data.
Below is an example in JavaScript. While your Rails server handles the main app, you can still use Cloud Code to process data:
Deploy through the Back4App CLI or from the Back4App Dashboard. Cloud Code is a convenient way to encapsulate logic that’s shared among all clients, regardless of which programming languages they use. With node-based modules (NPM) support, you can integrate external packages seamlessly.
Back4App manages user sign-ups, logins, and sessions with Parse’s built-in User class. You can create a user with a REST call or through any official SDK.
You can integrate Facebook, Google, or Apple sign-in flows. Each provider has a slightly different approach, but the main principle is to exchange tokens with Parse. Check the official Social Login Docs for details on how to integrate these into your rails application.
Using Parse for files is as simple as uploading them through the Parse API. If you’re employing the parse-ruby-client:
You can then attach this file to an object:
- Enable email verification in your Back4App Dashboard under Email Settings.
- Set up password reset by customizing the email template and domain settings.
- Trigger email flows automatically after user registration or when a user requests a password reset. This ensures improved security and helps confirm valid email ownership.
If you want to automate tasks like cleaning data or sending daily summaries, use Cloud Jobs:
You can schedule such jobs in the Back4App Dashboard under Server Settings > Background Jobs to run daily or at desired intervals.
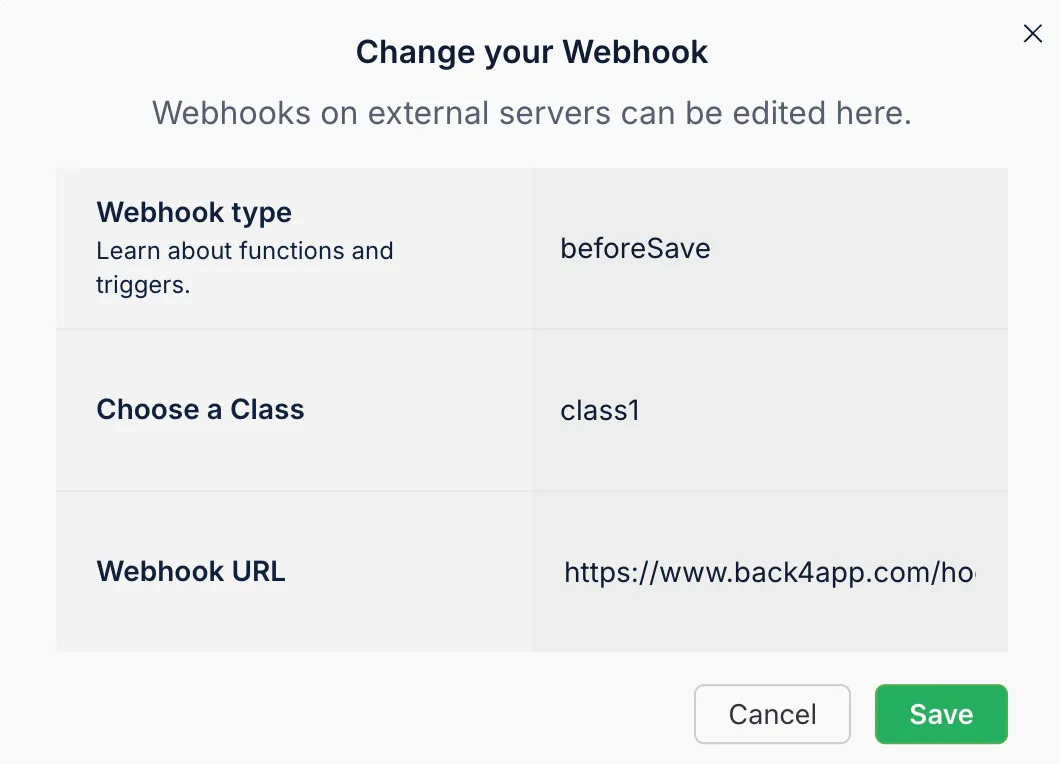
Webhooks let your Back4App app send data to an external URL whenever certain events happen. You can forward new or updated object data to another system—like Stripe or Slack.
- Go to More > WebHooks in your Back4App dashboard.
- Add a new webhook pointing to your external URL (e.g., a route in your Rails controller).
- Specify the event that triggers the webhook.
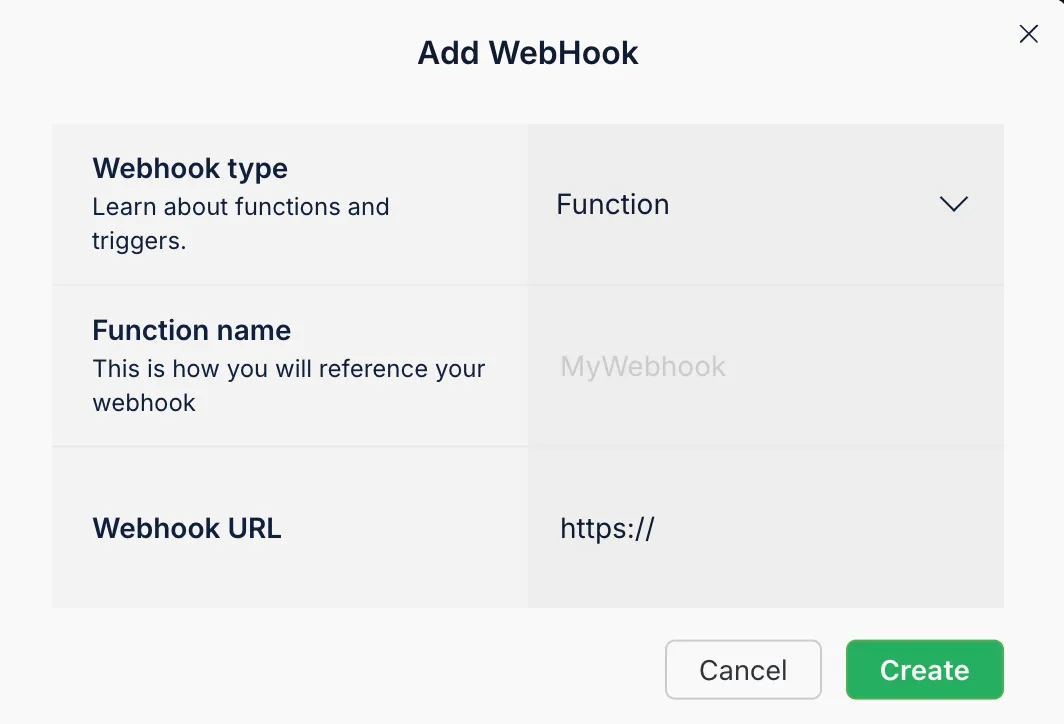
If you prefer, you can also trigger a webhook from Cloud Code by making an HTTP request in a beforeSave or afterSave function.
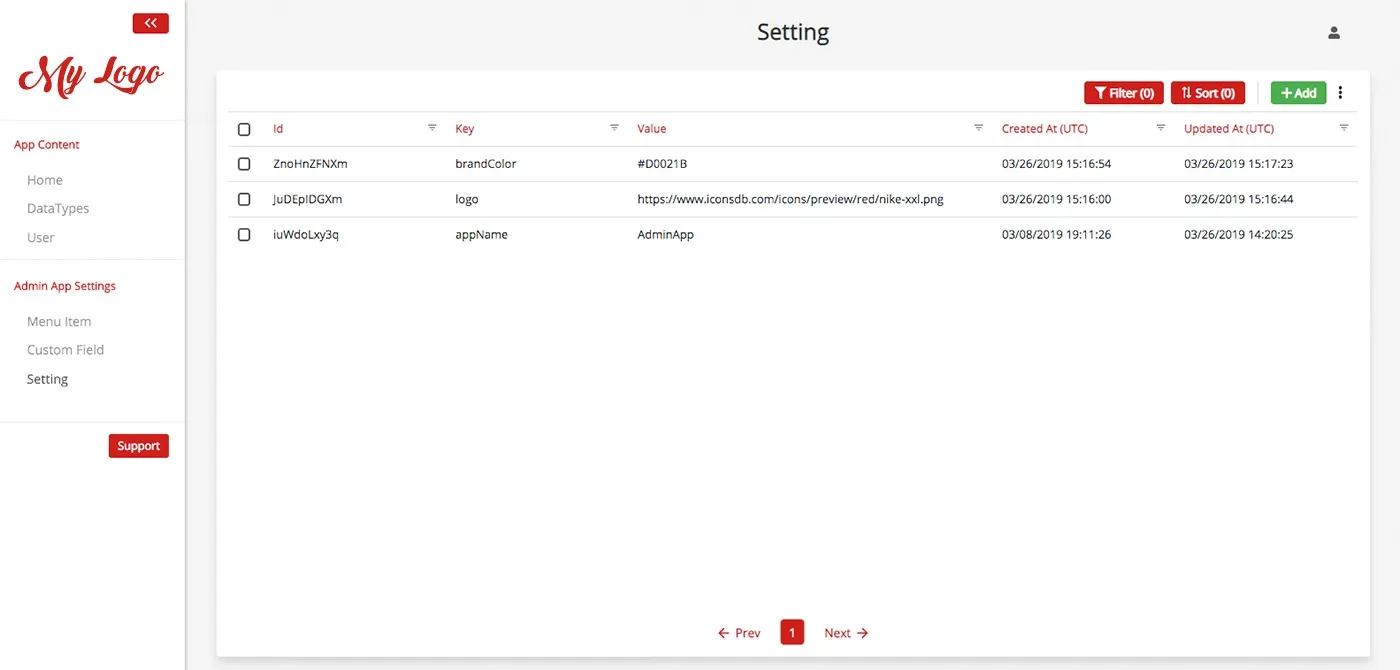
The Back4App Admin App offers a user-friendly way for non-technical teams or clients to perform CRUD operations on your Back4App data. This interface eliminates the need for direct code changes or usage of the Parse Dashboard for basic tasks.
You can enable the Admin App from your dashboard by going to More > Admin App and clicking Enable Admin App.
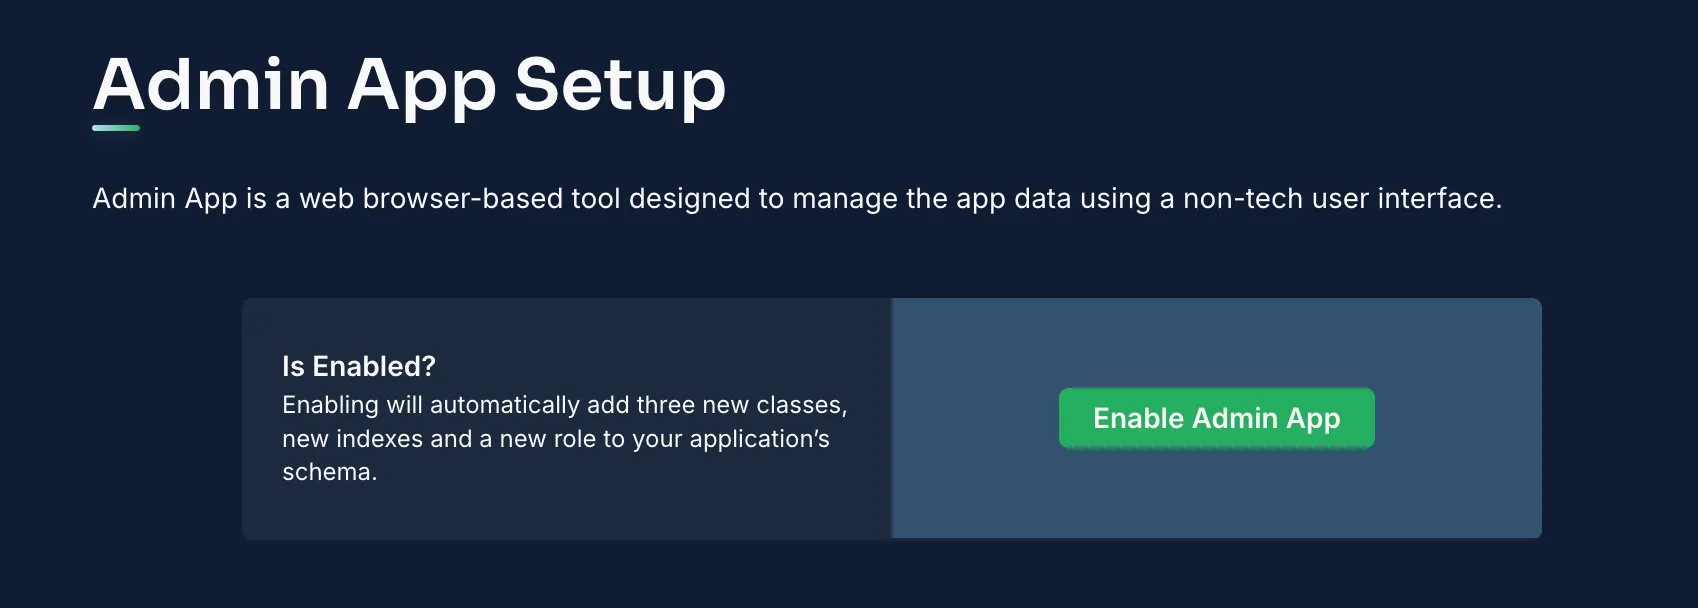
Once enabled, you can:
- Create and manage data without writing queries.
- Monitor logs, schedule background jobs, and handle push notifications (if enabled).
- Provide role-based access to team members for safer editing.
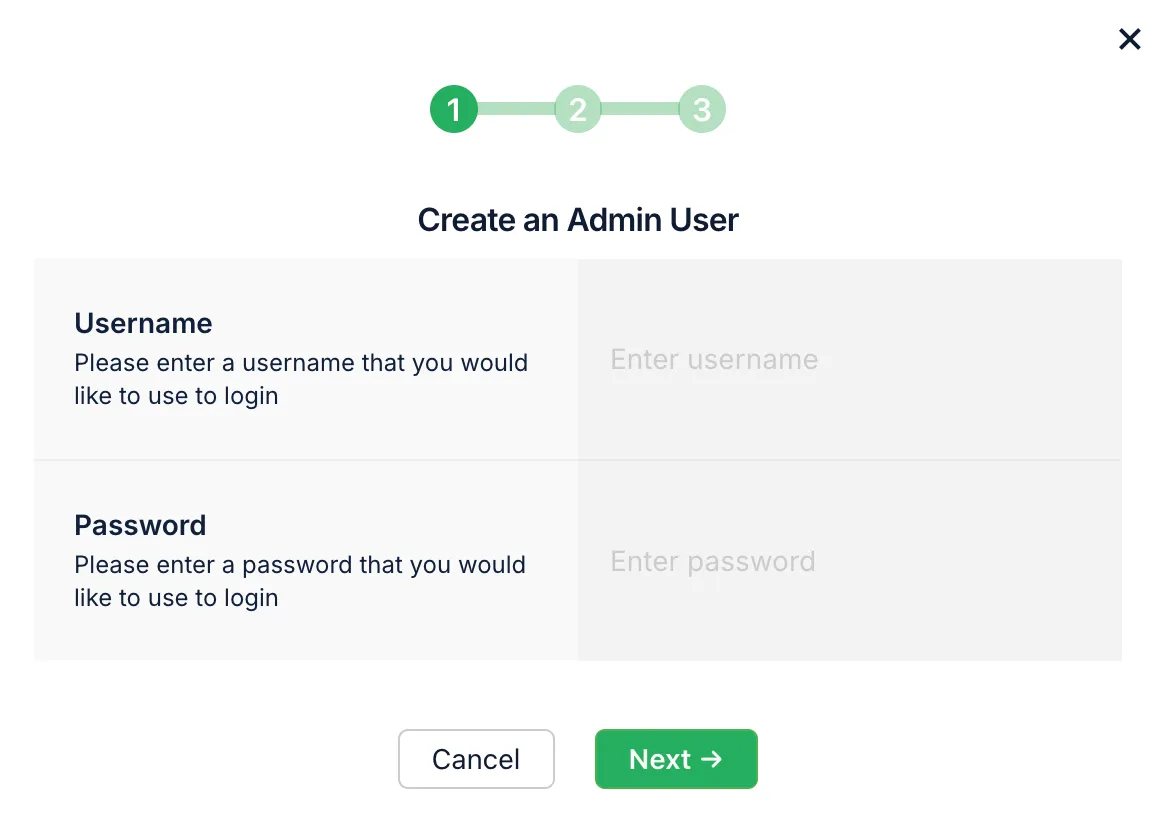
Congratulations! You’ve learned how to build a backend for Ruby on Rails using Back4App. In this tutorial, you have:
- Configured a Rails project to interact with Back4App via REST, GraphQL, or the Parse Ruby Client.
- Set up secure database interactions using class schemas, ACLs, CLPs, and optional Live Queries.
- Integrated user authentication with email verification and password resets.
- Deployed Cloud Code for custom logic, triggers, and scheduled tasks.
- Managed file uploads, harnessed webhooks, and explored the Admin Panel.
By combining Ruby on Rails’ MVC architecture with Back4App’s robust feature set, your rails application can scale seamlessly.
You’ll save considerable time in managing infrastructure, letting you concentrate on building web applications with refined user experiences and reliable server side logic.
- Extend your Rails app by adding more complex relationships, caching strategies, or advanced integrations.
- Incorporate third-party APIs (like payment gateways) and harness Cloud Code for deeper web application development.
- Explore the official Back4App documentation for advanced security, performance tuning, logs analysis, and more.
- Experiment with real-time features to create chat apps or collaborative platforms—ideal for data that changes frequently.
With these fundamentals in place, you can rapidly develop, iterate, and scale your Rails server for modern web applications. Happy coding!
