How to build a backend for SwiftUI?
In this tutorial, you’ll learn how to build a complete backend for a SwiftUI iOS app using Back4App.
We'll show you how to integrate the Parse Swift SDK into your SwiftUI project and take advantage of key Back4App features—like database management, Cloud Code functions, REST and GraphQL APIs, user authentication, and real-time queries—to create a secure, scalable backend.
This approach helps you store data securely, run server side operations without setting up your own infrastructure, and easily scale your iOS app or web app as needed.
You’ll also see how Back4app’s quick setup and intuitive environment can drastically reduce the time and effort compared to manually configuring your own server and database.
By the end, you’ll understand how to build a backend for SwiftUI that can be extended to a production setting or integrated with custom logic and APIs.
Let’s get started on creating a robust, scalable backend with minimal overhead!
- A Back4app account and a new Back4app project Getting Started with Back4app. If you do not have an account, you can create one for free. Follow the guide above to get your project ready.
- Basic SwiftUI development environment You will need Xcode installed on your machine and a basic SwiftUI or iOS app project set up.
- Familiarity with Swift and SwiftUI If you’re new to SwiftUI, review Apple’s SwiftUI Documentation. before starting.
Make sure these are all in place before you begin. Having your Back4app project set up and your local SwiftUI environment ready will help you follow along more easily.
The first step in building your SwiftUI backend on Back4App is creating a new project. If you have not already created one, follow these steps:
- Log in to your Back4app account.
- Click the “New App” button in your Back4app dashboard.
- Give your app a name (e.g., “SwiftUI-Backend-Tutorial”).
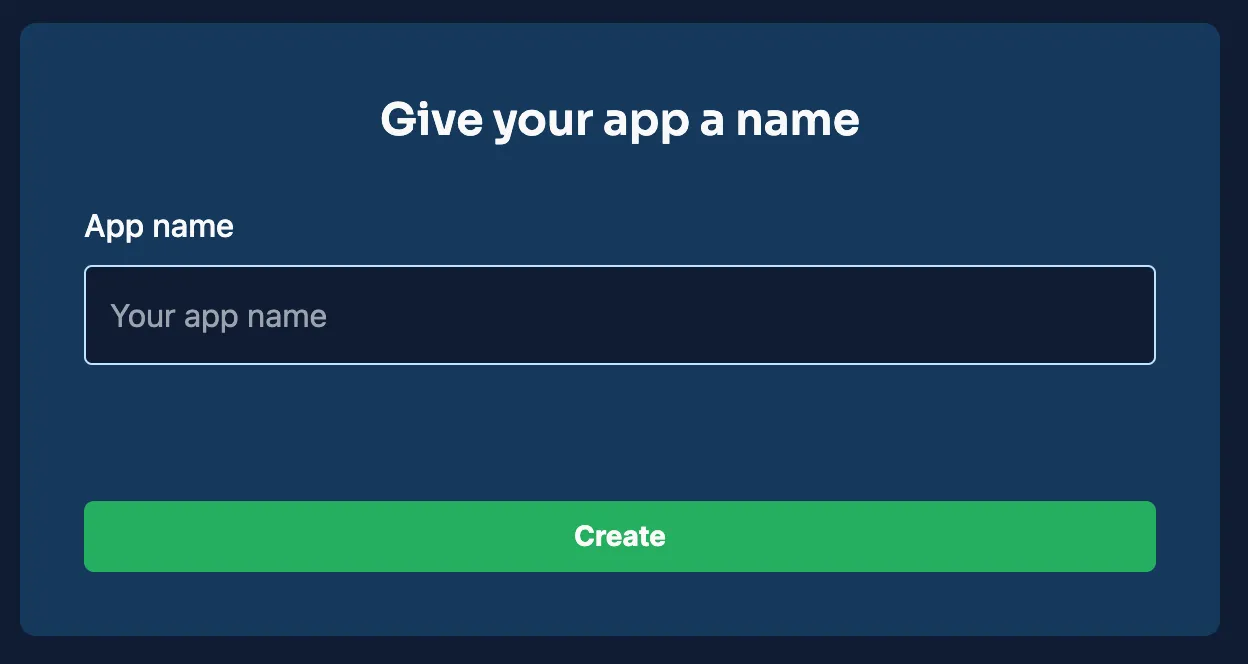
Once the project is created, you will see it listed in your Back4app dashboard. This project will be the foundation for all backend configurations discussed in this tutorial.
Back4app relies on the Parse Platform to manage your data, provide real-time features, handle user authentication, and more. Connecting your SwiftUI application to Back4app involves installing the Parse Swift SDK and initializing it with the credentials from your Back4app dashboard.
Retrieve your Parse Keys: In your Back4app dashboard, navigate to your app’s “App Settings” or “Security & Keys” section to find your Application ID and Client Key (or JavaScript Key). You’ll also find the Parse Server URL (often in the format https://parseapi.back4app.com).
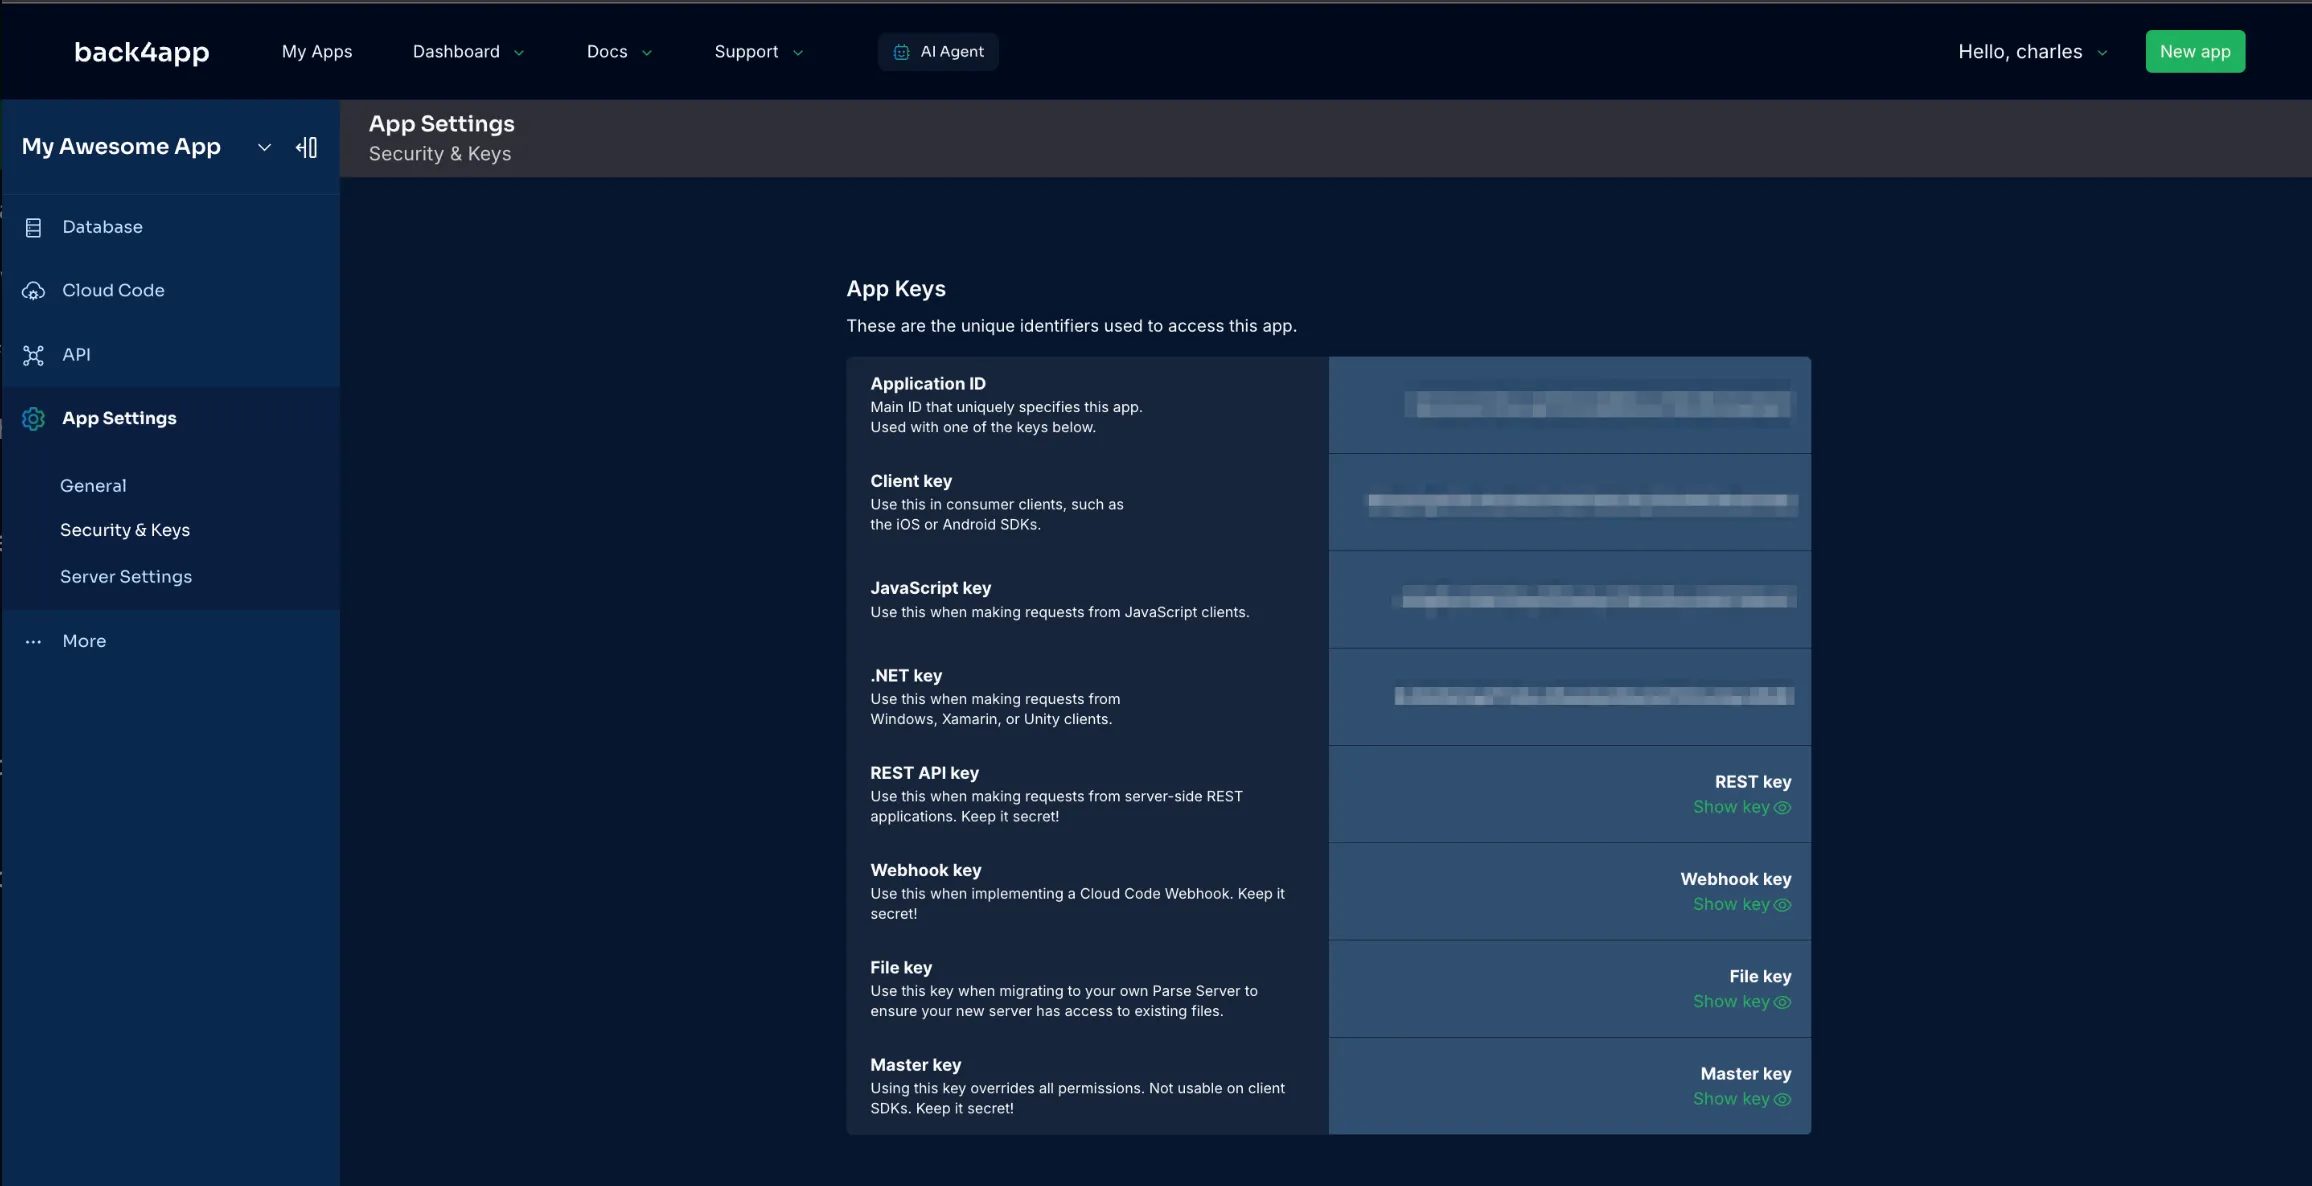
Install the Parse Swift SDK:
If using Swift Package Manager, open your project in Xcode and then:
- File → Add Packages → enter the URL https://github.com/netreconlab/Parse-Swift.git.
- Choose “Up to Next Major” from the Version rules and confirm.
If using CocoaPods:
Initialize Parse in your app. For example, in your App struct:
By completing this step, you have established a secure connection between your SwiftUI front-end and the Back4app backend. All requests and data transactions are handled by the Parse Swift SDK, reducing the complexity of manual REST or GraphQL calls (though you can still use them when needed).
With your Back4app project set up and the Parse Swift SDK integrated, you can now start saving and retrieving data. Below is a simple ParseObject example. Suppose we have a Todo struct:
Saving a new Todo:
Querying all Todos:
Alternatively, you can use Back4app’s REST API endpoints, or GraphQL:
GraphQL:
Having multiple options (Parse Swift SDK, REST, GraphQL) lets you choose the approach that works best for your workflow.
By default, Parse allows schema creation on the fly, but you can also define your classes in the Back4app dashboard for more control.
- Navigate to the “Database” section in your Back4app dashboard.
- Create a new class (e.g., “Todo”) and add relevant columns, such as title (String) and isCompleted (Boolean).
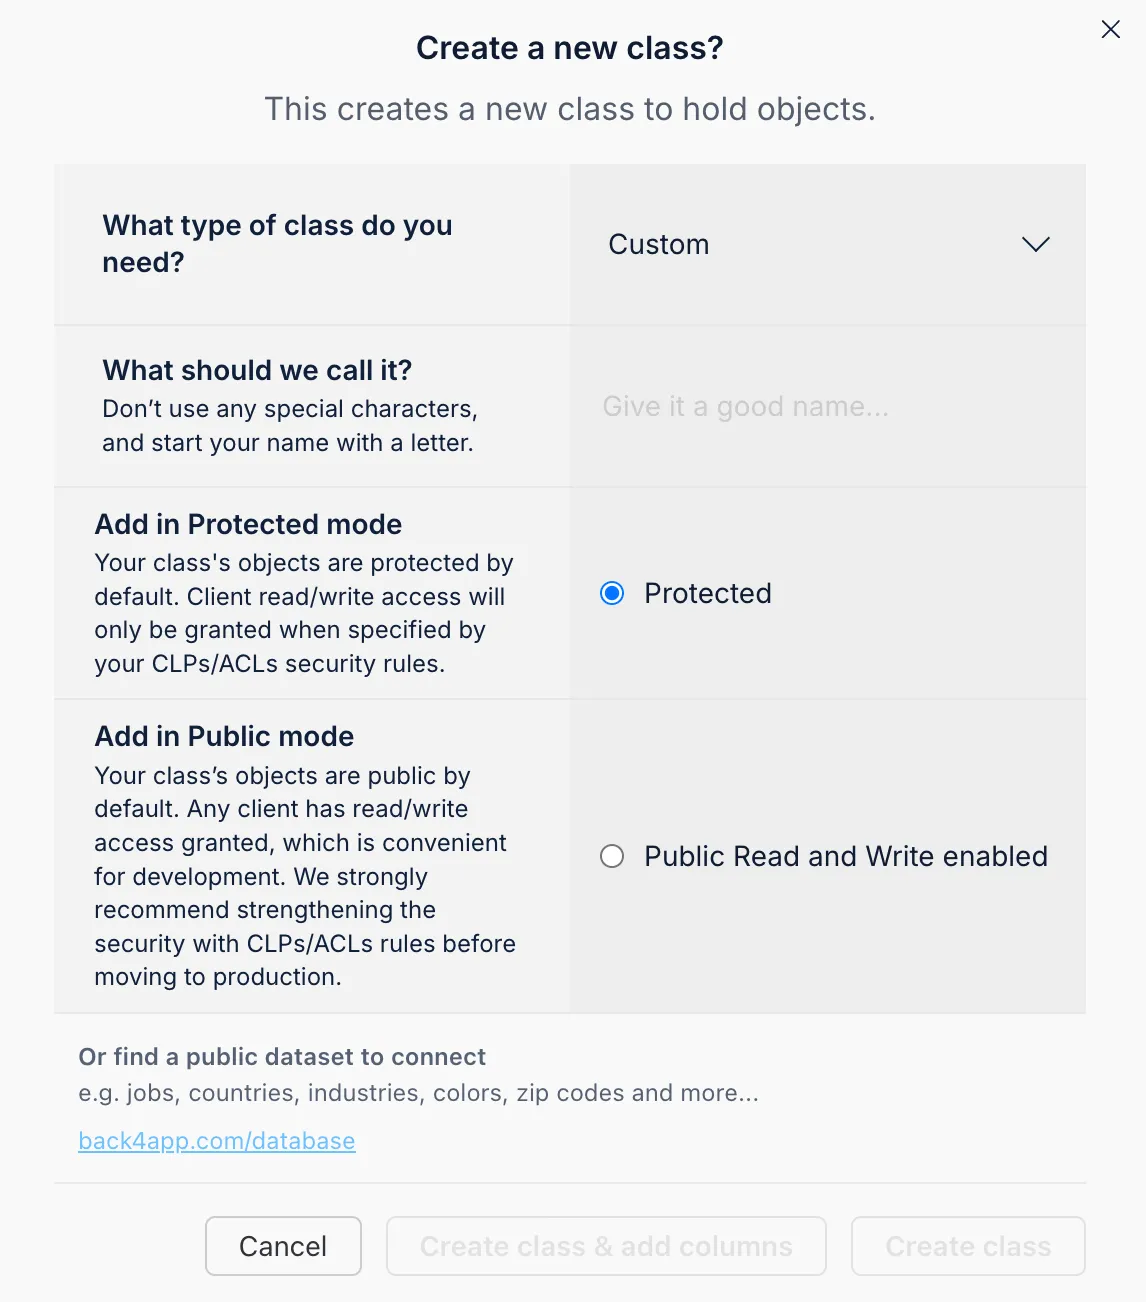
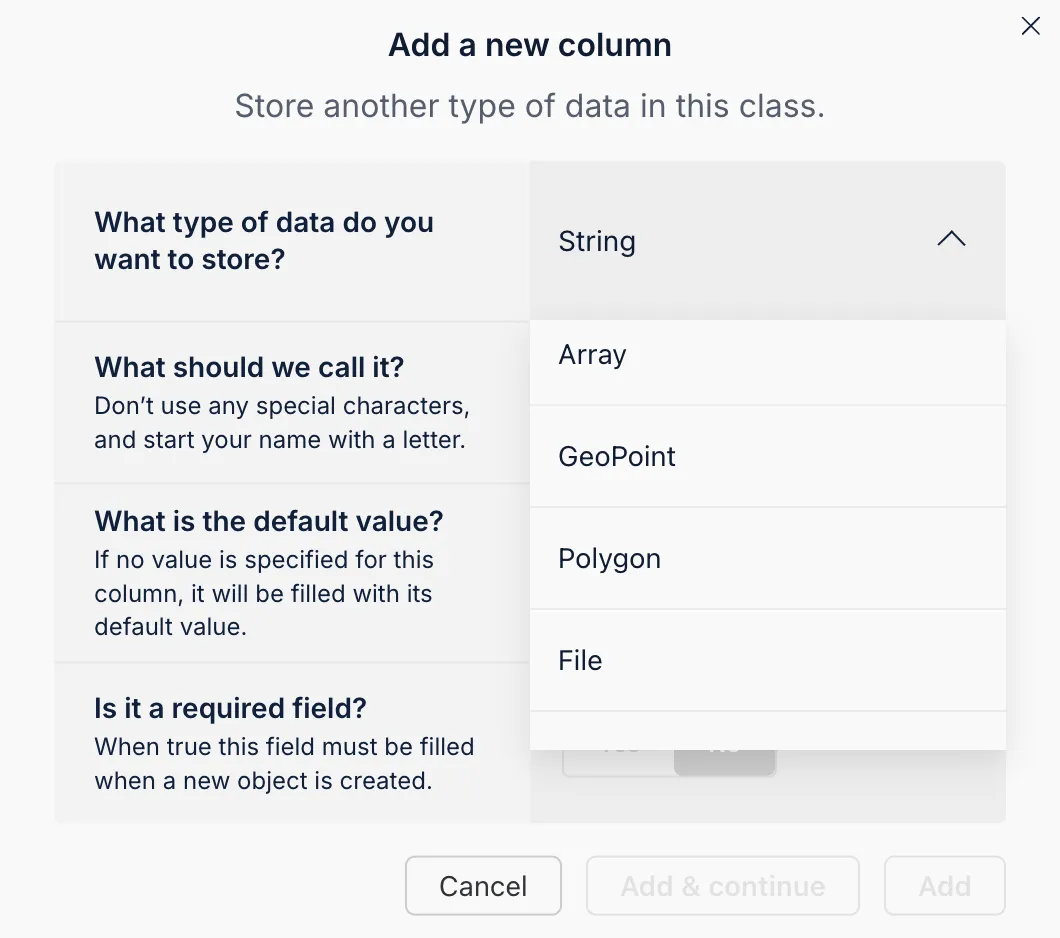
Back4app supports various data types: String, Number, Boolean, Object, Date, File, Pointer, Array, Relation, GeoPoint, and Polygon. You can choose the appropriate type for each field.
Back4app also provides an AI Agent that can help you design your data model:
- Open the AI Agent from your App Dashboard.
- Describe your data model in simple language (e.g., “Please create a new ToDo class schema.”).
- Let the AI Agent generate the schema for you.
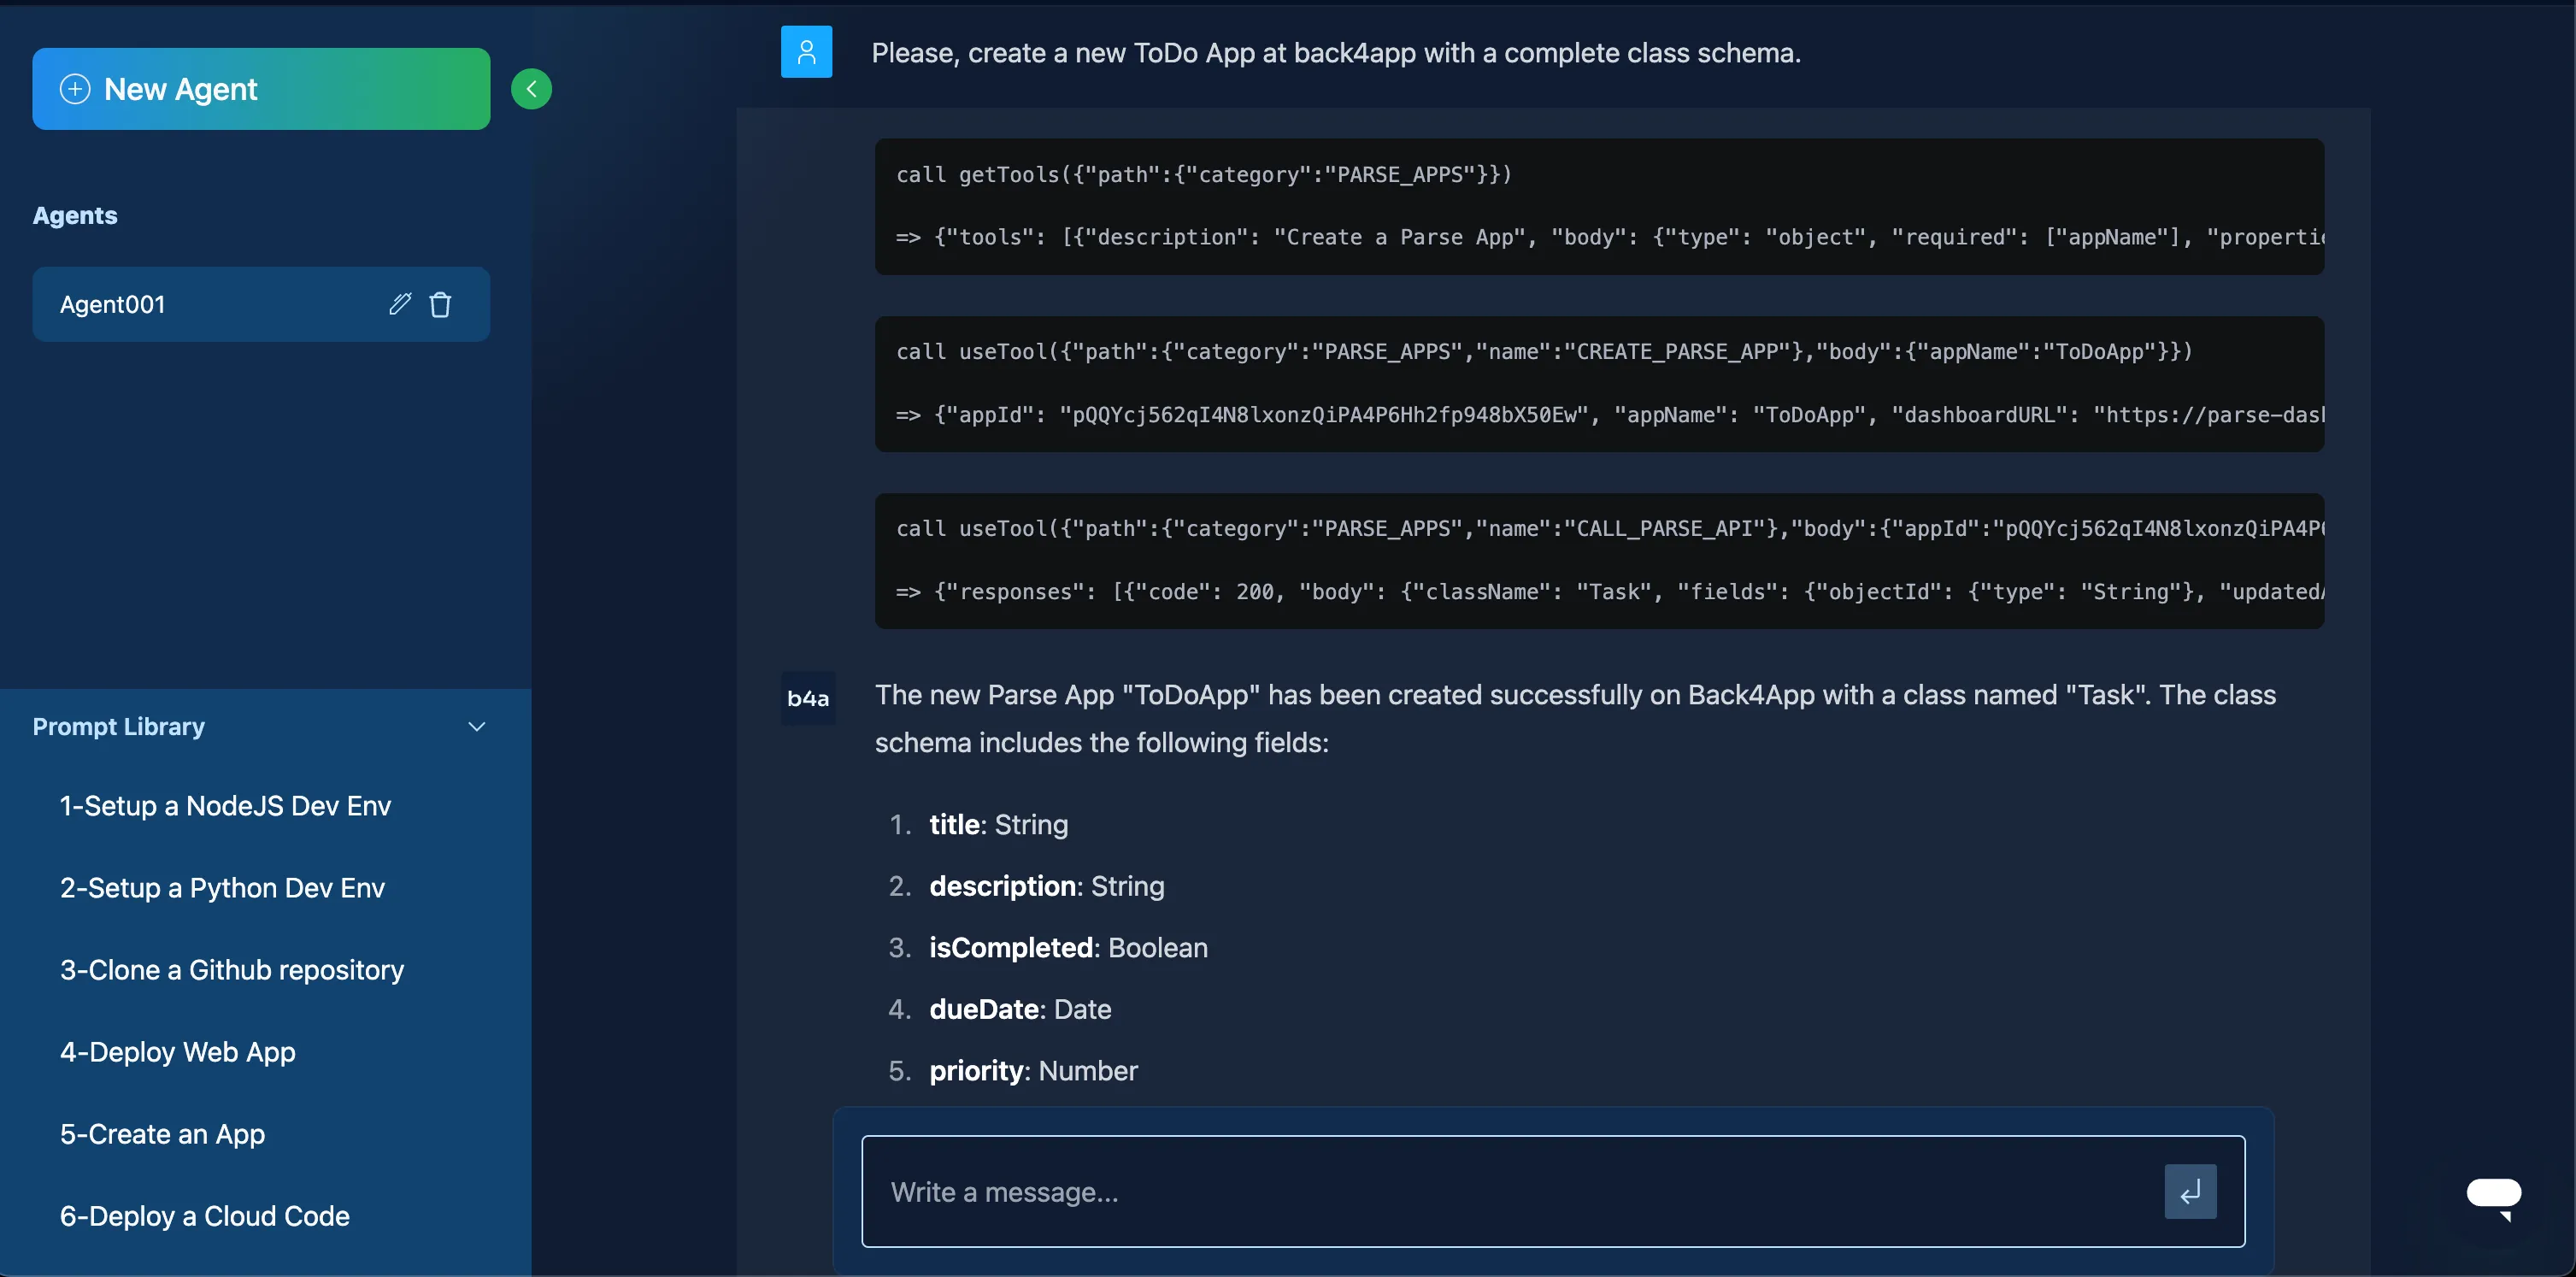
If you have relational data—say, a Category object that points to multiple Todo items—you can use Pointers or Relations in Parse. For instance:
When querying, you can also include pointer data:
For real-time updates, Back4app provides Live Queries. In your SwiftUI app, you can subscribe to changes in a specific class:
- Enable Live Queries in your Back4app dashboard under Server Settings.
- Subscribe in code.
Whenever a Todo is created, updated, or deleted on the server, your app gets notified in real-time. This feature is very handy for collaborative or dynamic apps that require immediate data syncing.
Back4app provides Access Control Lists (ACLs) and Class-Level Permissions (CLPs) for robust data security. These let you restrict who can read or write data on a per-object or per-class basis, ensuring only authorized users can modify your data.
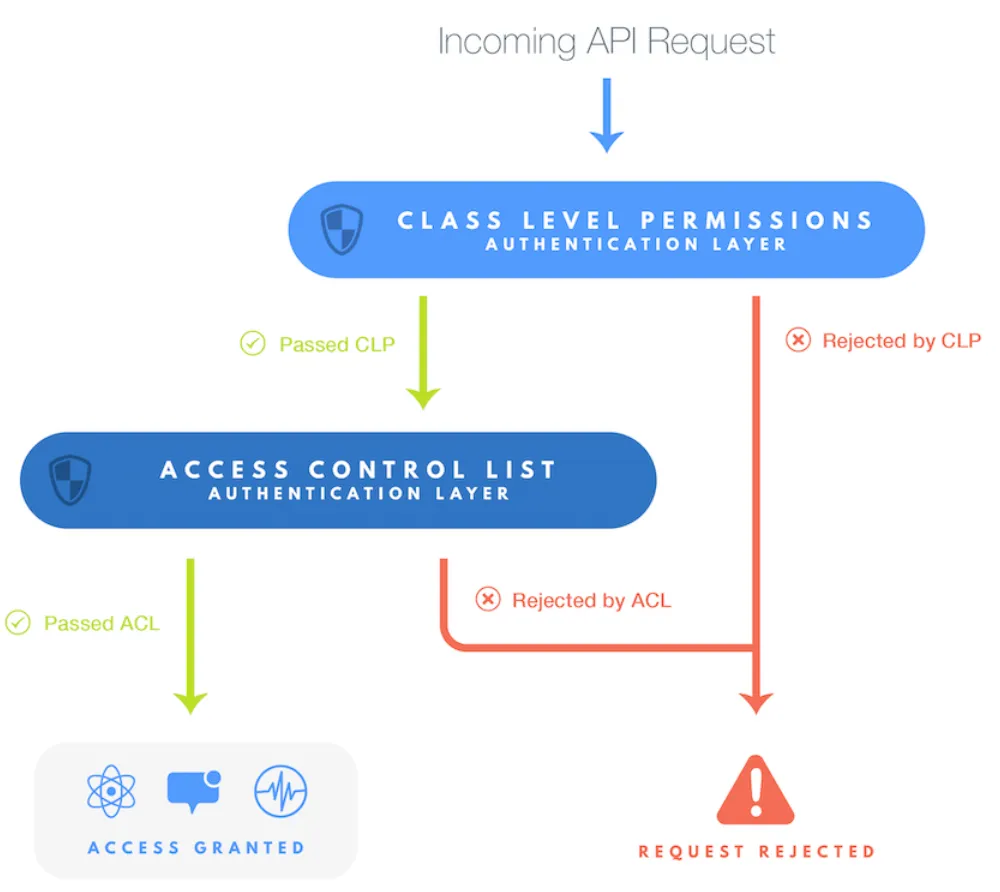
An ACL is applied to individual objects. For example, to ensure only a particular user can read/write a Todo:
CLPs govern an entire class’s defaults, such as whether the class is publicly readable or writable, or if only certain roles can access it.
- Go to the Back4app Dashboard and select your app.
- Open the Database section, select a class (e.g., Todo).
- Open the Class-Level Permissions tab.
- Configure defaults like “Requires Authentication” or “No Access.”
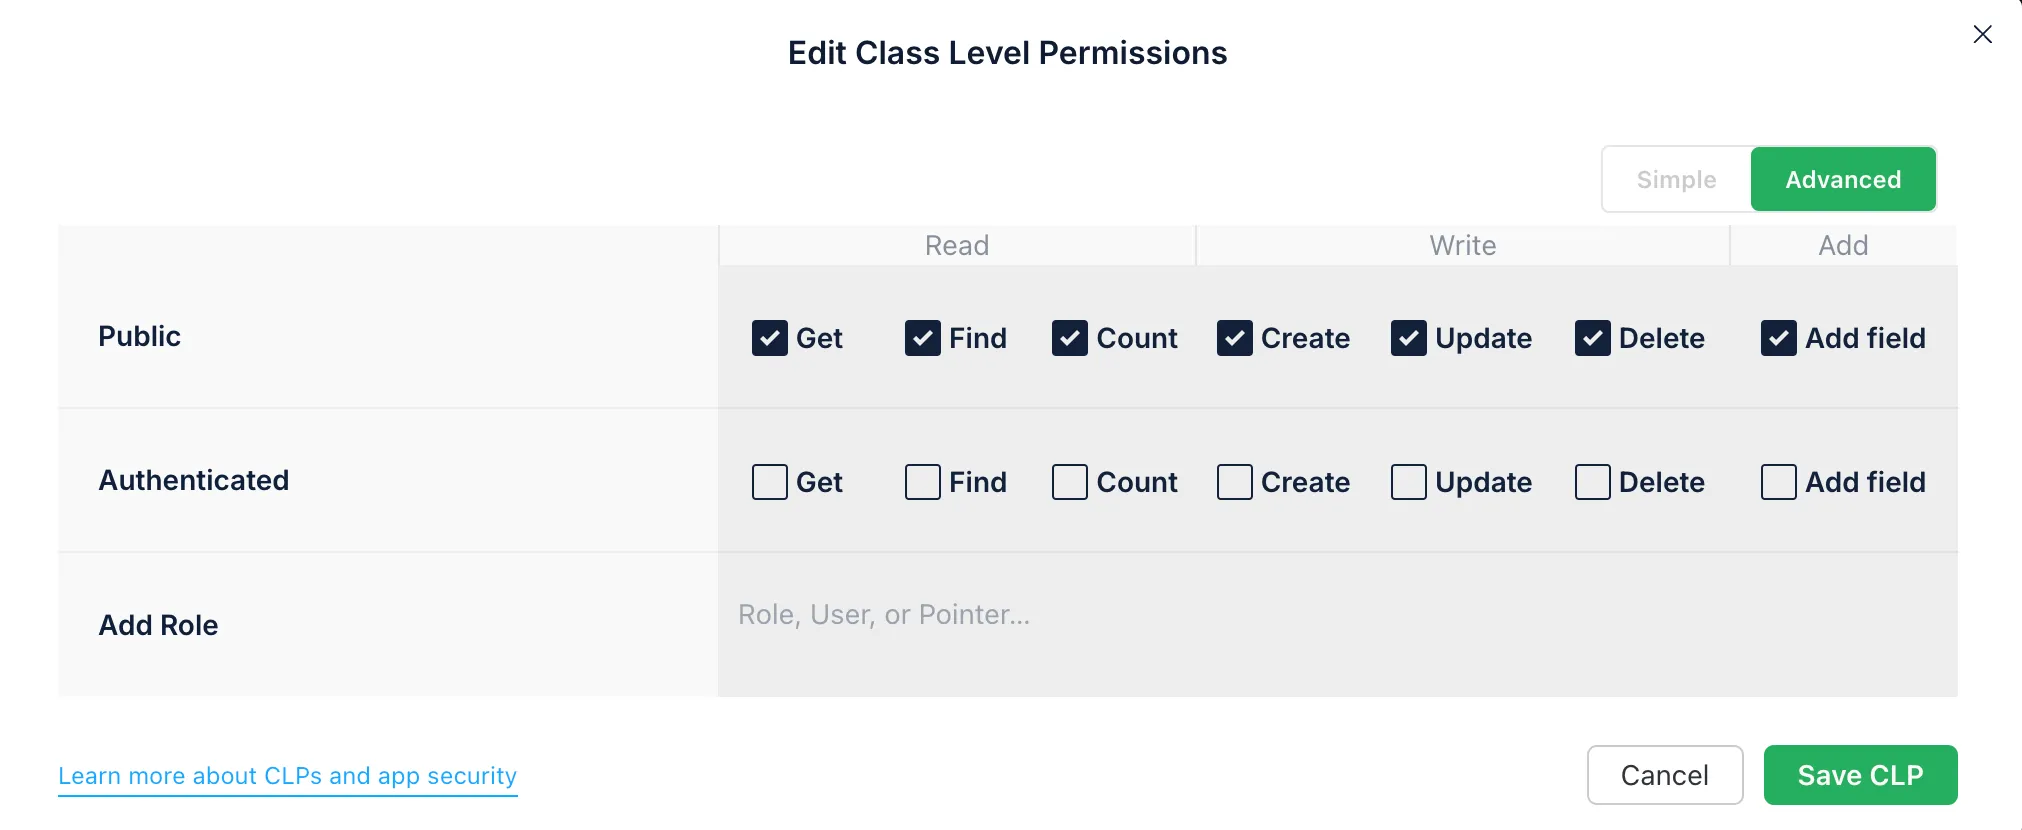
These permissions set a broad baseline, while ACLs let you fine-tune security at the object level. Combining both ensures a strong security model. For more detail, see App Security Guidelines.
Cloud Code allows you to run custom server-side Swift (or JavaScript) code without managing servers. It’s ideal for adding business logic, data validations, triggers, or backend integrations that should not run from the client.
- Write your Cloud Code in a file like main.js (JavaScript) or leverage the Swift-based Cloud Code environment.
- Deploy to your Back4app project. The code runs in Parse Server’s environment, so you don’t need to maintain your own server.
- Call your Cloud Code from the client via the Swift SDK, REST, or GraphQL.
- Business Logic: Complex data validations, field calculations, or external integrations.
- Data Triggers: Execute logic when an object is saved, updated, or deleted.
- Security: Protect sensitive operations from the client by running them on the server side.
Below is a sample JavaScript Cloud Code (since Cloud Code primarily uses JS on Back4App) that calculates text length:
- Configure your account key:
- Deploy Cloud Code:
From Swift:
Via REST:
Back4app uses the ParseUser class to handle secure authentication. Password hashing, session tokens, and data are handled automatically, letting you focus on the app’s logic.
Sign Up a new user:
Log in an existing user:
Session Tokens are handled automatically by Parse. You can log out:
Integrations with Google, Apple, Facebook, etc., are possible with additional setup. Check the Social Login Docs for more details.
Enable email verification in your Back4app dashboard, and configure password reset emails so users can securely recover their accounts. For password resets:
Parse includes ParseFile for handling file uploads:
Attach it to a ParseObject:
By default, files are accessible via a public URL. You can configure file security using Parse Server settings. For stricter file controls, ensure only authenticated users or specified roles can upload or retrieve files.
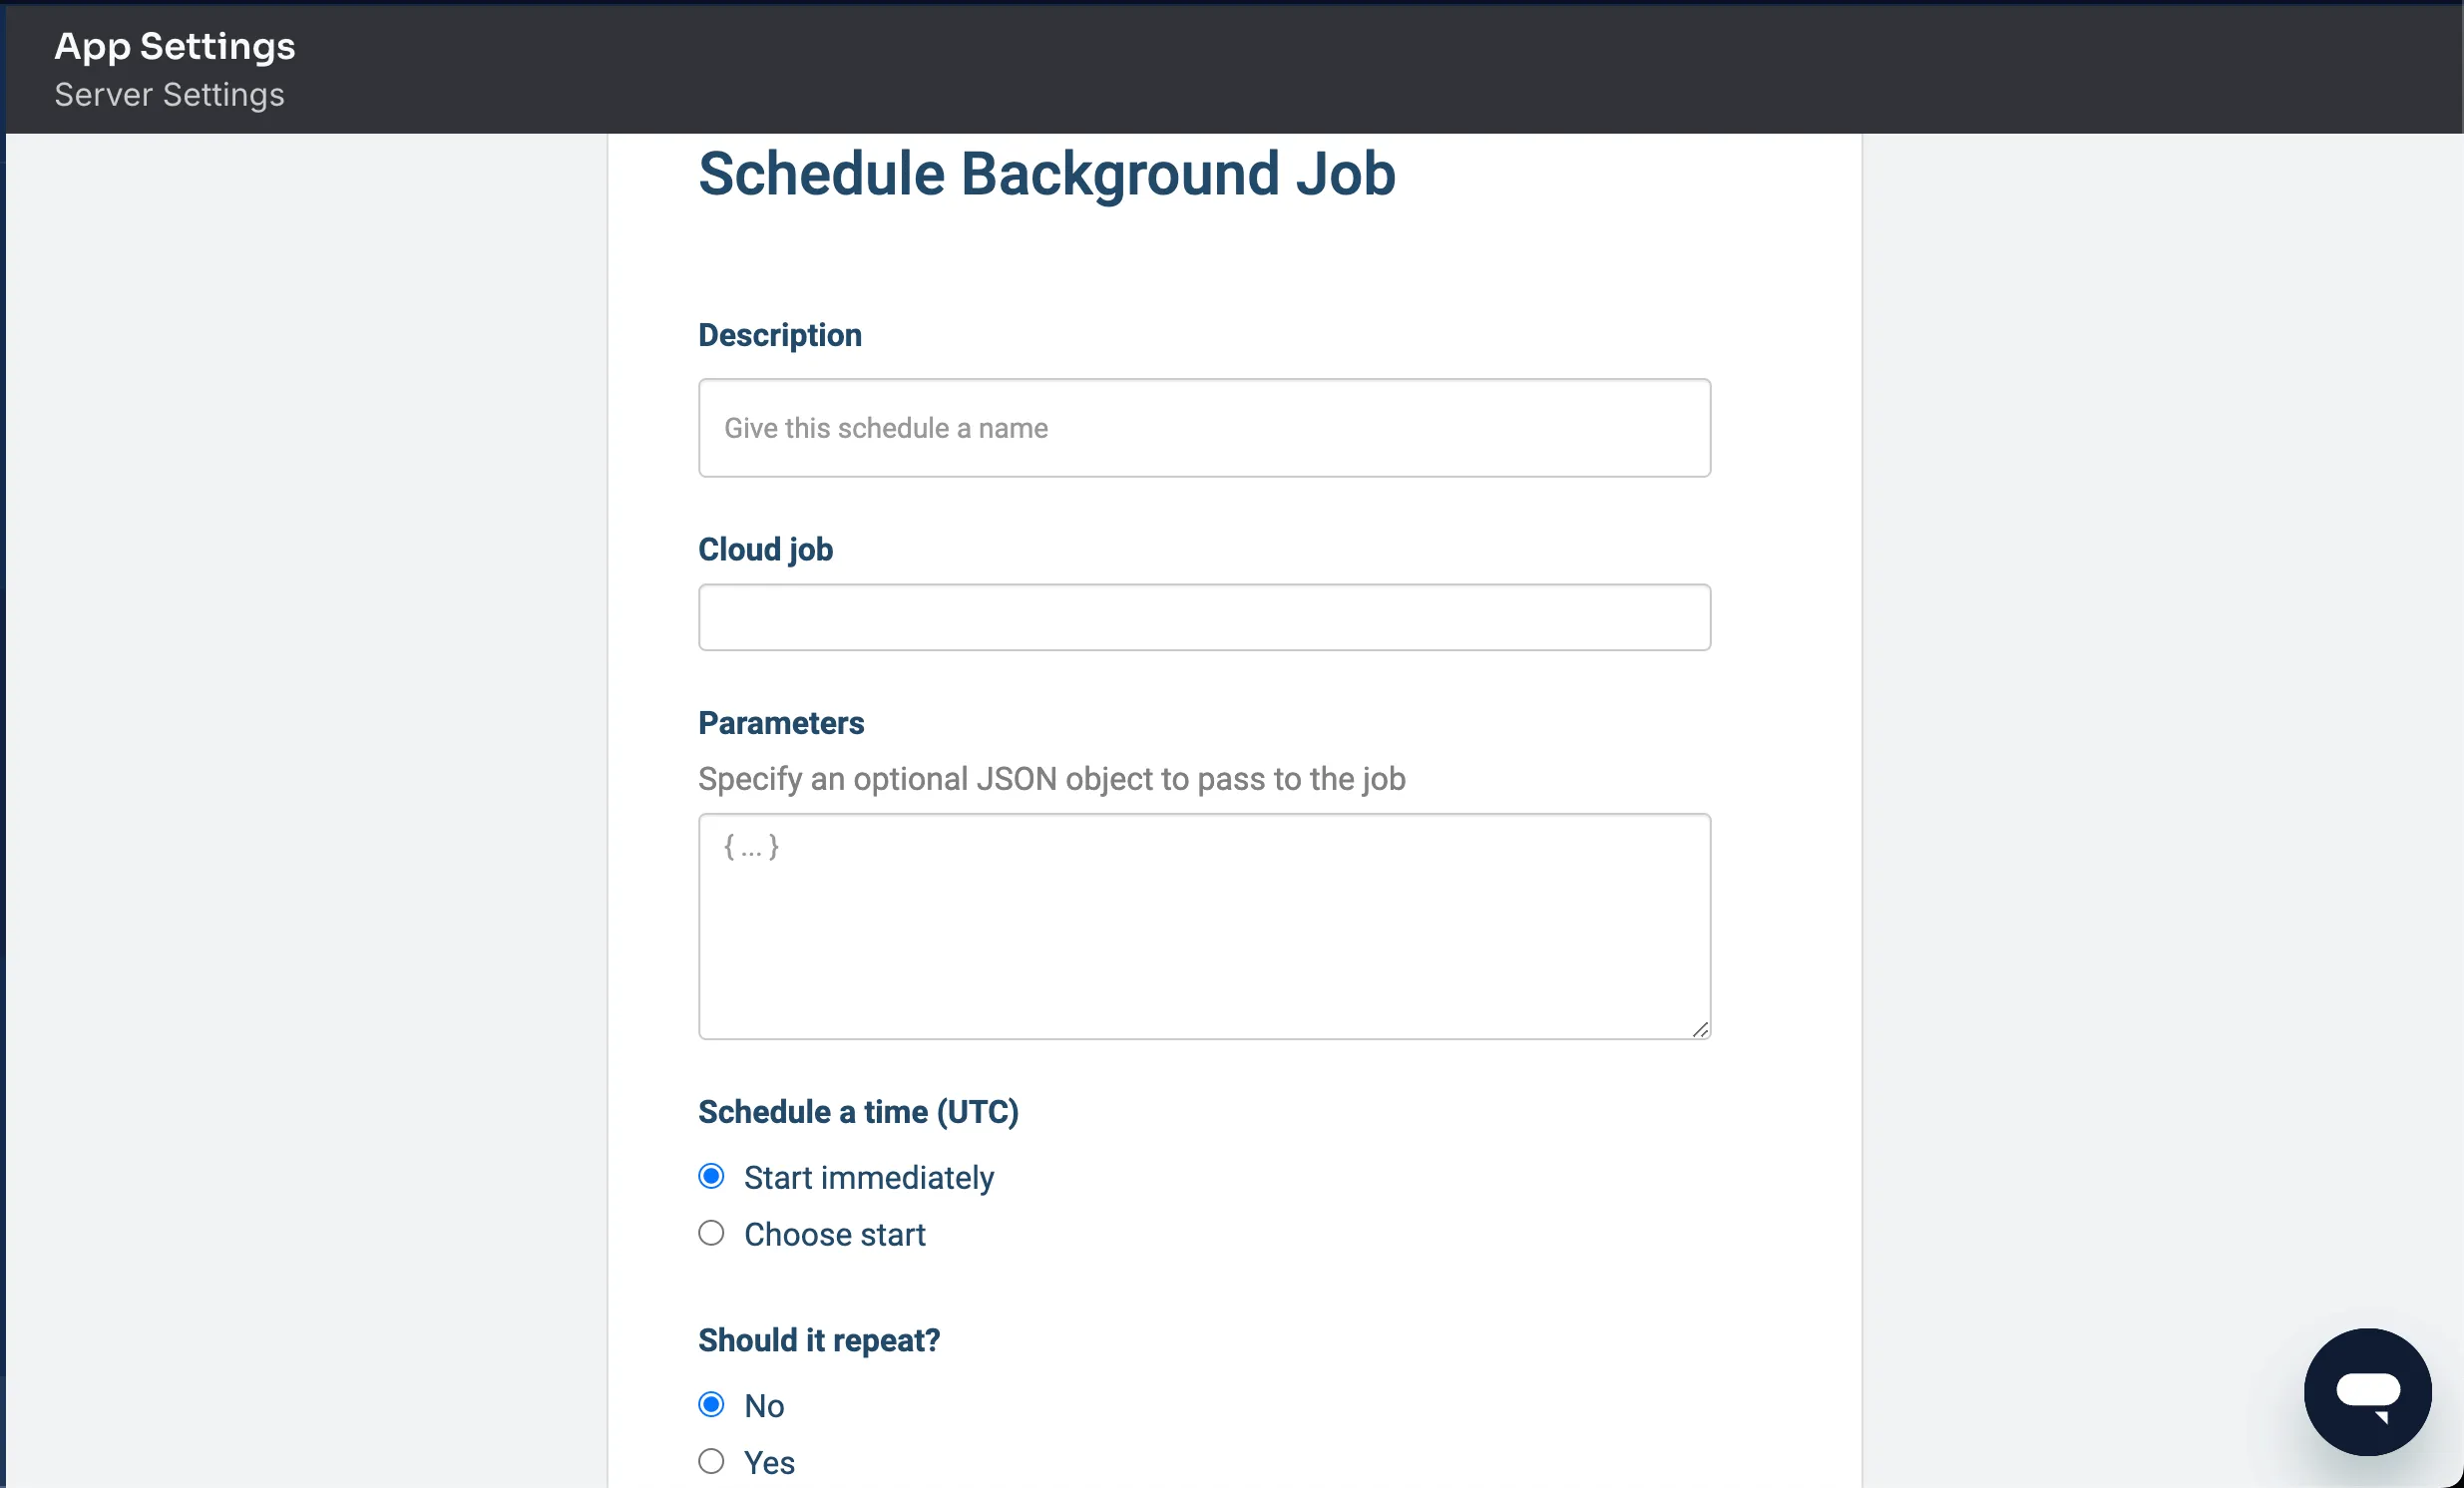
Cloud Jobs allow you to schedule and run recurring tasks like cleaning data or sending emails.
After deployment, schedule it via the Back4app Dashboard under Server Settings > Background Jobs.
Webhooks let your Back4app app send HTTP requests to external services (like Stripe) whenever certain events occur. This is helpful for hooking into third-party tools or other server side integrations.
- Go to Webhooks in your Back4app dashboard > More > WebHooks.
- Add an endpoint (e.g., https://your-service.com/webhook).
- Configure which events (e.g., new record in the Todo class) will trigger the webhook.
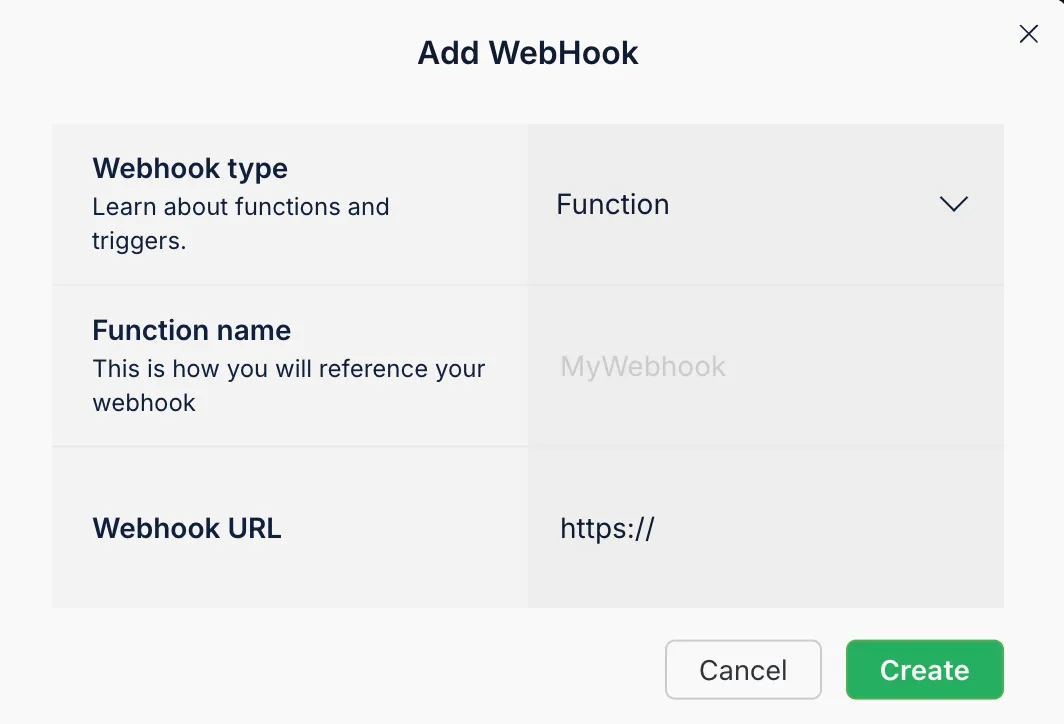
For example, you could send a Slack message whenever a user creates a new Todo. This helps you keep external services in sync with your Back4app data.
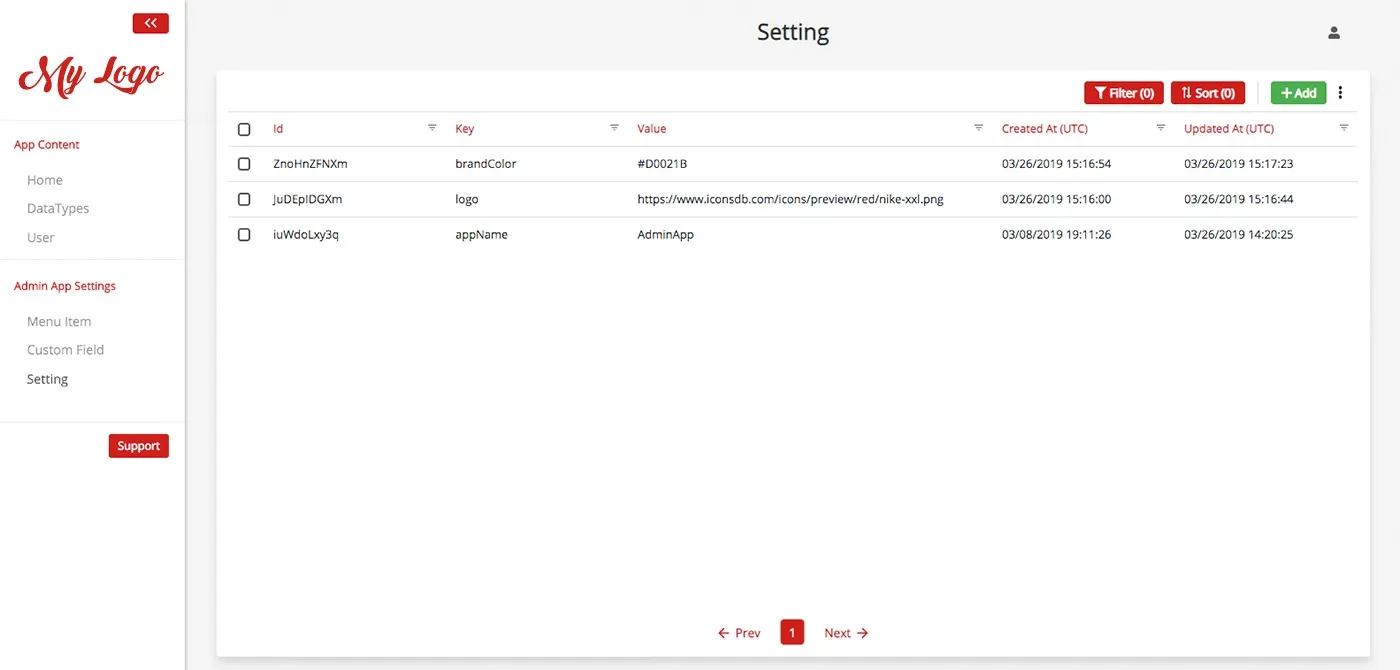
The Back4app Admin App is a web-based management interface for non-technical users to do CRUD operations on your data. It provides a user-friendly UI that’s separate from the Parse Dashboard, making it easier to manage data in production.
Go to your App Dashboard > More > Admin App and click “Enable Admin App.”
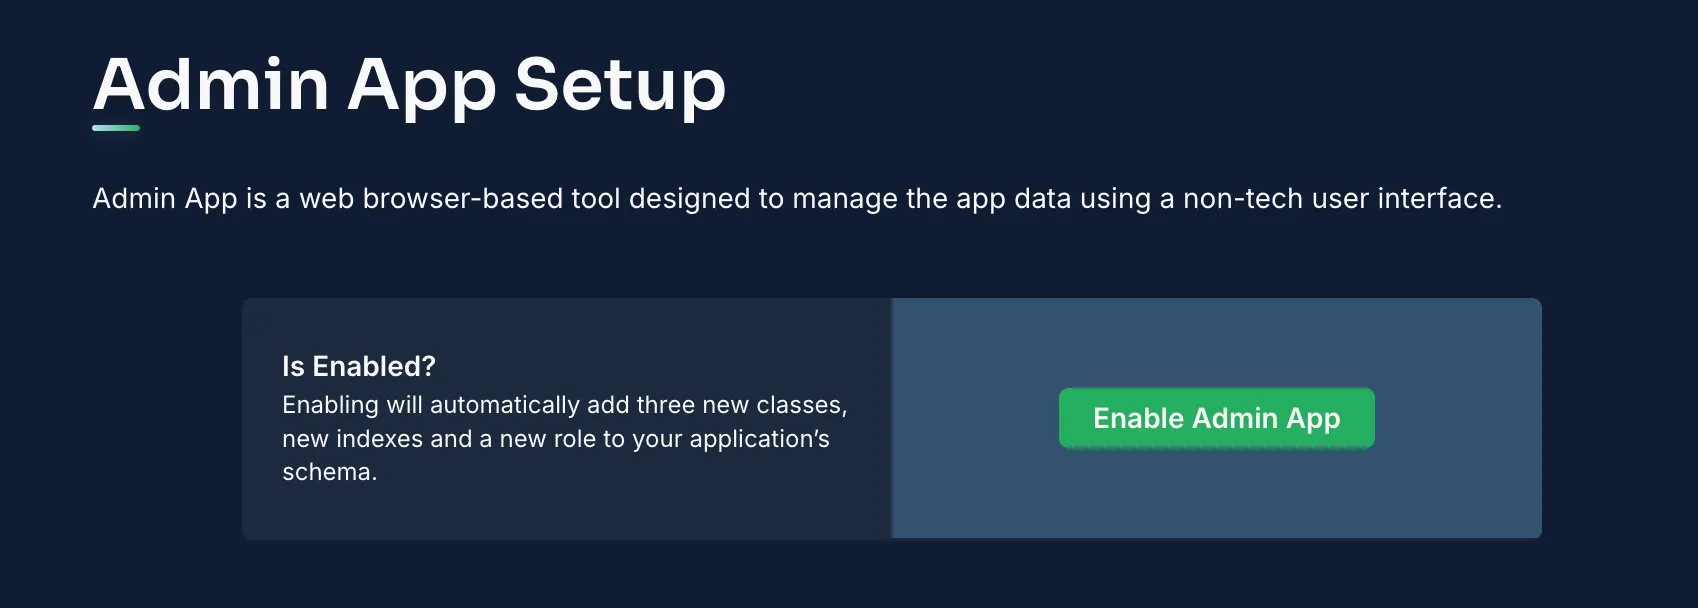
Create an Admin User, which auto-generates an admin role and associated classes. Choose a subdomain for the admin interface, then log in to manage your data via a simple point-and-click UI.
By following this comprehensive guide, you have learned:
- How to build a backend for SwiftUI using Back4app and the Parse Swift SDK.
- How to store data securely with custom class schemas and relationships.
- How to integrate real-time queries (Live Queries) for immediate data updates.
- How to apply security measures using ACLs and CLPs to protect and manage data access.
- How to run business logic via Cloud Code.
- How to handle file storage, authentication, and scheduling background tasks with Cloud Jobs.
- How to integrate your app with external services using webhooks.
With these skills, you can build an iOS app or web app that’s easy to manage, secure, and ready to scale. Explore more advanced features—like role-based permissions, push notifications, or advanced caching. You can also integrate other APIs or tailor your Cloud Code to suit specialized use cases.
Happy coding, and enjoy building awesome apps on Back4App!
- Production-Ready SwiftUI App: Extend this backend to handle more complex data models, caching, and performance enhancements.
- Advanced Features: Dive deeper into specialized authentication, role-based access, or third-party API integrations (like Stripe).
- Explore Back4app’s Official Docs: For deeper dives on server side security, logs analysis, and advanced database tuning.
- Check Additional Tutorials: Real-time chat, location-based services, or multi-tenant applications—combine the methods learned here with external APIs to create sophisticated, real-world solutions.
