How to Build a Basic CRUD App with Ractive.js: A Step-by-Step Guide
In this guide, you will learn how to construct a fully functional CRUD (create, read, update, delete) application using Ractive.js.
This tutorial covers the entire workflow from setting up your Back4app project to designing your database schema, and finally integrating a Ractive.js frontend with your backend. The project, dubbed Basic-CRUD-App-Ractive, will serve as a robust data management solution for your web application.
You'll start by initializing a Back4app project, configuring collections and fields either manually or with the help of the Back4app AI Agent.
Next, you'll use the intuitive Back4app Admin App for straightforward data handling, followed by integrating your Ractive.js interface with Back4app via REST API calls. This guide also explains how to secure your backend using advanced access control methods.
By the end, you'll have a production-grade CRUD app that not only performs essential operations but also supports user authentication and secure data management.
- Master building CRUD applications that adeptly manage data with a reliable backend.
- Understand how to design an extensible data schema and connect it with a Ractive.js frontend.
- Utilize a drag and drop management interface (Back4app Admin App) for effortless CRUD actions.
- Learn deployment strategies including Docker containerization for rapid web app launches.
Before starting, ensure you have:
- An active Back4app account with a new project created. Refer to Getting Started with Back4app for guidance.
- A Ractive.js development setup. Set up your project using a boilerplate or your preferred configuration, ensuring you have Node.js (v14 or later) installed.
- Basic knowledge of JavaScript, Ractive.js, and REST APIs. Review the Ractive.js documentation as needed.
- Log in to your Back4app account.
- Select the “New App” option on your dashboard.
- Name your project Basic-CRUD-App-Ractive and follow the on-screen instructions to create it.
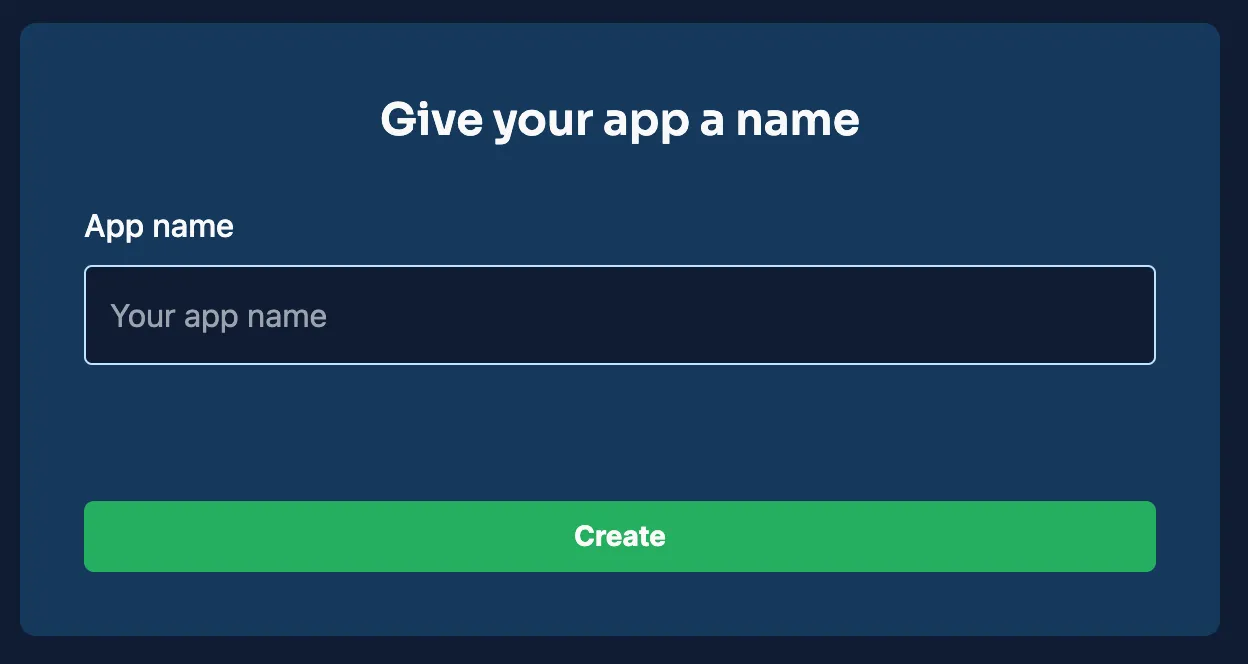
After setup, your project will be visible on the dashboard, ready for further backend configuration.
For this CRUD application, you'll define several collections to manage your data. Below are examples of the collections with suggested fields and data types, ensuring the backend is optimized for CRUD functionalities.
This collection holds details for each item.
Field | Type | Purpose |
|---|---|---|
_id | ObjectId | Auto-generated primary identifier. |
title | String | Item title. |
description | String | Brief summary of the item. |
created_at | Date | Record creation timestamp. |
updated_at | Date | Last update timestamp. |
This collection manages user data and authentication.
Field | Type | Purpose |
|---|---|---|
_id | ObjectId | Auto-generated primary identifier. |
username | String | Unique identifier for the user. |
String | User's unique email address. | |
password_hash | String | Hashed password for secure authentication. |
created_at | Date | Timestamp for account creation. |
updated_at | Date | Timestamp for last account update. |
You can manually establish these collections via the Back4app dashboard by creating new classes and adding the required columns.
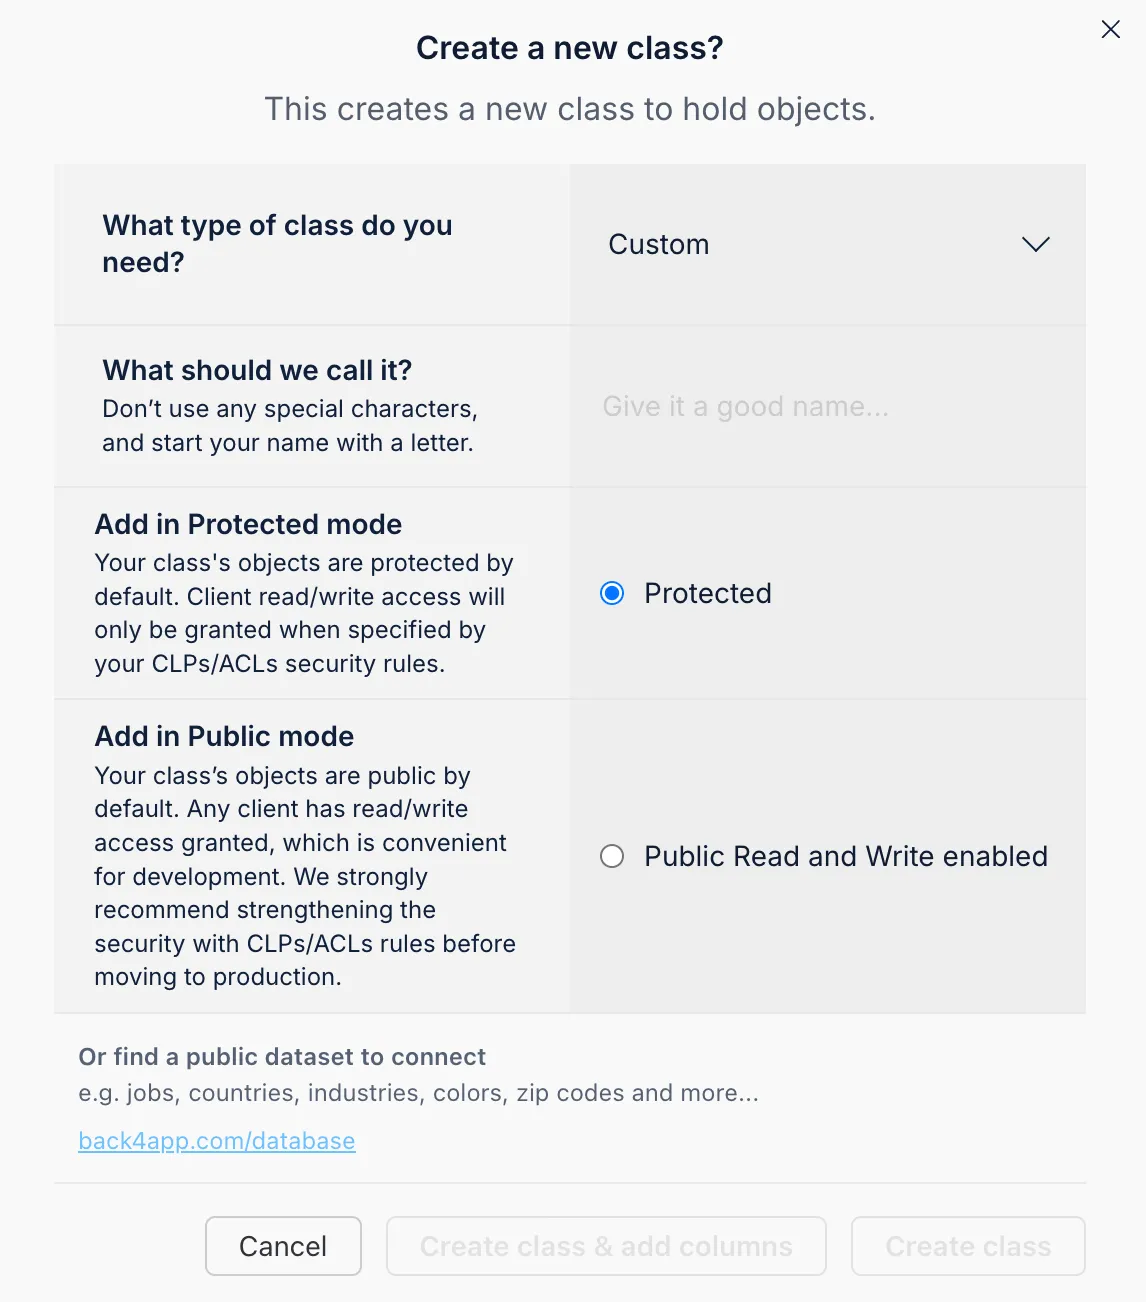
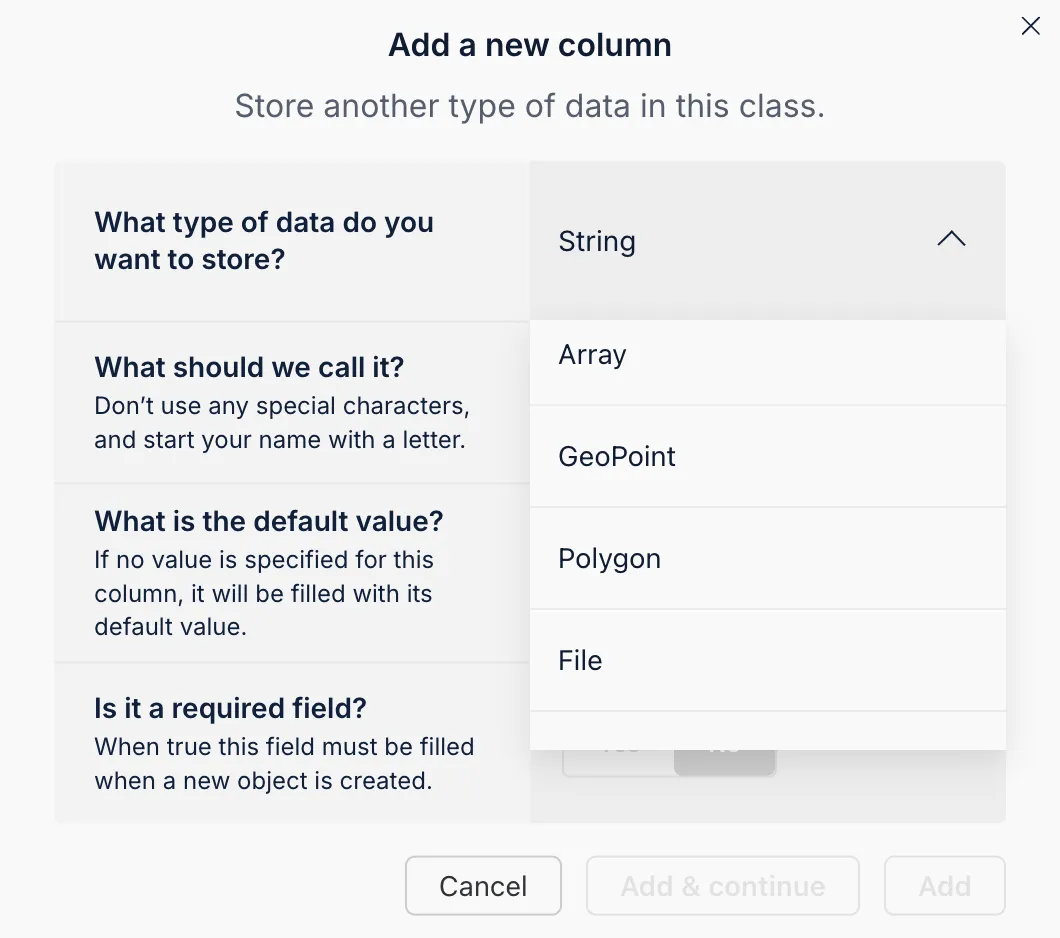
Define fields by selecting the appropriate data type, naming the column, and setting default or required values.
The Back4app AI Agent can automatically generate your schema based on your prompt. This efficient tool simplifies project management by rapidly establishing your collections and fields.
- Access the AI Agent from your project’s dashboard.
- Input a detailed prompt describing your desired collections and fields.
- Review and apply the auto-generated schema to your project.
This approach ensures your schema is consistent and tailored to your app’s needs.
The Back4app Admin App offers a no-code solution to handle your backend data. Its drag and drop interface allows for effortless CRUD operations like adding, modifying, or deleting records.
- Go to the “More” menu on your Back4app dashboard.
- Select “Admin App” and click “Enable Admin App.”
- Set up your first admin user, which also configures roles (such as B4aAdminUser) and system collections.
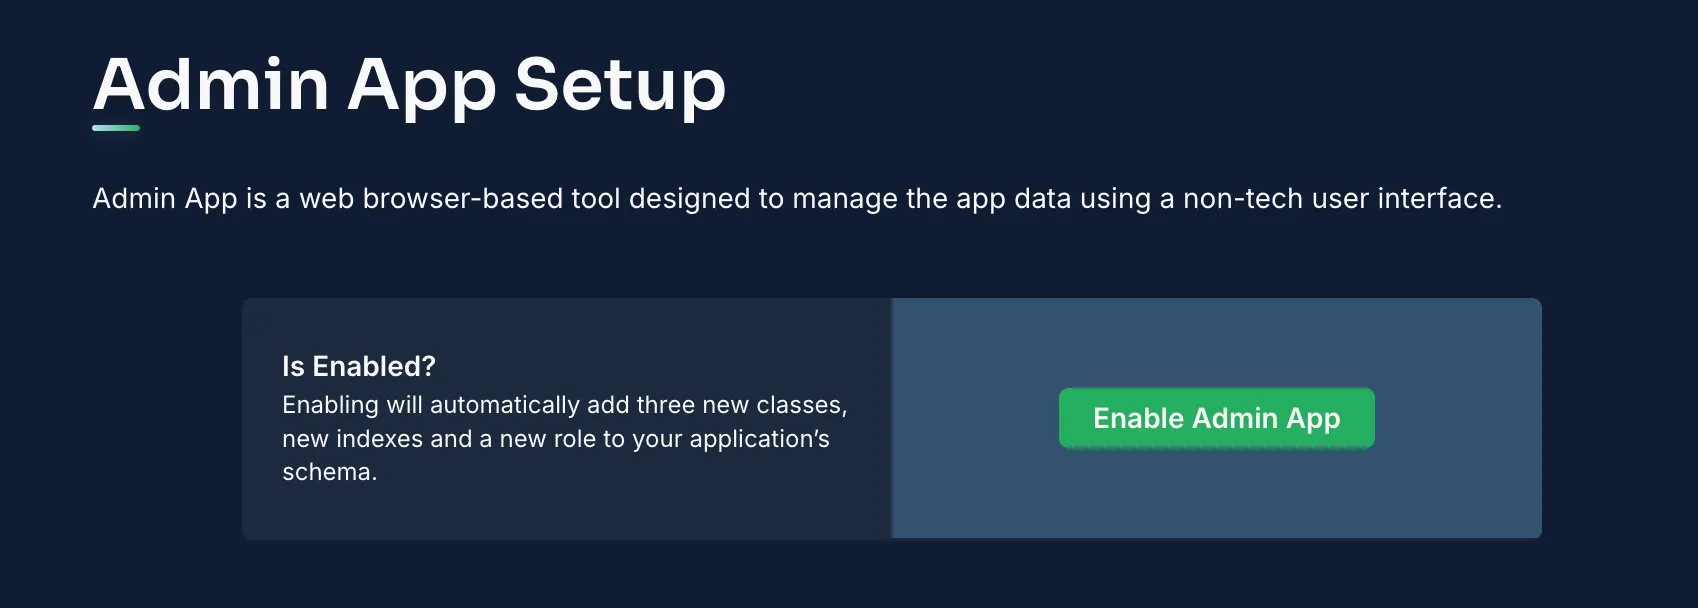
Once activated, log into the Admin App to manage your collections.
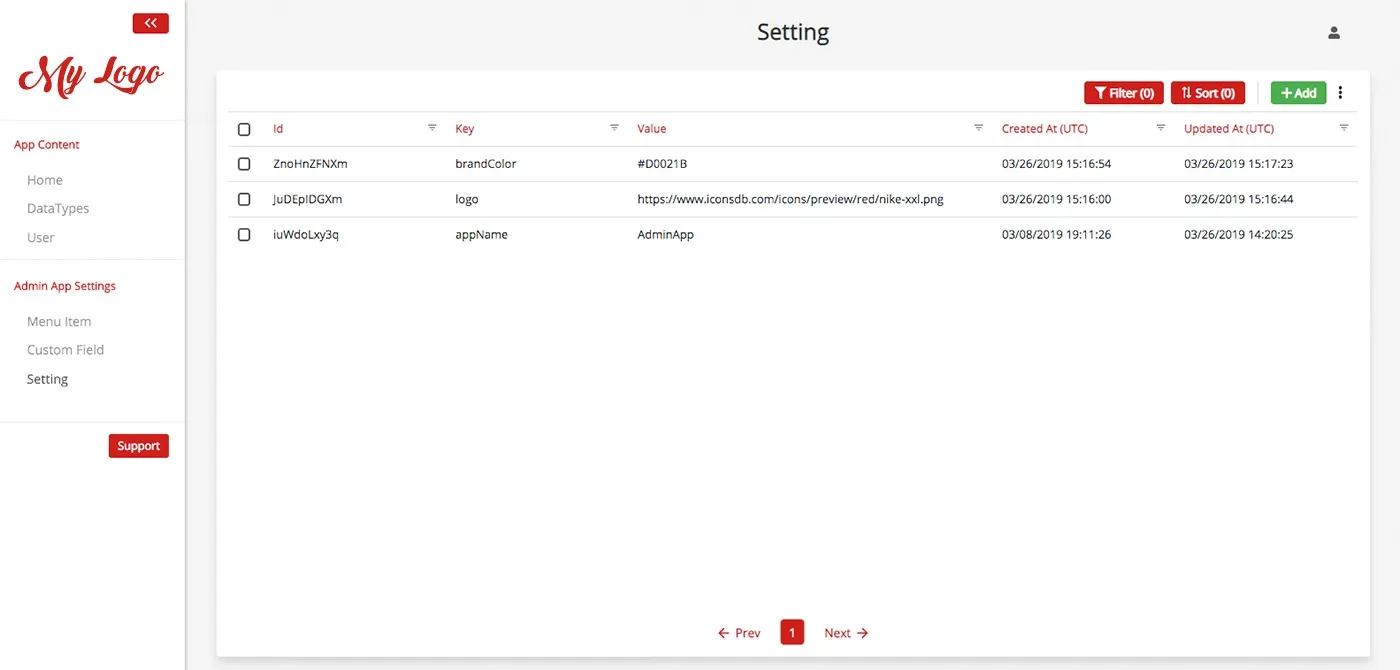
- Adding Entries: Use the “Add Record” option in a collection (like Items) to input new data.
- Viewing/Editing Records: Select any record to inspect details or update fields.
- Removing Entries: Use the delete function to eliminate obsolete records.
This user-friendly interface streamlines all CRUD functions.
Now that your backend is ready, it’s time to connect your Ractive.js frontend to Back4app.
Since Ractive.js does not have a dedicated Parse SDK, you will use REST API calls to perform CRUD operations.
Create a Ractive component that retrieves and displays data from your Back4app Items collection.
items.html
items.js
You can incorporate these API interactions into your Ractive.js components to handle all CRUD operations.
Enhance security by setting Access Control Lists (ACLs) on your objects. For instance, to make an item private:
Within the Back4app dashboard, adjust Class-Level Permissions (CLPs) for each collection to define default access policies. This step ensures that only authorized users can access sensitive data.
Back4app uses Parse’s User class to handle authentication. Implement user registration and login via REST API calls in your Ractive.js application.
Implement similar routines for login and session handling. Additional features like password recovery and email verification can be set up via the Back4app dashboard.
Back4app’s Web Deployment feature allows you to host your Ractive.js application by linking it to your GitHub repository.
- Open your project folder in a terminal.
- Execute the build process (this might be a custom command based on your setup, e.g., using Rollup or Webpack).
- Ensure that your production folder (commonly named dist or build) contains your static files.
Your project repository should have a clear structure, for example:
Initialize a Git repository:
Add your files:
Commit the changes:
Create a GitHub repository (e.g., Basic-CRUD-App-Ractive) and push your code:
- Log into your Back4app dashboard, select your project (Basic-CRUD-App-Ractive), and choose the Web Deployment option.
- Connect your GitHub account as prompted.
- Select the repository and branch (typically main) that contains your Ractive.js code.
Configure the following:
- Build Command: Specify your build command (for example, npm run build).
- Output Directory: Set it to your production folder (e.g., build or dist).
- Environment Variables: Include any necessary API keys or configuration variables.
If you wish to deploy via Docker, include a Dockerfile in your project:
- Click the Deploy button in Back4app.
- Monitor the deployment process as Back4app pulls and builds your repository.
- Once complete, Back4app will provide a URL for your hosted Ractive.js app.
- Open the provided URL in your browser.
- Test all routes, ensuring every asset (CSS, JS, images) loads correctly.
- If issues occur, consult the deployment logs and check your build settings.
Great work! You’ve successfully built a complete CRUD application using Ractive.js and Back4app.
You set up a project named Basic-CRUD-App-Ractive, defined precise collections for Items and Users, and used the intuitive Admin App for backend management.
Additionally, you integrated your Ractive.js frontend with the backend and fortified your data security.
Next Steps:
- Enhance Your UI: Add features like detailed views, search functions, or real-time updates.
- Expand Your Backend: Integrate advanced backend logic such as cloud functions or third-party API services.
- Deepen Your Learning: Explore the Back4app documentation for more advanced configurations and optimizations.
With this tutorial, you now have the expertise to create a scalable CRUD backend for your Ractive.js application using Back4app. Happy coding!
