Building a CRUD App with Inferno.js: A Comprehensive Walkthrough
This guide will show you how to construct a full-featured CRUD (create, read, update, delete) application using Inferno.js.
You'll learn how to handle fundamental data operations by developing a CRUD system that efficiently manipulates and updates information.
Our backend foundation is powered by Back4app, where you'll establish a project named Basic-CRUD-App-InfernoJS to manage your data seamlessly.
You'll first set up your Back4app project and design a scalable database schema by defining classes and fields—either manually or with the Back4app AI Assistant. This process ensures your data structures are robust enough for all CRUD tasks.
Following that, you'll utilize the Back4app Admin interface, a no-code drag and drop tool that makes data management straightforward.
Finally, you'll link your Inferno.js frontend with Back4app using either the SDK (if it fits your setup) or via API calls, all while employing stringent access controls for security.
By the end of this tutorial, you'll have a production-level web application featuring user authentication, dynamic data handling, and a responsive interface.
- Master CRUD functionalities with a robust backend on Back4app.
- Understand how to architect a scalable database schema and integrate it with your Inferno.js frontend.
- Explore a visual management tool for effortlessly executing create, read, update, and delete operations.
- Learn deployment strategies, including containerization with Docker.
- A Back4app account and a newly created project. If you need guidance, check out Getting Started with Back4app.
- An Inferno.js development setup. Use your favorite Inferno starter or boilerplate. Confirm Node.js (version 14 or newer) is installed.
- A basic understanding of JavaScript, Inferno.js, and REST API principles. For extra details, consult the Inferno documentation.
Before diving in, please ensure you have:
- Sign in to your Back4app account.
- Select the “New App” option from your dashboard.
- Name your project: Basic-CRUD-App-InfernoJS and follow the on-screen steps to complete creation.
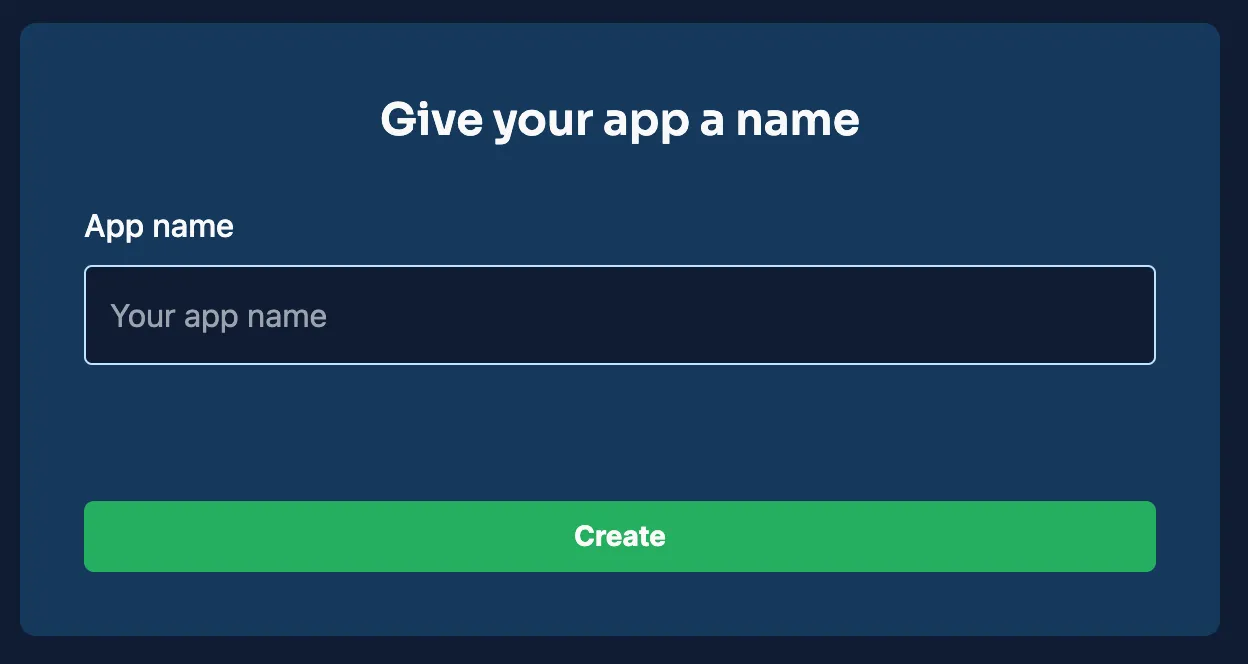
After creation, your project appears in your dashboard, providing a solid backend platform for your app.
For this CRUD application, you'll establish several classes. Below are examples of two essential classes with their fields, set up to support CRUD operations.
Field | Type | Details |
|---|---|---|
_id | ObjectId | Auto-generated primary key. |
title | String | The item’s title. |
description | String | A short explanation of the item. |
created_at | Date | Timestamp marking when the item was created. |
updated_at | Date | Timestamp for the most recent update. |
Field | Type | Details |
|---|---|---|
_id | ObjectId | Auto-generated primary key. |
username | String | Unique identifier for the user. |
String | User's unique email address. | |
password_hash | String | Encrypted password for secure authentication. |
created_at | Date | Timestamp for account creation. |
updated_at | Date | Timestamp for the last account update. |
Manually create these classes on the Back4app dashboard by selecting “New Class” and adding the necessary columns.
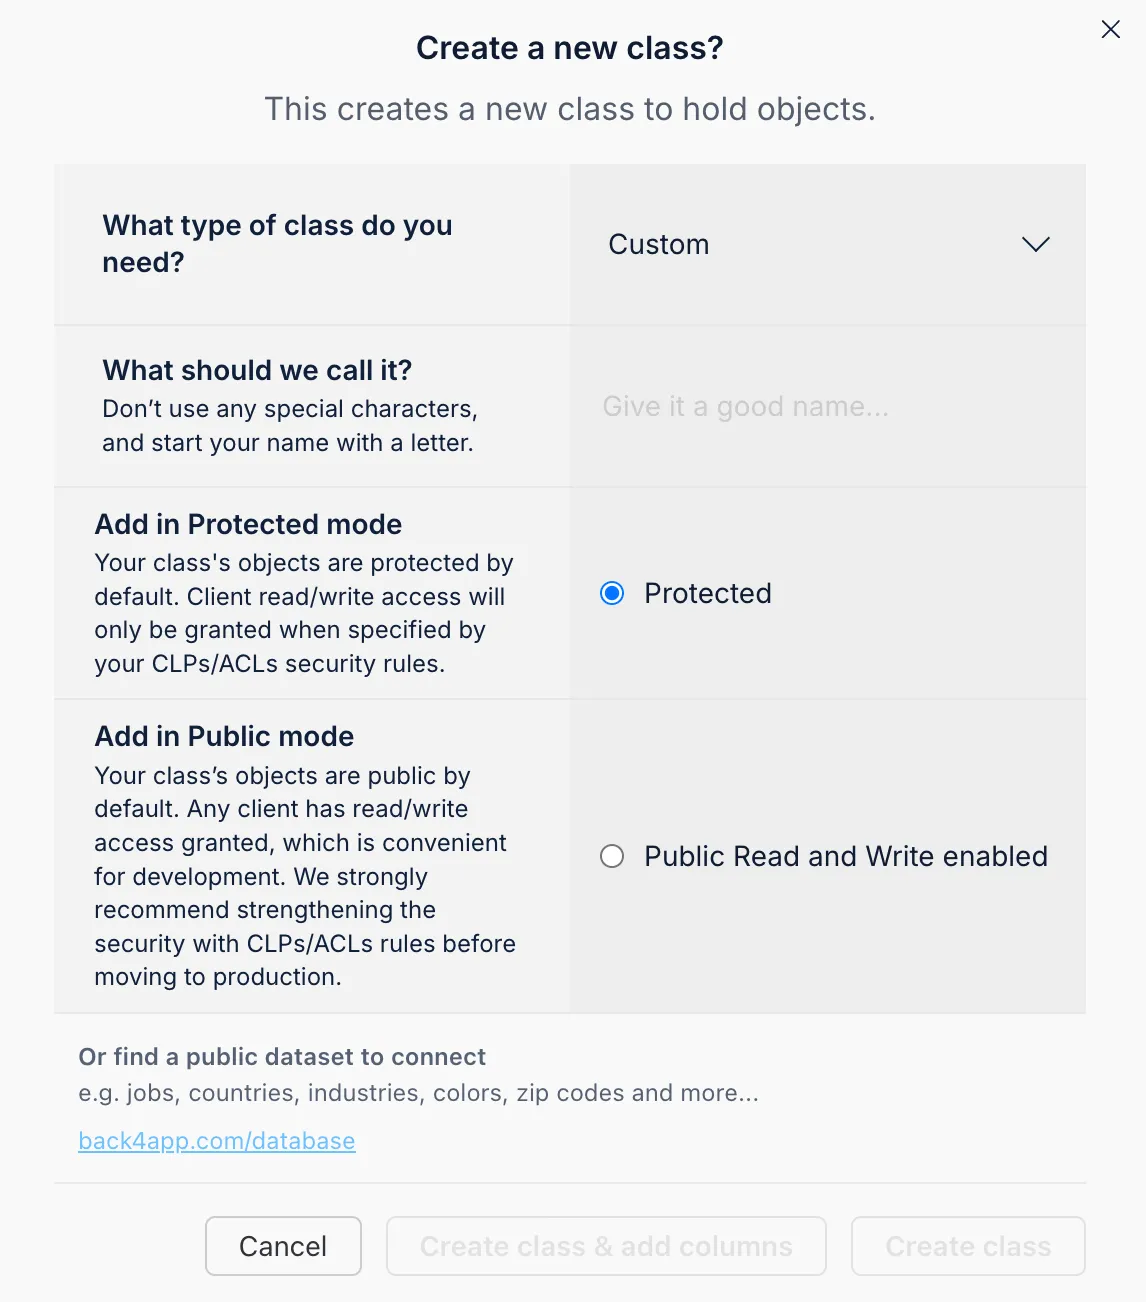
You can define each field by selecting a data type, providing a name, and setting defaults or requirements.
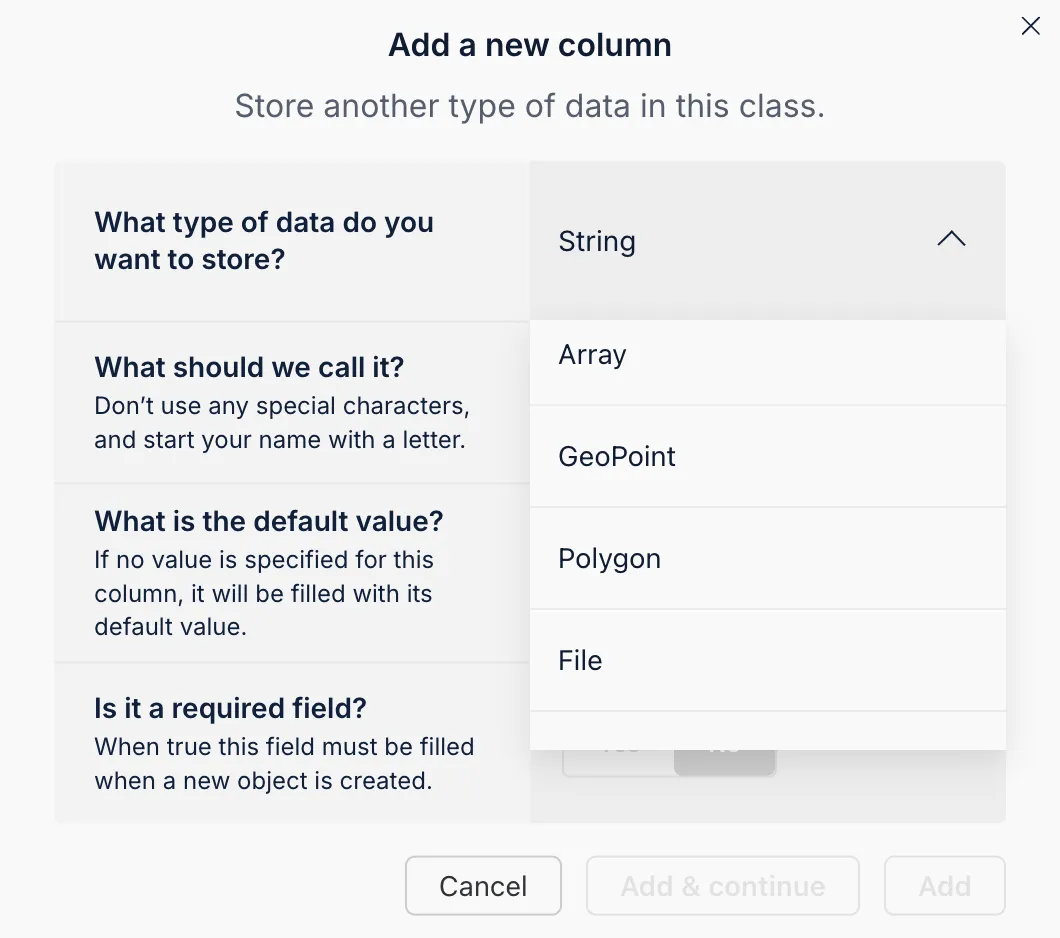
The Back4app AI Assistant simplifies schema creation by auto-generating classes based on your descriptions.
- Access the AI Assistant: Sign in to your Back4app dashboard and locate the AI Assistant in the settings.
- Detail Your Data Model: Input a comprehensive description of the classes and fields you require.
- Review and Implement: The assistant will propose class definitions. Confirm and apply these settings.
Using the AI Assistant streamlines your setup, ensuring consistency and efficiency.
The Back4app Admin interface is a powerful, no-code tool that offers a drag and drop experience for managing your backend. It allows you to effortlessly execute CRUD operations.
- Go to the “More” section in your Back4app dashboard.
- Click “Admin App” and then hit “Enable Admin App.”
- Set up your admin account by creating your initial admin user. This process automatically configures roles and essential system classes.
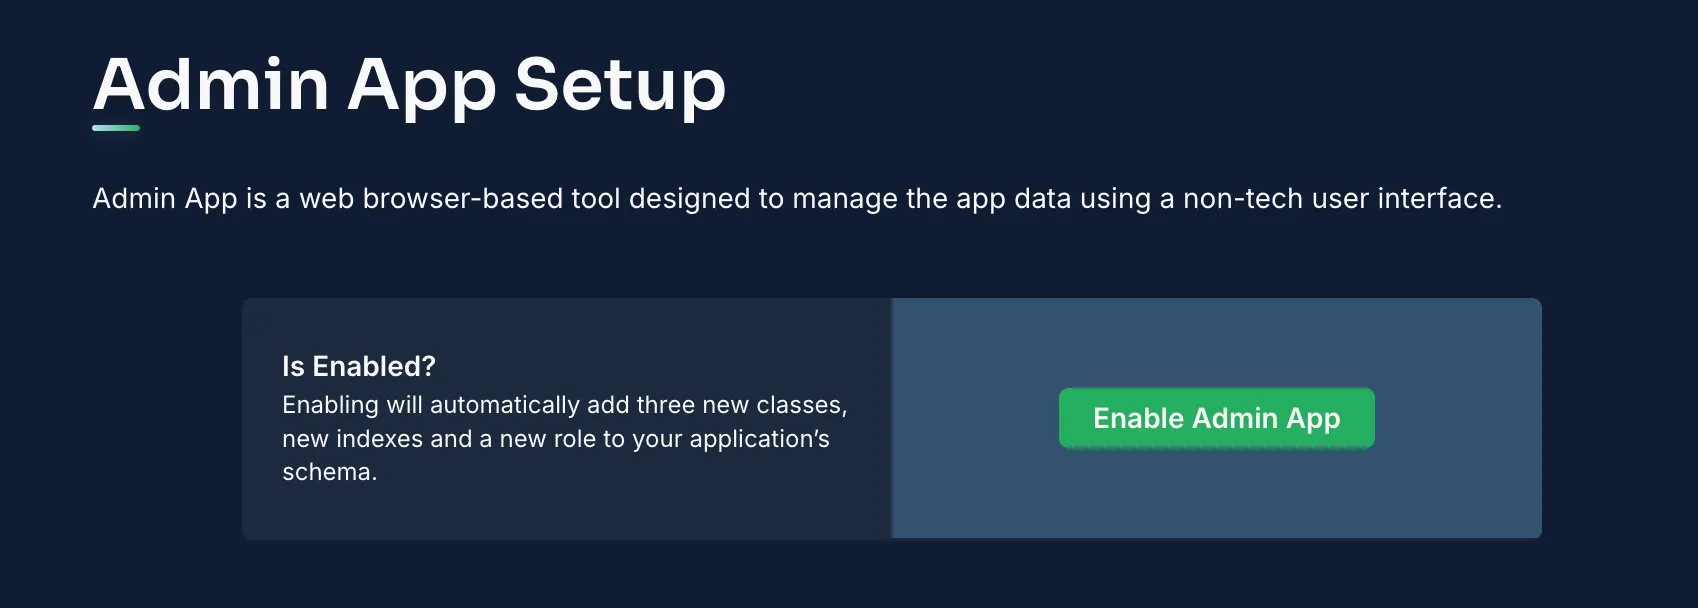
After enabling, sign in to the Admin Interface to manage your data.
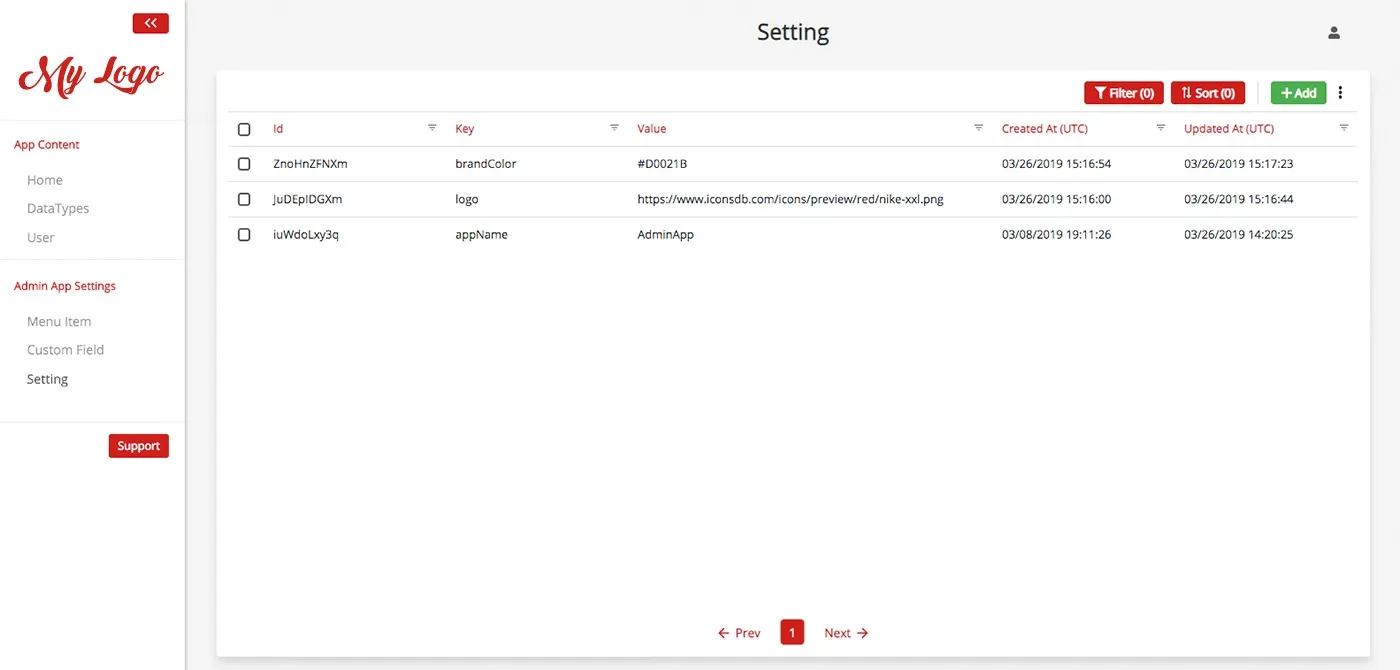
Inside the Admin Interface, you can:
- Create Entries: Use the “Add Record” option within a class (like Items) to insert new data.
- Read/Modify Entries: Click on any record to view or update its details.
- Remove Entries: Utilize the delete feature to clear out unwanted records.
This interface greatly enhances usability by simplifying all CRUD tasks.
With your backend configured via the Admin interface, it’s time to integrate your Inferno.js frontend.
Install the Parse SDK:
Bash1npm install parseInitialize Parse in Your Inferno App: Create a configuration file (e.g., src/parseConfig.js):
JS1// src/parseConfig.js 2import Parse from 'parse'; 3// Insert your Back4app credentials here 4Parse.initialize('YOUR_APPLICATION_ID', 'YOUR_JAVASCRIPT_KEY'); 5Parse.serverURL = 'https://parseapi.back4app.com'; 6export default Parse;Implement Parse in an Inferno Component: For instance, build a component to retrieve and list items:
JS1// src/components/ItemsList.js 2import { Component } from 'inferno'; 3import Parse from '../parseConfig'; 4 5class ItemsList extends Component { 6 constructor(props) { 7 super(props); 8 this.state = { items: [] }; 9 } 10 11 componentDidMount() { 12 this.loadItems(); 13 } 14 15 async loadItems() { 16 const Items = Parse.Object.extend("Items"); 17 const query = new Parse.Query(Items); 18 try { 19 const results = await query.find(); 20 this.setState({ items: results }); 21 } catch (err) { 22 console.error("Error loading items:", err); 23 } 24 } 25 26 render() { 27 return ( 28 <div> 29 <h2>Items</h2> 30 <ul> 31 {this.state.items.map(item => ( 32 <li key={item.id}> 33 {item.get("title")} — {item.get("description")} 34 </li> 35 ))} 36 </ul> 37 </div> 38 ); 39 } 40} 41 42export default ItemsList;
If the Parse SDK isn’t ideal for your scenario, you can execute CRUD actions via REST or GraphQL. For example, to retrieve items with REST:
Embed these API calls within your Inferno components as necessary.
Ensure data security by assigning ACLs. For instance, to generate a private item:
Within your Back4app dashboard, adjust CLPs for each class to enforce default access policies, ensuring only authorized users can interact with sensitive data.
Back4app utilizes the User class (via Parse) for handling authentication. In your Inferno.js app, implement registration and login functions as illustrated below:
A similar strategy applies for login and session management. Additional features like social authentication, email verification, and password recovery can be set up in the Back4app dashboard.
Back4app’s Web Deployment option lets you host your Inferno.js frontend effortlessly by linking your GitHub repository.
- Open your project directory in a terminal.
Run the production build command:
Bash1npm run buildThis command compiles your application into a build folder containing optimized static assets.
- Confirm the Build: Verify that the build folder includes an index.html file and other asset folders.
Your repository should include the complete source of your Inferno.js frontend. An example directory structure:
src/parseConfig.js
src/App.js
Initialize Git in your project folder:
Bash1git initStage your files:
Bash1git add .Commit your changes:
Bash1git commit -m "Initial commit for Inferno.js frontend"- Create a GitHub repository: Name it Basic-CRUD-App-InfernoJS-Frontend.
Push your project:
Bash1git remote add origin https://github.com/your-username/Basic-CRUD-App-InfernoJS-Frontend.git 2git push -u origin main
- Go to Web Deployment: Log in to Back4app, select your project (Basic-CRUD-App-InfernoJS), and click on the Web Deployment feature.
- Integrate with GitHub: Follow the prompts to link your GitHub account, enabling Back4app to access your repository.
- Choose Your Repository and Branch: Pick the repository (e.g., Basic-CRUD-App-InfernoJS-Frontend) and the branch (typically main) that contains your code.
Enter additional configurations:
- Build Command: If your repo lacks a pre-built build folder, specify a command like npm run build. Back4app will execute this during deployment.
- Output Folder: Set the output to build so Back4app knows where your static files reside.
- Environment Variables: Add any necessary variables (such as API keys) within the configuration settings.
If you opt for containerization, include a Dockerfile in your repository similar to:
Select Docker deployment in Back4app if you choose this method.
- Click Deploy: Once all settings are configured, hit the Deploy button.
- Watch the Build: Back4app will fetch your code, build your project, and deploy it in a container.
- Access Your App: After deployment, Back4app provides a URL where your Inferno.js app is live.
- Visit the Provided URL: Open the URL in your browser.
- Test Functionality: Ensure the app loads, all routes operate correctly, and assets (CSS, JS, images) display as expected.
- Troubleshoot: Use developer tools to inspect for errors. If issues appear, check Back4app logs and verify GitHub settings.
Congratulations! You’ve created a full CRUD application with Inferno.js and Back4app.
You set up the project Basic-CRUD-App-InfernoJS, designed your data classes, and used the intuitive Admin Interface for data management. Your frontend is now connected and secured with robust access controls.
Next Steps:
- Enhance the UI: Expand your Inferno.js app with detailed views, search capabilities, and live notifications.
- Add More Features: Consider implementing additional backend functions (such as Cloud Code), integrating third-party APIs, or introducing role-based access.
- Explore Further: Dive into the Back4app documentation and additional tutorials for performance tuning and custom integrations.
Happy coding and best of luck with your future projects!
