Building a Basic CRUD Application with Mithril.js: A Detailed Tutorial
This guide walks you through creating a CRUD (create, read, update, and delete) application using Mithril.js.
Throughout this tutorial, you'll learn how to configure a Back4app project titled Basic-CRUD-App-MithrilJS to serve as a powerful backend for your web app.
We’ll design an efficient data schema, manage it via Back4app’s admin panel, and integrate your Mithril.js frontend using REST API calls.
- How to set up a CRUD system that reliably handles data using a robust backend.
- Strategies to build a scalable database design and link it to a Mithril.js application.
- Utilizing Back4app’s intuitive drag-and-drop admin interface to perform CRUD actions.
- Deployment methods, including Docker containerization, to get your application live quickly.
Before you get started, please confirm you have:
- A Mithril.js development environment. You can include Mithril via npm or a CDN. Ensure you have Node.js (v14+) installed.
- Fundamental knowledge of JavaScript, Mithril.js, and RESTful APIs. For additional guidance, check out the Mithril.js documentation.
- Sign in to your Back4app account.
- Click the New App button from your dashboard.
- Provide the project name: Basic-CRUD-App-MithrilJS and follow the guided steps.
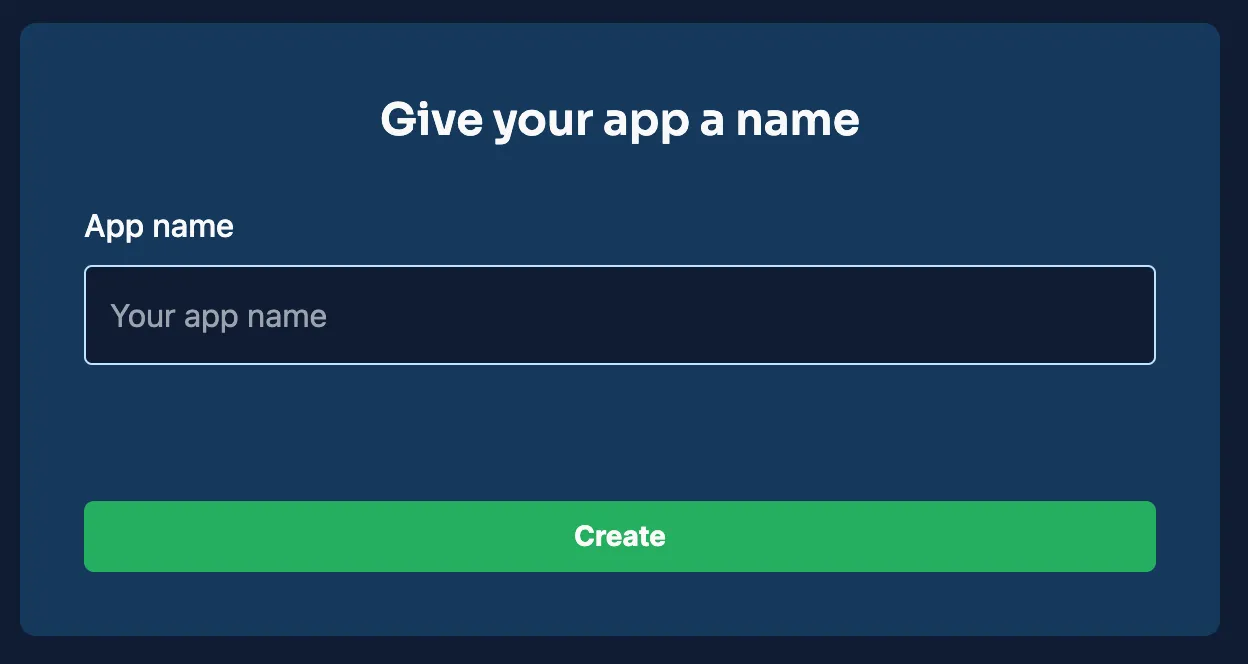
Once set up, your project will be listed on your dashboard, serving as the backend hub for your application.
For this CRUD app, you’ll design a couple of key collections. Below is an outline for creating collections with their respective fields to effectively handle CRUD operations.
This collection holds the details for each item.
Field | Type | Purpose |
|---|---|---|
_id | ObjectId | Auto-generated unique identifier. |
title | String | Name or title of the item. |
description | String | Brief summary about the item. |
created_at | Date | Timestamp of creation. |
updated_at | Date | Timestamp for the latest update. |
This collection manages user profiles and authentication details.
Field | Type | Purpose |
|---|---|---|
_id | ObjectId | Auto-generated unique identifier. |
username | String | User’s unique name. |
String | User’s unique email address. | |
password_hash | String | Hashed password for secure authentication. |
created_at | Date | Timestamp when the user was registered. |
updated_at | Date | Timestamp for any modifications. |
You can manually add these collections and fields via the Back4app dashboard by creating new classes and defining each column accordingly.
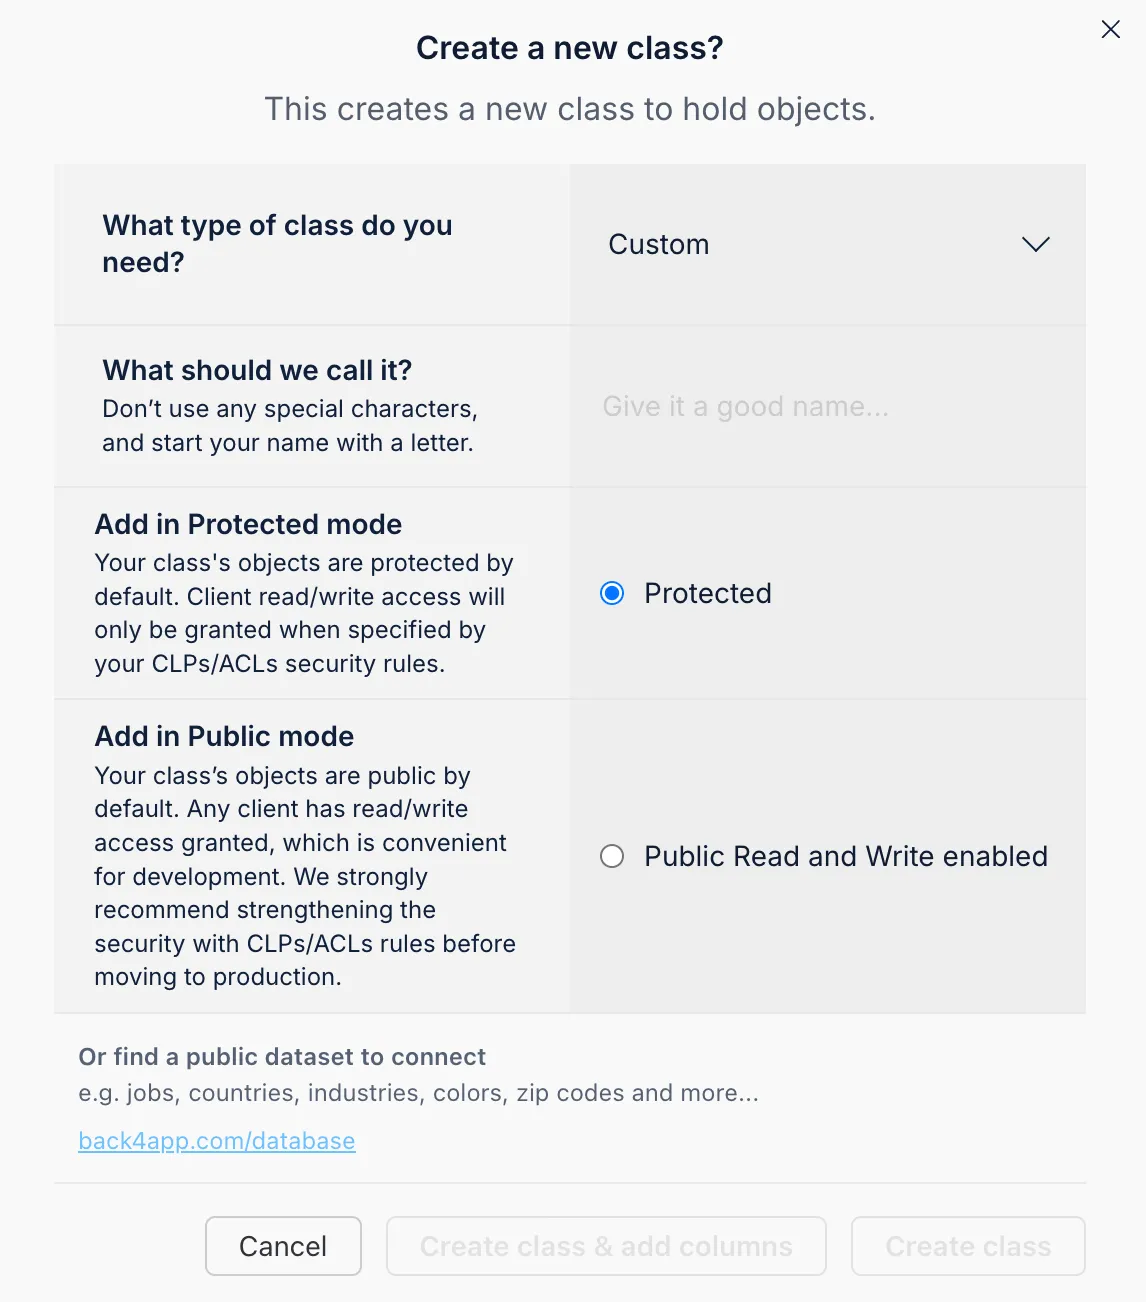
To add fields, simply select the appropriate data type, provide a name, set defaults, and mark if required.
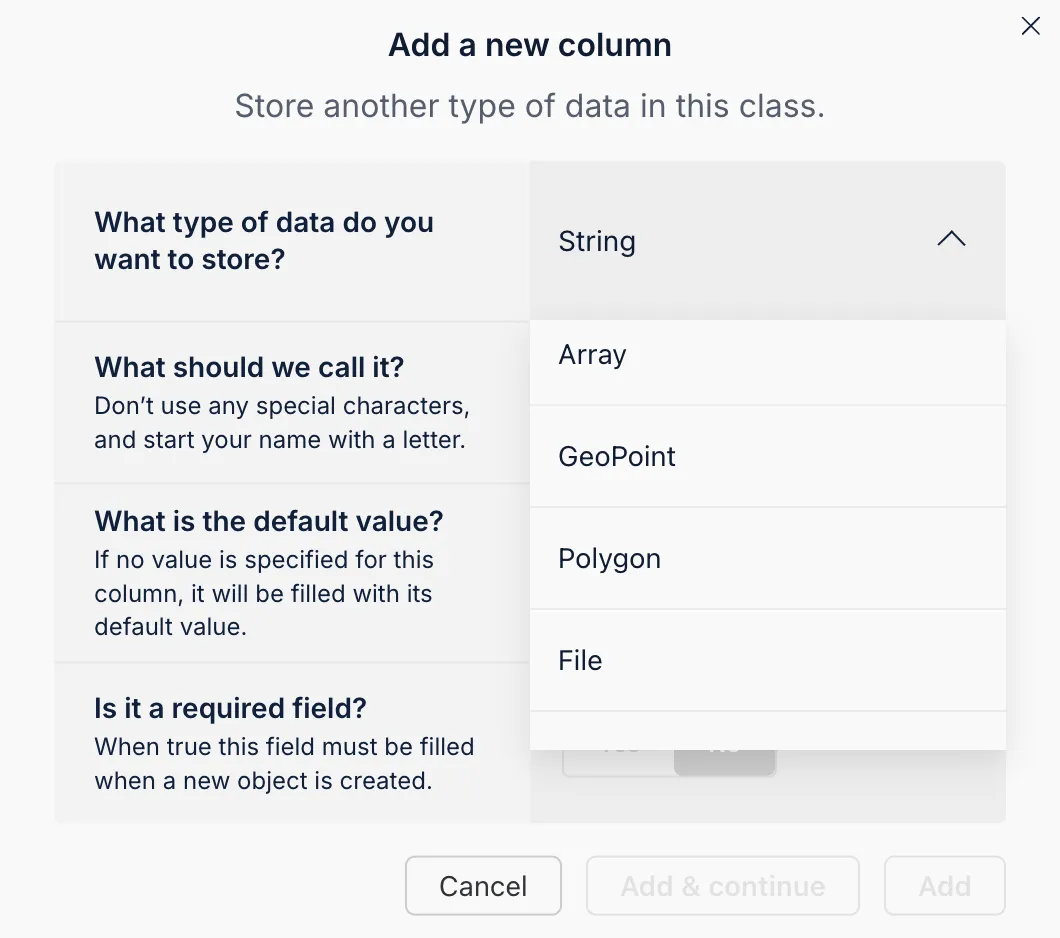
The integrated AI Agent on Back4app streamlines schema creation by auto-generating your collections based on a provided prompt.
- Access the AI Agent from your project dashboard.
- Describe your desired schema by detailing the collections and fields.
- Review the generated schema and apply the changes.
This tool helps ensure that your database design is both consistent and optimal for handling CRUD operations.
The Back4app Admin Interface is a no-code solution designed to help you manage your backend data effortlessly. Its drag-and-drop design makes performing CRUD operations a breeze.
- Head to the More section in your Back4app dashboard.
- Click on Admin App then select Enable Admin App.
- Set up your administrator credentials to create your first admin user. This process also configures roles (such as B4aAdminUser) and system collections.
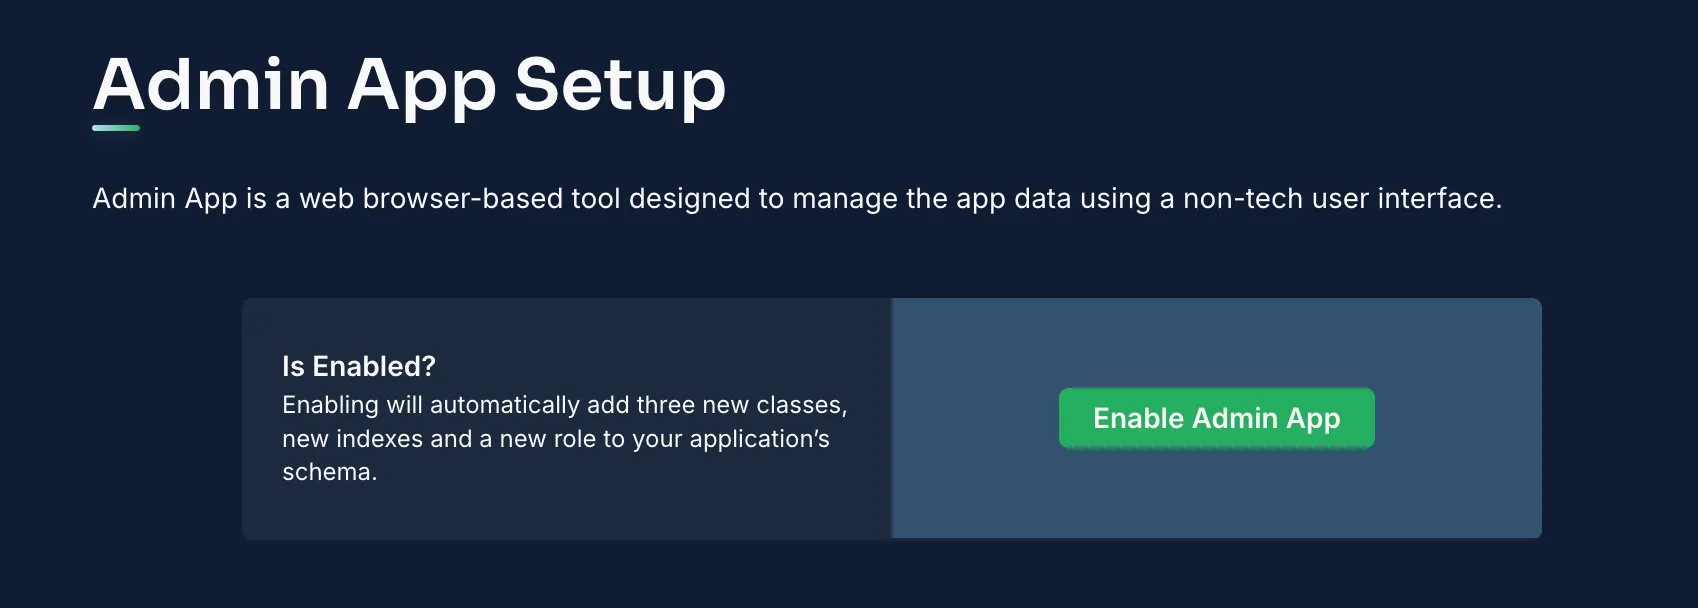
After activation, log into the Admin Interface to manage your collections.
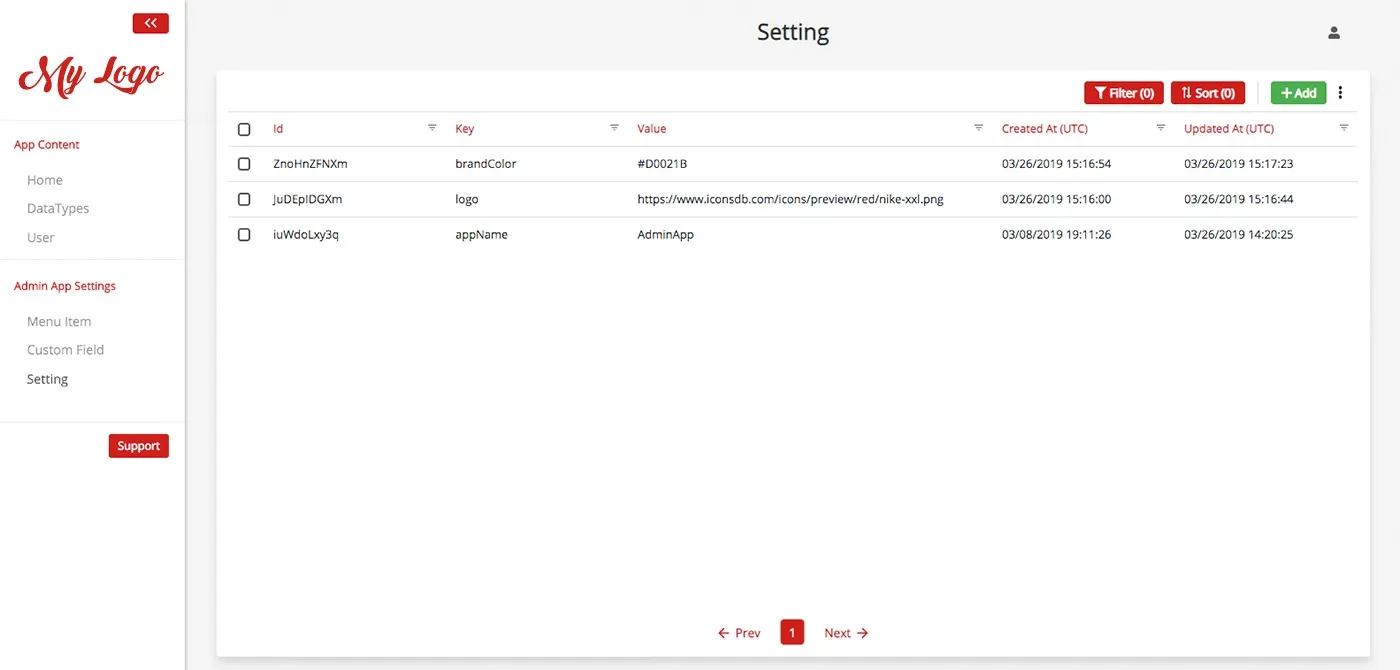
- Add New Records: Use the “Add Record” option in any collection (for instance, Items) to create entries.
- View/Modify Records: Click on a record to inspect details or edit its fields.
- Remove Records: Utilize the delete function to clear obsolete entries.
This intuitive interface enhances user experience by simplifying routine CRUD actions.
With your backend ready and managed through the Admin Interface, it’s time to connect your Mithril.js frontend to Back4app using REST API calls.
We will rely on REST API calls to interact with your Back4app backend.
Create a Mithril component that retrieves items from the Items collection:
This component employs Mithril’s lifecycle method oninit to load data when the component is initialized.
You can integrate a form to send a POST request to add new items:
You can similarly implement update and delete operations using corresponding HTTP methods (PUT/PATCH for updates and DELETE for removals).
Secure your data by applying Access Control Lists (ACLs) to each object. For instance, to create an item that only the owner can modify:
Within your Back4app dashboard, adjust CLPs for each collection to define default security policies. This ensures that only authorized users have access to sensitive information.
Back4app uses the Parse User class to manage authentication. With Mithril.js, you can manage registration and login through REST API calls. Below is an example for user sign-up:
You can adopt a similar method for logging in and managing sessions.
Back4app’s Web Deployment feature lets you host your Mithril.js application seamlessly by linking your GitHub repository.
- Open your project directory in a terminal.
- Run the build command:
This will generate a build folder containing optimized static files.
Your repository should have a structure similar to:
- Initialize Git (if not already):
- Add your files:
- Commit the changes:
- Create a repository on GitHub (e.g., Basic-CRUD-App-MithrilJS-Frontend) and push your code:
- Log into your Back4app dashboard, navigate to your project (Basic-CRUD-App-MithrilJS), and select Web Deployment.
- Connect your GitHub account following the on-screen prompts.
- Choose your repository and branch (e.g., main) that contains your Mithril.js source code.
Configure:
- Build Command: Specify npm run build if the build folder isn’t present.
- Output Directory: Set this to build to point to your static assets.
- Environment Variables: Add any necessary API keys or settings.
If you prefer containerization, include a Dockerfile:
- Hit the Deploy button in your Back4app Web Deployment section.
- Monitor the build process as Back4app pulls, builds, and deploys your application.
- Once complete, you’ll receive a URL for your live Mithril.js app.
- Open the provided URL in your browser.
- Confirm that your application loads, navigations work, and assets are served properly.
- Use browser dev tools for troubleshooting if necessary.
Well done! You’ve successfully built a basic CRUD app with Mithril.js integrated with Back4app.
You set up a project called Basic-CRUD-App-MithrilJS, defined your database schema for Items and Users, and managed your backend via the Admin Interface.
Furthermore, you connected your Mithril.js frontend using REST API calls and applied security measures to protect your data.
What’s Next?
- Improve the Frontend: Add features like detailed views, search capabilities, or live updates.
- Extend Backend Functions: Explore cloud functions, additional API integrations, or role-based permissions.
- Learn More: Dive deeper into the Back4app documentation and Mithril.js guides for advanced enhancements.
Happy coding and best of luck with your project!
