How to Build a CRUD App for iOS with Objective-C?
In this walkthrough, you will discover how to create a simple CRUD (create, read, update, delete) application for iOS using Objective-C.
We will utilize Back4app as the backend to manage your data, ensuring a smooth integration of a backend with your iOS app. This guide covers everything from setting up a Back4app project to implementing essential CRUD operations using the Parse iOS SDK.
Initially, you'll set up a Back4app project titled Basic-CRUD-App-iOS. This project will serve as your data repository and allow you to design a flexible data model with classes such as Items and Users. You can define these classes manually in the Back4app dashboard or leverage the integrated AI Agent to streamline the process.
After configuring your backend, you will integrate it with your Objective-C iOS application. The tutorial includes code examples to initialize the Parse SDK, perform CRUD operations, and implement secure user authentication.
By the end of this tutorial, you will have built a production-ready iOS application that performs fundamental CRUD functions along with secure user management.
- Learn how to develop an iOS CRUD app using Objective-C with a robust backend.
- Understand how to design and integrate a scalable backend using Back4app.
- Utilize Back4app’s Admin App for efficient data management.
- Implement secure data handling with ACLs and user authentication using the Parse iOS SDK.
Before you begin, ensure you have:
- Xcode installed with a configured iOS development environment. This tutorial assumes familiarity with Objective-C and iOS development.
- Basic understanding of object-oriented programming and REST APIs. Brush up on the Objective-C documentation if needed.
- Log in to your Back4app account.
- Click the “New App” button on your dashboard.
- Name your project: Basic-CRUD-App-iOS and follow the on-screen prompts to complete the setup.
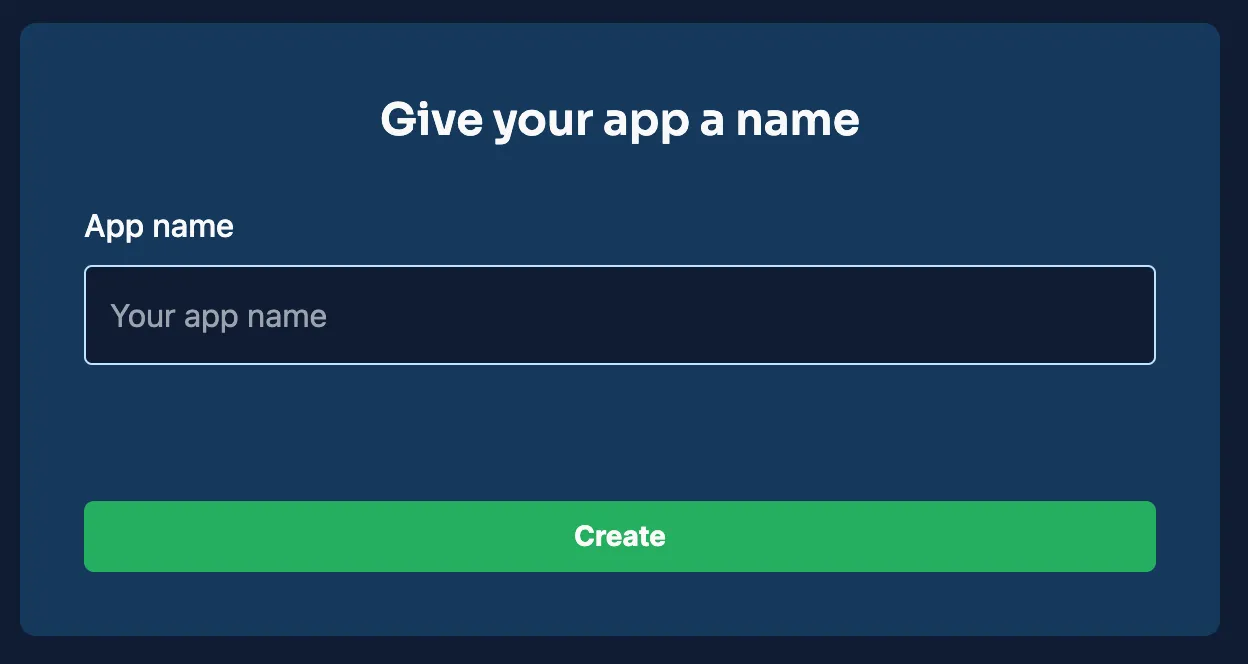
Once created, your project appears on the dashboard, serving as the backbone for your app’s data management.
For this iOS CRUD app, you need to define key classes in your Back4app project. Below are the primary classes and their fields:
This class stores details about each item.
Field | Data Type | Purpose |
|---|---|---|
_id | ObjectId | Auto-generated unique identifier. |
title | String | The item’s name. |
description | String | A brief summary of the item. |
createdAt | Date | Timestamp when the item was created. |
updatedAt | Date | Timestamp for the last update. |
This class manages user credentials and authentication.
Field | Data Type | Purpose |
|---|---|---|
_id | ObjectId | Automatically generated identifier. |
username | String | Unique username for the user. |
String | User’s unique email address. | |
passwordHash | String | Securely stored user password. |
createdAt | Date | Account creation timestamp. |
updatedAt | Date | Last modification timestamp. |
You can set up these classes via the Back4app dashboard.
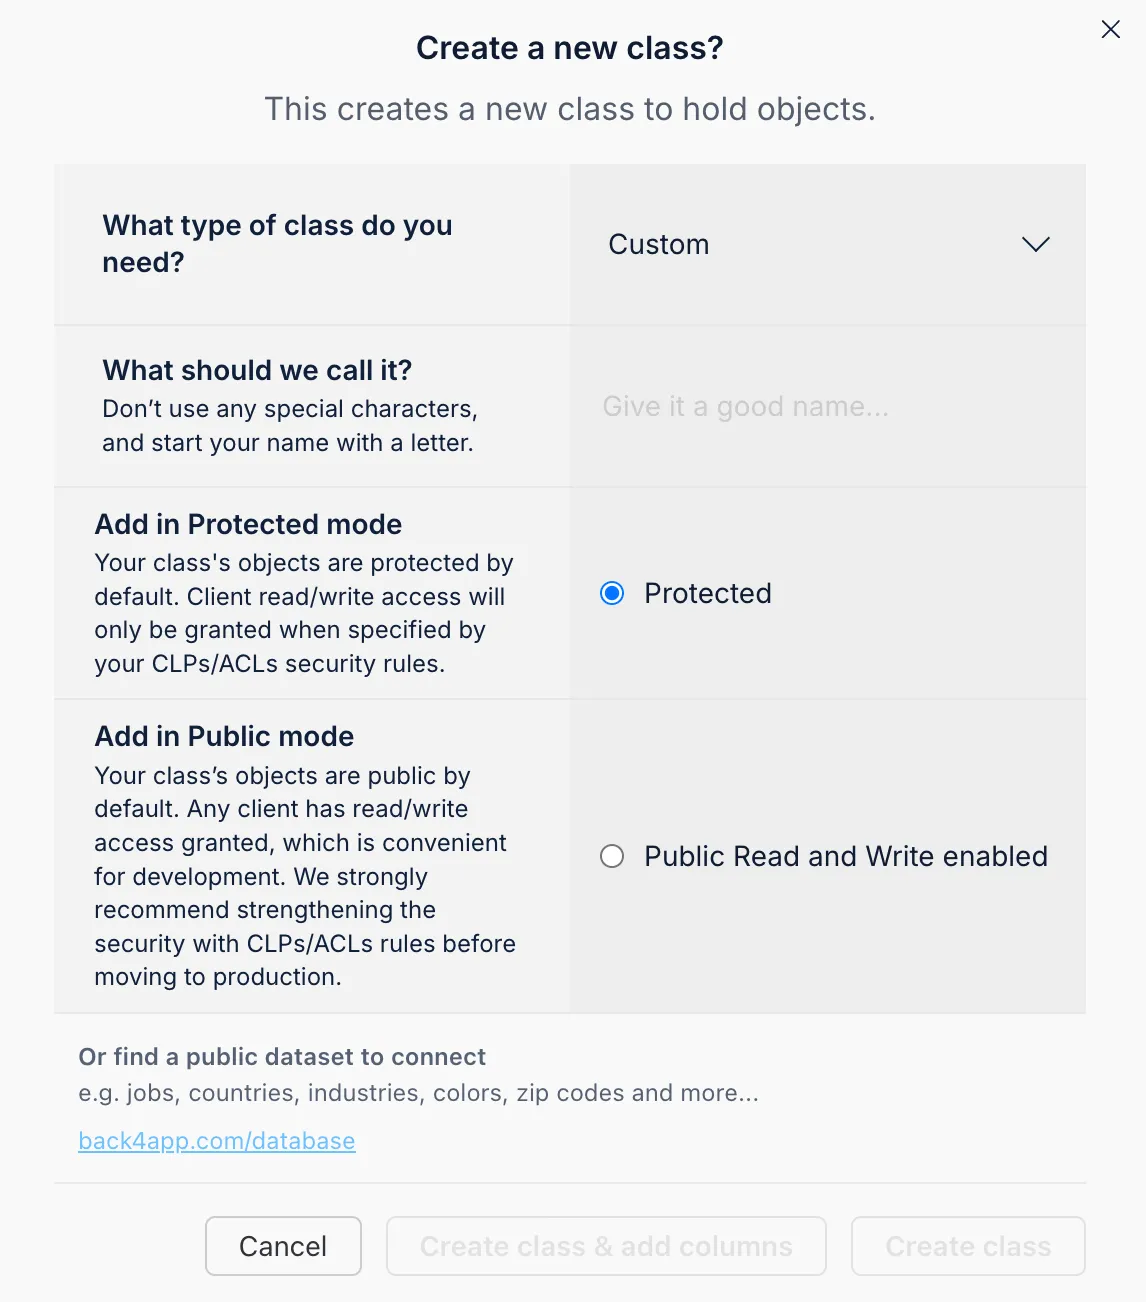
You add fields by selecting the data type, naming the field, assigning default values, and marking mandatory fields.
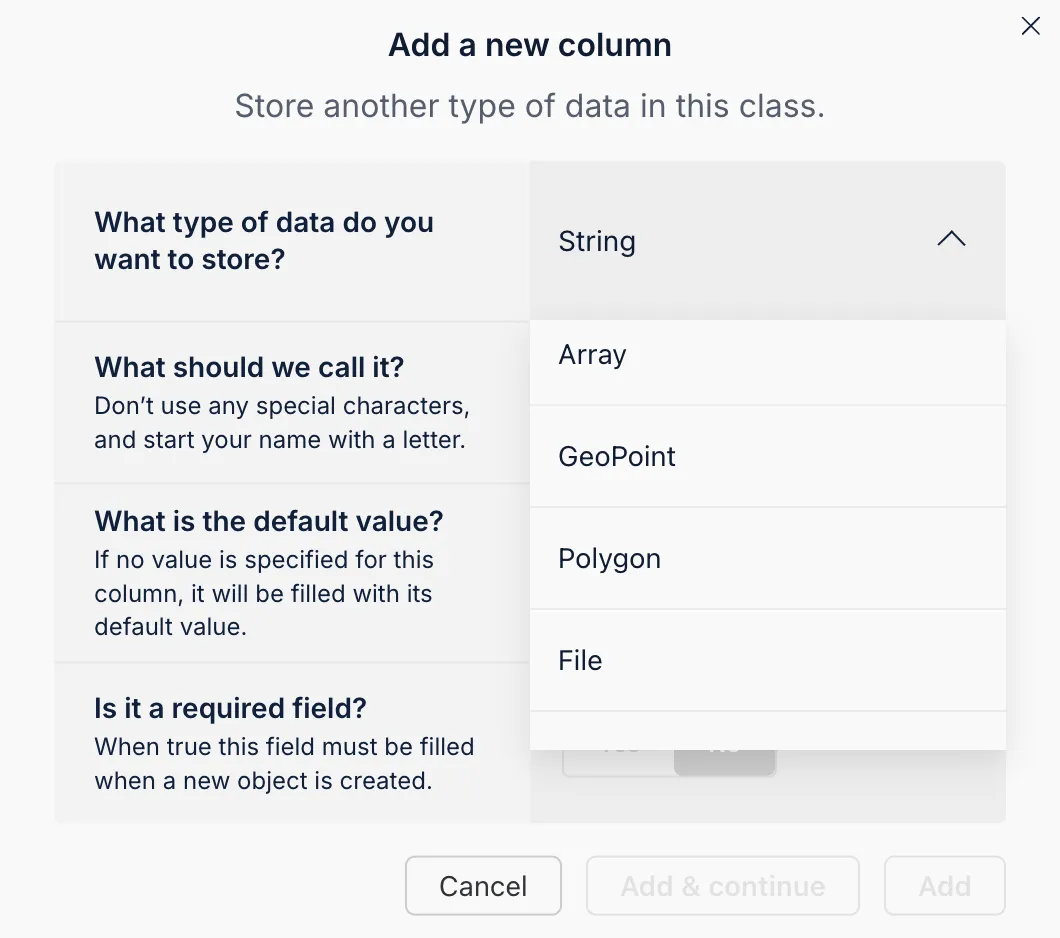
The integrated AI Agent can automatically build your data schema based on your description. This feature simplifies the setup process and ensures your data model meets the app requirements.
- Access the AI Agent: Open your Back4app dashboard and navigate to the AI Agent within your project settings.
- Detail Your Data Model: Enter a prompt describing the required classes and fields.
- Review and Confirm: Once the AI generates a schema proposal, review it and confirm to apply the changes.
This method saves time and ensures consistency in your data structure.
Back4app's Admin App provides a user-friendly, no-code interface for managing your backend data. Its drag-and-drop features allow you to easily create, view, modify, and delete records.
- Go to the “More” menu in your Back4app dashboard.
- Select “Admin App” and click “Enable Admin App.”
- Establish your admin account by setting up initial credentials, which also configures system roles like B4aAdminUser.
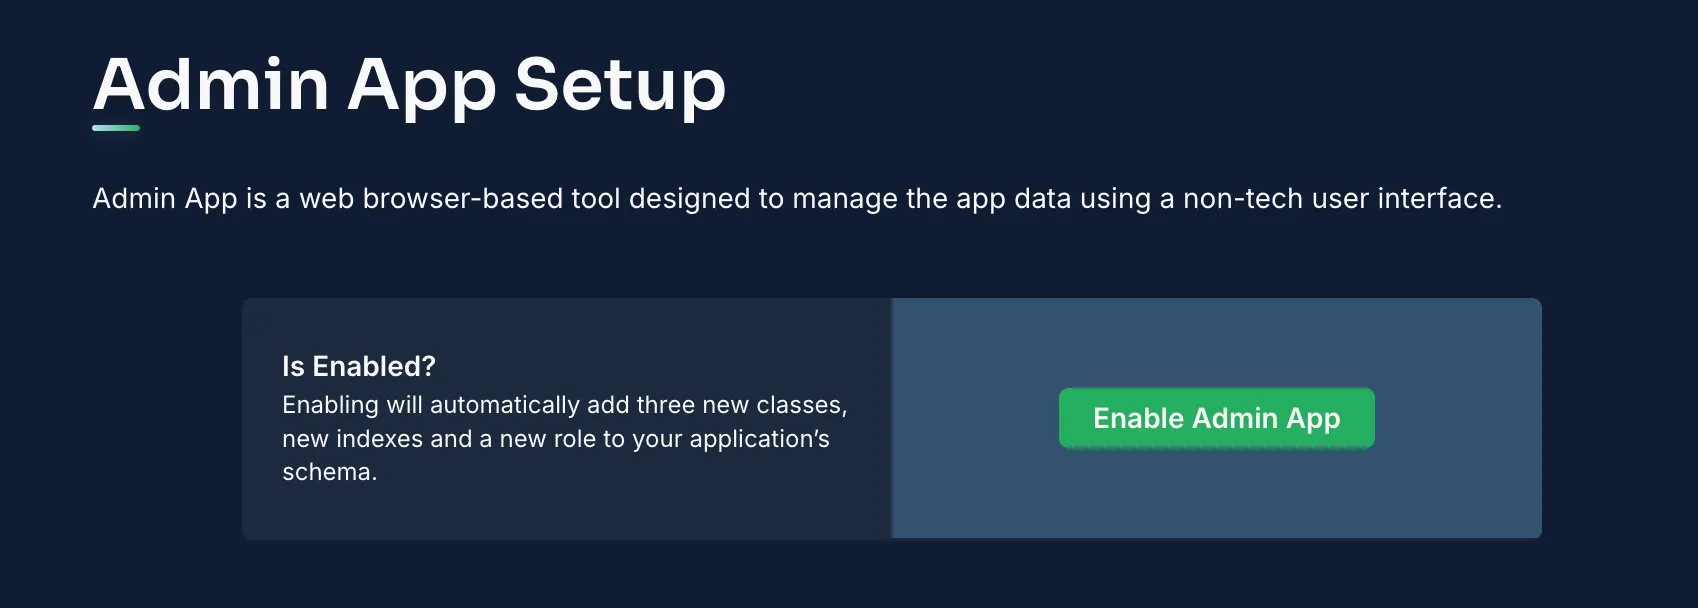
After activation, log in to the Admin App to manage your data efficiently.
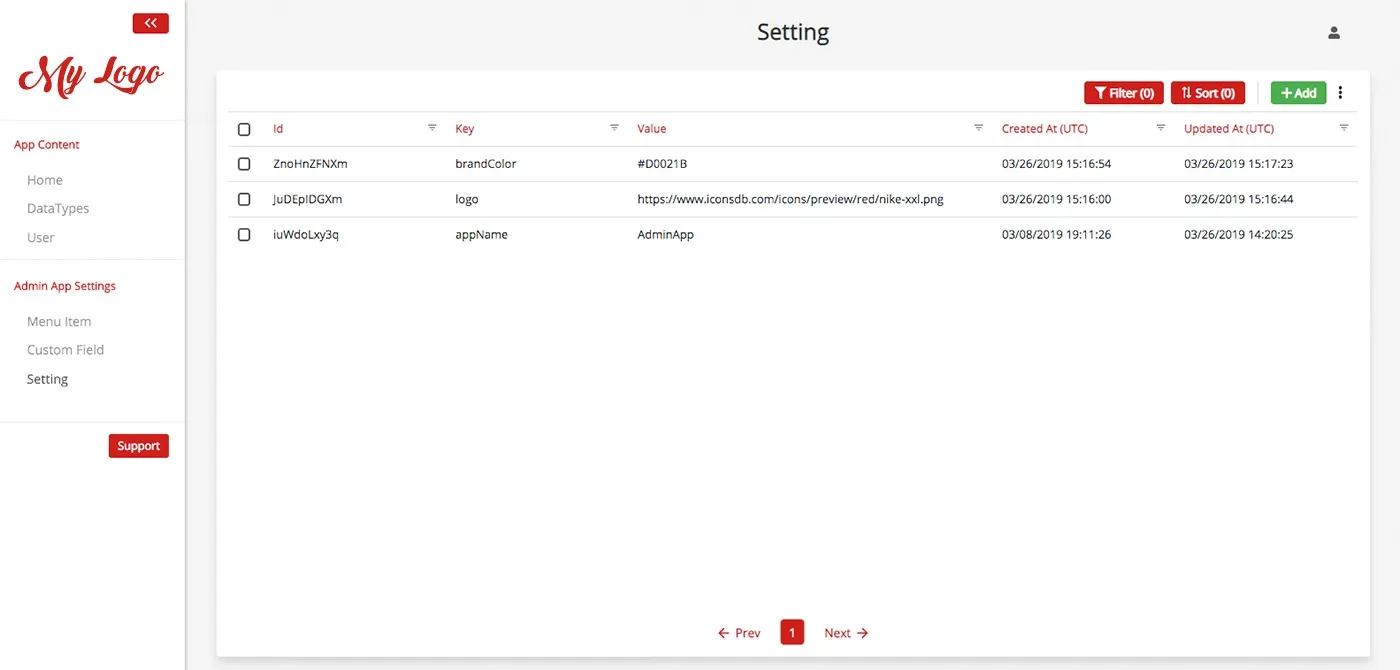
Within the Admin App, you can:
- Add Records: Click “Add Record” within a class (e.g., Items) to insert new data.
- Edit Records: Select any record to view or update its fields.
- Delete Records: Remove entries that are no longer required.
This streamlined interface significantly simplifies data management tasks.
With the backend set up, the next step is integrating your iOS app with Back4app using the Parse iOS SDK.
Include the Parse SDK: Add the Parse framework to your Xcode project. You can use CocoaPods by adding the following to your Podfile:
Initialize Parse in Your AppDelegate: Open your AppDelegate.m and add the initialization code in the application:didFinishLaunchingWithOptions: method:
Implement CRUD Methods in Objective-C: Create a service class, e.g., ItemsService.m, to handle CRUD operations:
If you prefer not to use the Parse SDK, you can interact with Back4app through RESTful API calls. For instance, to retrieve items via REST:
Choose the approach that best suits your project's needs.
To safeguard your data, configure ACLs for your objects. For instance, to create an item visible only to its owner:
Use the Back4app dashboard to adjust CLPs, ensuring that only authenticated users can access certain classes by default.
Back4app leverages Parse’s native User class for managing user authentication. In your iOS application, you can implement registration and login as follows:
This approach also extends to session management, password resets, and additional authentication features.
Congratulations! You have successfully built an iOS CRUD application using Objective-C, fully integrated with Back4app.
Throughout this guide, you set up a project named Basic-CRUD-App-iOS, designed core classes for Items and Users, and managed your backend using the Admin App.
Additionally, you connected your app using the Parse iOS SDK, implemented CRUD operations, and secured your data with ACLs.
Next Steps:
- Expand the Application: Incorporate additional features like advanced search, detailed item views, or real-time updates.
- Enhance Backend Capabilities: Explore cloud functions, integrate third-party APIs, or refine role-based access control.
Happy coding and best of luck with your iOS CRUD project!
