How to Build a CRUD App with React Native?
In this tutorial, you'll learn how to craft a React Native application that performs essential CRUD (create, read, update, delete) operations using Back4app as your cloud backend.
This guide will walk you through creating a project in Back4app, setting up a flexible data model, and integrating your React Native app with the backend using RESTful APIs.
Initially, you'll establish a Back4app project titled Basic-CRUD-App-ReactNative to serve as your backend. You will then design your data schema by manually defining classes and fields in the Back4app dashboard or using the integrated AI Agent for assistance.
After configuring your backend, you will use the Back4app Admin App, which offers a user-friendly drag and drop interface for managing your data, making it easier to perform CRUD operations.
By the conclusion of this guide, you will have a fully functional React Native application that can create, read, update, and delete records while also supporting secure user authentication and data handling.
- Build a Mobile App: Learn to develop a React Native CRUD application with a robust backend.
- Backend Integration: Understand how to design and integrate a scalable data model using Back4app.
- Effortless Data Management: Use Back4app’s Admin App to quickly manage your application's data.
- Secure Operations: Implement secure user authentication and data privacy measures.
Before you begin, make sure you have:
- An active Back4app account with a new project set up. Need help? Refer to Getting Started with Back4app.
- A React Native development environment. Install tools such as Node.js, npm (or yarn), and the React Native CLI. Expo can also be used for rapid prototyping.
- Familiarity with React, JavaScript, and REST APIs. Consult the React Native documentation if you need a refresher.
- Log in to your Back4app account.
- Click the “New App” button on your dashboard.
- Name your project: Basic-CRUD-App-ReactNative and follow the prompts to complete the setup.
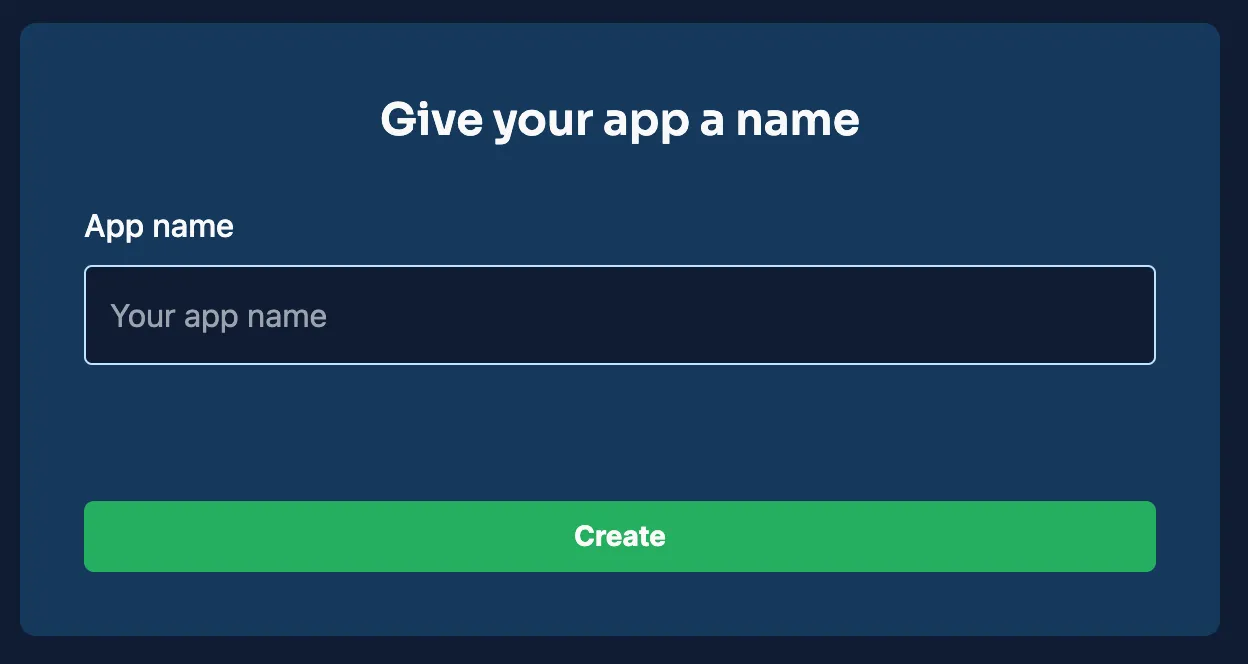
After your project is created, it will appear on your dashboard, laying the foundation for your backend configuration.
For this CRUD app, you'll define a couple of collections within your Back4app project. Below are examples of the key collections and fields necessary to support the core CRUD functionalities.
This collection stores the details for each item.
Field | Type | Description |
|---|---|---|
_id | ObjectId | Auto-generated unique identifier. |
title | String | Name or title of the item. |
description | String | A brief explanation of the item. |
createdAt | Date | Timestamp for when the item was added. |
updatedAt | Date | Timestamp for the most recent update. |
This collection manages user credentials and authentication information.
Field | Type | Description |
|---|---|---|
_id | ObjectId | Automatically generated unique identifier. |
username | String | Unique identifier for the user. |
String | User’s email address (must be unique). | |
passwordHash | String | Hashed password for secure login. |
createdAt | Date | Time when the account was created. |
updatedAt | Date | Time when the account details were last updated. |
You can define these collections and their fields via the Back4app dashboard.
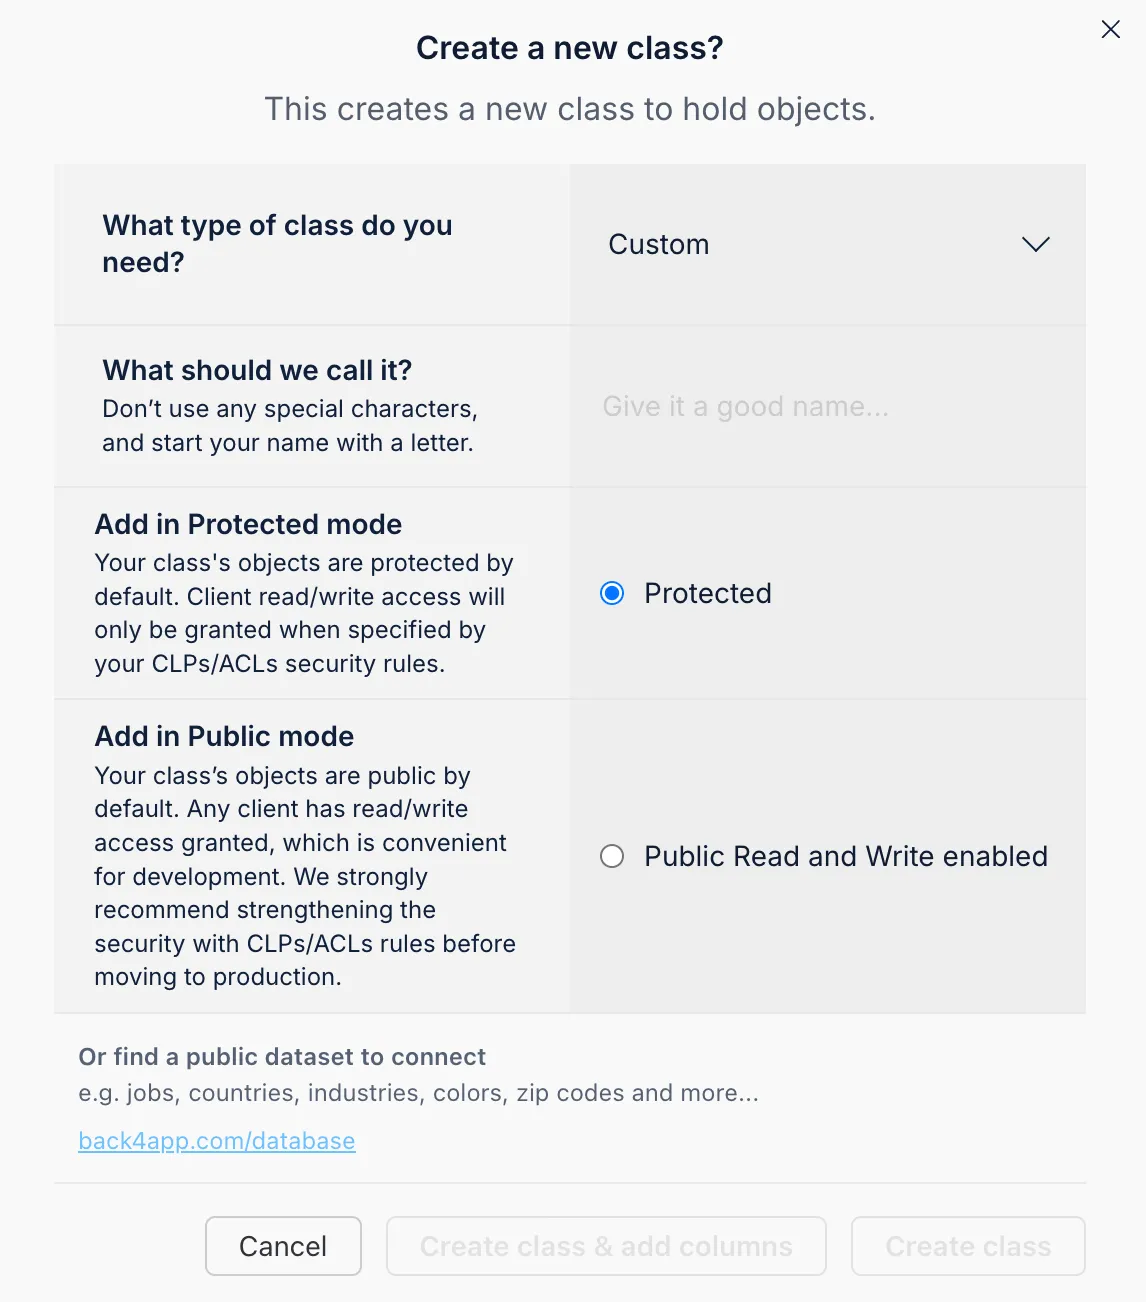
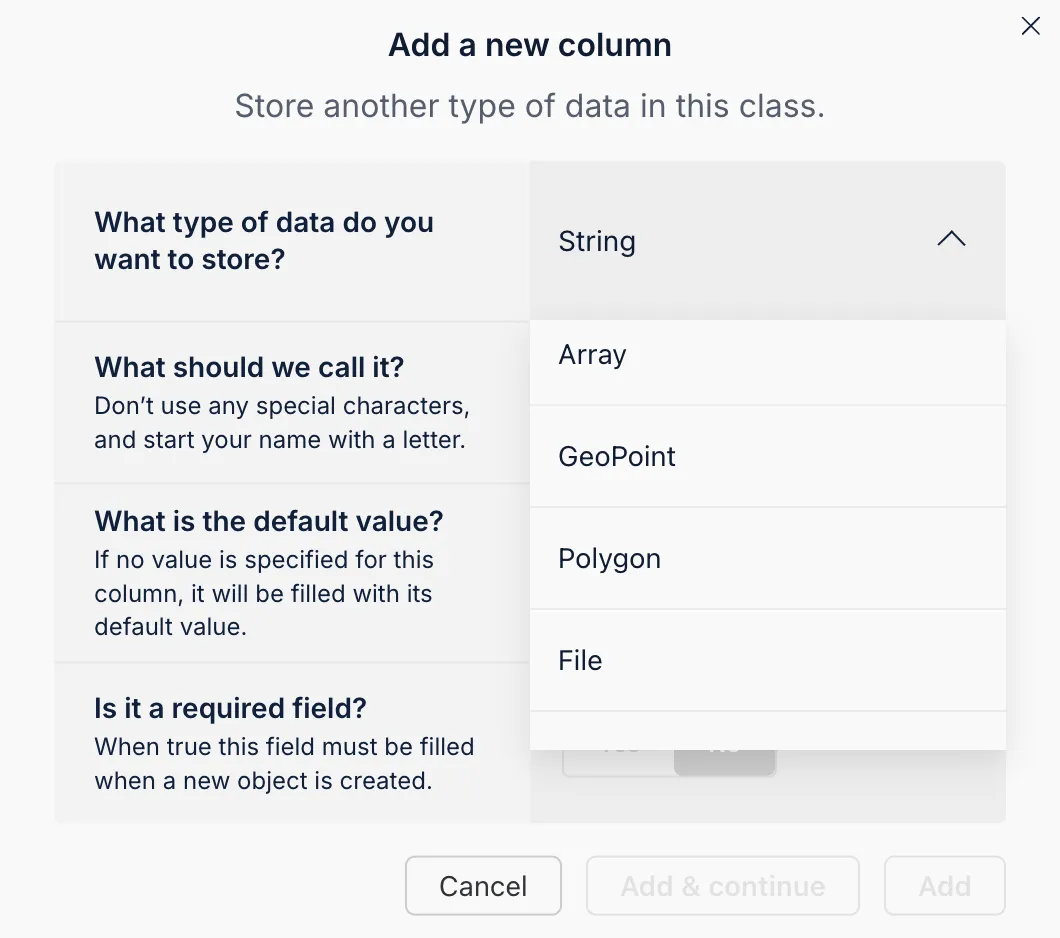
You can add new fields by selecting the data type, entering a field name, setting a default value, and marking whether it’s required.
The integrated AI Agent in Back4app can automatically construct your data schema from a simple description. This tool helps streamline your project setup and ensures your data model supports the necessary CRUD operations.
- Open the AI Agent: Go to your project settings on the Back4app dashboard and select the AI Agent.
- Describe Your Schema: Input a detailed description of the collections and fields you need.
- Review and Confirm: The AI Agent will suggest a schema; review it and confirm to apply the configuration.
This method saves you time and ensures consistency in your data model.
The Back4app Admin App provides a no-code interface that simplifies backend data management. Its drag and drop functionality allows you to perform CRUD operations—adding, viewing, updating, and deleting records—without writing complex queries.
- Go to the “More” menu in your Back4app dashboard.
- Click on “Admin App” and then select “Enable Admin App.”
- Set Up Admin Credentials: Create your initial admin account, which also sets up system roles like B4aAdminUser.
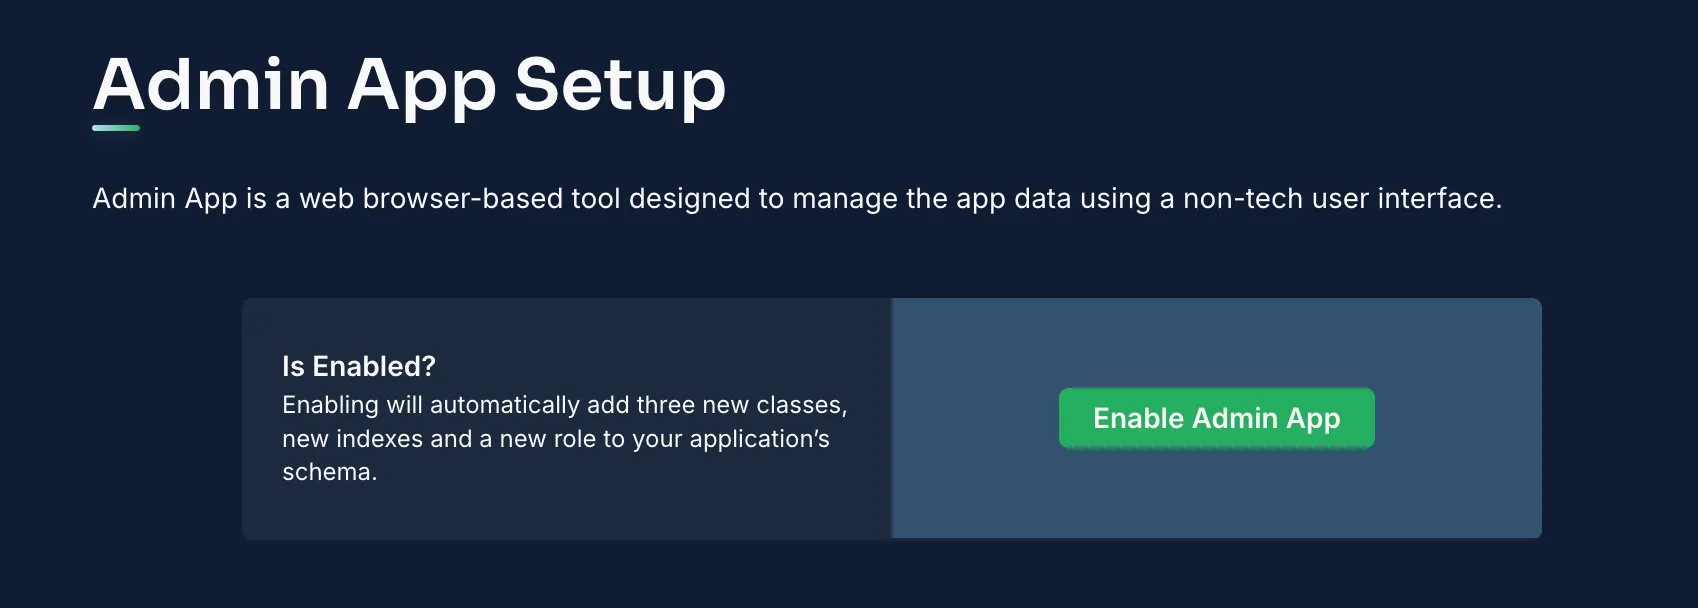
Once activated, log into the Admin App to manage your application data.
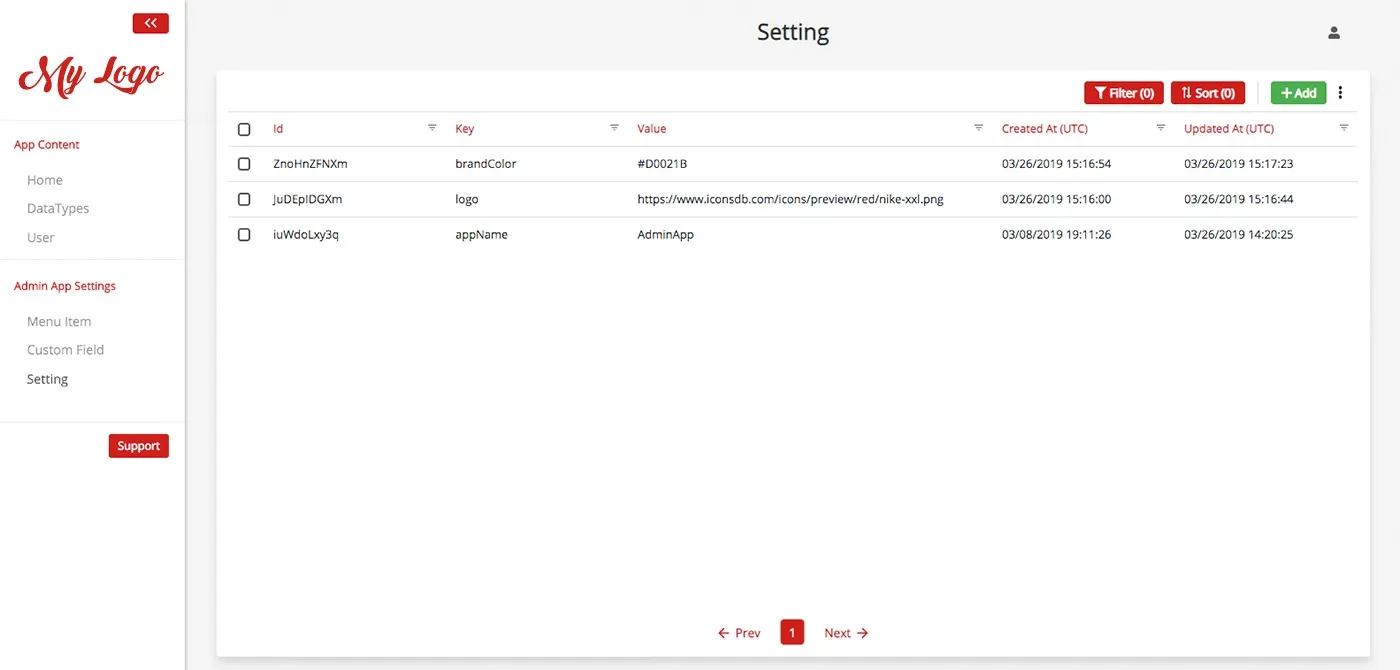
Within the Admin App, you can:
- Insert New Records: Use the “Add Record” function in any collection (e.g., Items) to introduce new data.
- Examine/Modify Records: Select a record to review details or update its fields.
- Delete Records: Remove entries that are no longer necessary.
This streamlined tool improves your workflow by making data management straightforward.
After setting up your backend, it’s time to connect your React Native application to Back4app.
Although there is a Parse SDK available for JavaScript, in a React Native environment you may opt to use standard REST API calls for flexibility. Below is an example of how to perform CRUD operations using the JavaScript fetch API.
You can similarly implement functions for updating and deleting items using the appropriate HTTP methods (PUT/POST for updates and DELETE for removals).
Integrate these functions into your React Native components as needed to complete your CRUD operations.
Protect your records by setting up ACLs. For instance, to ensure that an item is only accessible by its owner:
Adjust the default permissions for your collections through the Back4app dashboard. This ensures that only authenticated users can interact with certain data types.
Back4app leverages a built-in Users collection to handle authentication. In your React Native app, you can manage user registration and login using REST API calls.
This approach can be extended to include password resets, session management, and additional authentication features.
Great work! You have successfully built a React Native CRUD application integrated with Back4app.
In this guide, you set up a project named Basic-CRUD-App-ReactNative, designed your data schema for Items and Users, and managed your backend with the Back4app Admin App.
Moreover, you connected your app via REST APIs and implemented vital security measures and user authentication.
What’s Next?
- Expand Your App: Add more features such as advanced filtering, detailed item views, or real-time data updates.
- Enhance Backend Capabilities: Explore cloud functions, third-party integrations, or fine-tune your access control policies.
- Keep Learning: Check out the Back4app documentation and additional tutorials to further refine your skills.
Happy coding and best of luck with your React Native project!
