How to Build a Basic CRUD App with RedwoodJS? A Step-by-Step Guide
In this guide, you'll learn how to create a basic CRUD (create, read, update, delete) application using RedwoodJS.
This tutorial walks you through the process of setting up your project with Back4app as your backend service, designing a robust database schema, and integrating it with a RedwoodJS frontend.
By following these steps, you’ll build a production-ready application that manages data effectively while employing modern development techniques.
- Master the creation of a CRUD application that efficiently handles data with a powerful backend service.
- Discover how to architect a scalable database and merge it with a RedwoodJS interface to enhance user interaction.
- Explore the use of a no-code drag and drop management tool—the Back4app Admin App—to streamline CRUD operations.
- Learn deployment strategies, including containerization with Docker, to rapidly launch your web application.
Before you start, verify that you have the following:
- An active Back4app account with a new project ready. If you need guidance, check out Getting Started with Back4app.
- A RedwoodJS development environment set up. Use the RedwoodJS CLI to create your application. Ensure Node.js (version 14 or later) is installed.
- A basic understanding of JavaScript, RedwoodJS, and GraphQL. For more details, visit the RedwoodJS Documentation.
- Log in to your Back4app dashboard.
- Select “New App” to begin a new project.
- Name your project: Basic-CRUD-App-RedwoodJS and follow the setup instructions.
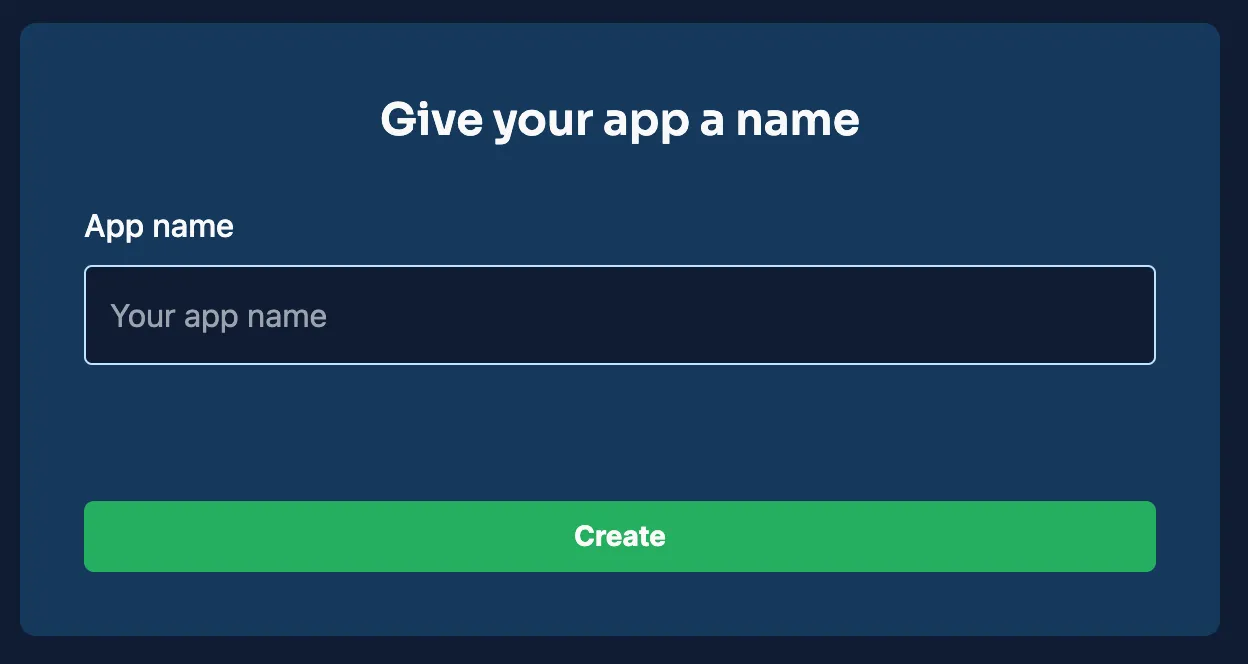
Your project will now appear in the dashboard, laying the groundwork for your backend configuration and management.
For this CRUD app, you'll design several collections. Below are examples of two essential collections along with the necessary fields. These setups are crucial for enabling reliable CRUD functionalities.
This collection holds details about each item.
Field | Data Type | Purpose |
|---|---|---|
_id | ObjectId | Auto-generated unique identifier. |
title | String | The name or title of the item. |
description | String | A short summary describing the item. |
created_at | Date | Record creation timestamp. |
updated_at | Date | Timestamp of the latest update. |
This collection stores user credentials and details.
Field | Data Type | Purpose |
|---|---|---|
_id | ObjectId | Auto-generated unique identifier. |
username | String | Unique identifier for the user. |
String | User's unique email address. | |
password_hash | String | Encrypted password for authentication. |
created_at | Date | Account creation timestamp. |
updated_at | Date | Timestamp of the latest update. |
You can configure these collections directly in the Back4app dashboard by creating new classes and adding appropriate columns.
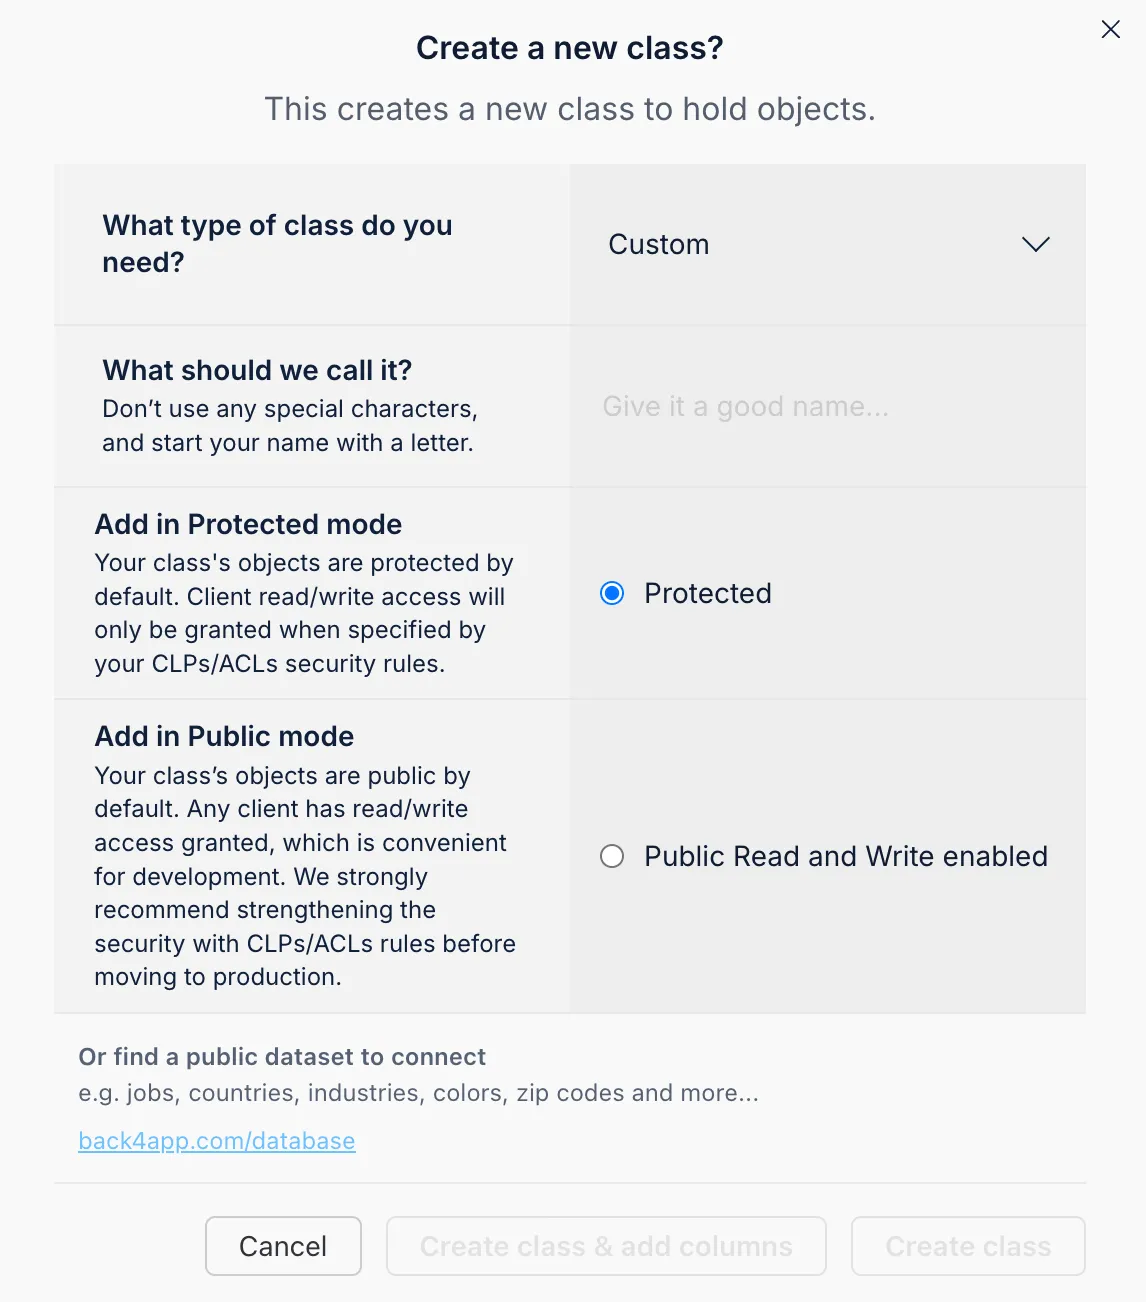
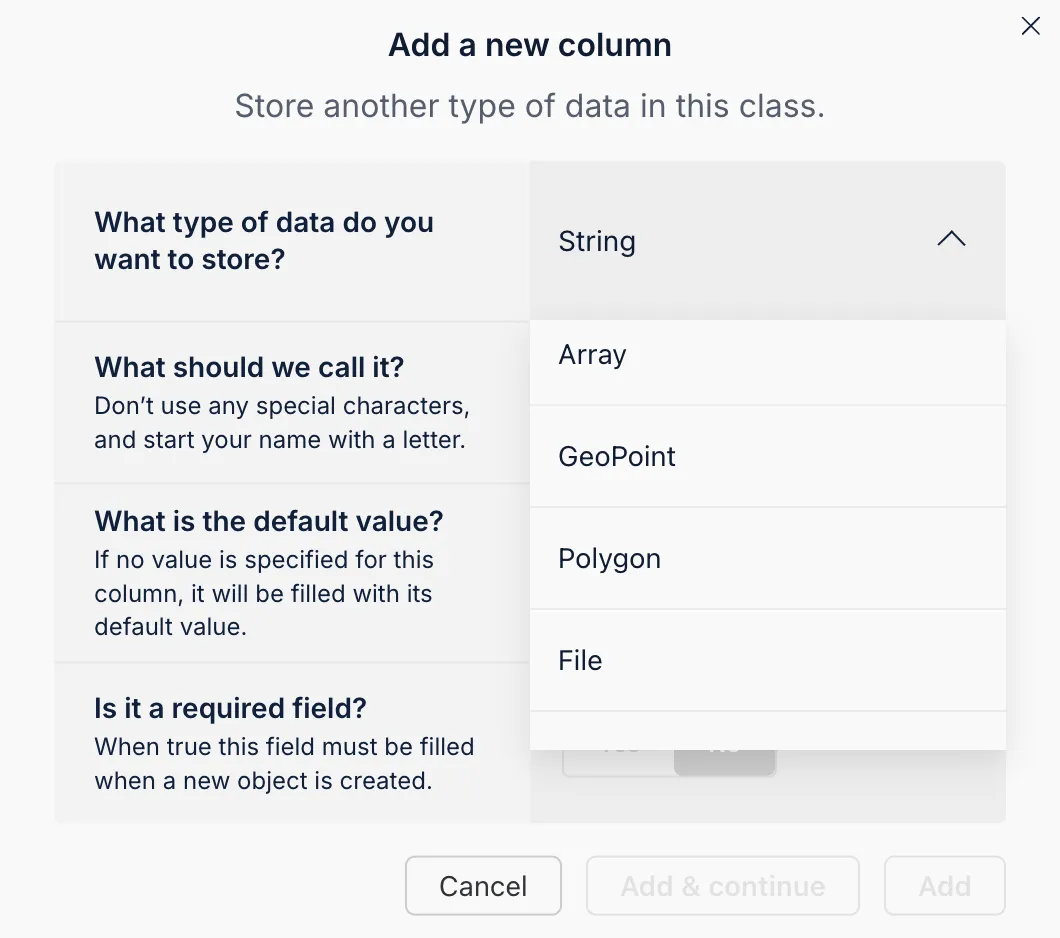
Define each field by choosing its type, naming it, and setting its default or required status.
The Back4app AI Agent, accessible from your dashboard, can automatically generate your database schema based on a descriptive prompt. This feature significantly accelerates the setup of a consistent schema for your application.
- Launch the AI Agent: Access the agent from your Back4app dashboard or project settings.
- Detail Your Data Model: Enter a comprehensive prompt outlining the collections and fields you require.
- Review and Implement: Examine the generated schema suggestions and apply them to your project.
Utilizing this AI-driven approach not only saves time but also guarantees a well-optimized and uniform schema.
The Back4app Admin App is a user-friendly, no-code interface that empowers you to handle your backend data effortlessly. Its drag and drop functionality makes performing CRUD operations—such as adding, viewing, updating, and deleting records—a breeze.
- Go to the “More” menu in your Back4app dashboard.
- Select “Admin App” and then click on “Enable Admin App.”
- Set up your admin credentials by creating an initial admin user, which also establishes roles (e.g., B4aAdminUser) and system collections.
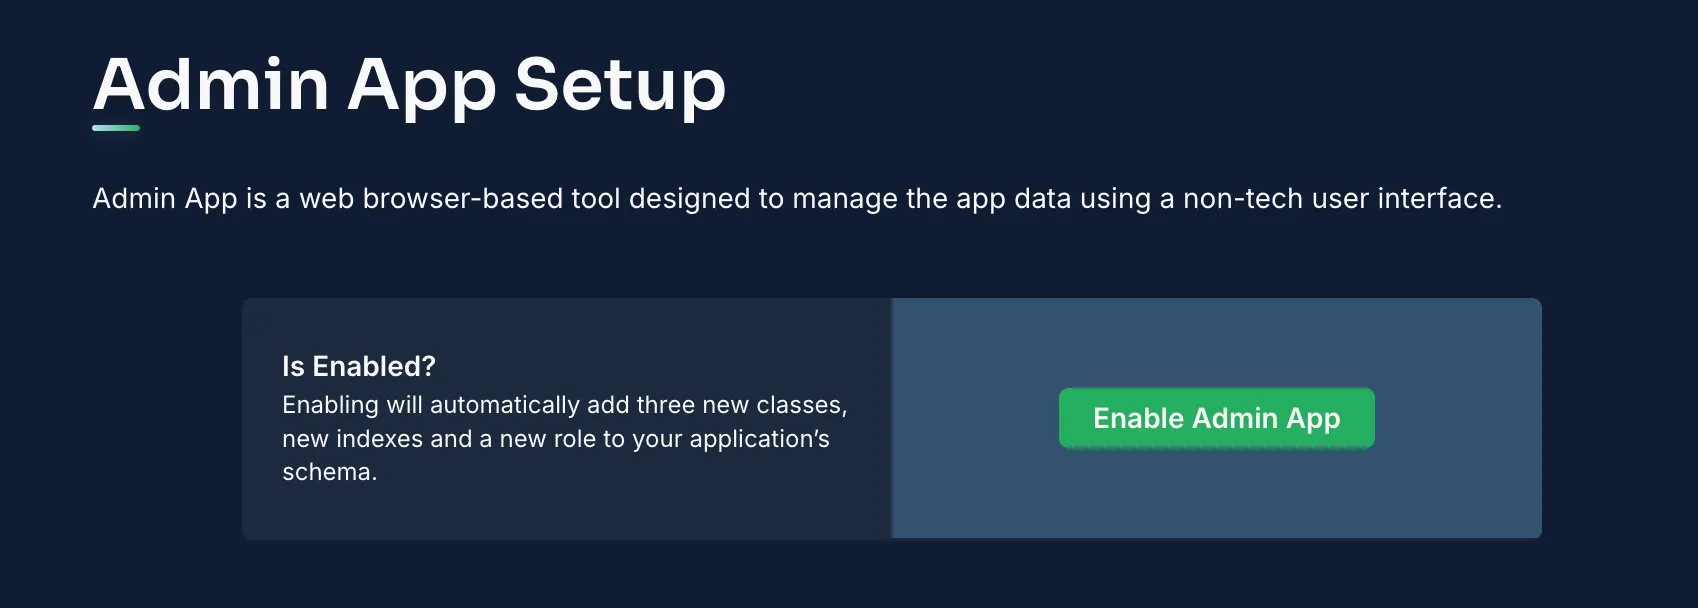
After activation, log into the Admin App to manage your data.
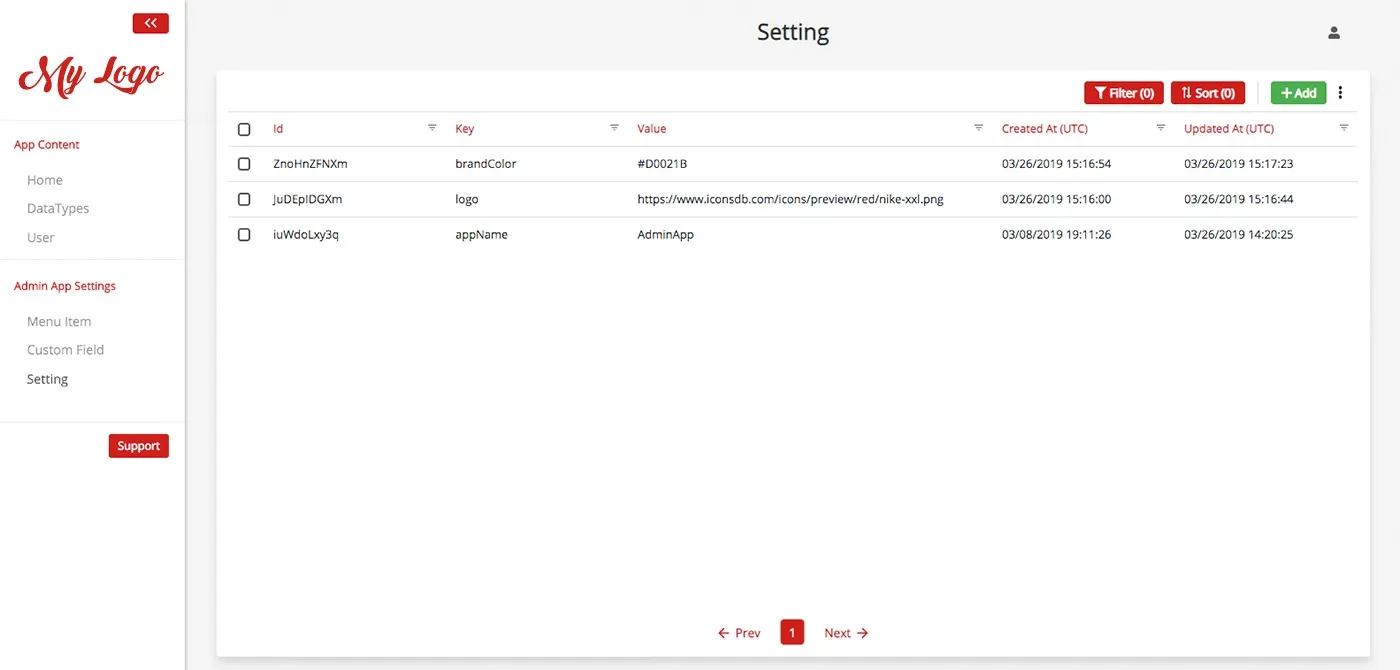
Within the Admin App, you can:
- Add New Records: Use the “Add Record” button in a collection (e.g., Items) to insert new data.
- View and Modify Records: Click on a record to see its details and make updates.
- Remove Records: Select the delete option to eliminate data that is no longer needed.
This intuitive interface greatly simplifies data management tasks.
Now that your backend is set up and manageable via the Admin App, it’s time to connect your RedwoodJS frontend with Back4app.
RedwoodJS is built around GraphQL, making it a perfect match for integrating with Back4app via API calls. Instead of using the SDK, you will interact with your backend using GraphQL queries and mutations.
Create a new RedwoodJS application:
Bash1yarn create redwood-app basic-crud-app-redwoodNavigate to your project directory:
Bash1cd basic-crud-app-redwoodConfigure your environment variables: In your .env file, add your Back4app credentials:
Text1BACK4APP_APP_ID=YOUR_APPLICATION_ID 2BACK4APP_REST_API_KEY=YOUR_REST_API_KEY 3BACK4APP_SERVER_URL=https://parseapi.back4app.com
RedwoodJS Cells simplify data fetching. Here’s an example of a cell that retrieves items:
You can integrate similar GraphQL queries and mutations in your RedwoodJS components to perform CRUD operations.
Protect your data by setting Access Control Lists (ACLs) directly on objects. For example, when creating a private item, you can ensure that only the owner has read/write privileges.
Within the Back4app dashboard, set Class-Level Permissions (CLPs) for each collection to restrict access to authenticated users or specific roles, ensuring your data remains secure.
Back4app leverages a robust user system, which you can integrate into RedwoodJS for user authentication. In your RedwoodJS app, handle user sign-ups and logins through API calls.
A similar method can be applied for logging in and maintaining user sessions.
Back4app’s Web Deployment feature makes hosting your RedwoodJS frontend seamless. Follow these steps to push your code to production:
- Open your project folder in the terminal.
Run the build command:
Bash1yarn rw buildThis will generate a web/dist folder containing your optimized static files.
- Verify the build output: Ensure that the web/dist folder contains an index.html along with all necessary assets.
Your repository should host the complete source for your RedwoodJS application. A typical structure might be:
Initialize Git (if needed):
Bash1git initStage your files:
Bash1git add .Commit your code:
Bash1git commit -m "Initial commit for RedwoodJS CRUD frontend"Create a GitHub repository (e.g., Basic-CRUD-App-Redwood) and push your code:
Bash1git remote add origin https://github.com/your-username/Basic-CRUD-App-Redwood.git 2git push -u origin main
- Access Web Deployment from your Back4app dashboard under your project (Basic-CRUD-App-Redwood).
- Connect your GitHub account if you haven’t already, following the prompts.
- Select your repository and branch (e.g., main) containing your RedwoodJS code.
- Build Command: Specify yarn rw build if your repository doesn’t include a pre-built distribution.
- Output Directory: Configure the output directory as web/dist.
- Environment Variables: Include any necessary environment variables, such as your Back4app keys.
If you favor Docker for deployment, include a Dockerfile in your repository. For instance:
- Press the Deploy button in Back4app after finalizing your configuration.
- Monitor the deployment process: Back4app will fetch your code, build the project, and deploy it in a containerized environment.
- Retrieve your application URL: Once deployed, a URL will be provided where your RedwoodJS application is hosted.
- Open the provided URL in your browser to confirm that the site loads.
- Test application functionality: Ensure that all pages, routes, and assets load correctly.
- Troubleshoot if necessary: Utilize browser developer tools and Back4app deployment logs for any required debugging.
Congratulations on building your RedwoodJS-based CRUD application using Back4app!
You have successfully set up a project titled Basic-CRUD-App-Redwood, created detailed database collections for items and users, and integrated a clean frontend with robust data management and security.
What’s Next?
- Refine Your Frontend: Enhance your RedwoodJS application with features like detailed item pages, search functionalities, and real-time updates.
- Incorporate Advanced Features: Consider adding serverless functions, third-party integrations, or more complex access controls.
- Explore Additional Resources: Dive deeper into the Back4app documentation and RedwoodJS guides for further improvements.
By following this tutorial, you now possess the know-how to develop a scalable CRUD backend and seamlessly integrate it with a modern RedwoodJS frontend using Back4app. Enjoy your coding journey!
