How to Build a Backend for tvOS?
In this tutorial, you’ll learn how to build a backend for tvOS apps using Back4App.
We’ll cover integrating essential Back4App features—like database management, Cloud Code Functions, REST and GraphQL APIs, user authentication, and real-time (Live Queries)—to create a secure, scalable backend that seamlessly communicates with your Apple TV app built with the Parse Swift SDK.
You’ll see how Back4App’s streamlined environment and quick setup drastically reduce the time compared to manually configuring servers and databases.
Along the way, you’ll gain hands-on experience with key functionalities, including advanced security features, cloud jobs scheduling, and webhook integrations.
By the end of this tutorial, you’ll be prepared to enhance this foundational structure into a production-ready tvOS app or easily include custom logic and third-party APIs. This guide will also help maintain a high quality user experience on Apple TV, leveraging your Xcode project and existing iOS development knowledge.
To complete this tutorial, you will need:
- A Back4App account and a new Back4App project Getting Started with Back4app. If you do not have an account, you can create one for free. Follow the guide above to get your project ready.
- Xcode (latest stable version) installed You will build your tvOS app with Swift or SwiftUI. Ensure you have the most recent Xcode from the Mac App Store.
- Familiarity with Swift and basic iOS/tvOS development concepts If you’re new to Apple TV, review the Apple tvOS documentation or a beginner tutorial first.
Make sure you have all these prerequisites in place before you begin. Having your Back4App project ready and a local tvOS Xcode project set up will help you follow along more easily.
The first step in building your tvOS app backend on Back4App is creating a new project. If you have not already done so, follow these steps:
- Log in to your Back4App account.
- Click the “New App” button in your Back4App dashboard.
- Give your app a name (e.g., “tvOS-Backend-Tutorial”).
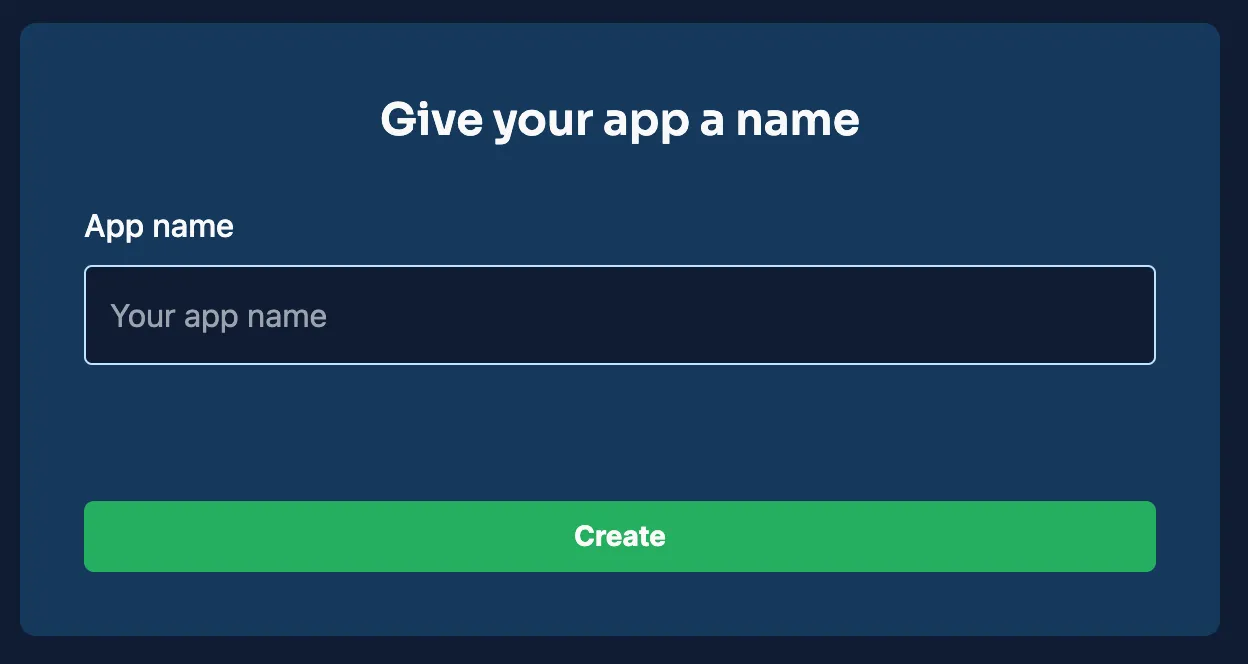
Once created, you will see the project listed in your Back4App dashboard. This new Back4App project is the core of all backend configurations covered in this tutorial.
Back4App leverages Parse to handle data storage, user authentication, real-time features, and more. To connect your tvOS app to Back4App, install and configure the Parse Swift SDK in your Xcode project.
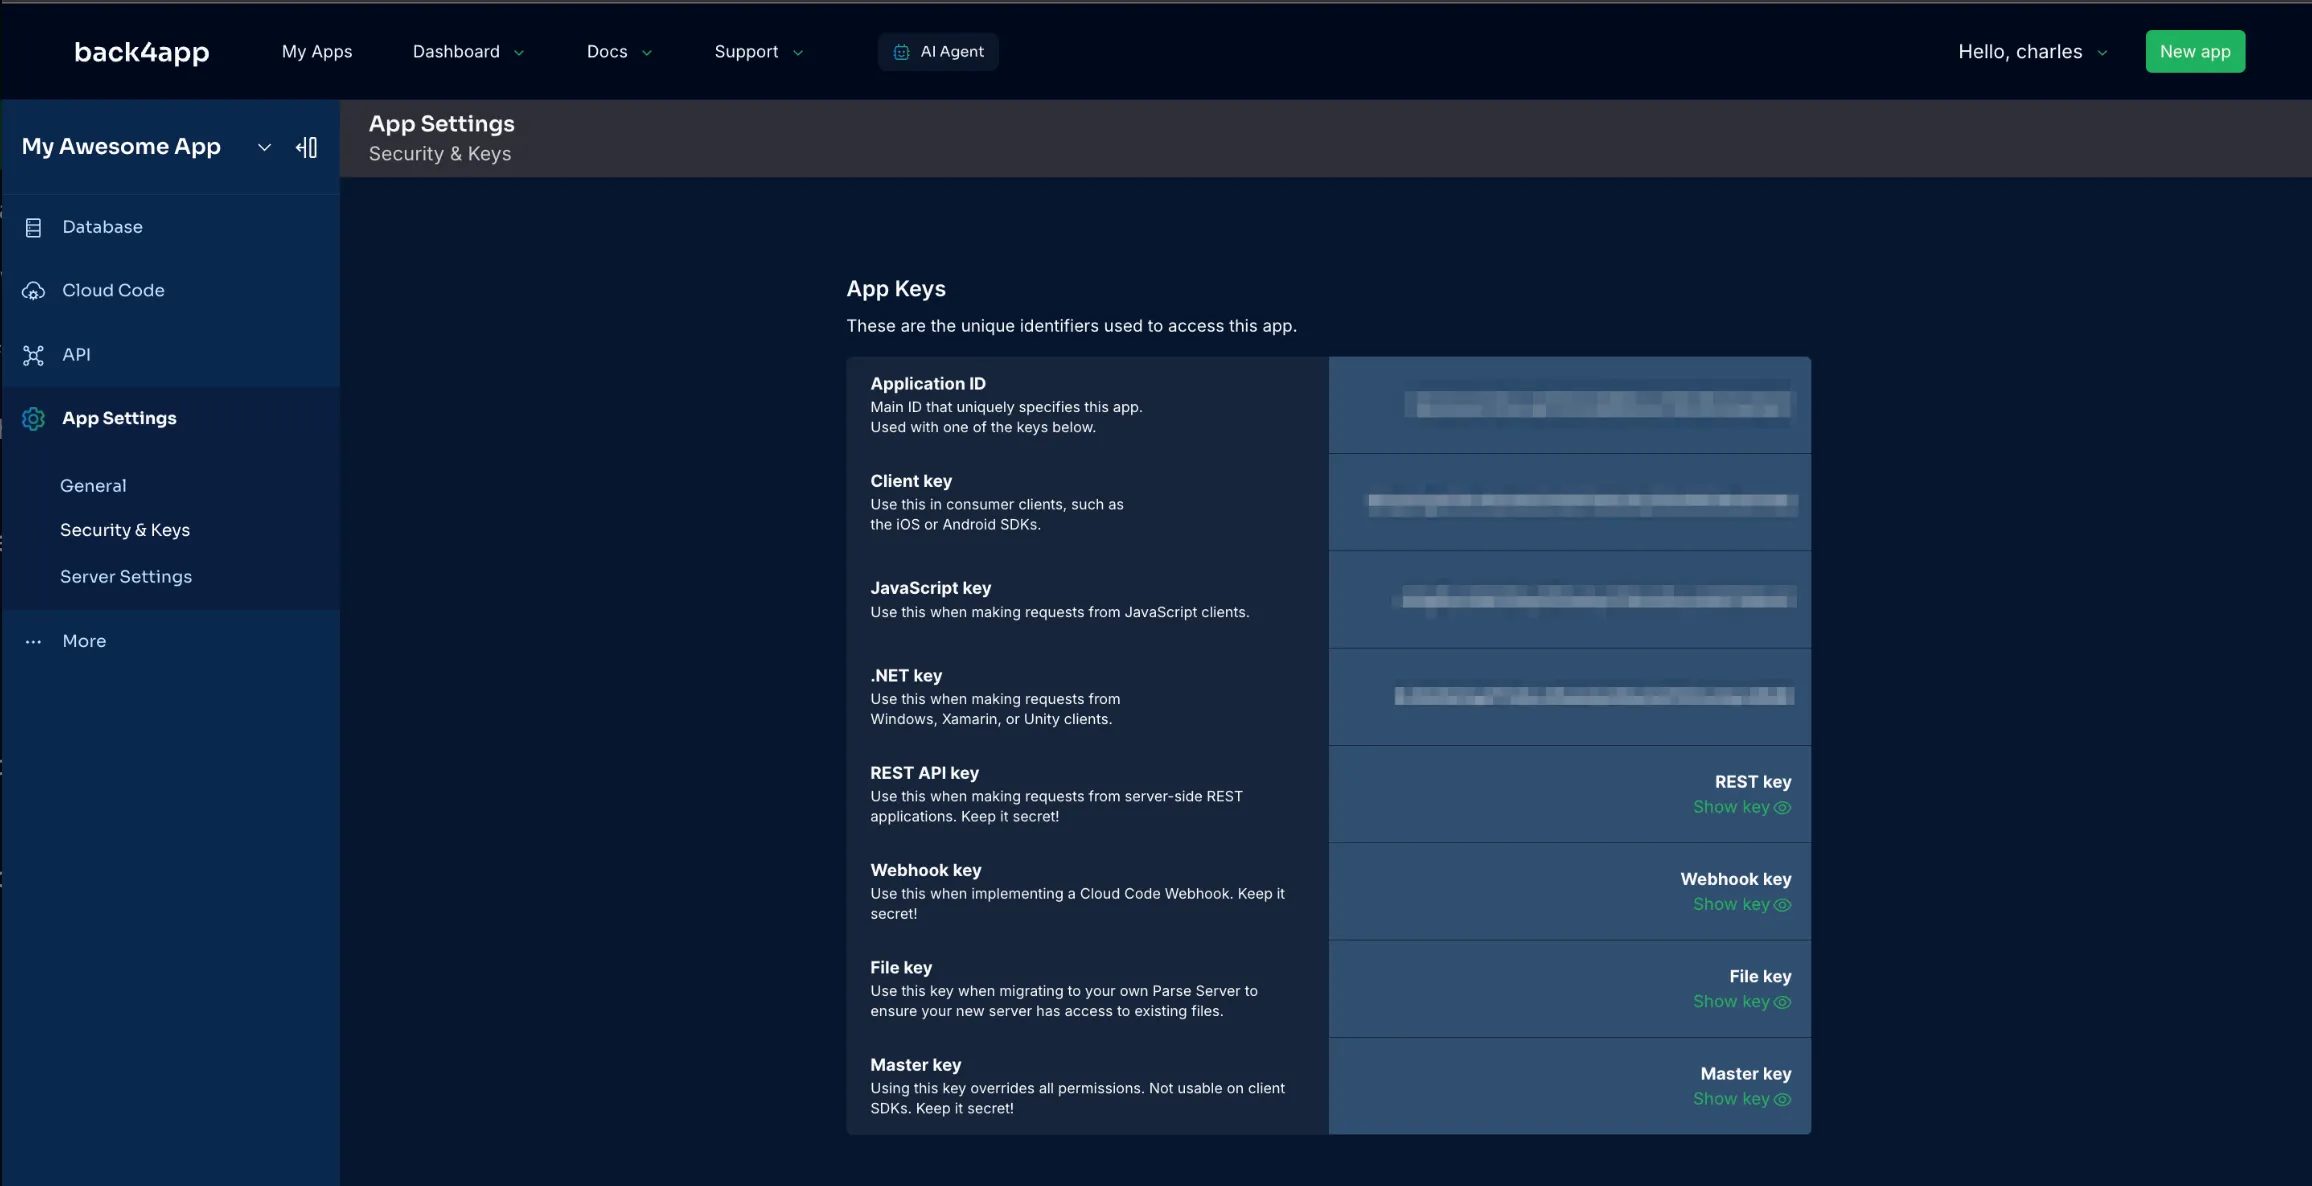
Retrieve Your Parse Keys: In your Back4App dashboard, go to “App Settings” or “Security & Keys” to find your Application ID and Client Key. You’ll also see the Parse Server URL—commonly https://parseapi.back4app.com.
Install the Parse Swift SDK in your tvOS project:
Swift Package Manager (Recommended)
- In Xcode, select File → Add Packages.
- Enter the Parse Swift GitHub URL: https://github.com/netreconlab/Parse-Swift.git
- Choose the appropriate version or main branch.
CocoaPods If you prefer CocoaPods, add the following to your Podfile:
Then run pod install.
Initialize Parse in your AppDelegate or @main struct:
This ensures your tvOS app is built to communicate with the Back4App backend, letting you store data, run queries, authenticate users, and more.
With your tvOS app now wired to Back4App, you can create and manage data. In Parse Swift, you define ParseObject structs:
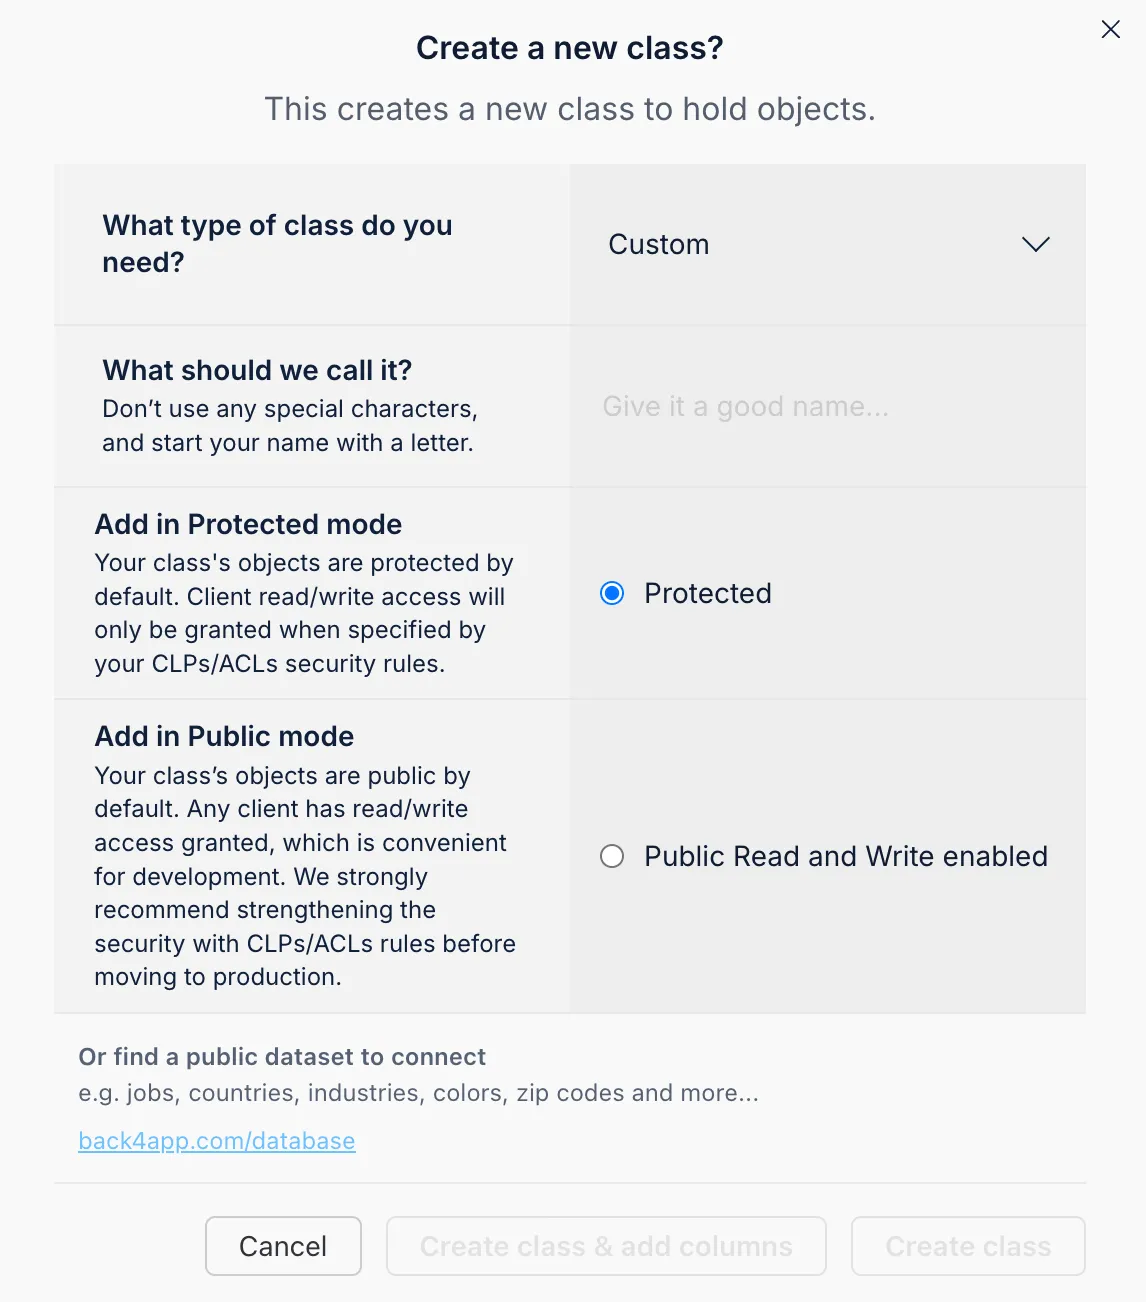
You can also manually define classes in your Back4App dashboard:
- Go to “Database” in the Back4App console.
- Create a new class (e.g., “GameScore”).
- Add relevant columns (score, playerName, etc.).
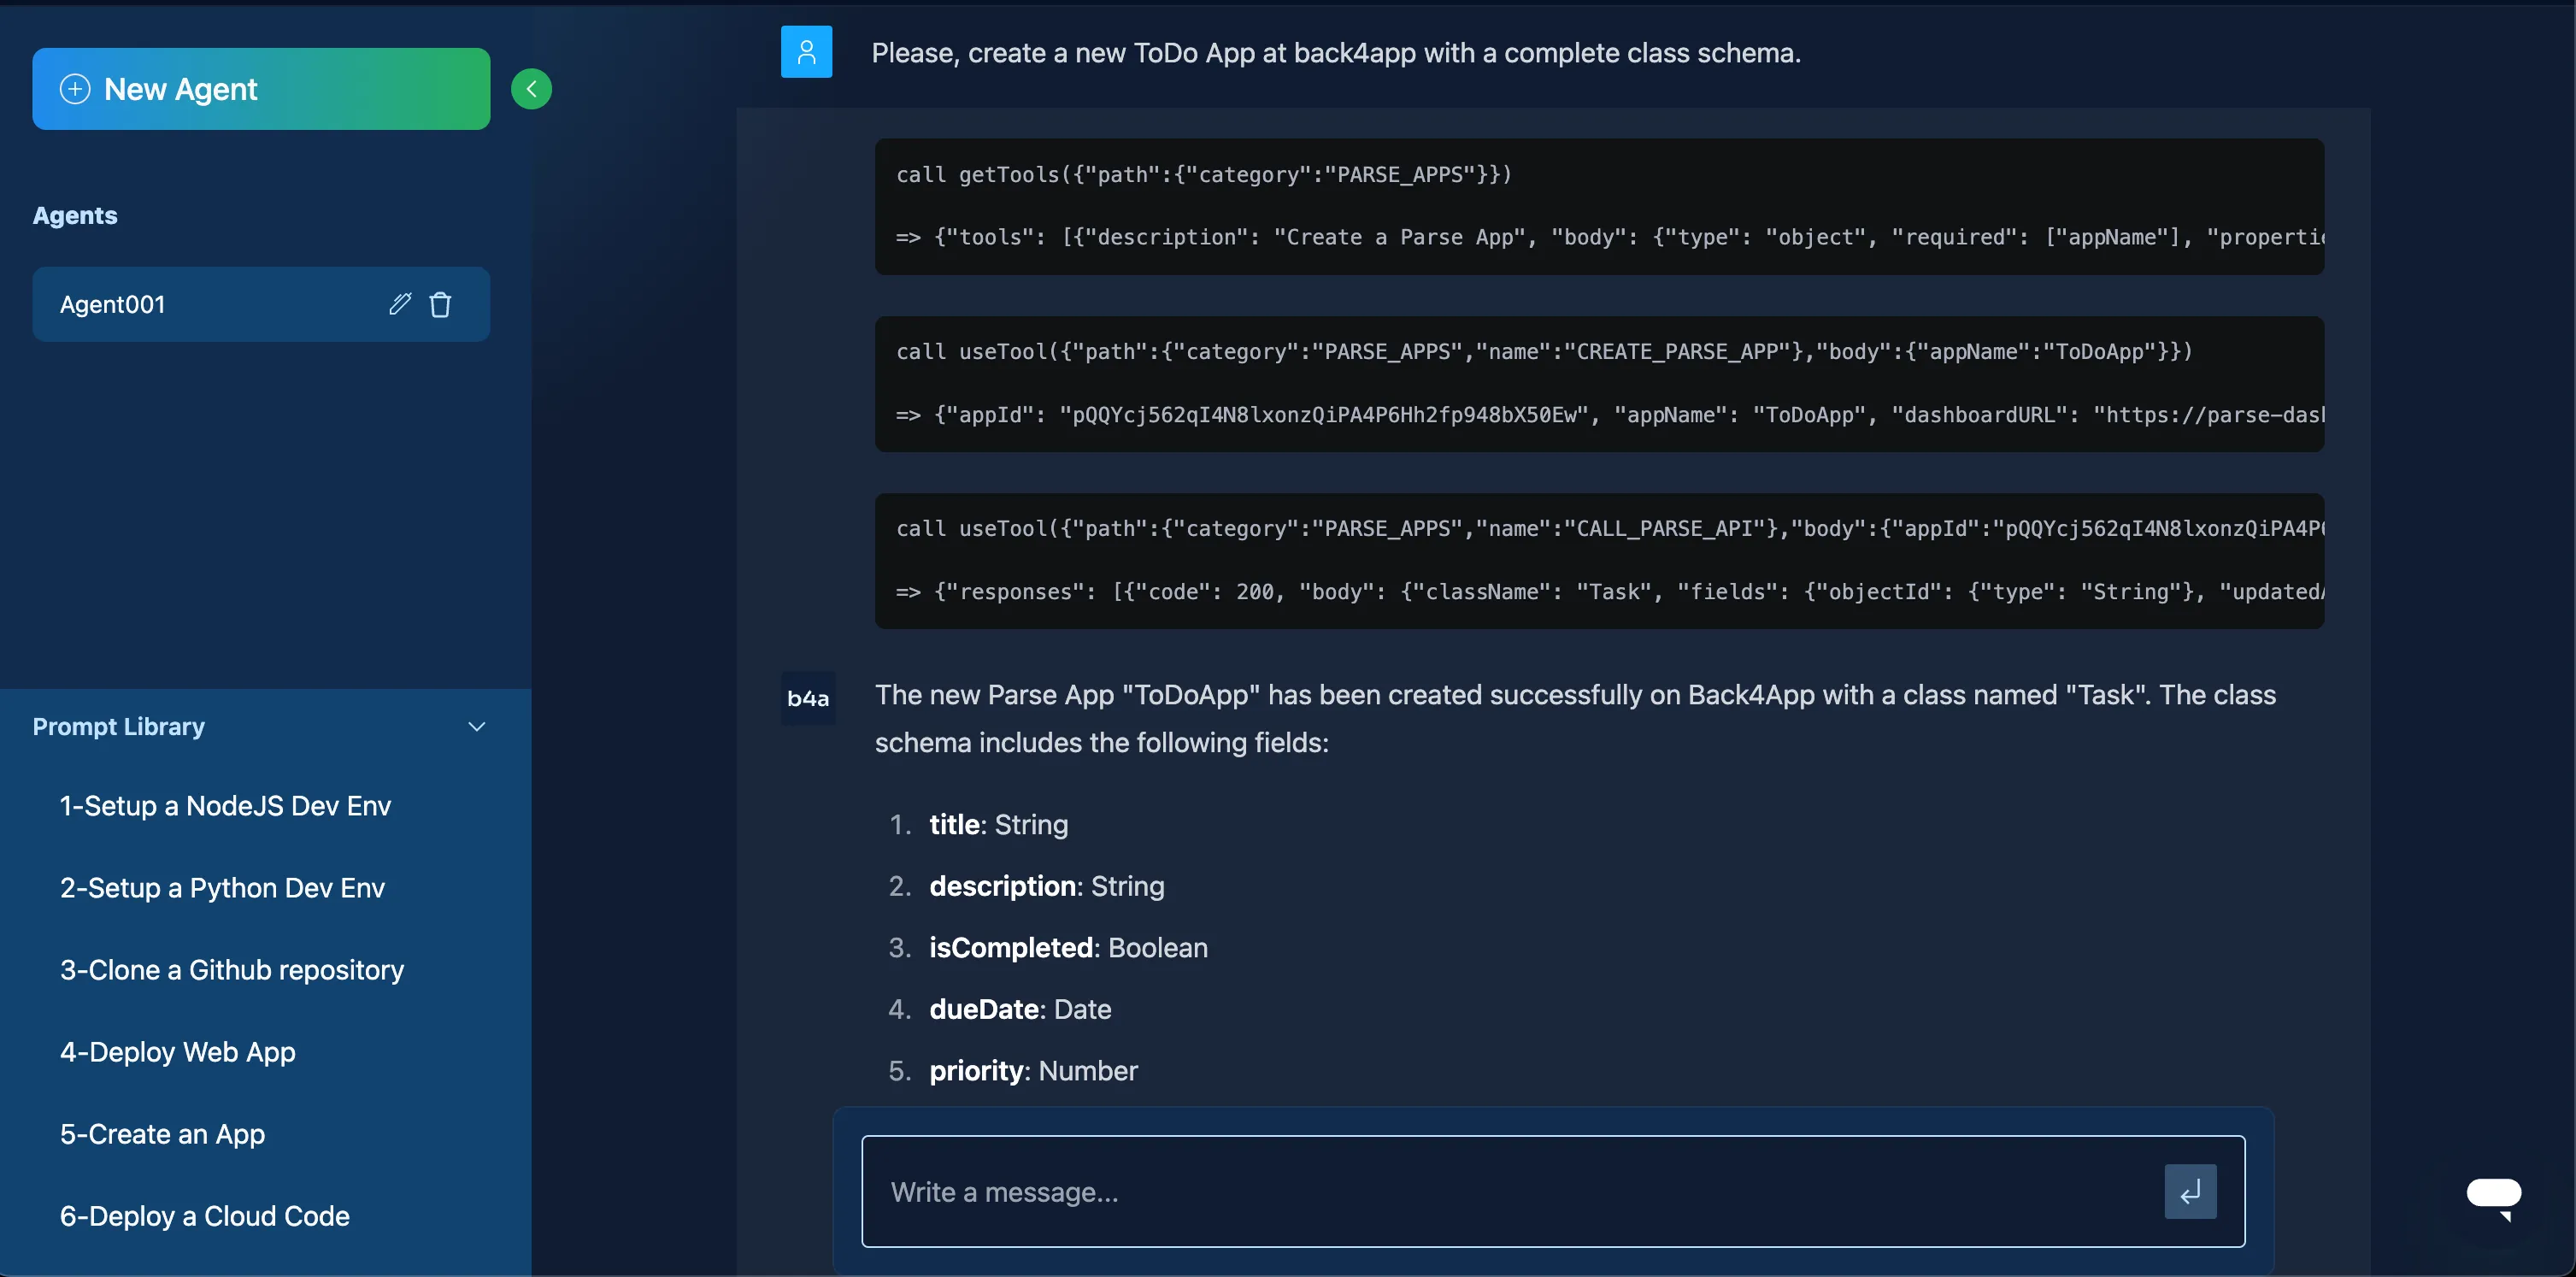
Back4App’s AI Agent can automatically design your schema:
- Open the AI Agent in your Back4App Dashboard.
- Describe your model (e.g., “Create a ToDo class with a title and isCompleted field”).
- Apply and let the AI Agent generate the schema.
Live Queries can power real-time updates in your Apple TV interface—especially useful for multi-player or leaderboard apps.
- Enable Live Queries in your app’s Server Settings on Back4App.
- Initialize a subscription:
Back4App secures your data with ACLs (Access Control Lists) and CLPs (Class-Level Permissions). Use them to define read/write rules at the object or class level.
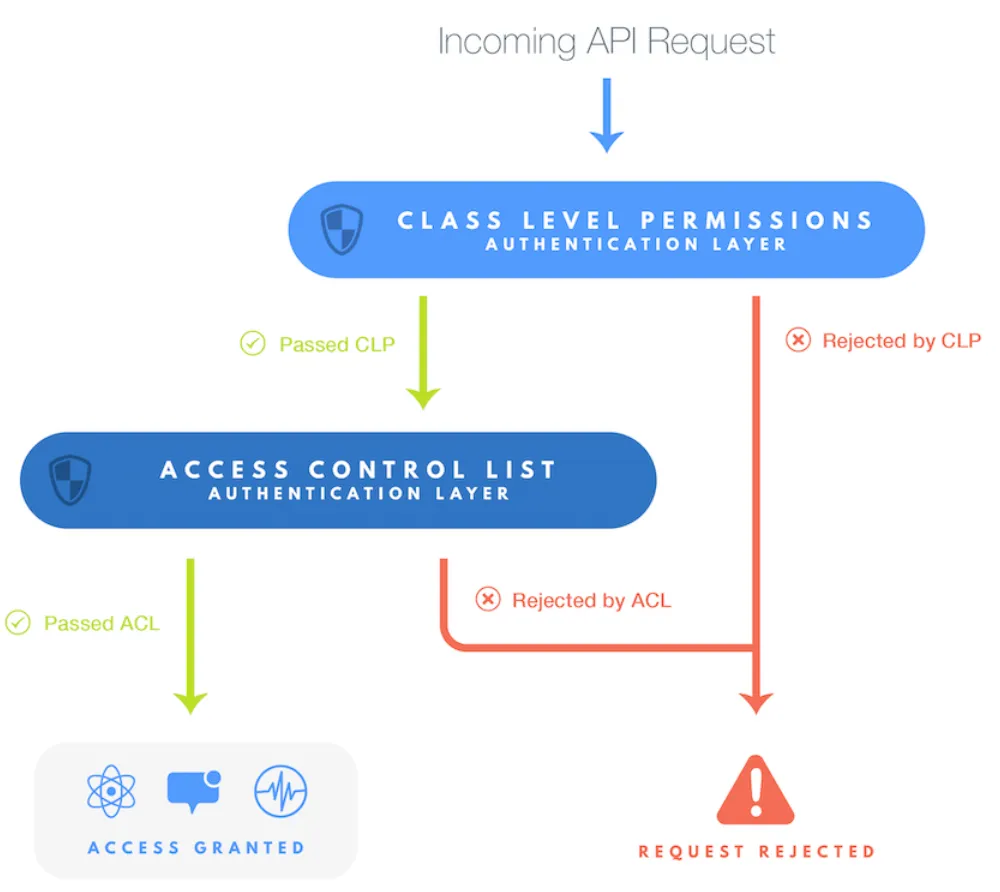
- Go to Database, pick a class (e.g., GameScore).
- Click “Security” or “Class-Level Permissions”.
- Set who can read, write, or delete (e.g., only authenticated users).
Cloud Code allows you to offload critical logic from your client to secure server-side code. This is great for business rules, data validations, or third-party integrations without exposing secrets in your tvOS app.
In your main.js:
Back4App CLI:
or use the Back4App Dashboard → Cloud Code → Functions → main.js.
Inside your package.json, add dependencies:
Then require or import them in main.js to use in Cloud Code.
tvOS apps often need user data sync or login. Parse’s ParseUser provides secure sign-up, login, sessions, and role-based access.
Configure Facebook or Apple Sign In. Then link accounts:
Upload user images, game replays, or app assets using ParseFile:
Attach files to objects:
Use CLPs or ACLs to secure file references. A file’s direct URL can be publicly accessible unless you enable File Security.
Email verification helps confirm user ownership of email accounts. Password reset offers a secure, user-friendly way to regain account access.
- In your app → App Settings → Email
- Enable email verification or Password reset.
- Customize email templates.
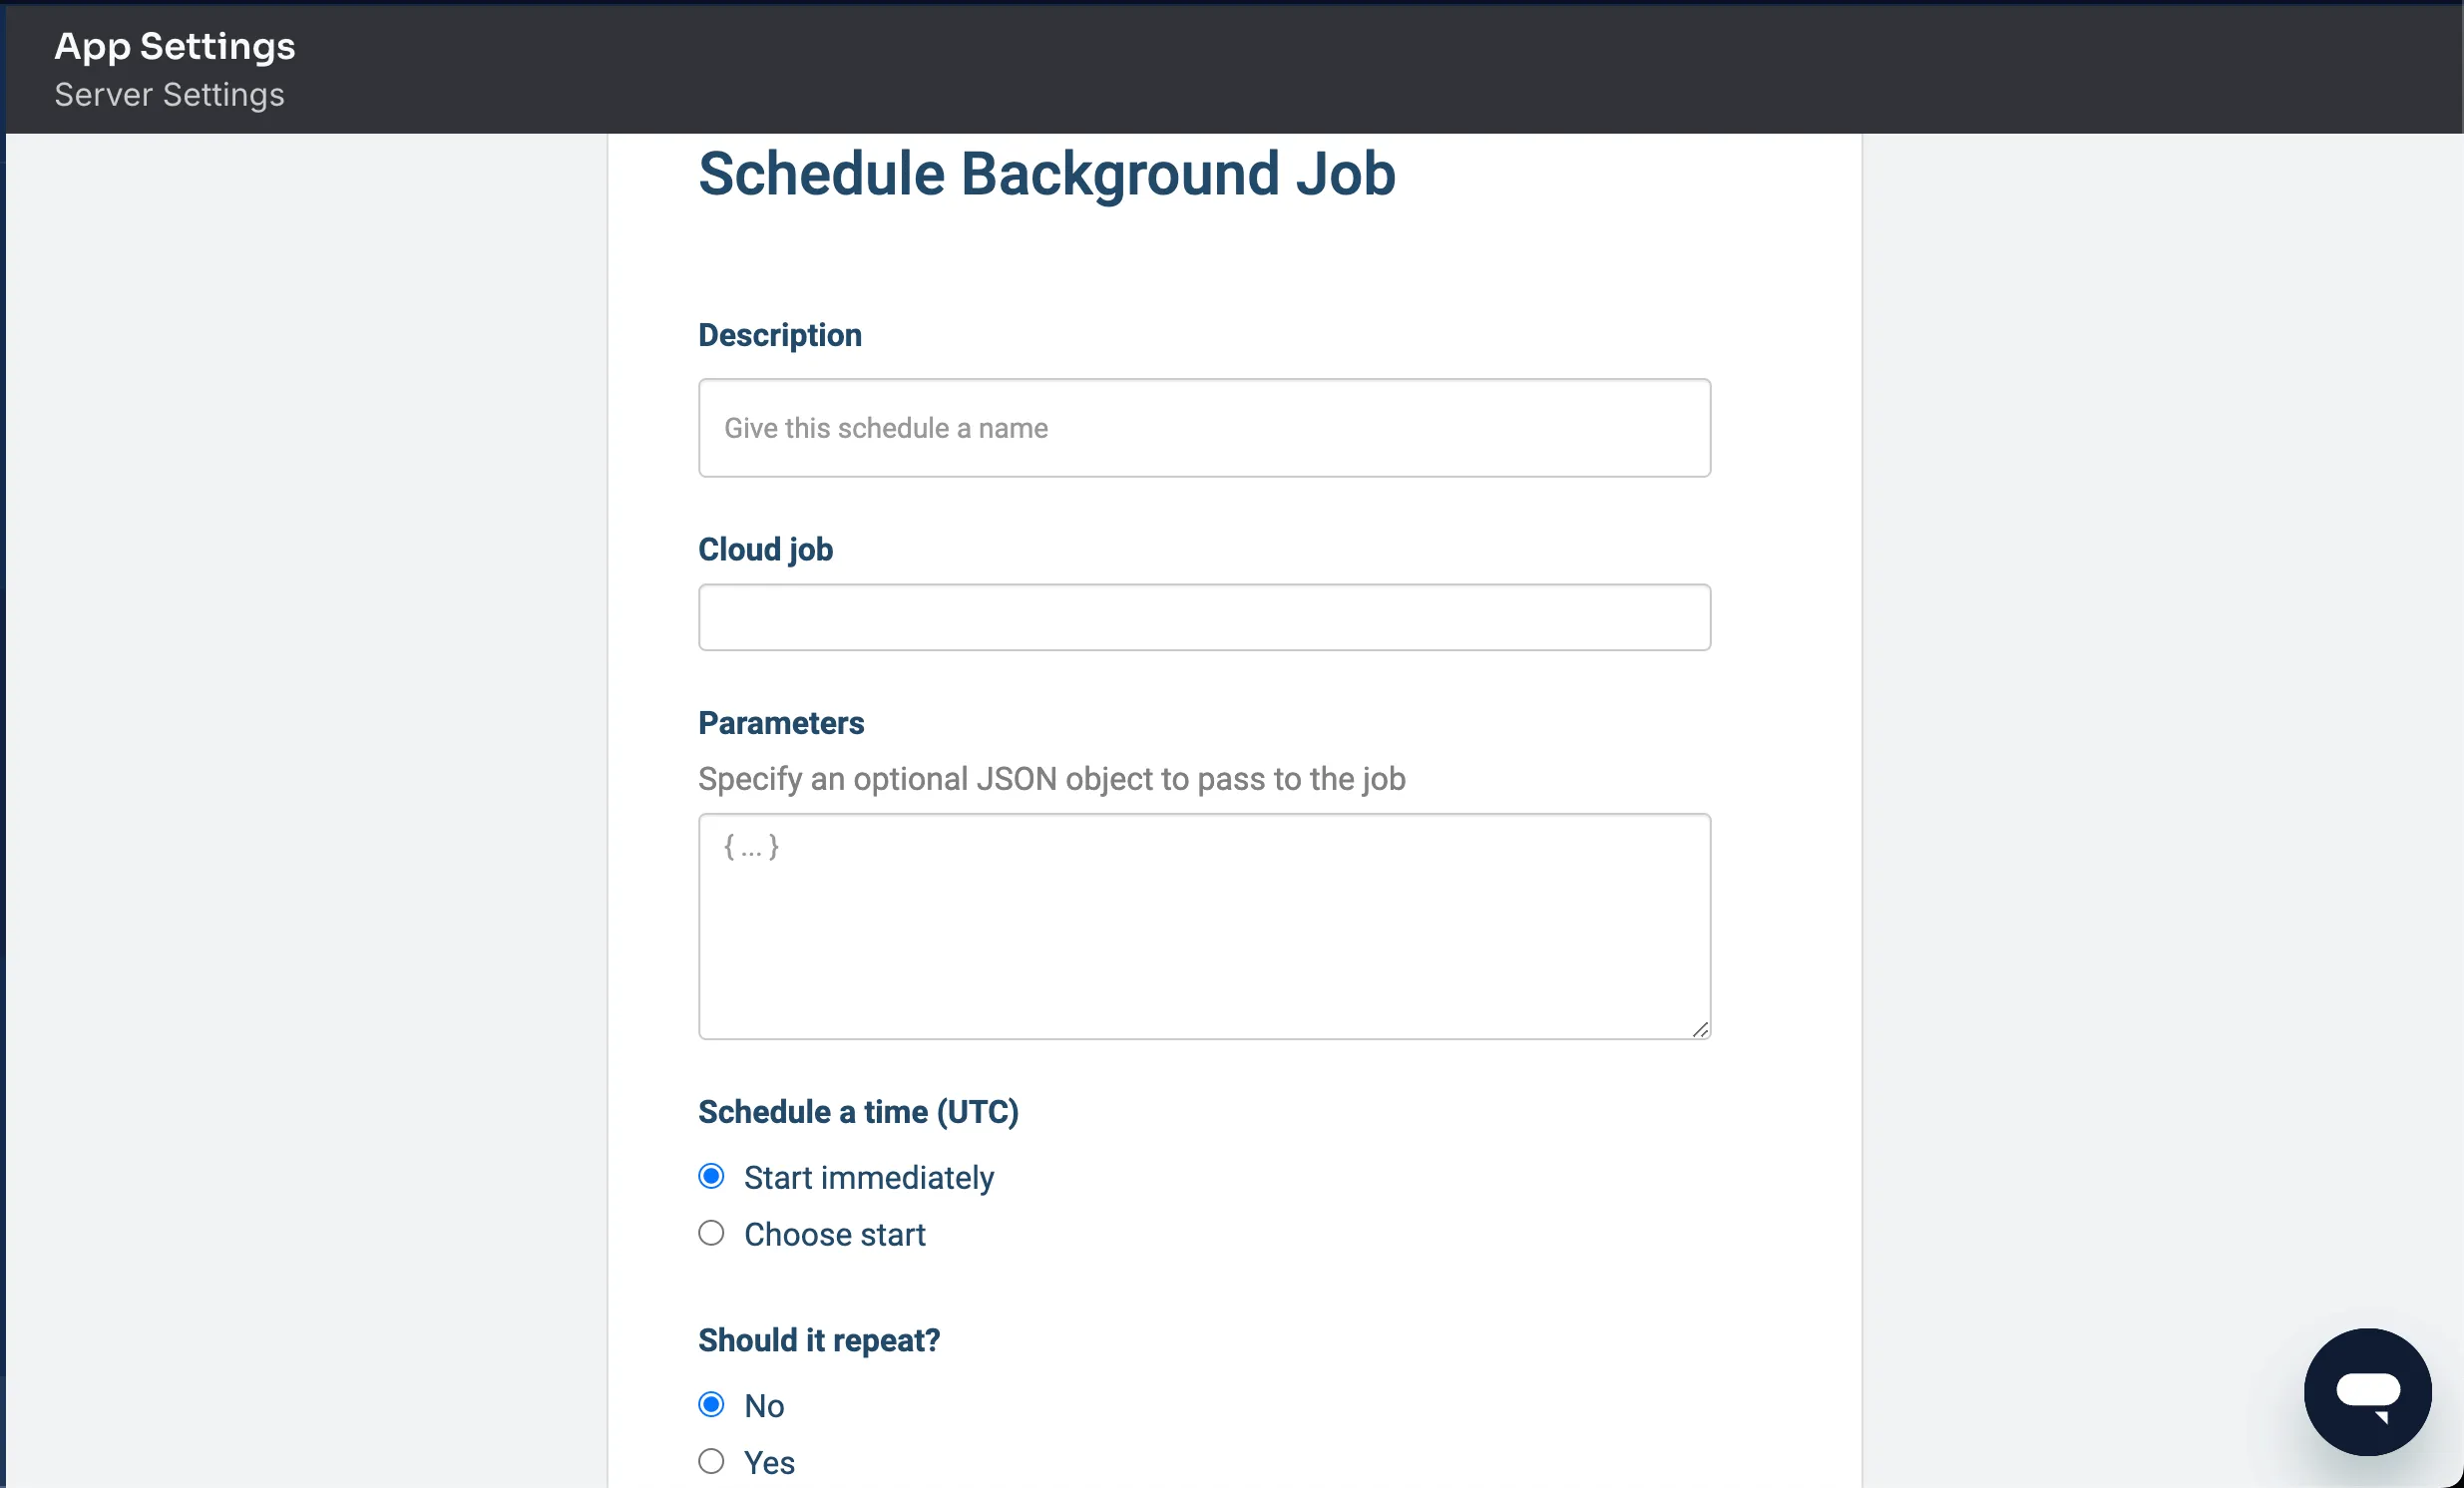
Automate recurring tasks, like cleaning old data or emailing monthly updates:
In the Back4App Dashboard → App Settings → Server Settings → Background Jobs, schedule “cleanupOldScores” to run daily.
Webhooks enable your Back4App app to send events to external services. This could be sending notifications to Slack, payment updates to Stripe, or analytics data to your server.
In your Back4App Dashboard, go to More → WebHooks → Add Webhook. Specify an endpoint (like https://myserver.com/webhook-endpoint) and the triggers (object updates, new records, etc.).
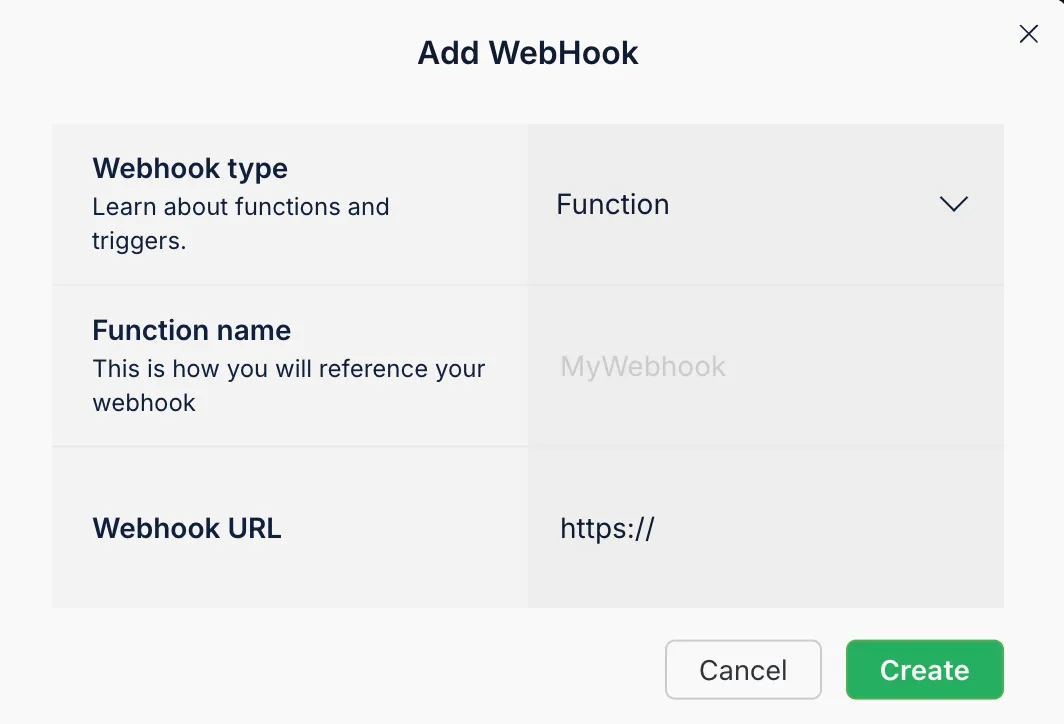
Notify Slack when a new high score is created:
The Back4App Admin App is a user-friendly, model-centric dashboard for managing data, performing CRUD, or editing classes—without needing direct database queries.
Enable it via App Dashboard → More → Admin App.
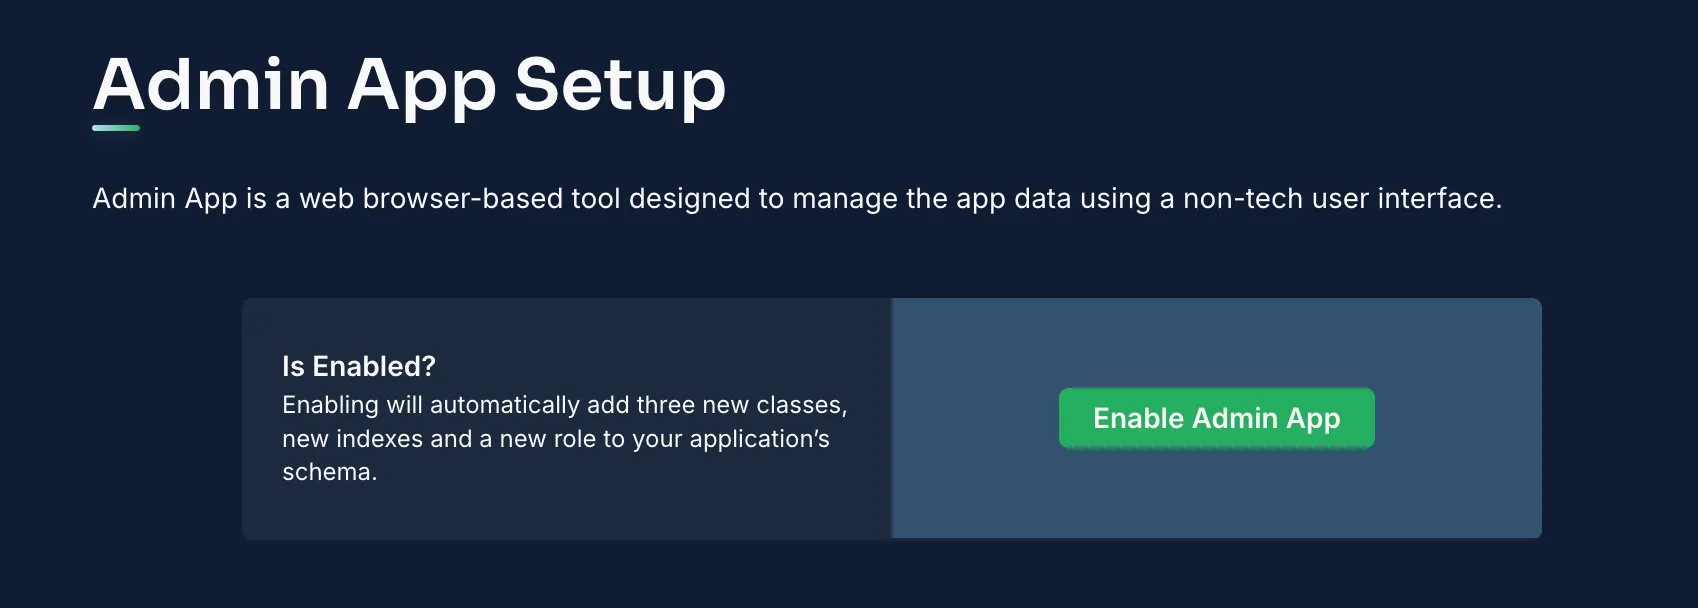
Once enabled, you can invite team members or clients to manage data, check logs, or adjust push notifications—essentially giving them a direct portal to the backend of your tvOS app.
By following this comprehensive tutorial, you have:
- Created a secure backend for your tvOS app using Back4App.
- Configured a database with classes, data types, and relationships.
- Set up real-time queries to reflect immediate changes.
- Applied security through ACLs and CLPs.
- Implemented Cloud Code for custom business logic and integrations.
- Enabled authentication with email verification and password resets.
- Handled file uploads with optional security controls.
- Scheduled Cloud Jobs for routine tasks.
- Used webhooks to integrate with external services.
- Explored the Admin Panel to manage and monitor data.
You are now well-equipped to build rich, high quality Apple TV experiences. Your app is built on a strong foundation—enjoy turning your tvOS app ideas into reality!
- Refine your tvOS UI: Incorporate focus-based navigation, big-screen user flows, and App Store best practices.
- Enhance security: Add role-based ACL, multi-factor authentication, or advanced encryption.
- Deepen your skillset: Explore more advanced Parse Swift features like offline caching or custom analytics.
- Monetization: Consider subscription or pay-per-view to expand your streaming business potential.
With the fundamentals from this guide, you can continue innovating and integrating new features. Good luck bringing your tvOS app to the next level!
