How to Build a Backend for iOS?
In this tutorial, you’ll learn how to build a backend for iOS using Back4App.
We’ll walk through integrating essential Back4App features—such as database management, cloud functions, REST and GraphQL APIs, user authentication, file storage, and real-time queries (Live Queries)—to create a secure, scalable, and robust backend for your iOS application.
Back4App’s backend as a service offerings help reduce the complexity of setting up a server side infrastructure while speeding up development.
You can store data in a flexible Nosql database style format, manage user accounts, add push notifications, and apply advanced access controls in a fraction of the time it would take to build a custom solution.
This means you can focus on improving the user experience and implementing core features, rather than worrying about server maintenance or provisioning.
By the end of this tutorial, you’ll have a ready-made backend that can be adapted to real-world scenarios, scaled to accommodate increased traffic, and expanded with more complex logic or third-party services.
You’ll be able to deliver a reliable backend for your iOS app, accelerate your development process, and enhance your overall user interface with less effort.
To complete this tutorial, you will need:
- A Back4App account and a new Back4App project Getting Started with Back4app. If you do not have an account, you can create one for free. Follow the guide above to get your project ready.
- Basic iOS development environment You can develop with Xcode (version 13.0 or above). Install Xcode.
- Swift Package Manager or CocoaPods for adding Parse Swift Follow the Parse Swift GitHub instructions for installation details.
- Familiarity with Swift and iOS concepts Apple’s Swift Documentation. If you’re new to Swift or iOS, review the official docs or a basic iOS tutorial before starting.
Having a functioning iOS environment with Xcode, along with your free Back4App account, will help you follow along more smoothly.
A new Back4App project forms the foundation of your backend development for iOS. It provides all the tools you need—database, APIs, authentication, cloud functions—to build a backend quickly and securely.
- Log in to your Back4App account.
- Create a new app by clicking “New App” on your Back4App dashboard.
- Give your app a name (for example, “iOS-Backend-Demo”).
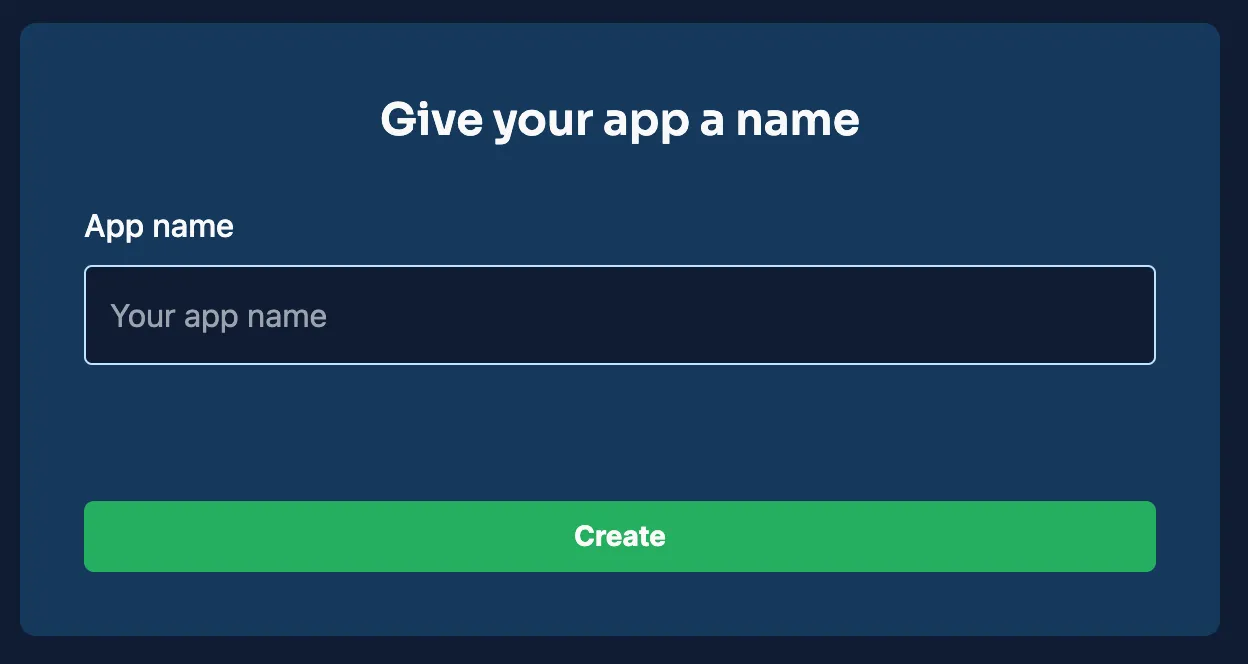
Once created, your new project will appear in your Back4App dashboard.
Back4App relies on the Parse Platform under the hood. For iOS, use the Parse Swift SDK:
1. Retrieve your Parse Keys In the Back4App dashboard, go to “App Settings” or “Security & Keys” to find:
- Application ID
- Client Key (or Swift Key if applicable)
- Server URL (often https://parseapi.back4app.com)
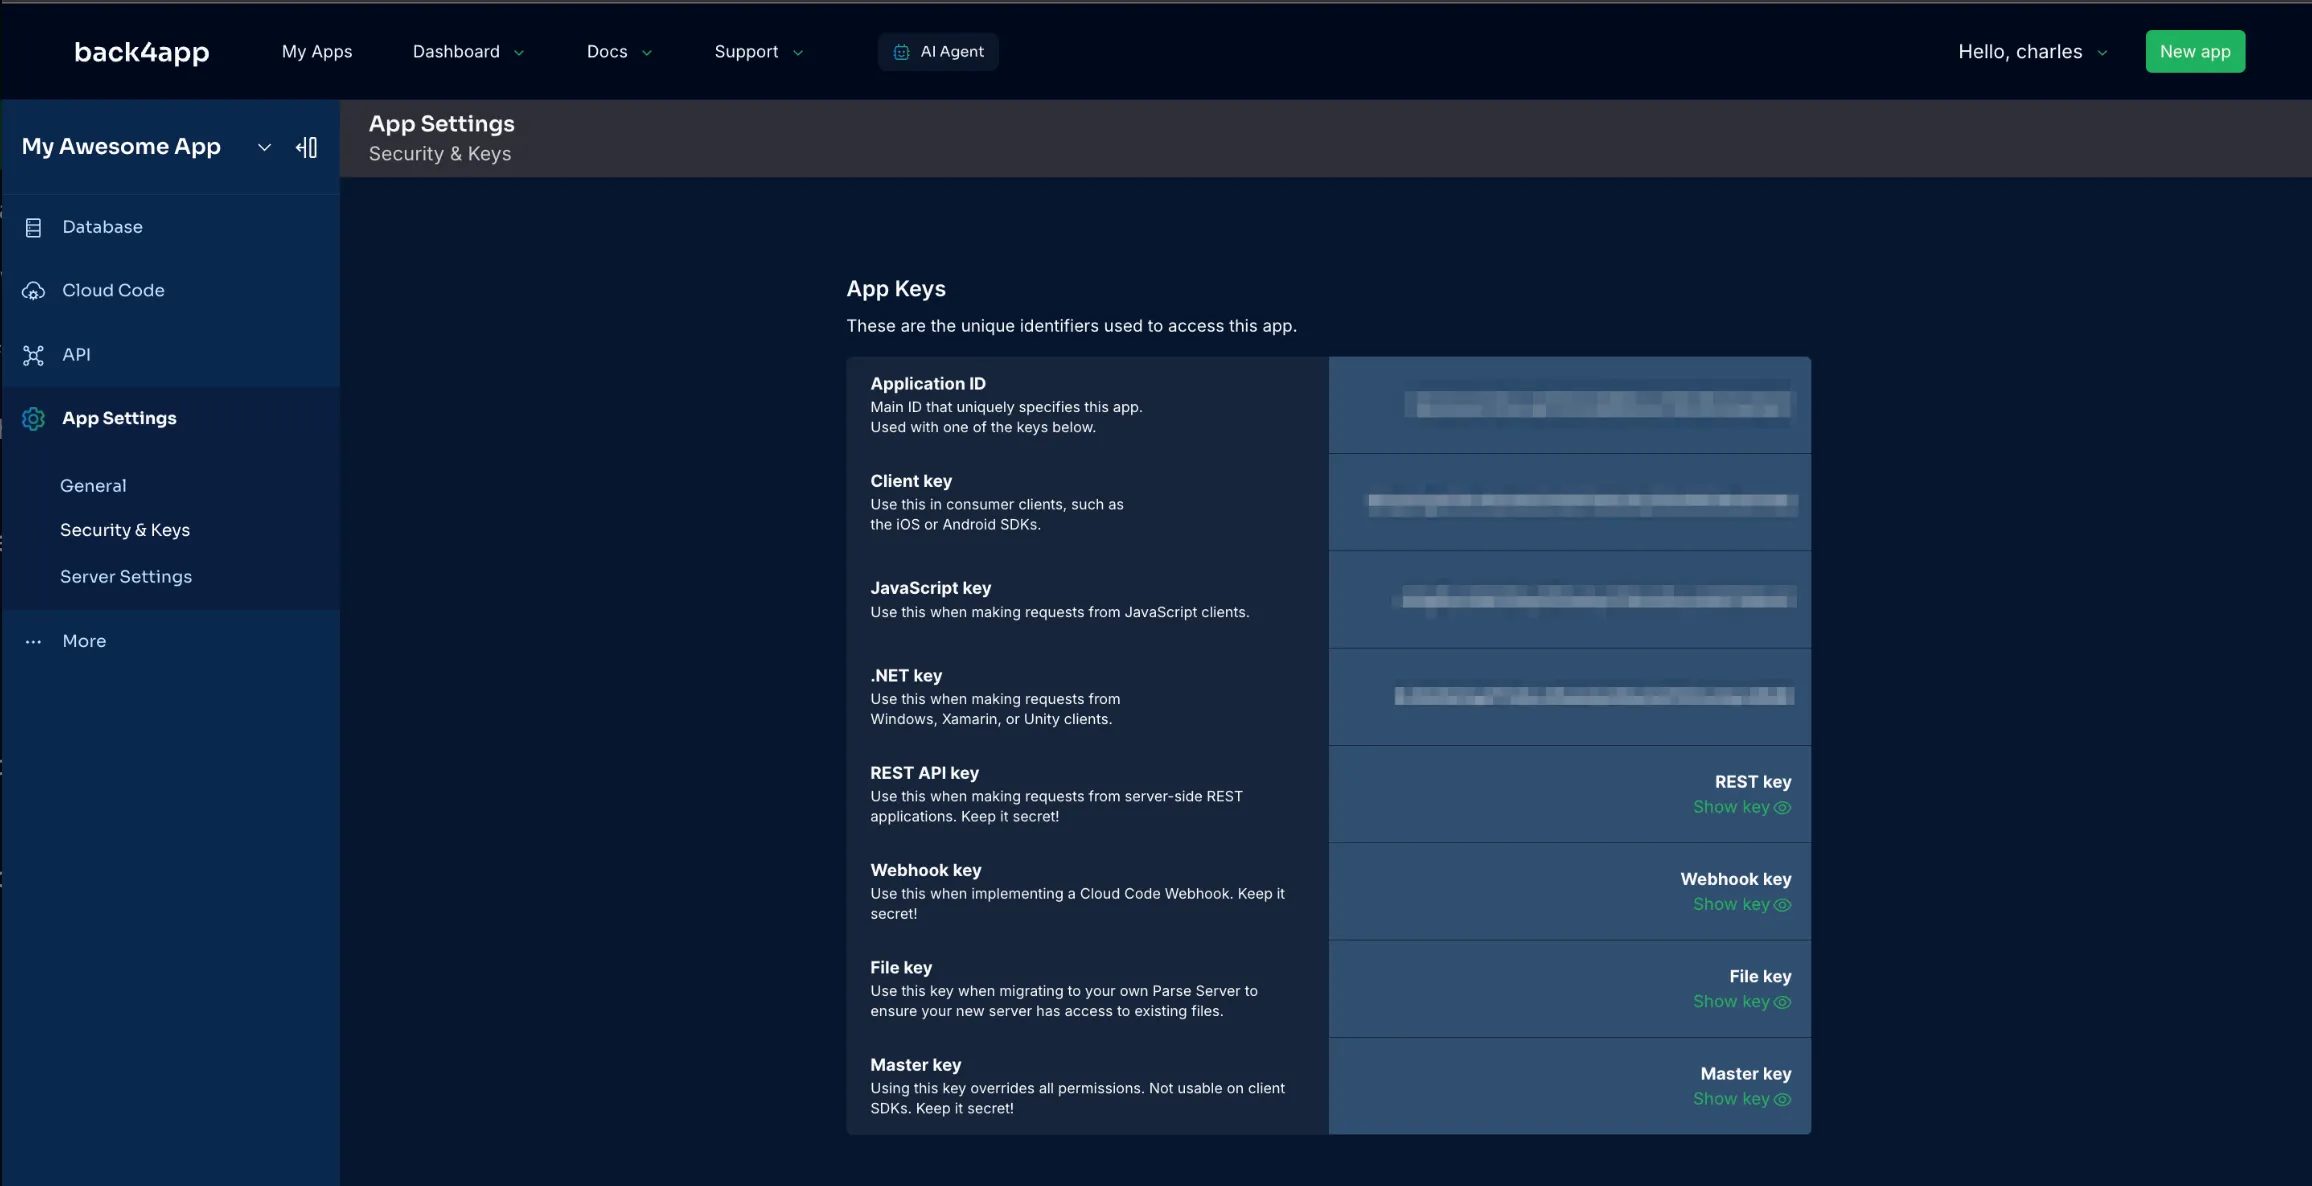
2. Add the Parse Swift SDK If you’re using Swift Package Manager:
If you’re using CocoaPods, add in your Podfile:
Then run:
3. Initialize Parse Inside your AppDelegate.swift (or main SwiftUI app file), call ParseSwift.initialize(...) with your credentials:
Congratulations! Your iOS app is now connected to Back4App, and every request or data transaction will go through Parse Swift automatically.
Back4App uses a schema approach where each class/table can be managed from the dashboard. Suppose we want to create a Todo class:
- Go to “Database” in your Back4App console.
- Click “Create a New Class”, name it Todo, and add columns like title (String) and isCompleted (Boolean).
Back4App’s AI Agent can speed up your schema design:
- Open the AI Agent in your dashboard.
- Describe your data model in plain language (e.g., “Make a new ToDo class with title and isCompleted fields”).
- Let the AI build the schema for you automatically.
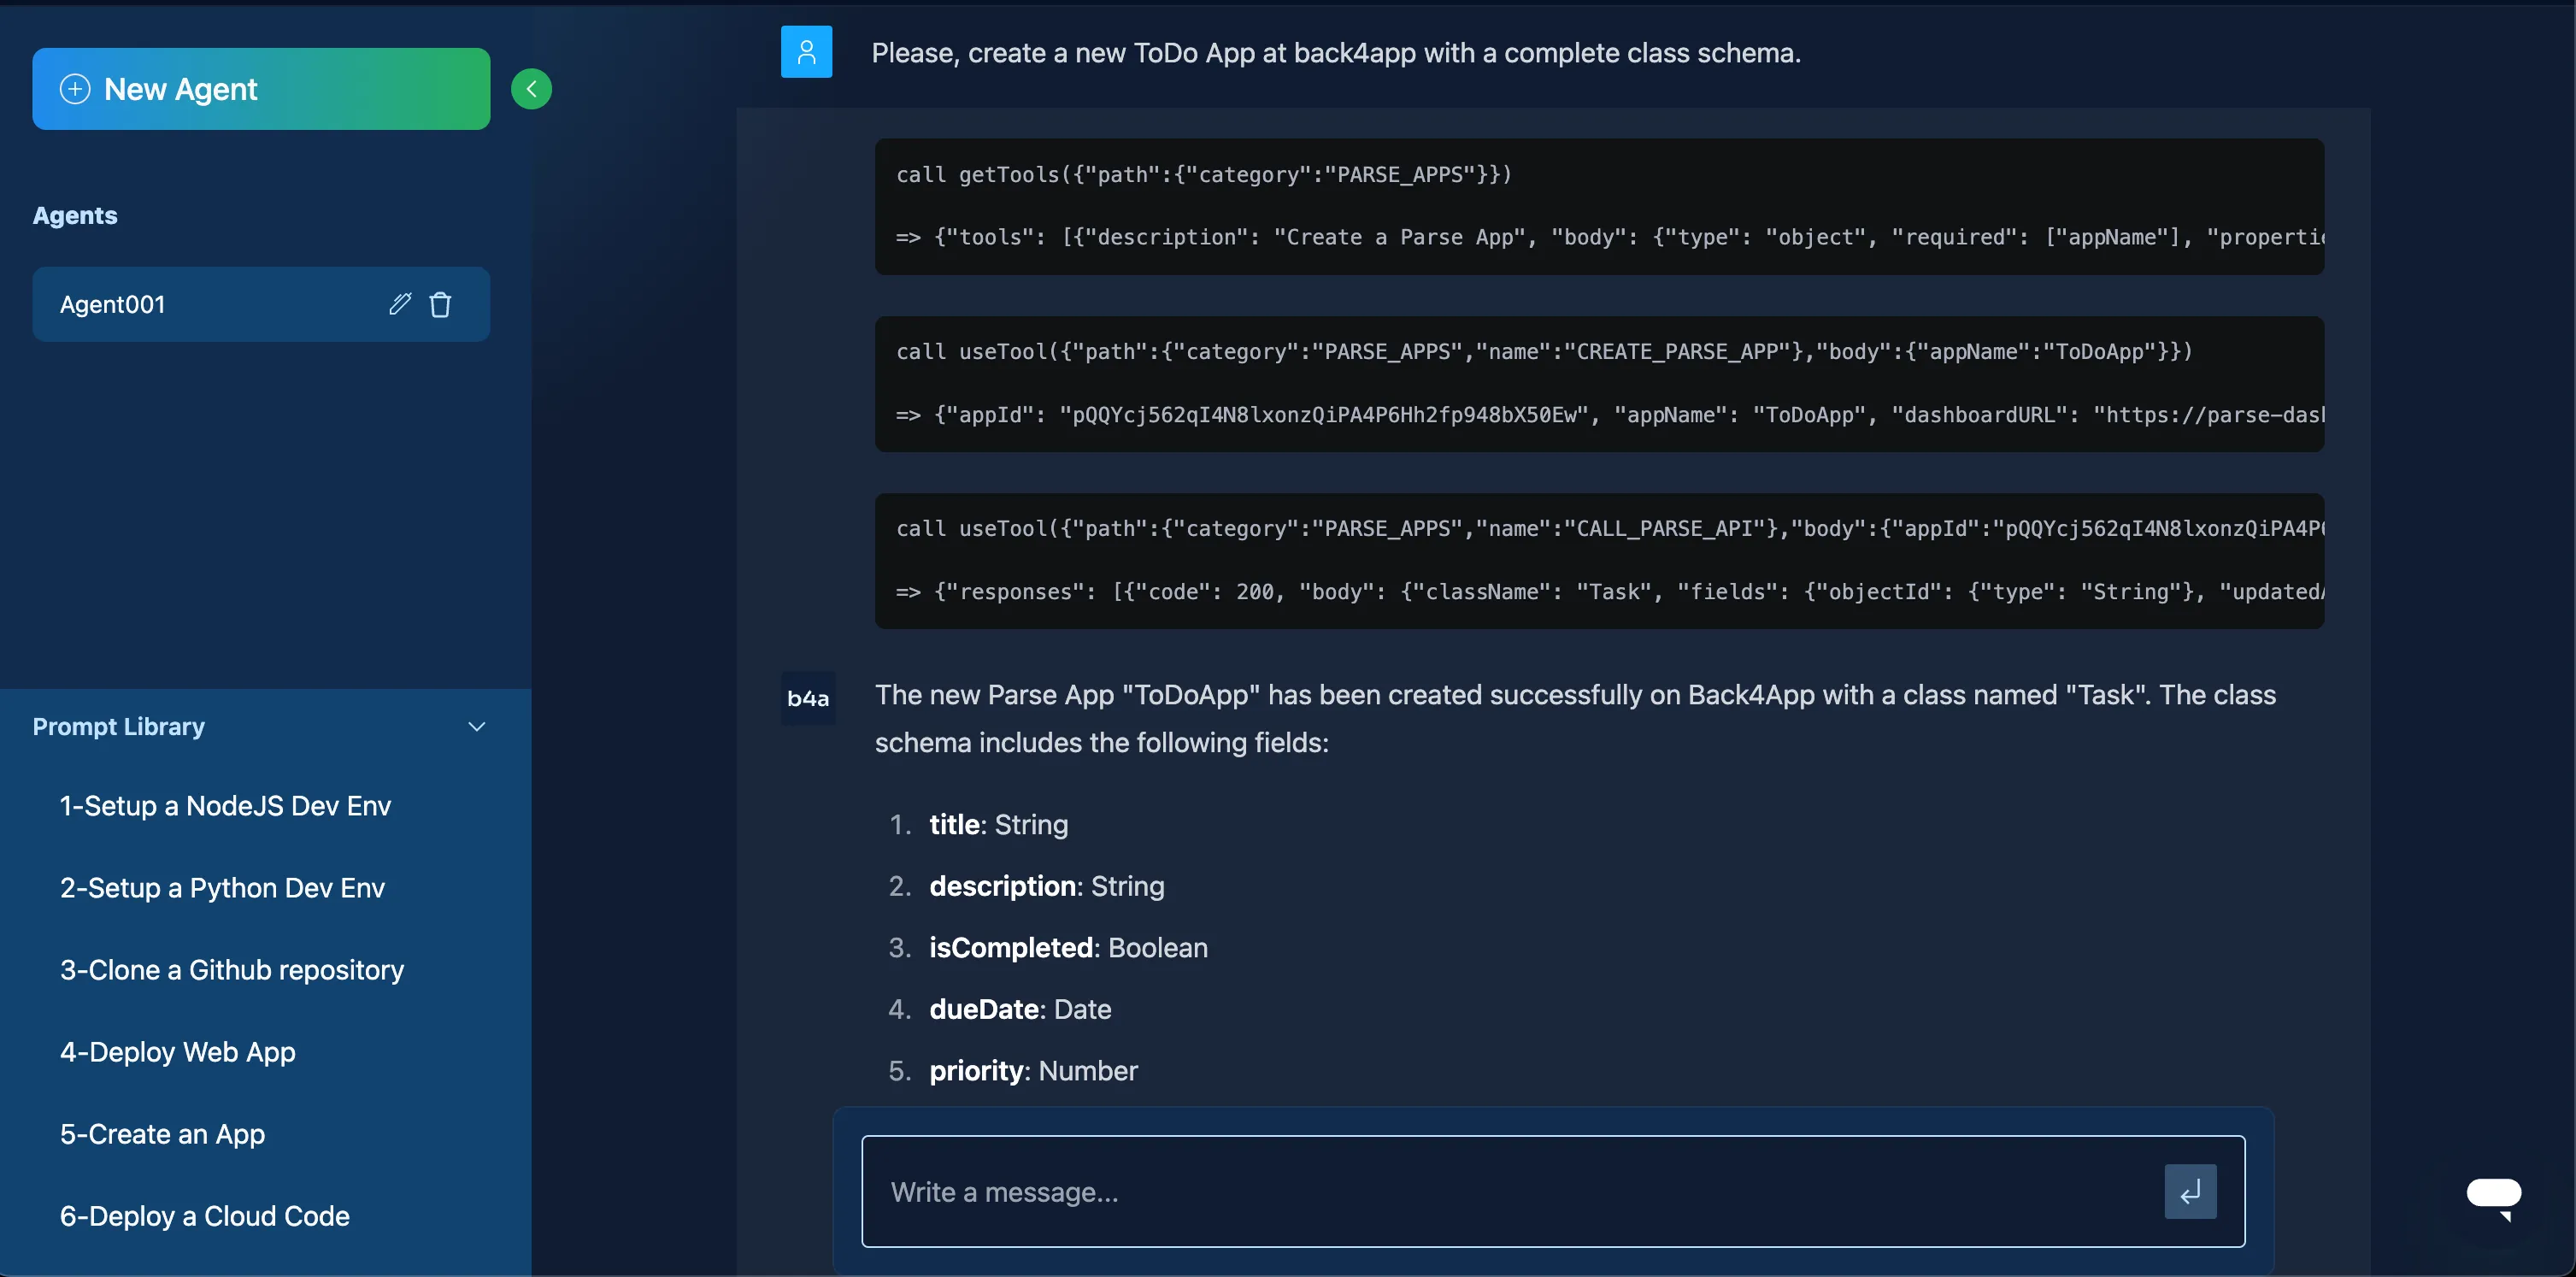
With Parse Swift, define your data structure in code. For example:
Alternatively, you can use REST calls. For instance, to create a Todo:
Back4App also includes GraphQL support. Here’s a mutation example:
Back4App supports real time updates through Live Queries. For Swift:
Access Control Lists (ACLs) control per-object permissions, while Class-Level Permissions (CLPs) set defaults for entire classes.
- Class-Level Permissions: In the Back4App dashboard, open a class (e.g., Todo), then click the “Security” tab. You can lock down read/write to only authenticated users or roles.
- ACLs in Code: When you save a ParseObject, you can assign an ACL:
Adjust these to ensure your data is only accessed by the right users.
Cloud code is your best friend for adding server-side logic to your iOS app. You can keep sensitive logic or validations away from the client, integrate external APIs, and run background tasks on the server.
Create a main.js file locally (or in the online editor) with a function:
Use the Back4App CLI or the in-dashboard Cloud Code > Functions editor.
- Install the CLI:
- Configure your account key:
- Deploy:
In your package.json (within Cloud Code), list your dependencies. Then in main.js:
In your Back4App dashboard, the _User class is already provided. You can set email verification, password resets, and more.
- Sign Up:
- Log In:
You can integrate social logins (Google, Apple, Facebook) with Parse Swift. Reference the Social Login Docs for detailed instructions.
Upload and retrieve files such as images or documents through Parse. For Swift:
You can configure file permissions in your Back4App settings or in your app’s parse-config file. For example, restrict who can upload or delete files.
Email verification ensures a user owns the email address provided. Password reset flows let users securely recover accounts.
- Go to App Settings > User Email Settings.
- Enable email verification.
- Configure the From email, email templates, and optional custom domain.
Use Cloud Jobs to automate tasks such as deleting old records or sending daily notifications. They run on the server side, not triggered directly by the client.
Schedule this job in the Back4App dashboard under Server Settings > Background Jobs to run periodically.
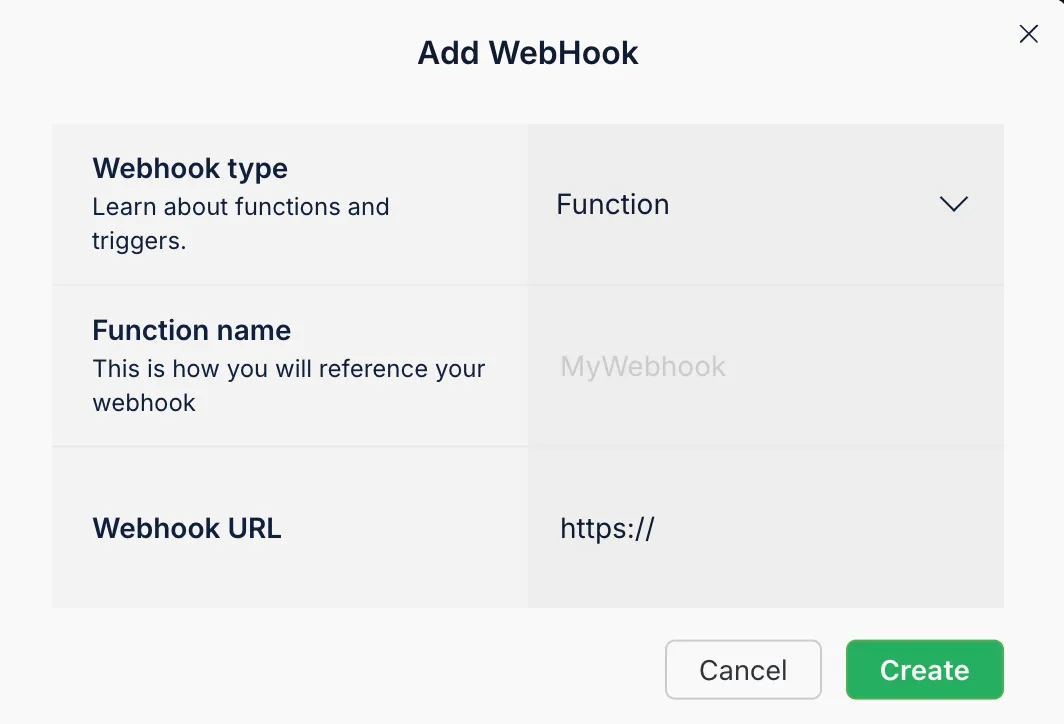
Webhooks let your app send data to external services whenever certain events occur. For example, notify a Slack channel when a Todo is created.
- Dashboard: Go to More > Webhooks and select “Add Webhook.”
- Set Endpoint: e.g. https://my-server.com/webhook-endpoint.
- Event Trigger: e.g. “New record in class Todo.”
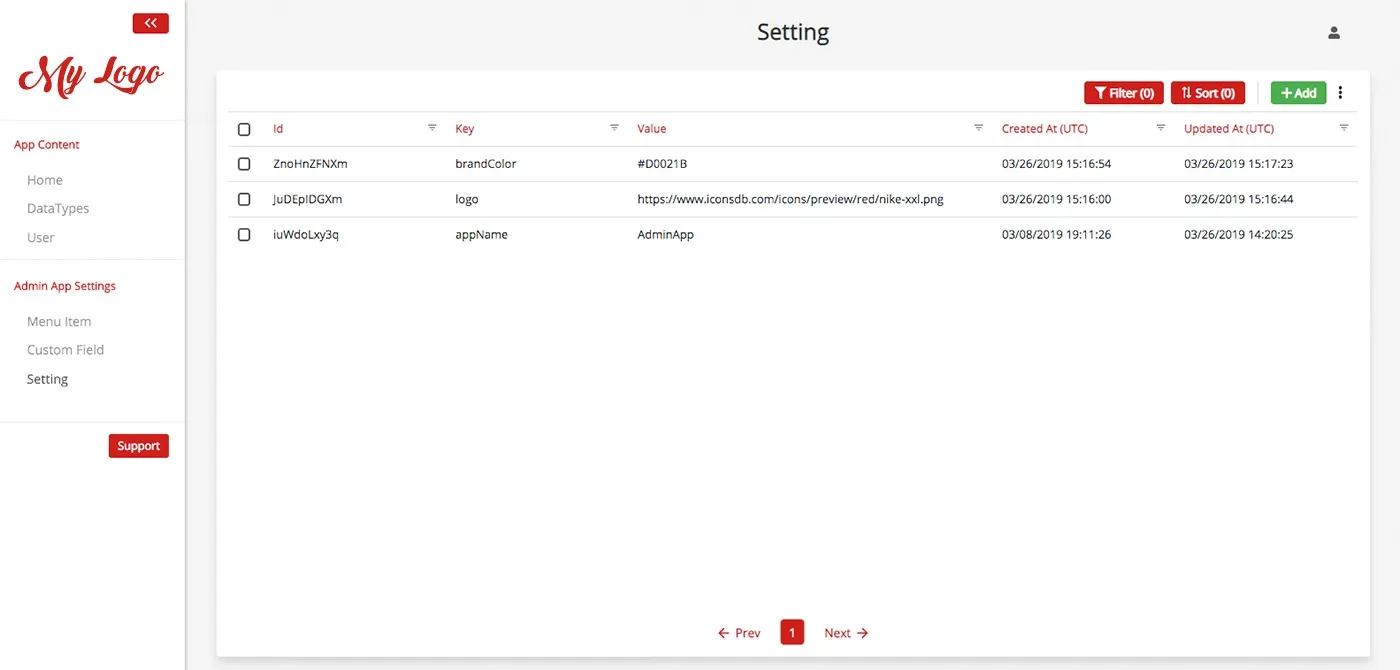
Your Admin Panel is accessible via “More” > “Admin App” in the Back4App dashboard. Create an admin user and choose a subdomain for easy access.
- Data Browsing: View and edit classes in a user-friendly format.
- Logs: Check server logs and Cloud Code logs.
- Analytics: Monitor usage, push notifications, etc.
In this tutorial, you learned how to build a backend for iOS using Back4App and the Parse Swift SDK.
You integrated a scalable database, implemented security with ACLs and CLPs, wrote Cloud Code functions, configured user authentication, handled file storage, and even scheduled background tasks.
With these essential features in place, you can offer a reliable backend for your iOS mobile application while focusing on the user experience and unique features.
Next Steps:
- Explore advanced roles and custom access controls for multi-level security.
- Integrate advanced features like push notifications, geo-queries, or external data sources.
- Review Back4App’s official documentation for performance tips, logs analysis, or real-time analytics.
- Try out additional tutorials on chat applications, IoT integration, or e-commerce expansions.
By leveraging Back4App, you get an open source based platform that is a great option to reduce complexity, store data easily, and incorporate real time functionalities into your iOS app. Implementing these steps frees you up to work on design, user flows, or business logic, creating a robust backend for your ios app in no time.
