How to Build a Backend for Swift?
In this tutorial, you’ll learn how to build a complete backend for a Swift application using Back4App.
We’ll walk through integrating essential Back4App features—such as database management, Cloud Code Functions, REST and GraphQL APIs, user authentication, real-time queries (Live Queries), and more—to create a secure, scalable, and robust backend that seamlessly communicates with your Swift-based client app.
By harnessing Back4App’s quick setup and intuitive environment, you’ll drastically reduce the time and effort required compared to manually configuring servers and databases.
Along the way, you’ll gain hands-on experience with crucial functionalities, including advanced security features, scheduling tasks with Cloud Jobs, and setting up webhooks for external integrations.
By the end of this tutorial, you’ll be well-prepared to enhance this foundational backend service into a production-ready application or easily incorporate custom logic and third-party APIs as needed.
You’ll see how working with a BaaS platform can transform backend development into a more streamlined experience, especially when creating a swift backend or any other backend app. Let’s get started!
To complete this tutorial, you will need:
- A Back4App account and a new Back4App project Getting Started with Back4App. If you do not have an account, you can create one for free. Follow the guide above to get your project ready.
- A Swift development environment You can use Xcode as your IDE to create iOS or macOS applications using Swift. Ensure you have a recent stable release of Xcode installed on your machine.
- Familiarity with Swift programming language If you’re new to Swift, review the official Swift Documentation or a beginner’s tutorial before starting.
- Parse Swift SDK If you’re using CocoaPods, add pod 'ParseSwiftOG' to your Podfile. Or if you’re using Swift Package Manager, add .package(url: "https://github.com/netreconlab/Parse-Swift.git", from: "5.0.0") to your dependencies. Read more in the Parse Swift Docs.
Make sure you have all these prerequisites in place before you begin. Having your Back4App project set up and your local Swift environment ready will help you follow along more easily.
The first step in building your Swift backend on Back4App is creating a new project. This project is the foundation for all backend configurations discussed in this tutorial. Swift can connect seamlessly to your new backend by using the Parse Swift SDK. Let’s see how.
- Log in to your Back4App account.
- Click the “New App” button in your Back4App dashboard.
- Name your app (e.g., “Swift-Backend-Tutorial”).
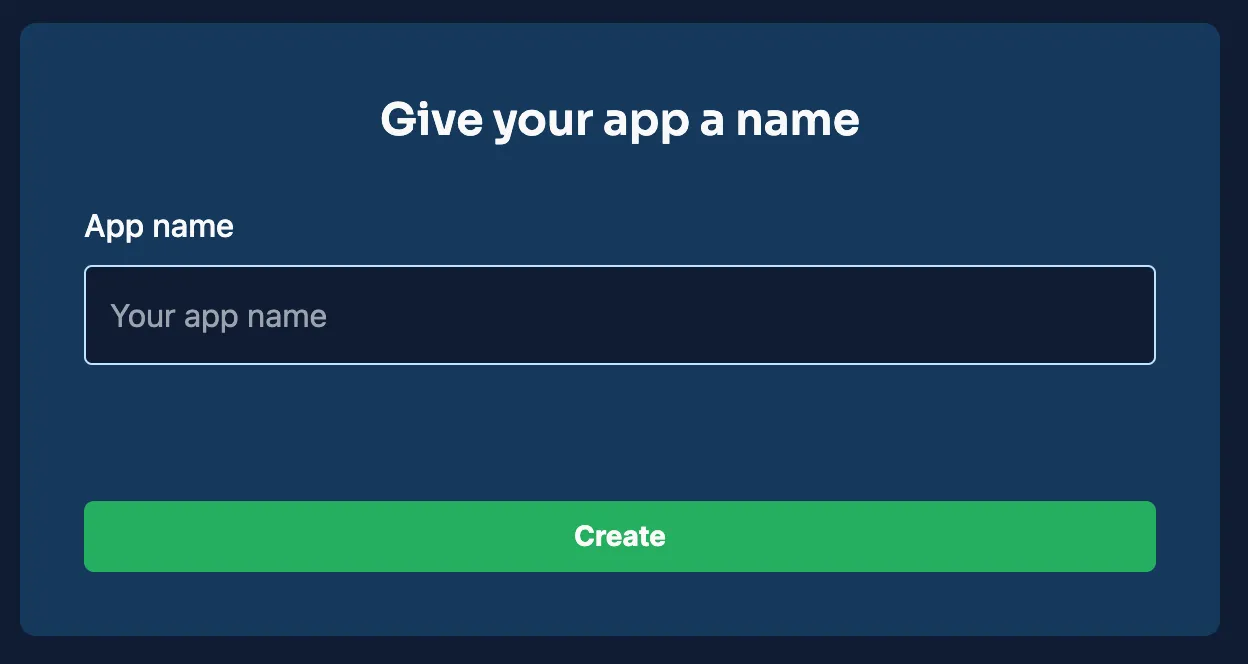
After creation, you’ll see the new app listed in your dashboard. This is where you’ll configure your database, cloud functions, and other crucial settings for your backend app.
Back4App is powered by the Parse Platform, which provides the foundation for your database, real-time updates, authentication, and more. Your Swift application can connect to Back4App by installing and initializing the Parse Swift SDK.
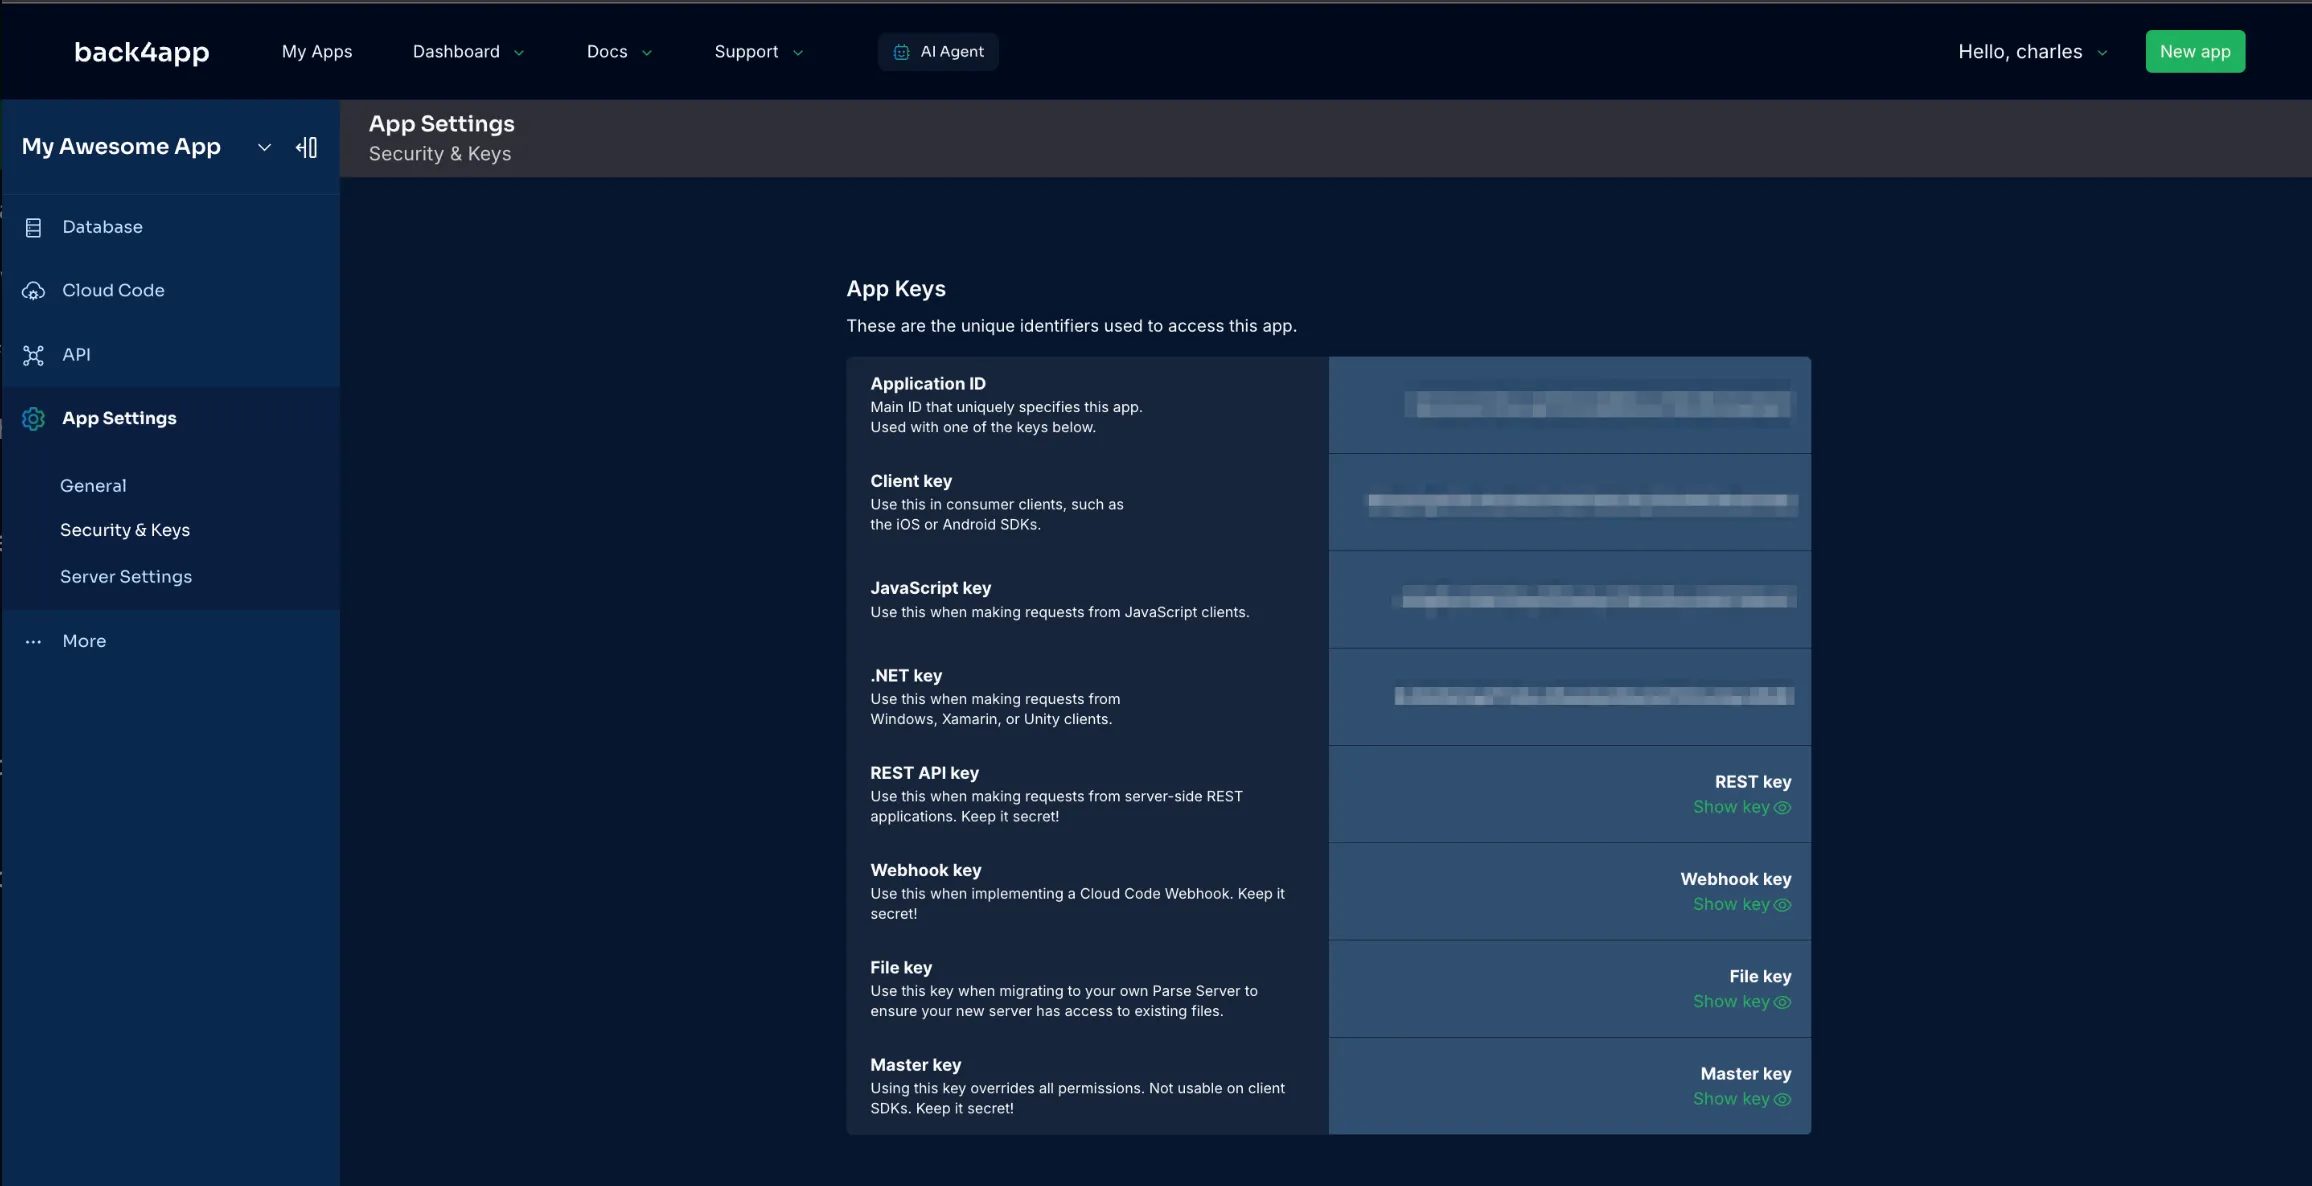
Retrieve your Parse Keys: In your Back4App dashboard, go to your app’s “App Settings” or “Security & Keys” to find your Application ID and Client Key. You will also see your Parse Server URL (often https://parseapi.back4app.com).
Install the Parse Swift SDK:
- Swift Package Manager (Recommended):
- CocoaPods:
Initialize Parse in your App:
You can do this in your Swift project’s main entry point (e.g., AppDelegate.swift or the SwiftUI @main struct). For example:
With this setup, your Swift client can now send secure requests to Back4App. You’ve established a robust connection that simplifies data operations without requiring manual REST or GraphQL calls (though you can still use them if you like).
In this step, you’ll configure your backend database on Back4App and see how to manage data from your Swift code. Back4App uses the Parse data model, letting you store objects in class-like structures. Swift can interact with these classes easily through the Parse Swift SDK.
- Navigate to the “Database” section in your Back4App dashboard.
- Create a new class (e.g., “Todo”).
- Add columns for the data you need, such as “title” (String) and “isCompleted” (Boolean).
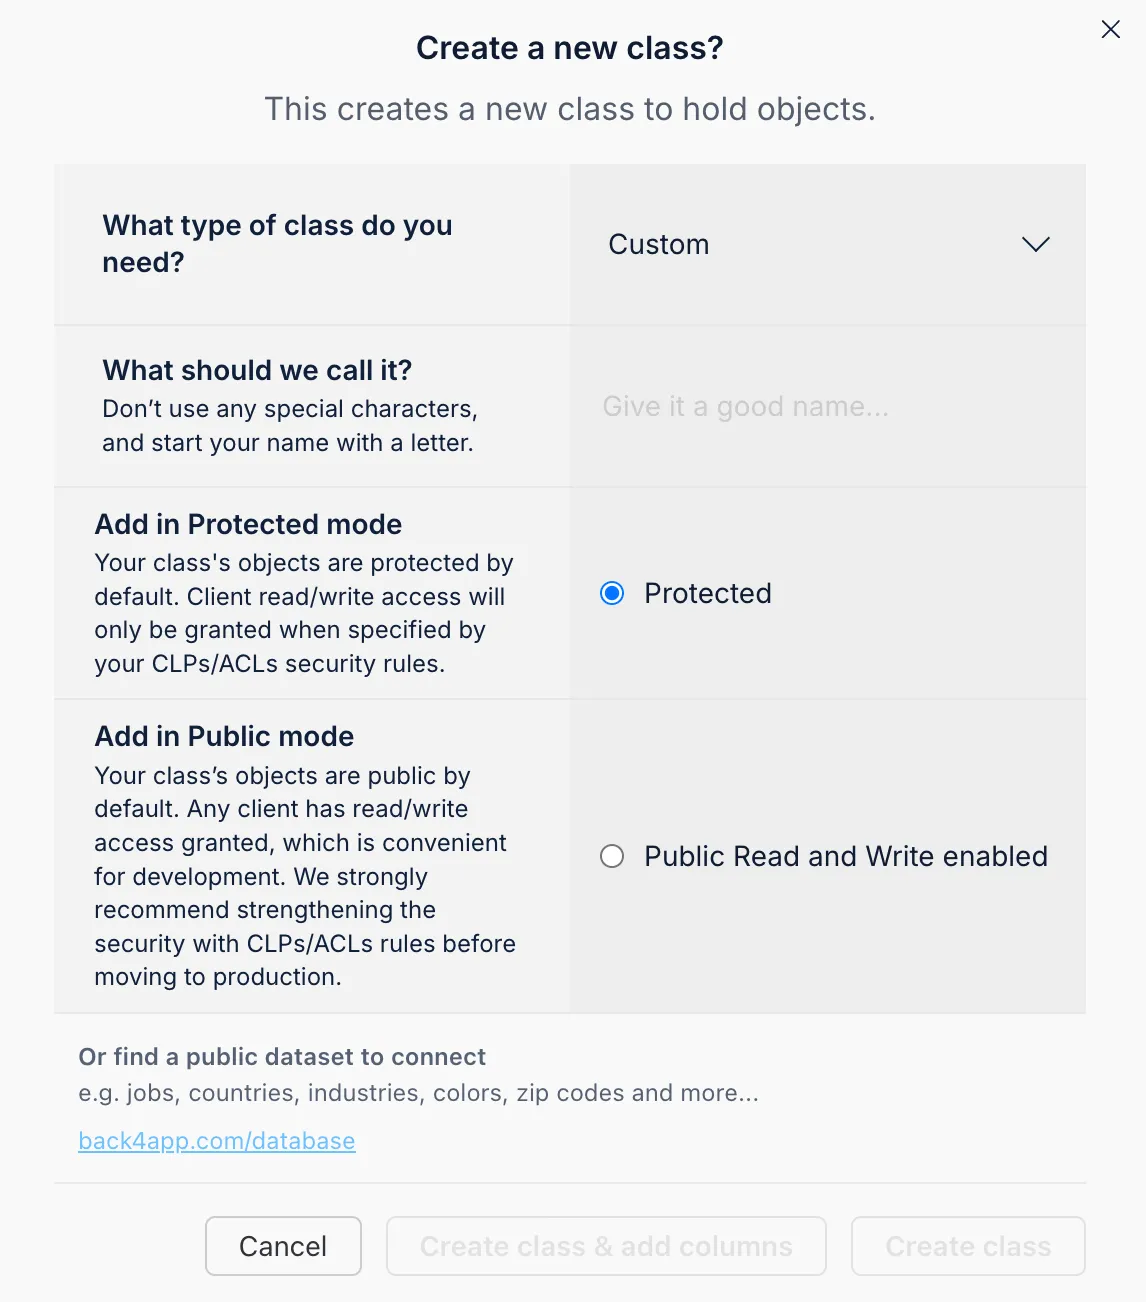
You can also let the Parse Swift SDK create these columns automatically the first time you save an object. Either way, your schema must match the data you store so your app can handle it seamlessly.
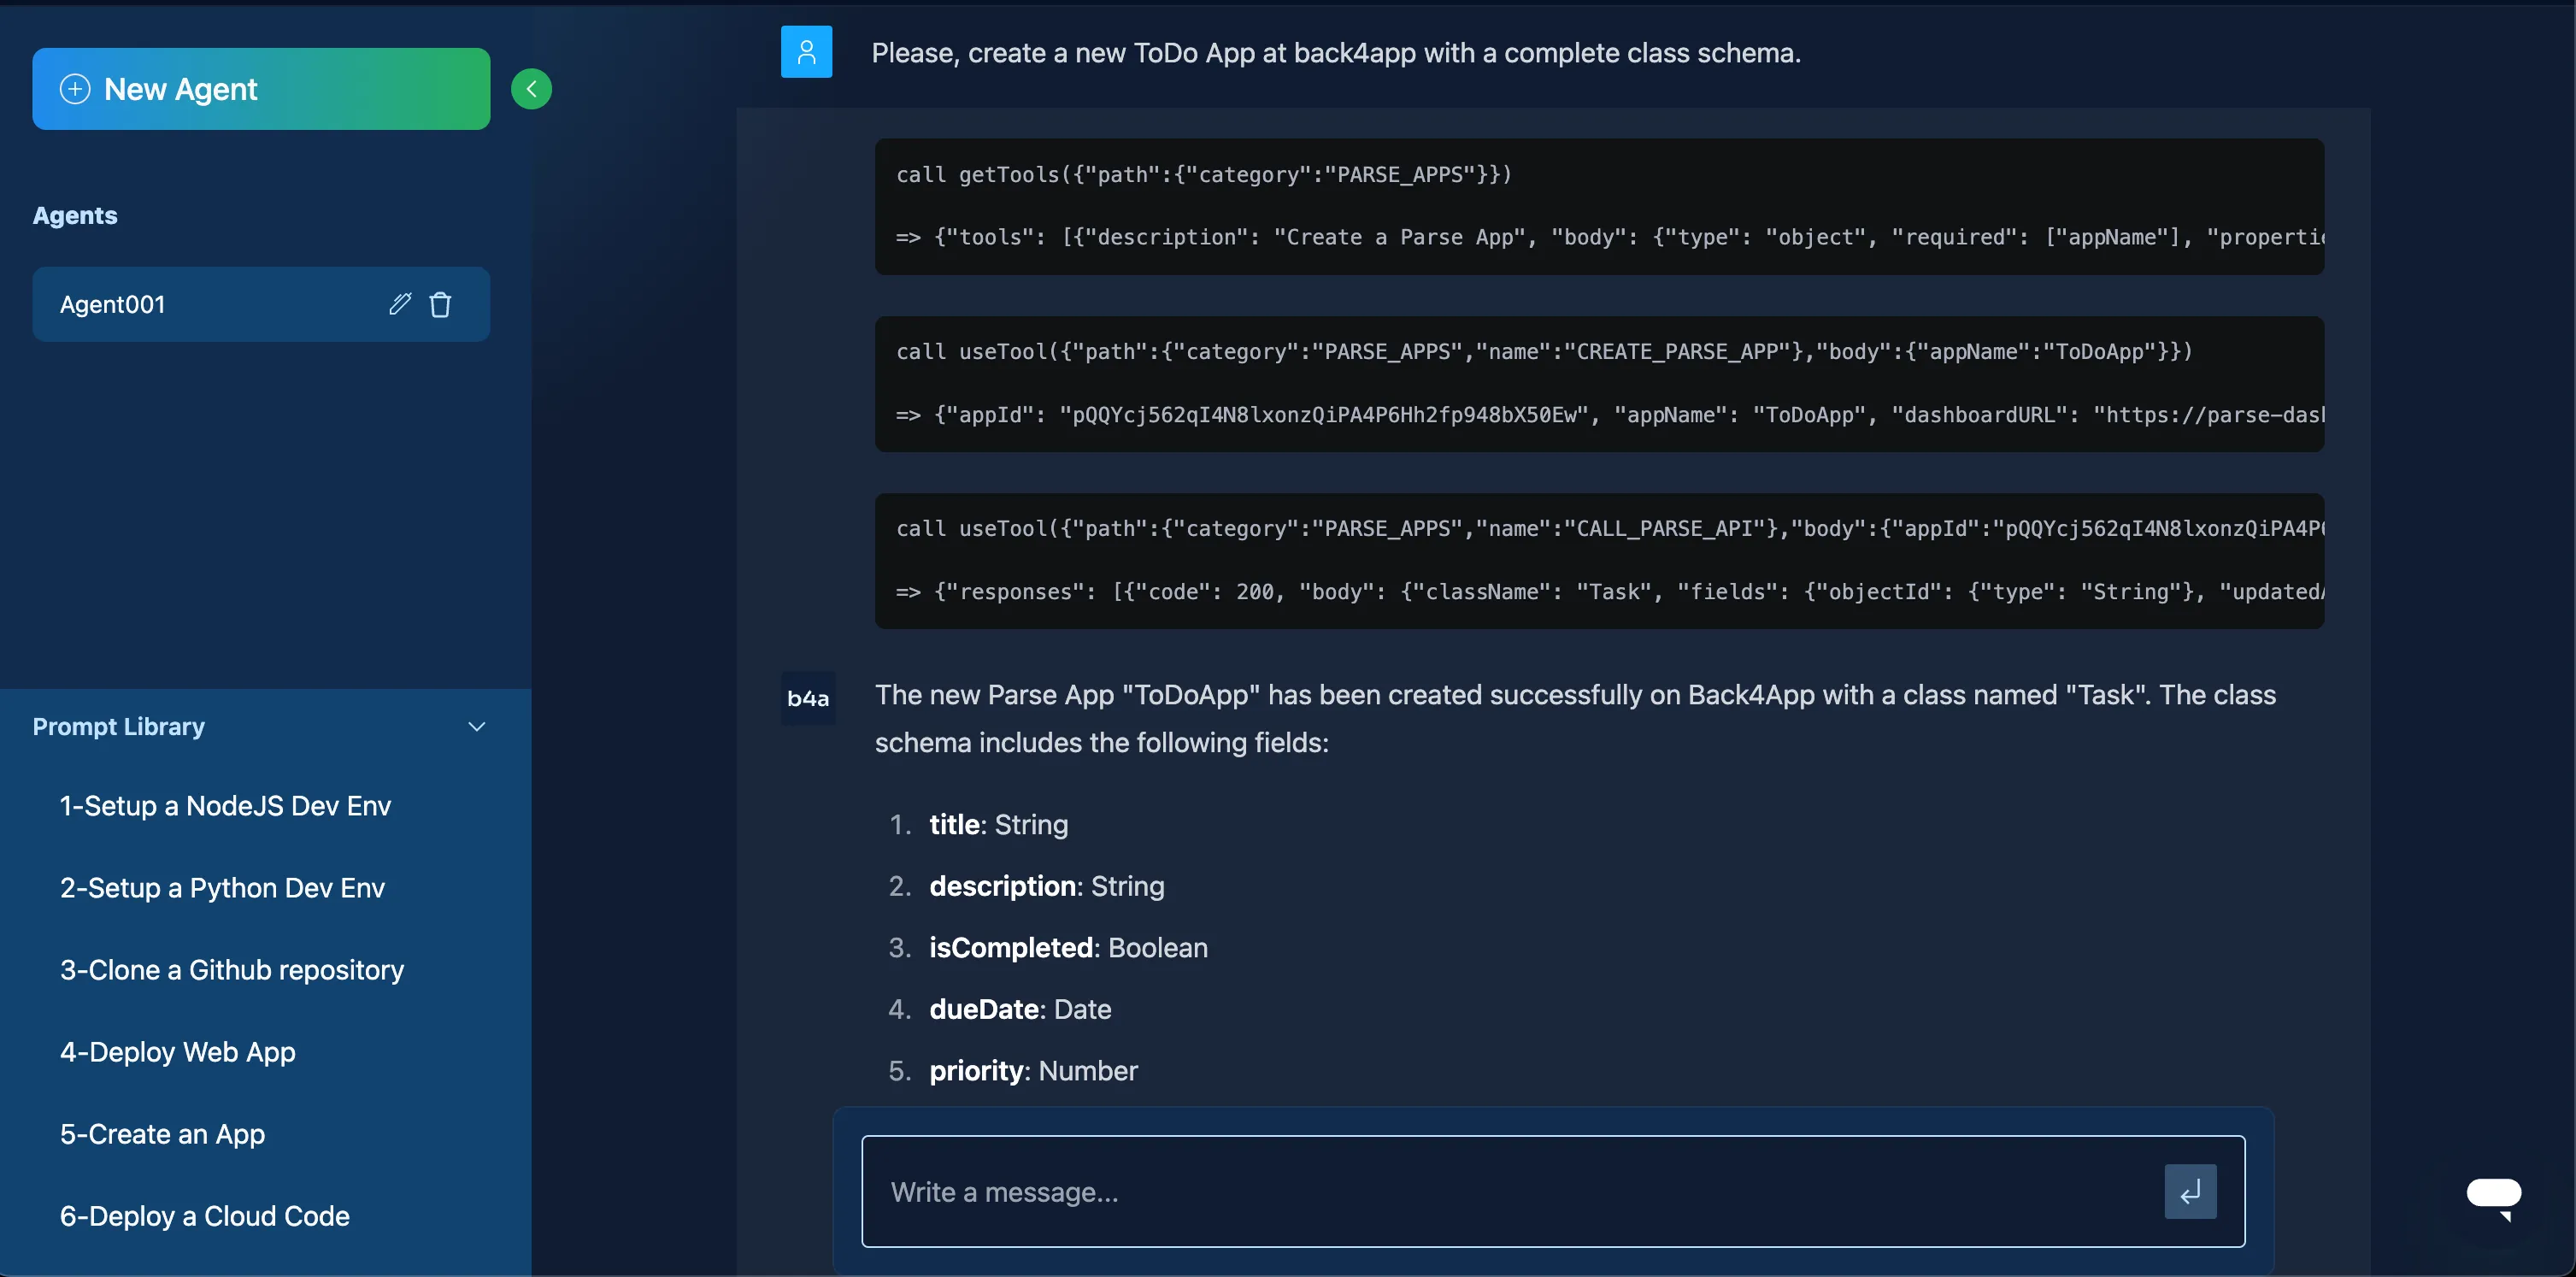
Back4App provides an AI Agent that can help you design your data model:
- Open the AI Agent from your app dashboard or menu.
- Describe your data model in natural language. For example: “Please create a new Swift Project with a ToDo class schema.”
- Let the AI Agent create the Schema for you automatically.
Using the Parse Swift SDK, you can create a struct conforming to ParseObject to represent your data. For example, if you have a Todo class:
Create a Todo object and save:
Query all Todo items:
If you prefer standard HTTP requests, you can use the REST API. For example, to create a new Todo:
GraphQL is also supported. Here’s a sample mutation to create a Todo:
If your Swift app needs real-time updates, Back4App supports Live Queries. For iOS:
- Enable Live Queries in your app’s Server Settings.
- Connect by specifying Parse.liveQueryServerURL in your app:
- Subscribe to live updates:
Now, whenever a Todo is created, updated, or deleted, you’ll receive updates in real time. This is especially helpful for collaborative or time-sensitive features in your Swift backend development.
Back4App uses Access Control Lists (ACLs) and Class-Level Permissions (CLPs) to secure your data. ACLs let you define per-object permissions, while CLPs set default access rules for an entire class.
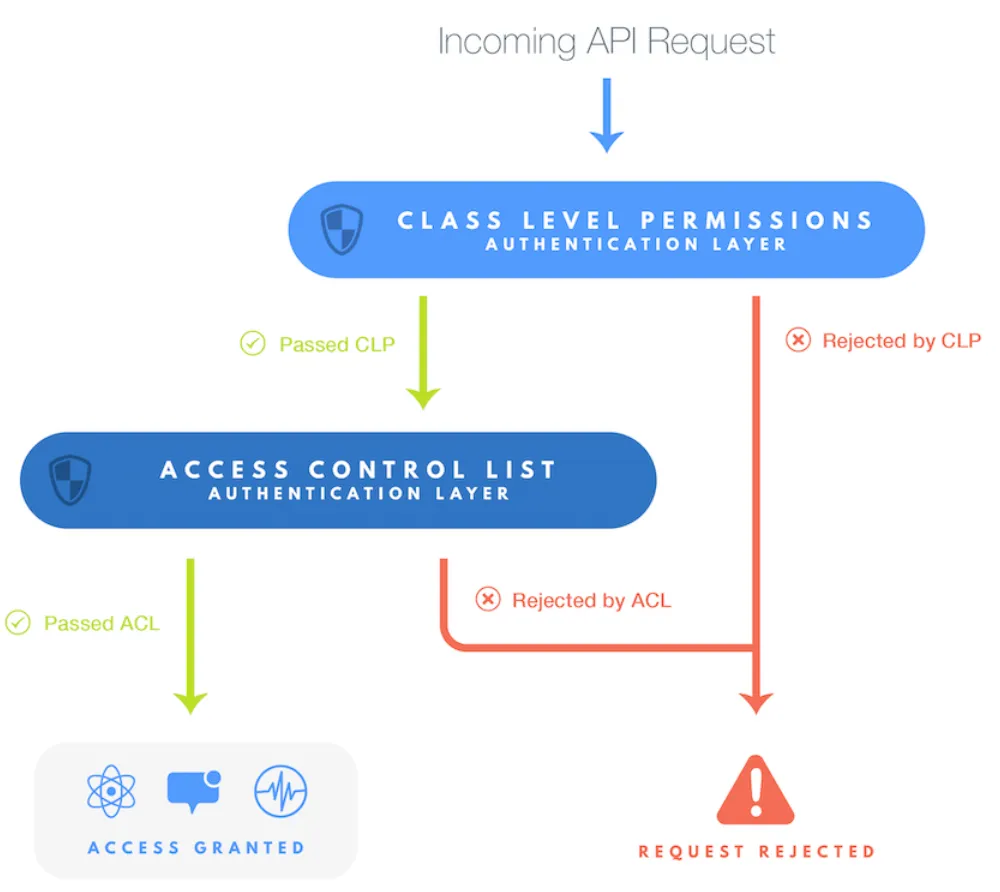
In the Back4App Dashboard:
- Go to Database and select a class (e.g., “Todo”).
- Open Class-Level Permissions.
- Configure restrictions on read, write, or public access.
When creating or updating a ParseObject in Swift, you can set an ACL. For example:
This ensures only the specified user can read or modify that object. Combining ACLs and CLPs forms a robust, layered security model for your app’s data.
Cloud Code allows you to run server-side Swift logic (or JavaScript if using the original Parse Cloud Code style) without exposing secrets to the client. It’s perfect for validations, triggers, scheduled tasks, and more.
Here’s a JavaScript-based example, but you can also work in TypeScript or call from Swift. In your Back4App Cloud Code folder, create main.js:
You might want to install NPM modules by including them in your package.json file, and then calling them in main.js. Once deployed, you can invoke these functions from your Swift code using callFunction.
Deploy your Cloud Code via:
You can also deploy through the Back4App dashboard by going to Cloud Code > Functions. Paste your code in the online editor and click Deploy.
In Back4App’s Dashboard, you’ll see a default _User class for user accounts. Turn on any additional authentication providers (Apple, Facebook, Google, etc.) under your app’s Auth Settings if needed.
Back4App supports OAuth login with Google, Apple, and Facebook. Configure these providers on your Auth settings page, and use the relevant Parse Swift integration code in your Swift app (e.g., ParseFacebookUtils or ParseAppleUtils) to handle authentication flows. For details, see the Social Login Docs.
You can store images, videos, or any file in Back4App. In Swift, you have ParseFile:
Then you can attach this file to a ParseObject and save. Retrieve the file’s URL to display or download it elsewhere.
To restrict file access, you can use Parse Server’s file configuration. For instance, you might allow only authenticated users to upload files or specify read/write permissions in your Swift code.
Validating a user’s email ensures a real, active mailbox. Password reset helps your users securely regain account access if they forget credentials.
Go to Email Settings and enable Email Verification. Edit your email templates for both verification and reset flows.
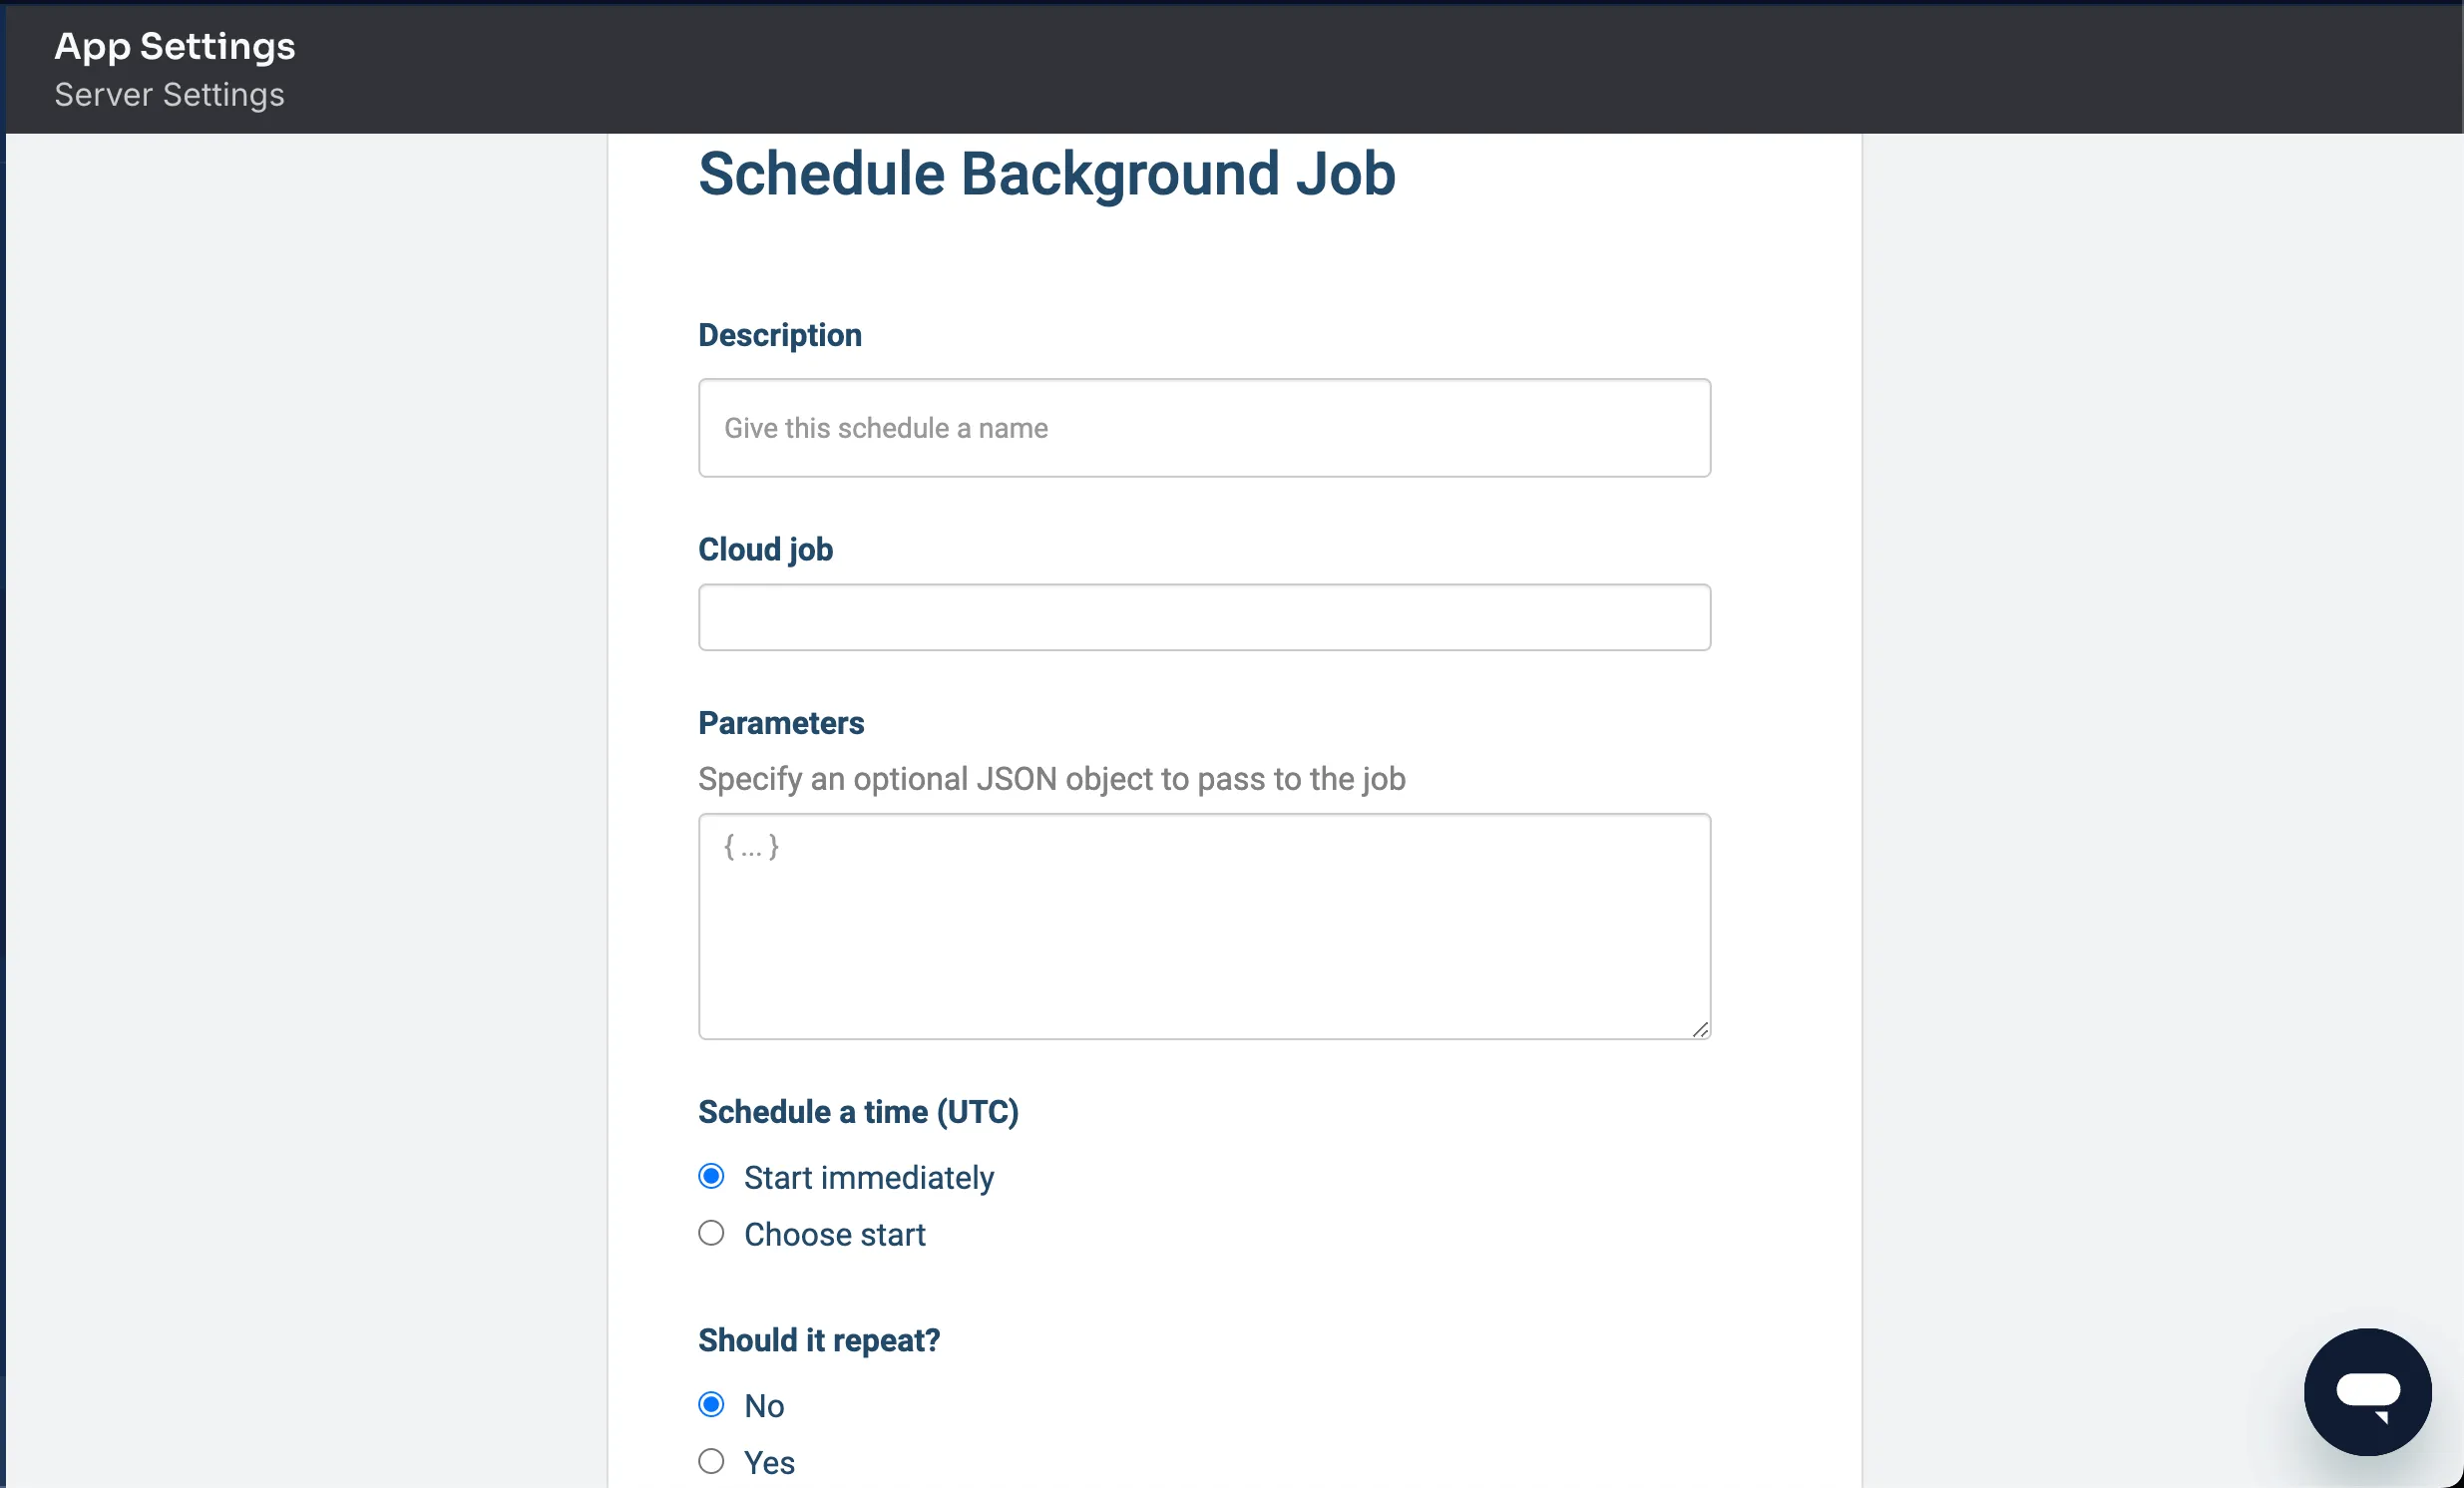
You can schedule server-side tasks on Back4App. For example, cleaning old data or sending weekly reports. Define a job in your Cloud Code and schedule it through the Back4App dashboard.
Then, in the Back4App Server Settings > Background Jobs, you can schedule it to run daily or at any interval.
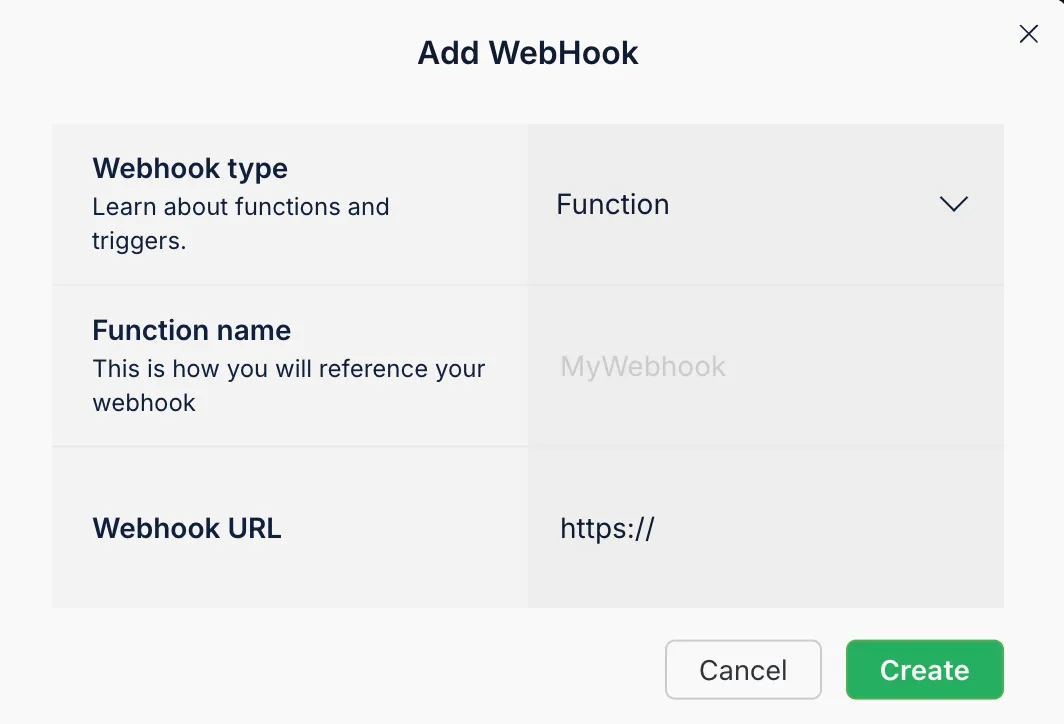
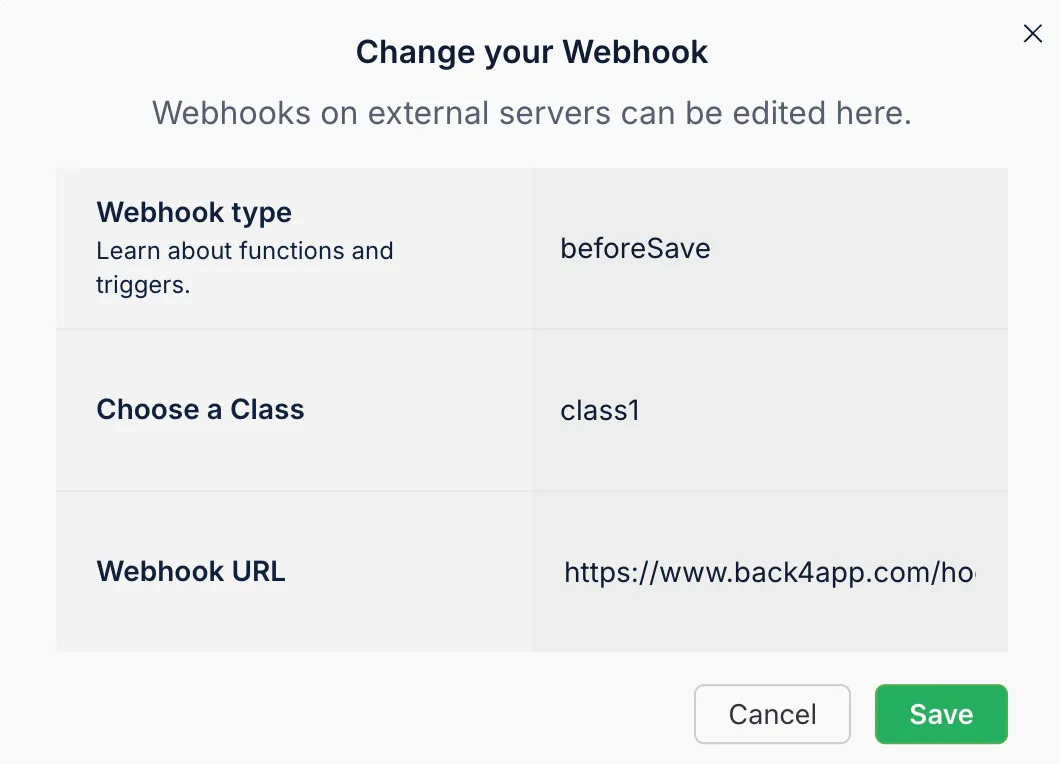
Webhooks let your app automatically POST data to external services whenever certain events happen. This is perfect for integrating with Slack, Stripe, or other third-party APIs.
- In your Back4App dashboard, go to More > Webhooks.
- Add a webhook endpoint (e.g., https://example.com/webhook).
- Choose triggers (e.g., object creation in “Todo”).
For custom logic, you can also issue requests to external URLs in Cloud Code triggers:
The Back4App Admin App is a point-and-click interface for non-technical or support staff. It provides a simple GUI to perform CRUD operations on your data—great for managing data outside your dev environment.
- Go to App Dashboard > More > Admin App.
- Enable the Admin App and choose a subdomain.
- Create an Admin User.
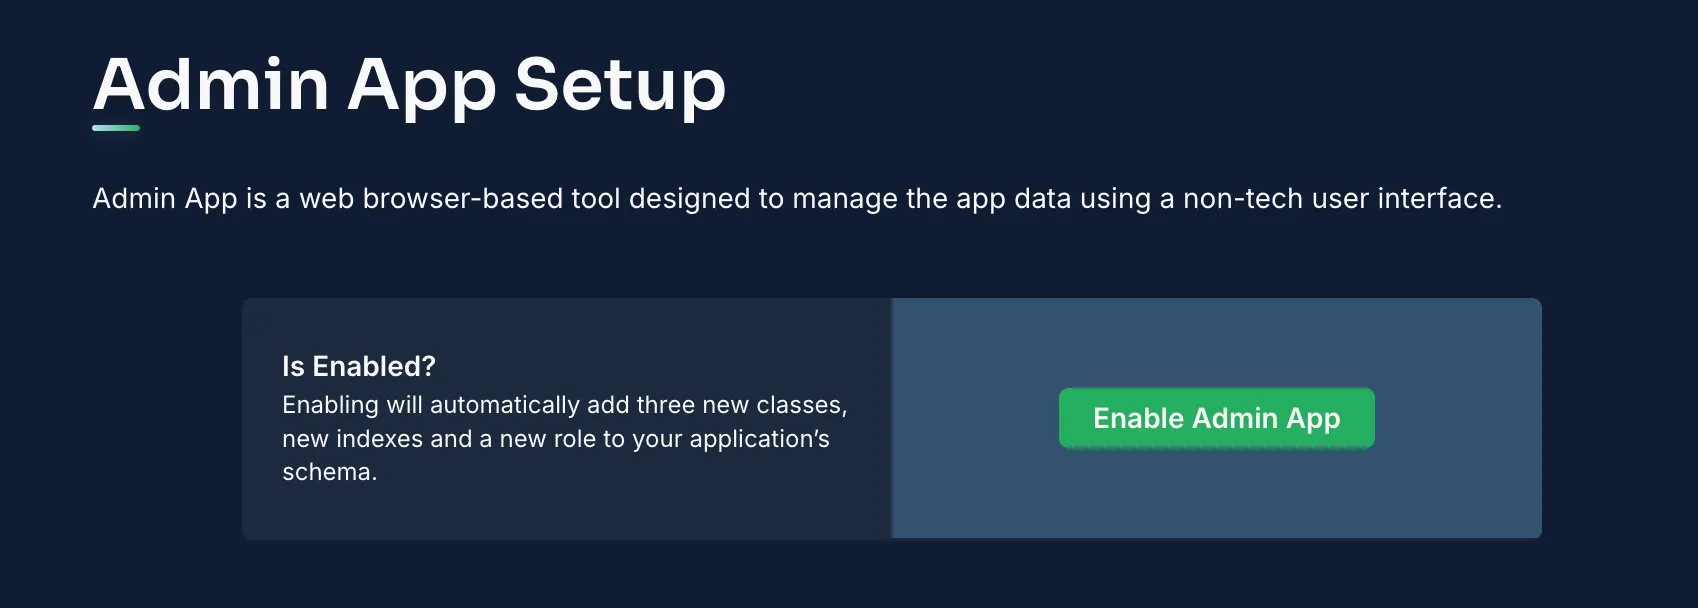
Once activated, anyone with the proper credentials can view and edit your data from a user-friendly web interface—no code required.
By following this complete tutorial, you’ve learned how to build a backend for Swift using Back4App. Specifically, you have:
- Created a secure backend for your Swift app.
- Configured a database with class schemas and data relationships.
- Worked with real-time queries (Live Queries) for immediate updates.
- Set robust security with ACLs and CLPs.
- Used Cloud Code to run custom logic on the server side.
- Implemented user authentication with verification and password resets.
- Handled file uploads securely.
- Scheduled automated tasks with Cloud Jobs.
- Learned about Webhooks to integrate external APIs.
- Explored the Admin Panel for direct data management.
You now have a functional, scalable backend service for your Swift application—one that can be easily extended to handle more complex features, connect to third-party services, or adapt to heavier user traffic. You’ve also seen firsthand how the combination of Back4App’s BaaS features and Swift’s modern syntax can speed up backend development.
- Build a production-ready Swift app by fleshing out your UI/UX.
- Integrate advanced features like specialized authentication (role-based, SSO), or additional Cloud Code logic for domain-specific rules.
- Check out official Back4App docs for deeper dives into logs, analytics, or advanced security.
- Explore other tutorials on real-time chat, IoT dashboards, or location-based apps. Combine these with external APIs to solve real-world challenges.
That’s how to build a backend for Swift using Back4App! Happy coding!
