How to a Basic CRUD App with Alpine.js?
In this guide, you'll learn to construct a CRUD (create, read, update, delete) application using Alpine.js.
This tutorial walks you through the core operations needed to manage data dynamically, leveraging Back4app as your robust backend service.
We’ll begin by setting up a new Back4app project dubbed Basic-CRUD-App-AlpineJS. This project will serve as your backend for managing data.
After initializing your project, you'll design a flexible database schema by defining collections and fields—either manually or with the help of the Back4app AI Agent. This step ensures your backend is structured for reliable CRUD operations.
Next, you will use the Back4app Admin App, a user-friendly drag and drop tool, to administer your collections effortlessly. This interface streamlines data management tasks.
Finally, you will connect your Alpine.js frontend to Back4app using REST or GraphQL APIs, and secure your backend with robust access controls.
By the conclusion of this tutorial, you'll have a production-ready web app that supports basic CRUD operations along with user authentication and secure data updates.
- How to construct CRUD applications with an efficient backend service.
- Methods for designing a scalable data model and linking it to an Alpine.js frontend.
- Tips on using a drag and drop admin tool for managing collections.
- Strategies for deploying your application using containerization and web deployment techniques.
Before diving in, make sure you have:
- An Alpine.js development environment. Include Alpine.js via CDN or npm as per your project setup.
- Familiarity with JavaScript, Alpine.js, and REST API principles. Consult the Alpine.js documentation for more details.
- Log into your Back4app dashboard.
- Click on the “New App” button.
- Provide the project name: Basic-CRUD-App-AlpineJS and follow the prompts.
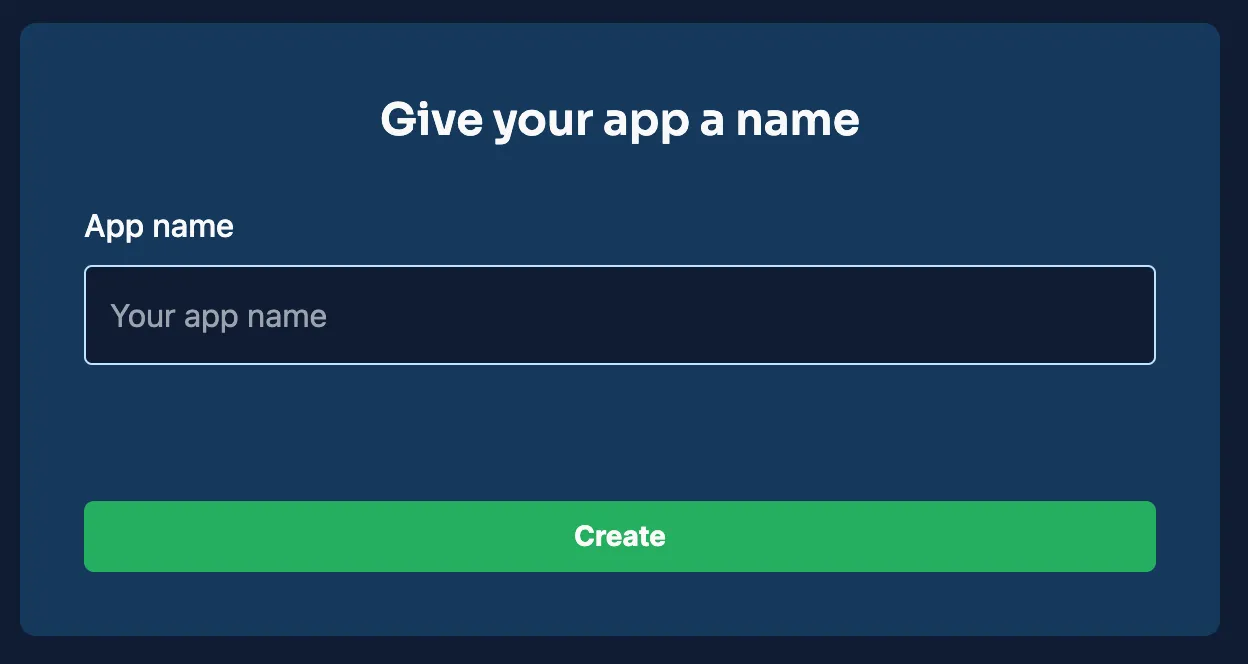
After creation, your project appears on the dashboard, ready for backend configuration.
For our CRUD app, you’ll set up a couple of key collections. Below are sample collections with fields and data types to guide your schema setup. These collections facilitate essential CRUD actions.
This collection holds details for each item.
Field | Type | Purpose |
|---|---|---|
_id | ObjectId | Auto-generated primary identifier. |
title | String | Name or title of the item. |
description | String | Brief summary about the item. |
created_at | Date | Timestamp for item creation. |
updated_at | Date | Timestamp for last update. |
This collection stores user credentials and details.
Field | Type | Purpose |
|---|---|---|
_id | ObjectId | Auto-generated primary identifier. |
username | String | Unique user identifier. |
String | User’s unique email address. | |
password_hash | String | Securely stored hashed password. |
created_at | Date | Account creation timestamp. |
updated_at | Date | Timestamp for the last account update. |
You can manually create these collections in the Back4app dashboard by adding a new class for each and defining the columns accordingly.
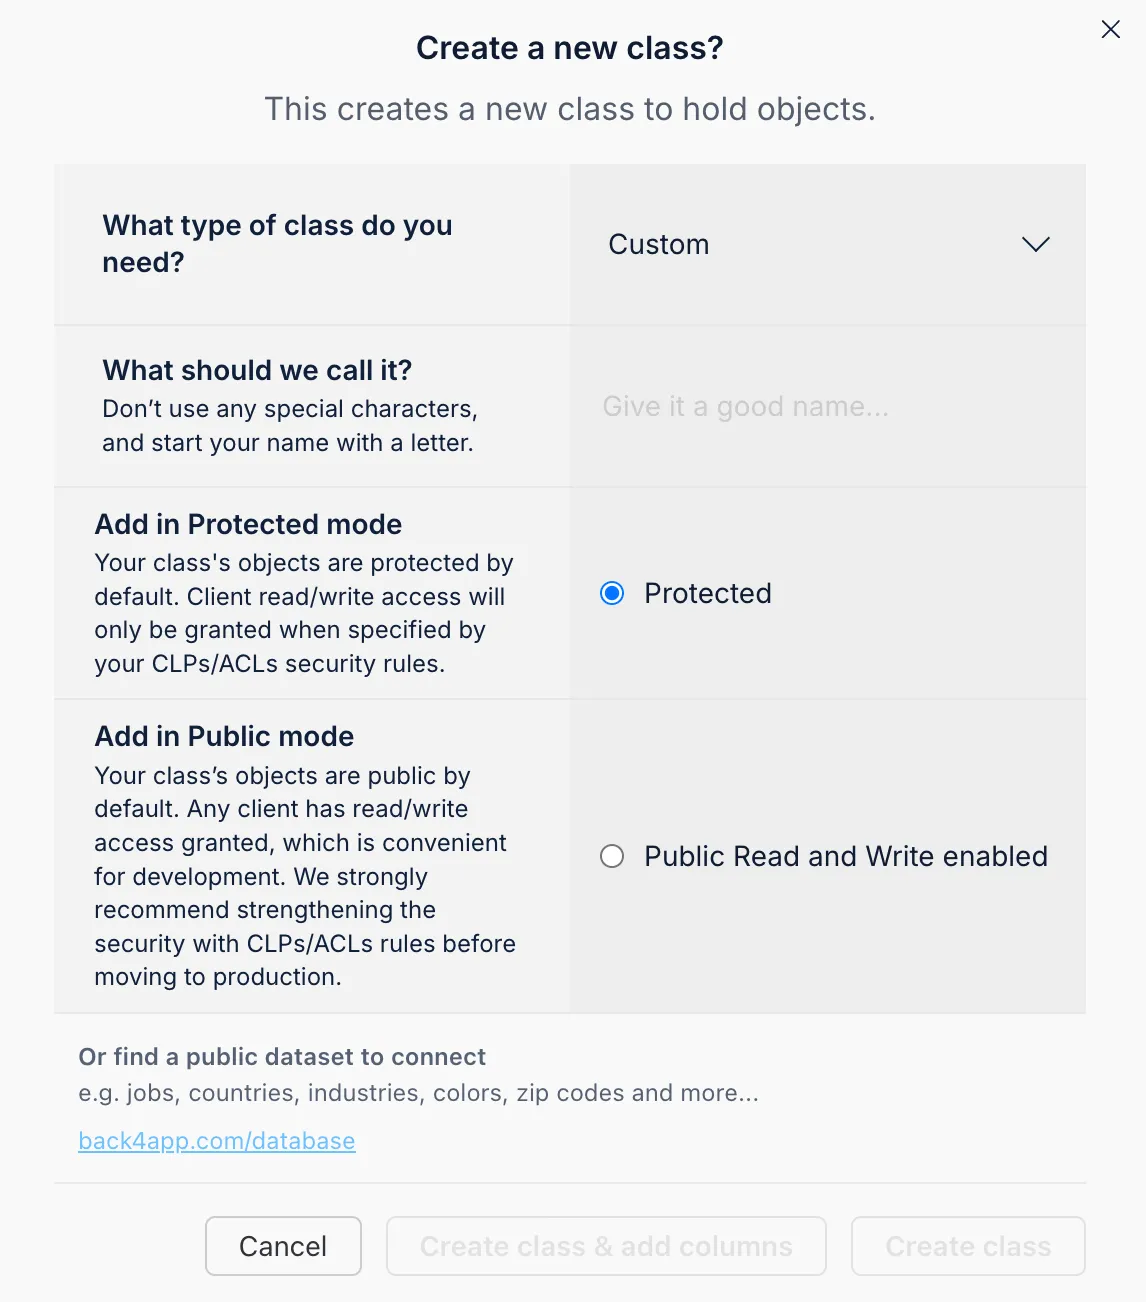
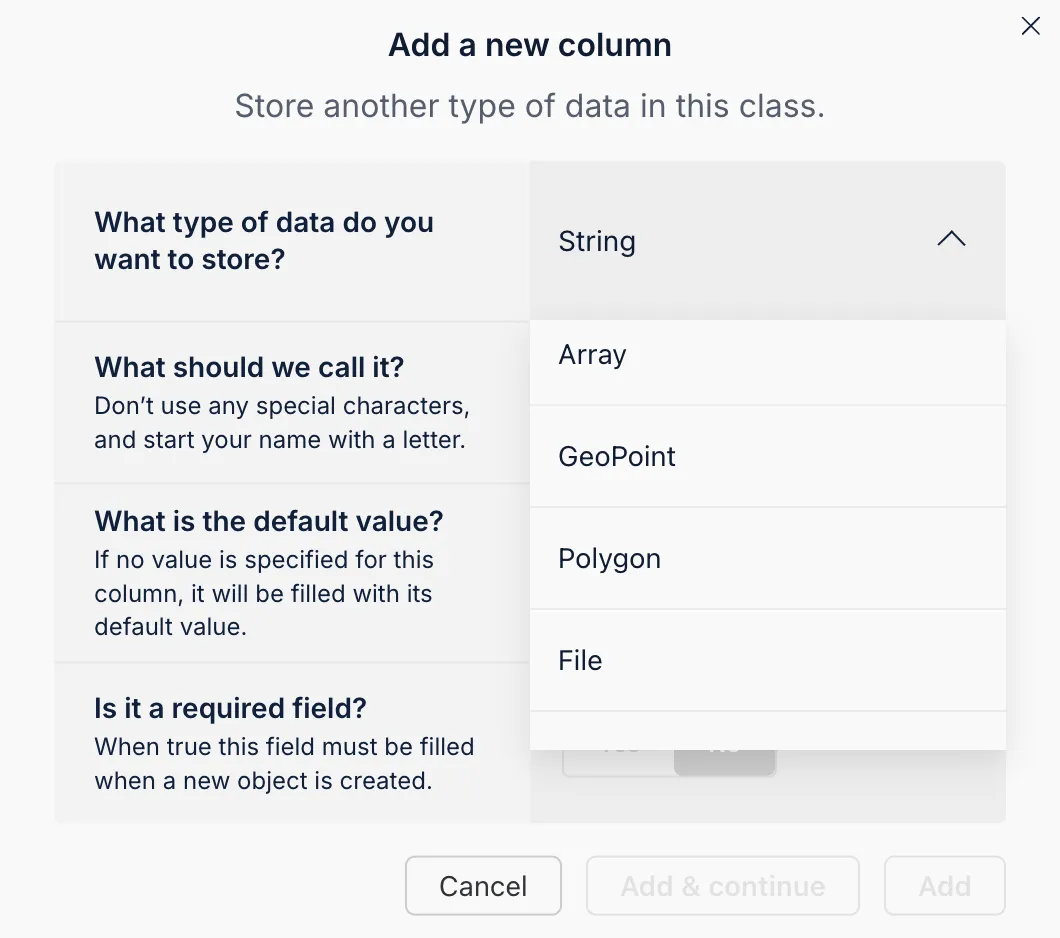
You can set fields by selecting a type, naming them, adding default values, and marking them as required.
The Back4app AI Agent helps automate schema generation. It creates your collections based on a prompt describing your desired fields.
- Open the AI Agent from your Back4app dashboard.
- Input a detailed description of the collections and fields needed.
- Review the suggested schema and apply it to your project.
This tool saves time and ensures a consistent, optimized schema.
The Back4app Admin App offers a no-code interface for managing your backend data. Its drag and drop features make CRUD tasks simple and efficient.
- Go to the “More” section in your Back4app dashboard.
- Select Admin App and then click Enable Admin App.
- Set up your first admin credentials to configure roles and system collections.
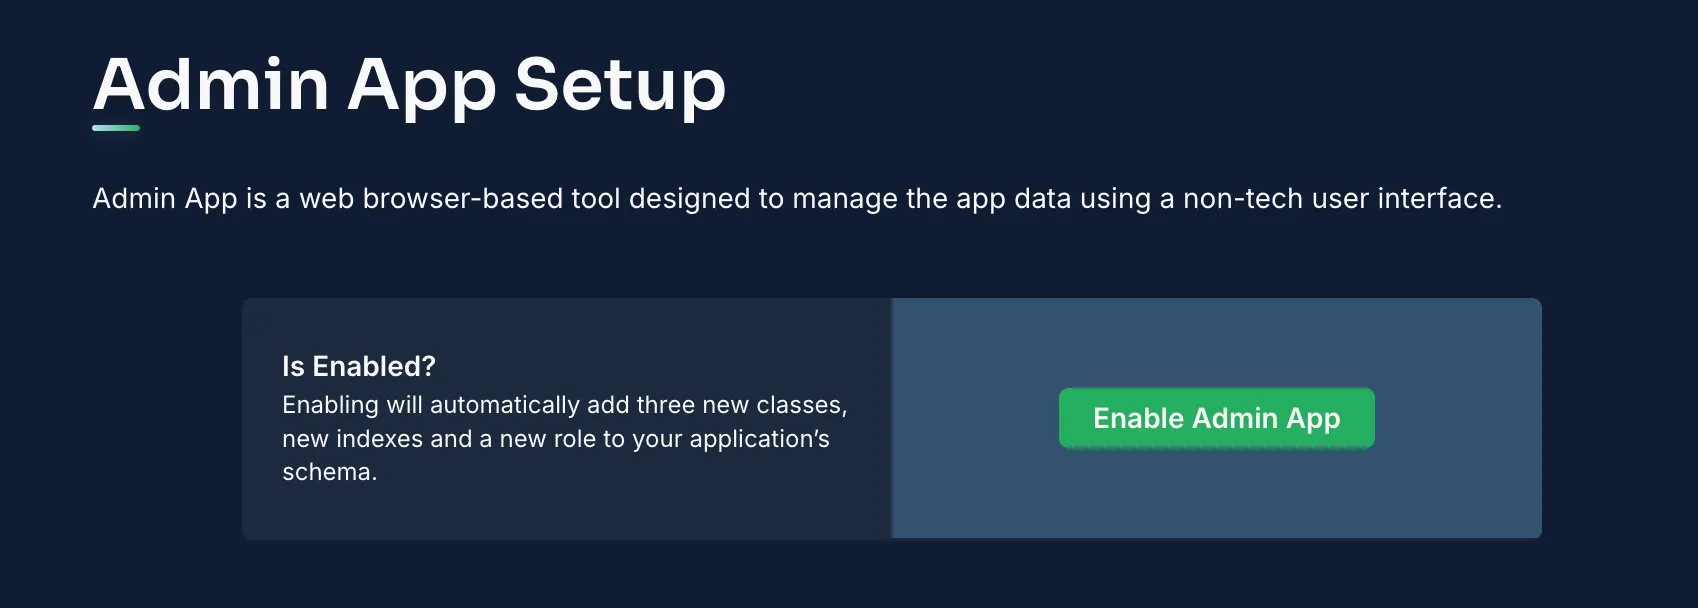
Once activated, sign in to the Admin App to manage your data.
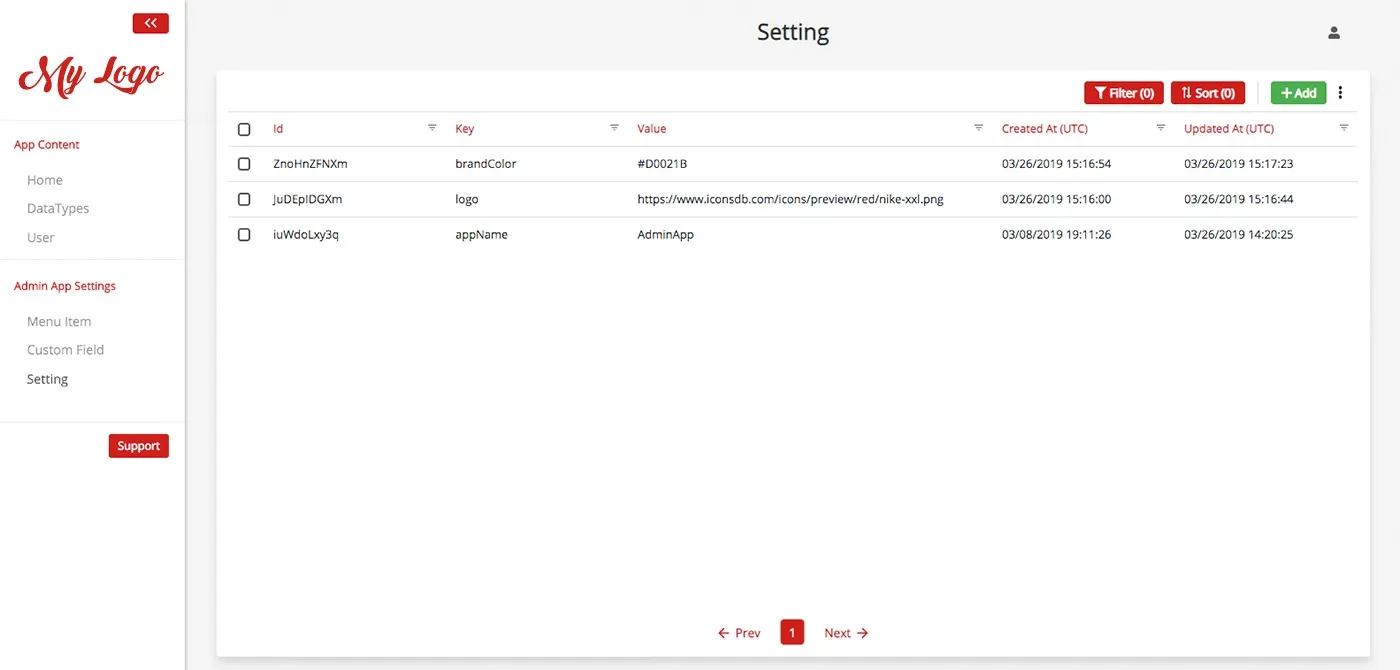
Inside the Admin App, you can:
- Create Records: Click the “Add Record” button in a collection like Items.
- Read and Update Records: Select a record to view details or make edits.
- Delete Records: Remove unwanted entries using the delete function.
This interface simplifies data management with an intuitive drag and drop design.
With your backend ready, it's time to link your Alpine.js frontend to Back4app.
You'll use REST or GraphQL to interact with your backend.
Integrate these API calls within your Alpine.js components to perform CRUD operations.
Secure your data by applying ACLs to your records. For instance, to create a private item:
Within the Back4app dashboard, set CLPs for each collection to enforce default access policies, ensuring only authorized users can access sensitive data.
Back4app utilizes Parse’s User class for managing authentication. In your Alpine.js project, handle user registration and login via API calls.
A similar method can be implemented for user login and session handling.
Back4app’s Web Deployment feature lets you host your Alpine.js frontend easily. In this segment, you will prepare your production build, commit your code to GitHub, connect your repository to Web Deployment, and launch your app.
- Open your project directory in a terminal.
Run your build command (if using a build process for Alpine.js):
- Confirm that your build folder contains an index.html along with the necessary assets.
Your GitHub repository should hold all the source files for your Alpine.js project. A common structure might be:
Initialize a Git repository in your project folder:
Stage your files:
Commit your changes:
- Create a new repository on GitHub (e.g., Basic-CRUD-App-AlpineJS-Frontend).
Push your code:
- Sign in to your Back4app dashboard and select your project (Basic-CRUD-App-AlpineJS).
- Open the Web Deployment section.
- Connect your GitHub account and choose your repository and branch containing your Alpine.js code.
- Build Command: If your project lacks a pre-built folder, specify a command (e.g., npm run build).
- Output Directory: Set it to the folder with your static files (e.g., build or dist).
- Environment Variables: Add any needed variables such as API keys.
If you wish to deploy using Docker, include a Dockerfile like:
Select the Docker option in your Web Deployment configuration if desired.
- Click the Deploy button in Back4app.
- Monitor the deployment process as Back4app pulls your code, builds it, and deploys it.
- Once deployed, you will receive a URL where your Alpine.js application is hosted.
- Visit the provided URL in your browser.
- Verify that your app loads correctly, routes function as expected, and assets are served properly.
- Troubleshoot any issues by checking browser console logs and Back4app deployment logs.
Congratulations! You have built a complete CRUD application using Alpine.js and Back4app.
You set up the Basic-CRUD-App-AlpineJS project, created detailed database collections, and utilized a no-code admin tool for data management.
Additionally, you connected your Alpine.js frontend to your backend using REST APIs and ensured secure data handling.
Next Steps:
- Enhance Your UI: Expand your Alpine.js components with advanced features like detailed item views or real-time updates.
- Add More Functionality: Explore incorporating additional backend logic, third-party APIs, or complex access controls.
- Further Learning: Visit the Back4app documentation and additional resources to deepen your understanding of advanced integrations.
Happy coding and enjoy building your next project!
