How to Build a Basic CRUD App with Java?
In this guide, you'll learn to create a full-featured CRUD (create, read, update, delete) application using Java.
We will leverage Back4app as the backend service to manage your data effortlessly. This tutorial demonstrates the core functionalities of a CRUD system, showing you how to set up a Back4app project, design a flexible data model, and implement CRUD operations with a Java application.
Initially, you'll configure a Back4app project called Basic-CRUD-App-Java which provides a robust non-relational data storage environment for your application. You will define your data model by creating classes and fields manually or with the assistance of Back4app's AI Agent.
Following that, you will manage your backend using the Back4app Admin App, a user-friendly drag and drop interface for data manipulation.
Finally, you'll integrate your Java application with Back4app using the Parse Java SDK (or REST/GraphQL where needed) while implementing secure access controls.
By the end of this tutorial, you'll have developed a production-ready Java application that performs basic CRUD operations, including secure user authentication and data management.
- Discover how to build a Java-based CRUD application with an efficient non-relational backend.
- Gain insights into structuring a scalable backend and integrating it with a Java application.
- Learn how to use Back4app’s intuitive Admin App to streamline create, read, update, and delete operations.
- Explore deployment strategies, including Docker containerization, to deploy your Java application seamlessly.
Before starting, ensure you have:
- A Back4app account with a new project configured. Need assistance? Check out Getting Started with Back4app.
- A Java development environment. Use an IDE like IntelliJ IDEA or Eclipse. Make sure you have Java 11 (or newer) installed.
- Familiarity with Java, object-oriented programming, and REST APIs. Review the Java documentation if necessary.
- Sign in to your Back4app account.
- Click the “New App” button on your dashboard.
- Enter the project name: Basic-CRUD-App-Java and follow the prompts to finalize project creation.
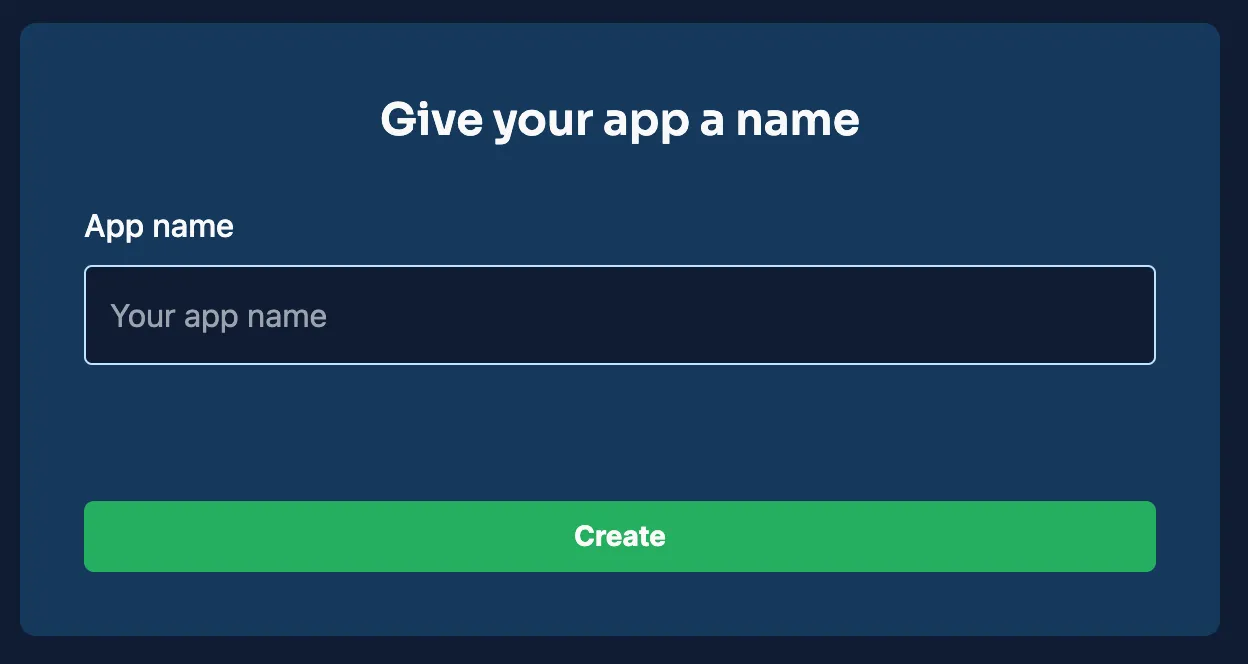
Once your project is created, it will be listed on your dashboard, providing the groundwork for your backend configuration.
For this CRUD application, you will define several classes (collections) in your Back4app project. The following examples outline the key classes and their fields necessary to support basic CRUD operations.
This class holds details about each item.
Field | Data Type | Description |
|---|---|---|
_id | ObjectId | Automatically generated unique identifier. |
title | String | The name of the item. |
description | String | A short summary of the item. |
createdAt | Date | Timestamp when the item was created. |
updatedAt | Date | Timestamp when the item was last modified. |
This class manages user credentials and authentication details.
Field | Data Type | Description |
|---|---|---|
_id | ObjectId | Auto-generated unique identifier. |
username | String | Unique identifier for the user. |
String | Unique email address. | |
passwordHash | String | Encrypted password for authentication. |
createdAt | Date | Timestamp when the account was created. |
updatedAt | Date | Timestamp when the account was updated. |
You can manually create these classes and define fields in the Back4app dashboard.
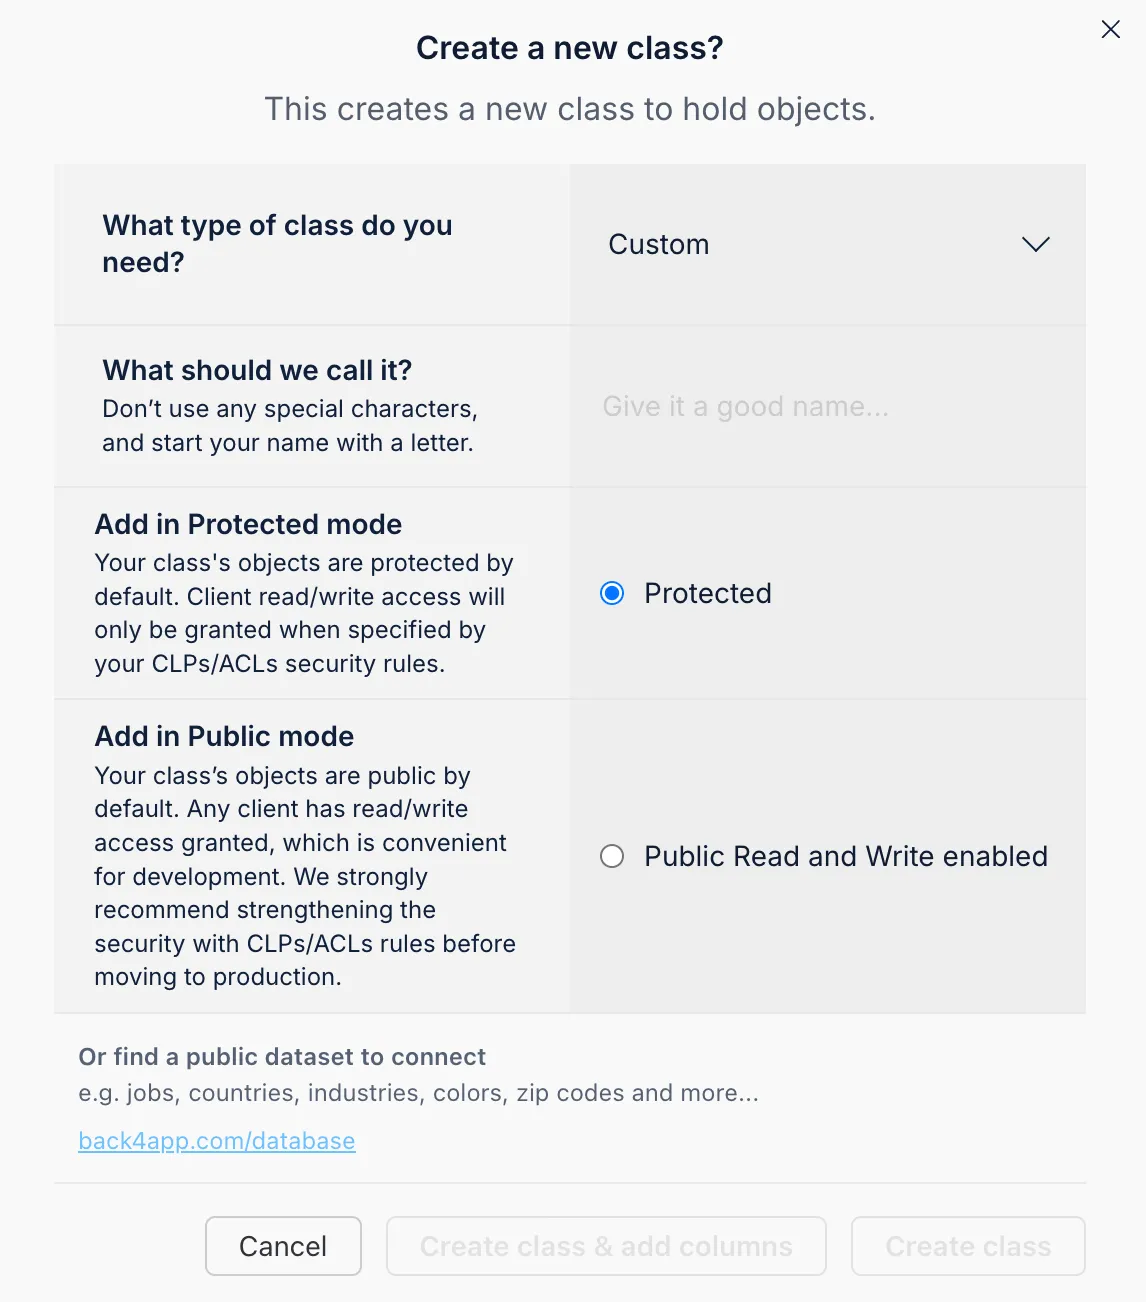
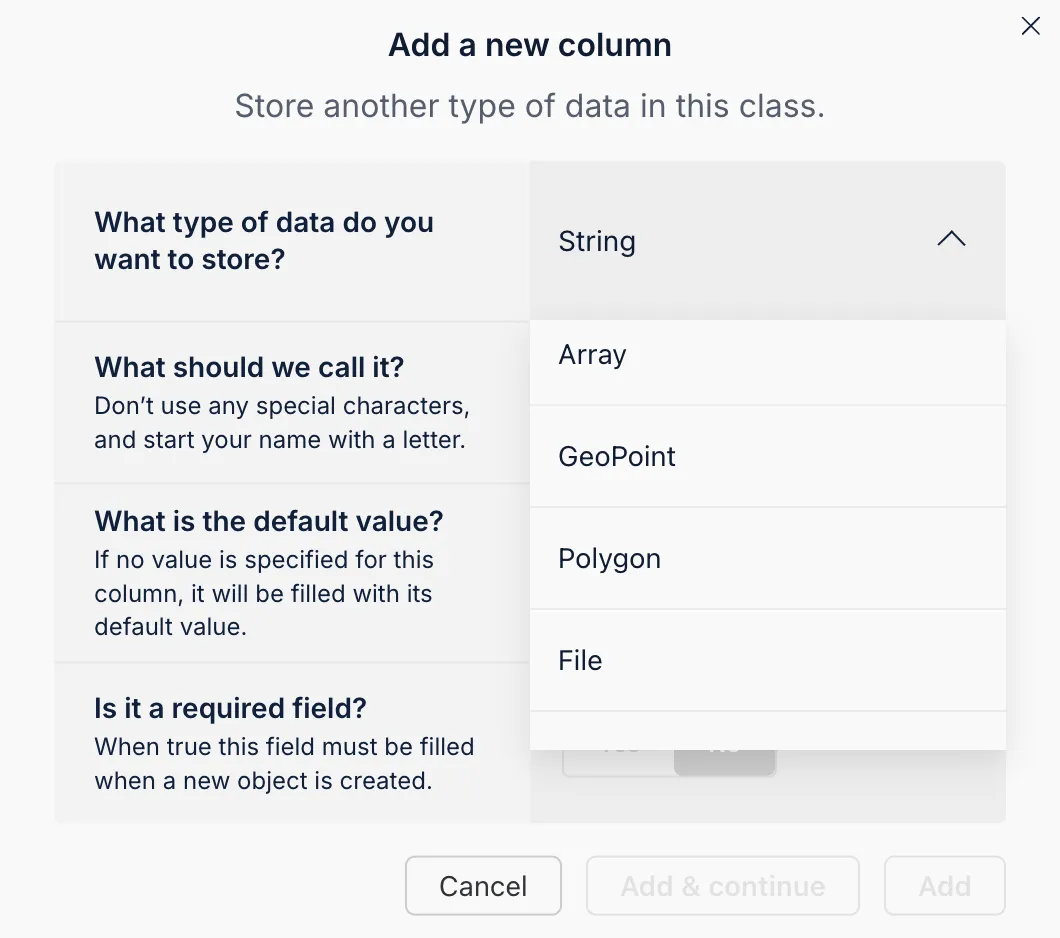
You can add fields by selecting a data type, specifying the field name, assigning a default value, and indicating if it is mandatory.
The Back4app AI Agent is a smart tool integrated into your dashboard that can automatically generate your data schema based on your description. This feature streamlines project setup and ensures that your data model supports the necessary CRUD operations.
- Access the AI Agent: Log in to your Back4app dashboard and locate the AI Agent under your project settings.
- Describe Your Data Model: Provide a detailed prompt outlining the classes and fields required.
- Review and Apply: After processing, the AI Agent will propose the schema setup. Review the details and confirm to implement the configuration.
This AI-driven approach saves time and guarantees a consistent, optimized data model for your application.
The Back4app Admin App offers a no-code interface for efficient backend data management. Its intuitive drag and drop functionality simplifies performing CRUD operations like creating, viewing, updating, and removing records.
- Navigate to the “More” menu in your Back4app dashboard.
- Select “Admin App” and then click on “Enable Admin App.”
- Set up your admin credentials by creating your initial admin account. This process will also establish roles (such as B4aAdminUser) and system classes.
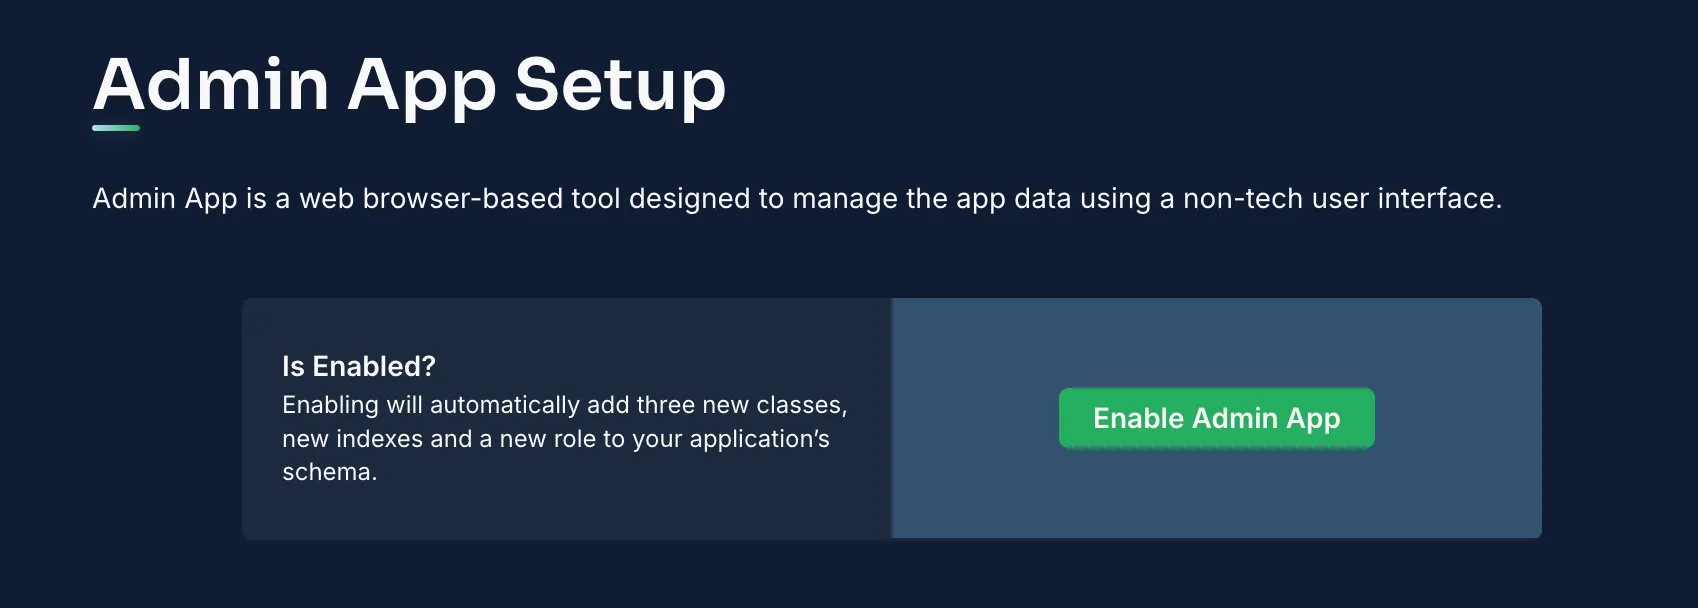
Once enabled, log in to the Admin App to manage your application data.
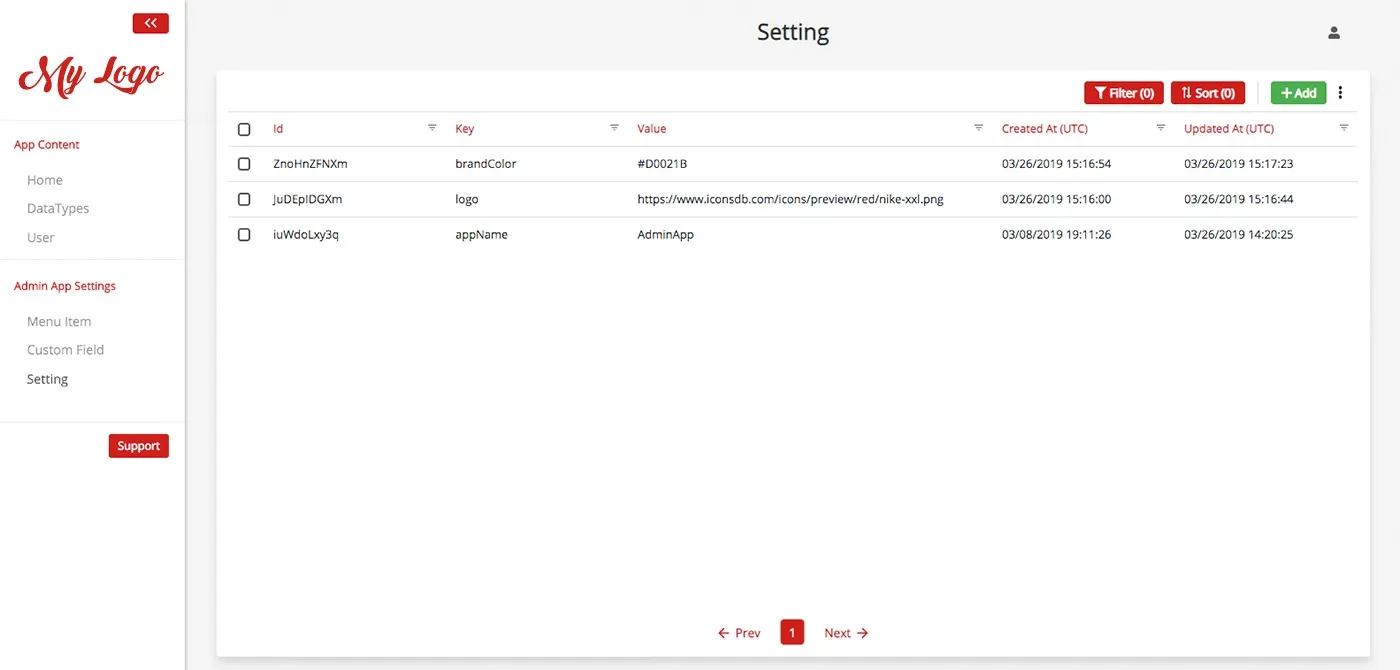
Within the Admin App, you can:
- Add Records: Use the “Add Record” option within a class (for example, Items) to insert new data.
- View/Modify Records: Click on any record to examine details or edit fields.
- Remove Records: Delete entries that are no longer necessary.
This streamlined interface enhances user experience by simplifying data management.
With your backend configured, the next step is to connect your Java application to Back4app.
Add the Parse Java SDK Dependency: If you're using Maven, include the following in your pom.xml:
Initialize Parse in Your Java Application: Create a configuration class (e.g., ParseConfig.java):
Implement CRUD Operations in a Java Class: For instance, create a service to fetch and display items:
If the Parse Java SDK is not an option, you can perform CRUD operations via REST calls. For example, to fetch items using REST:
Integrate these API calls into your Java classes as needed.
Protect your data by configuring ACLs for your objects. For example, to create an item visible only to its owner:
Configure CLPs in your Back4app dashboard to enforce default access rules. This setup ensures that only authenticated users can access specific classes.
Back4app uses Parse’s built-in User class for managing authentication. In your Java application, manage user registration and login as shown below:
A similar approach can be applied for session management, password resets, and additional authentication features.
Back4app offers a streamlined deployment process. You can deploy your Java application using various methods, including Docker containerization.
Compile and Package: Use your build tool (such as Maven or Gradle) to compile and package your application.
- Verify the Package: Ensure that the generated .jar file contains all necessary classes and resources.
A typical Java project structure may resemble:
If you opt for containerized deployment, include a Dockerfile in your project root:
- Link Your GitHub Repository: Ensure your Java project's source code is hosted on GitHub.
- Configure Deployment Settings: In your Back4app dashboard, select the Web Deployment feature, link your repository (e.g., Basic-CRUD-App-Java), and choose the appropriate branch.
- Set Build and Output Commands: Define the build command (e.g., mvn clean package) and specify the artifact location.
- Deploy Your Application: Click Deploy and monitor the deployment logs until your app is live.
Congratulations! You've successfully built a Java-based CRUD application integrated with Back4app.
You set up a project named Basic-CRUD-App-Java, designed classes for Items and Users, and managed your data using the Back4app Admin App.
Additionally, you connected your Java application via the Parse SDK (or REST/GraphQL) and implemented robust security measures.
Next Steps:
- Enhance the Application: Add more features such as advanced search, detailed views, or real-time updates.
- Extend Backend Functionality: Explore cloud functions, third-party API integrations, or role-based access controls.
- Deepen Your Knowledge: Check out the Back4app documentation and additional tutorials to further optimize your app.
Happy coding and best of luck with your Java CRUD application!
