Building a Basic CRUD Application with Lit?
In this guide, you will create a fully functioning CRUD (create, read, update, delete) application using Lit.
We will demonstrate how to manage data dynamically by building an application that performs these essential operations. Initially, you'll set up a Back4app project called Basic-CRUD-App-Lit that serves as your robust backend.
After establishing your project, you'll design a flexible database schema by defining collections and fields, either manually or with the help of the Back4app AI Agent. This step is crucial for ensuring that your system reliably handles CRUD operations.
Next, you'll utilize the Back4app Admin App—a user-friendly, drag-and-drop interface—to manage your collections efficiently.
Finally, you'll integrate your Lit frontend with Back4app using REST/GraphQL , ensuring that your backend remains secure with proper access controls.
By the end of this tutorial, you'll have a production-ready web application that not only performs basic CRUD functions but also includes user authentication and secure data handling.
- Master the development of CRUD applications that effectively manage data with a dependable backend.
- Learn to design a scalable database and seamlessly integrate it with a Lit-based frontend.
- Utilize a drag-and-drop admin tool (the Back4app Admin App) to simplify CRUD operations.
- Understand deployment strategies, including containerization with Docker, to launch your web application efficiently.
Before starting, make sure you have:
- A Lit development environment. Set up your project using your preferred starter kit and ensure Node.js (v14 or later) is installed.
- Sign in to your Back4app account.
- Select the “New App” option from your dashboard.
- Name your project: Basic-CRUD-App-Lit and follow the instructions to create it.
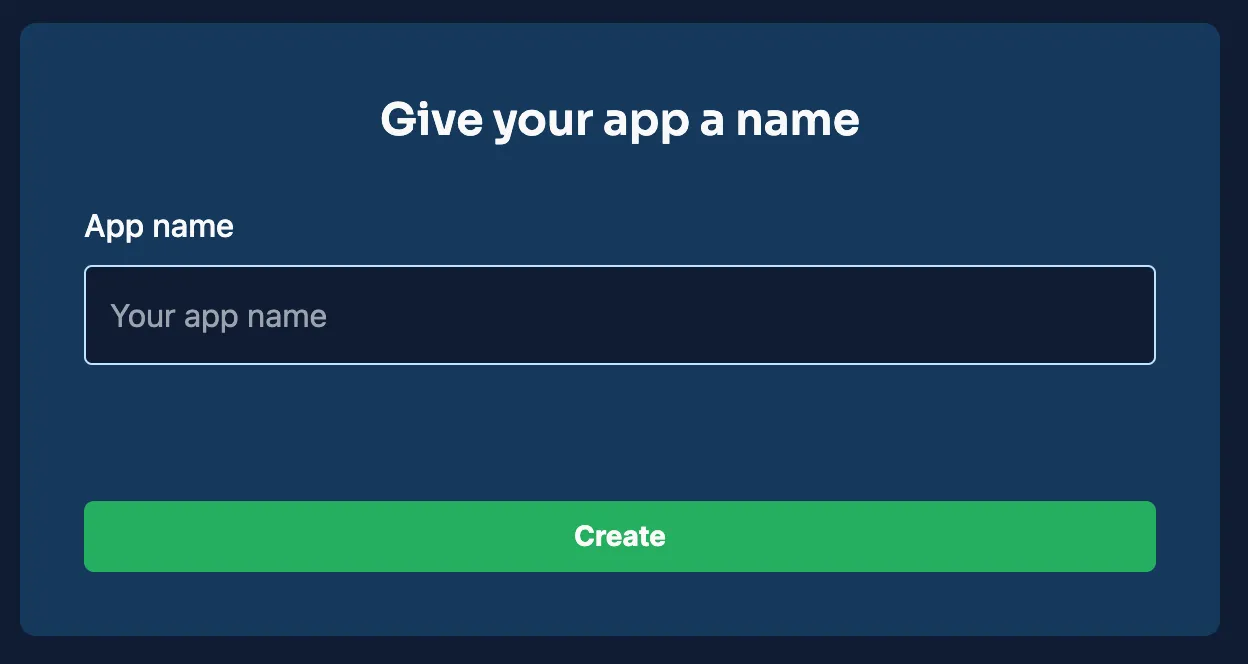
Once your project is created, it will appear on the dashboard, providing you with the foundation for backend configuration and project management.
For this CRUD application, you'll define several collections. Below are example collections with suggested fields and data types, which will help you set up an effective schema capable of handling CRUD operations.
Field | Data Type | Details |
|---|---|---|
_id | ObjectId | Auto-generated primary key. |
title | String | Name of the item. |
description | String | Brief details about the item. |
created_at | Date | Timestamp when the item was created. |
updated_at | Date | Timestamp when the item was last modified. |
Field | Data Type | Details |
|---|---|---|
_id | ObjectId | Auto-generated primary key. |
username | String | Unique identifier for the user. |
String | User's unique email address. | |
password_hash | String | Hashed password for secure authentication. |
created_at | Date | Timestamp for account creation. |
updated_at | Date | Timestamp for the latest account update. |
You can add these collections manually through the Back4app dashboard by creating new classes and defining the appropriate columns.
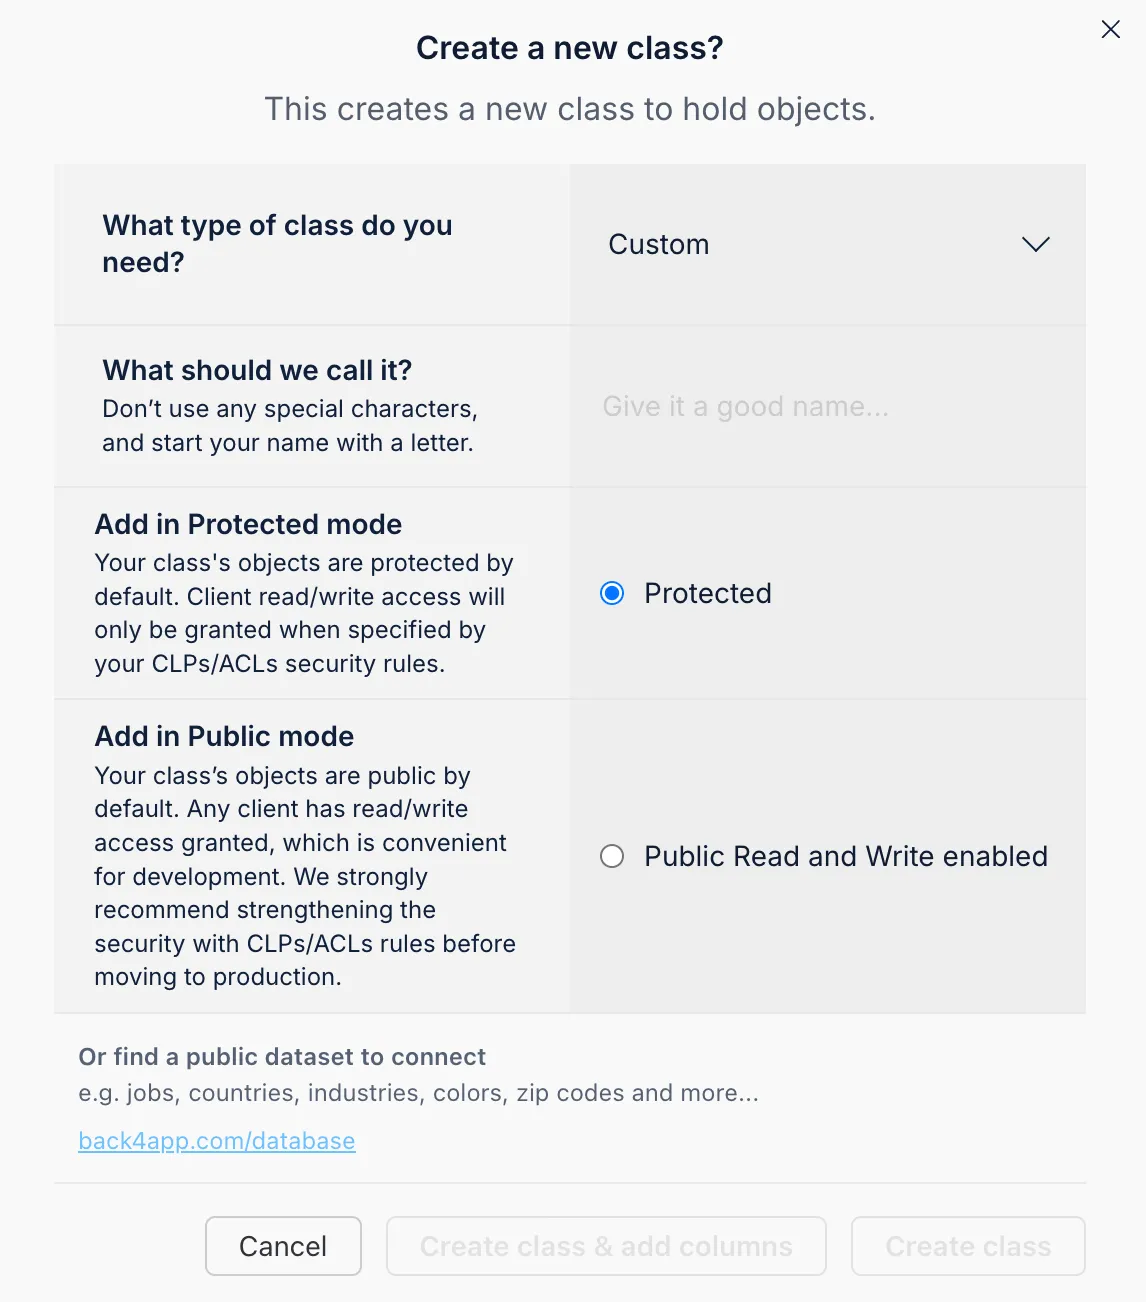
For each field, simply choose a data type, assign a name, set a default value if needed, and specify whether it’s mandatory.
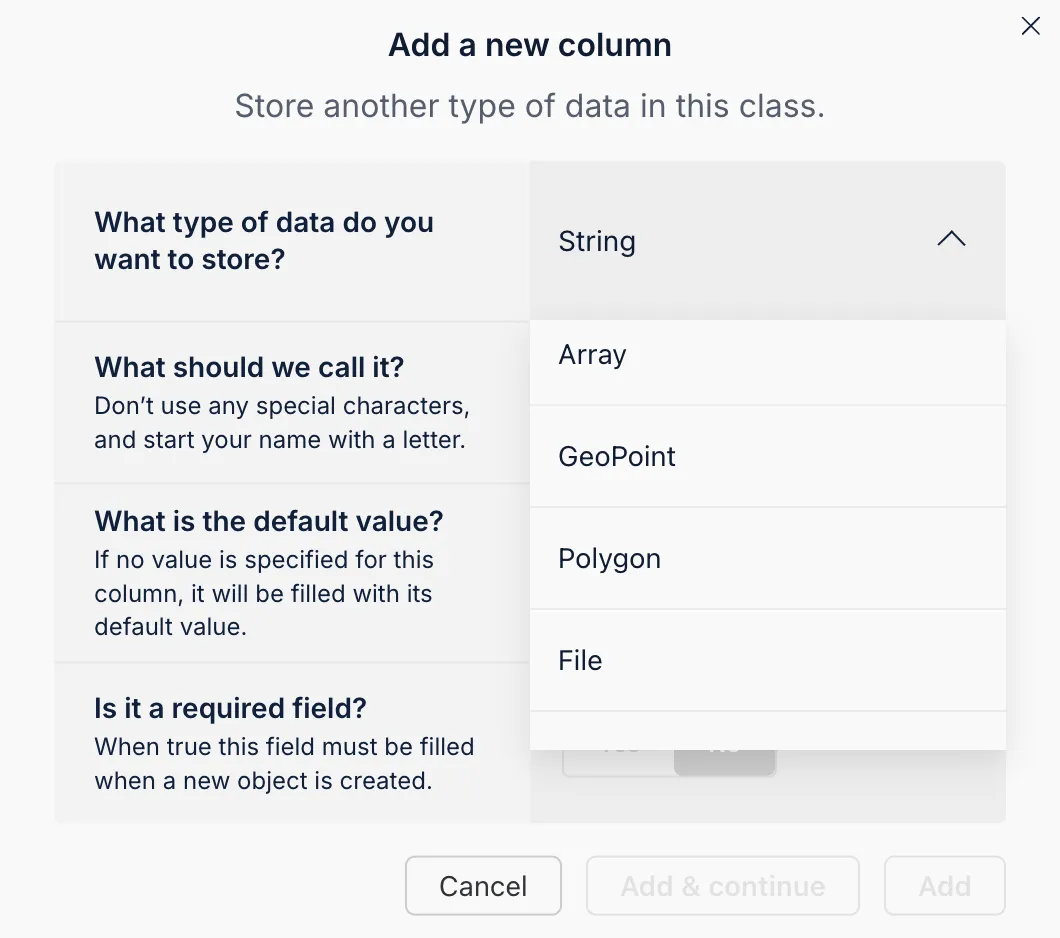
The Back4app AI Agent, available from your dashboard, can automatically generate your schema based on a descriptive prompt. This feature streamlines project management by ensuring consistency in your backend setup.
- Launch the AI Agent: Navigate to the AI Agent from your Back4app dashboard or within project settings.
- Detail Your Data Model: Paste a comprehensive prompt describing the collections and fields you require.
- Review and Apply: Inspect the generated suggestions and confirm them to update your project.
Using this AI feature saves valuable time while ensuring that your database is structured optimally.
The Back4app Admin App offers a no-code interface for effortless backend data management. Its intuitive drag-and-drop functionality allows you to execute CRUD operations—create, read, update, and delete records—with ease.
- Access the “More” section on your Back4app dashboard.
- Select “Admin App” and click “Enable Admin App.”
- Set up your admin credentials by creating an initial admin user, which will configure roles (such as B4aAdminUser) and system collections.
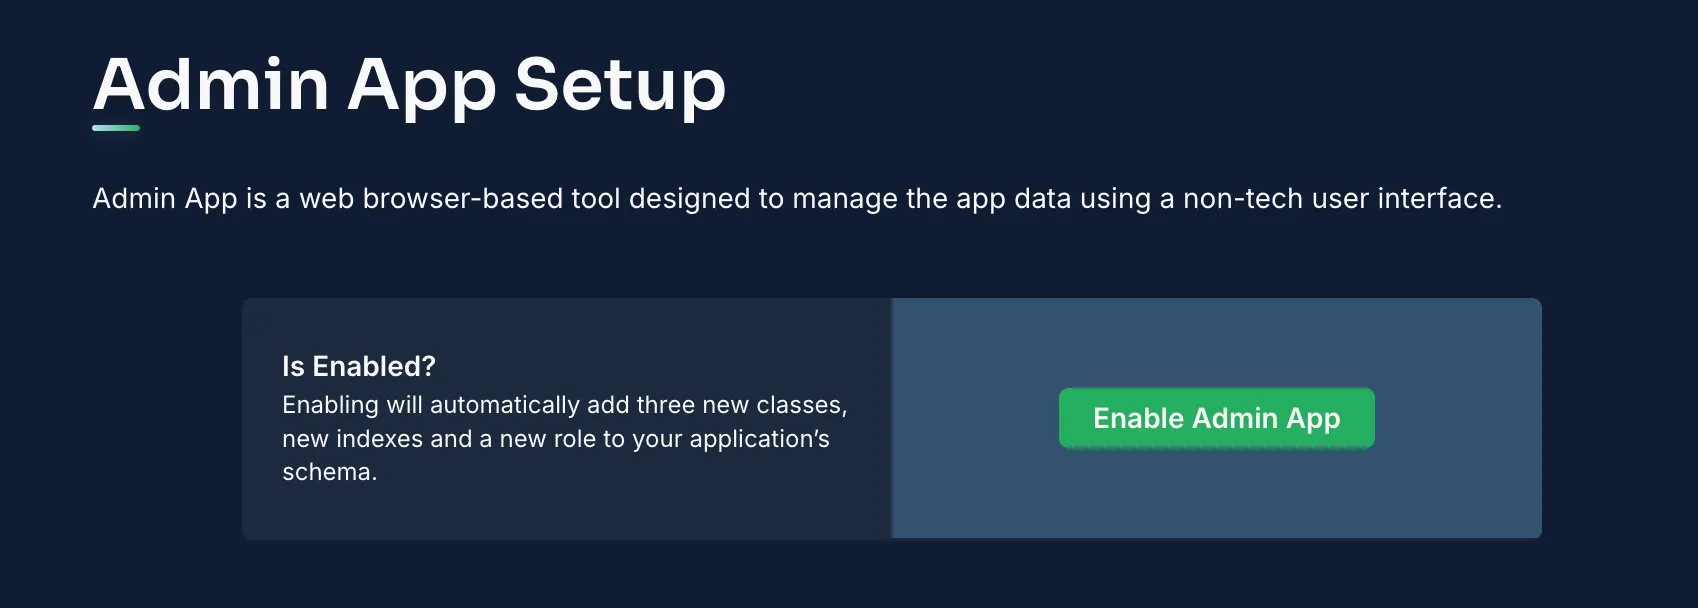
After activation, log into the Admin App to manage your collections.
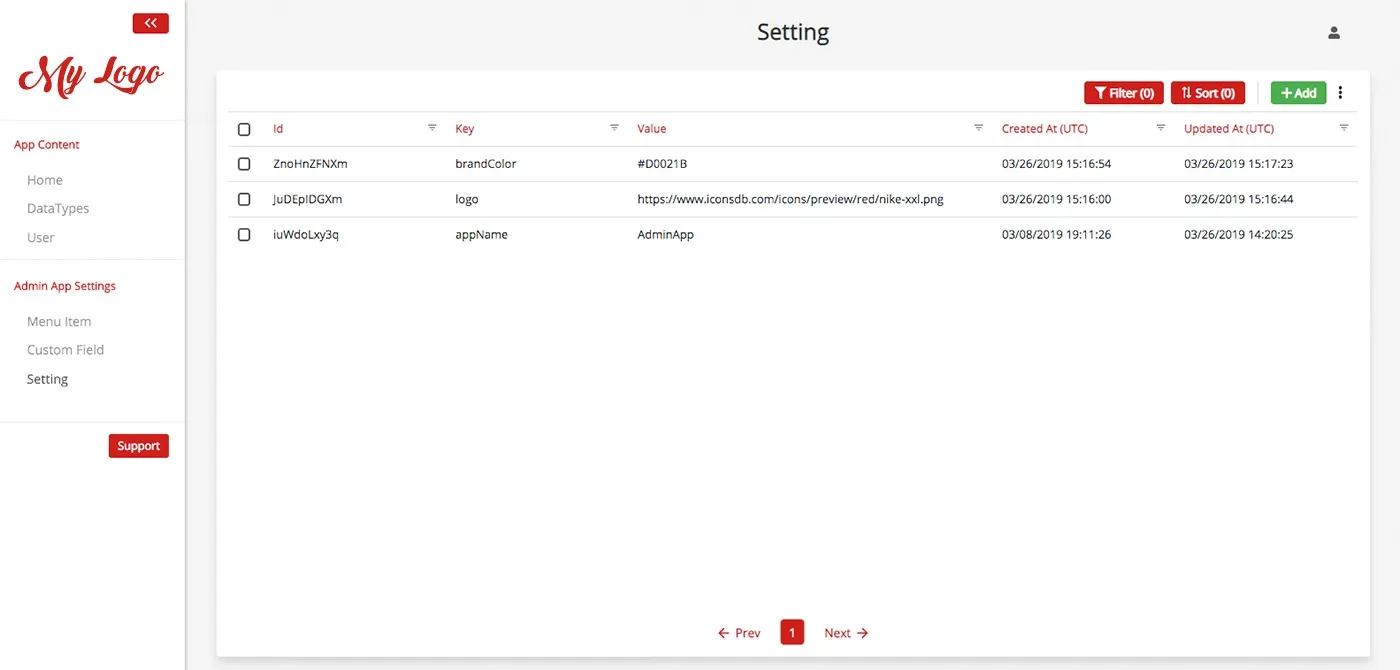
Inside the Admin App, you can:
- Create Entries: Click the “Add Record” button within a collection (e.g., Items) to generate new entries.
- Read/Modify Records: Click on a record to inspect its details or modify its fields.
- Remove Records: Use the delete function to eliminate entries that are no longer needed.
This straightforward interface significantly improves the user experience by streamlining data management.
Now that your backend is configured and managed, it's time to integrate your Lit frontend with Back4app.
Install the Parse SDK:
Bash1npm install parseSet Up Parse in Your Lit App: Create a configuration file (e.g., src/parseConfig.js):
JS1// src/parseConfig.js 2import Parse from 'parse'; 3// Insert your Back4app credentials here 4Parse.initialize('YOUR_APPLICATION_ID', 'YOUR_JAVASCRIPT_KEY'); 5Parse.serverURL = 'https://parseapi.back4app.com'; 6export default Parse;Implement Parse in a Lit Component: Create a Lit component that retrieves and displays items:
JS1// src/components/ItemsList.js 2import { LitElement, html, css } from 'lit'; 3import Parse from '../parseConfig'; 4 5class ItemsList extends LitElement { 6 static properties = { items: { type: Array } }; 7 8 constructor() { 9 super(); 10 this.items = []; 11 } 12 13 connectedCallback() { 14 super.connectedCallback(); 15 this.fetchItems(); 16 } 17 18 async fetchItems() { 19 const Items = Parse.Object.extend("Items"); 20 const query = new Parse.Query(Items); 21 try { 22 const results = await query.find(); 23 this.items = results; 24 } catch (error) { 25 console.error("Error fetching items:", error); 26 } 27 } 28 29 render() { 30 return html` 31 <h2>Items</h2> 32 <ul> 33 ${this.items.map( 34 (item) => html` 35 <li>${item.get("title")} — ${item.get("description")}</li> 36 ` 37 )} 38 </ul> 39 `; 40 } 41} 42 43customElements.define('items-list', ItemsList); 44export default ItemsList;
If the Parse SDK isn’t suitable for your project, perform CRUD operations using REST or GraphQL. For instance, to retrieve items via REST:
Integrate these API calls within your Lit components as needed.
Secure your objects by setting ACLs. For example, to create a private item:
Within the Back4app dashboard, adjust the CLPs for each collection to enforce default access rules. This ensures that only authenticated or authorized users can access sensitive information.
Back4app utilizes Parse’s User class to manage authentication. In your Lit application, implement user registration and login as demonstrated below:
You can similarly implement login and session management. Additional features like social authentication, email verification, and password resets can be set up via the Back4app dashboard.
Back4app’s Web Deployment feature allows you to host your Lit application by deploying code from a GitHub repository. Follow these steps to prepare your production build, push your code to GitHub, and deploy your site.
- Open your project directory in a terminal.
Run the build command:
Bash1npm run buildThis will create a build folder containing optimized static assets.
- Check the Build: Confirm that the build folder includes an index.html file along with necessary subdirectories.
Your GitHub repository should house the complete source code for your Lit frontend. A typical project structure might look like:
src/parseConfig.js
src/App.js
Initialize Git in your project directory:
Bash1git initAdd all your files:
Bash1git add .Commit your changes:
Bash1git commit -m "Initial Lit frontend commit"- Create a new repository on GitHub (e.g., Basic-CRUD-App-Lit-Frontend).
Push your code:
Bash1git remote add origin https://github.com/your-username/Basic-CRUD-App-Lit-Frontend.git 2git push -u origin main
- Access Web Deployment: Log into your Back4app dashboard, choose your project (Basic-CRUD-App-Lit), and select the Web Deployment option.
- Link Your GitHub Account: Follow the prompts to connect your GitHub account, allowing Back4app to access your repository.
- Choose Your Repository and Branch: Select the repository (e.g., Basic-CRUD-App-Lit-Frontend) and the branch (e.g., main) containing your Lit code.
Specify your build settings:
- Build Command: If a pre-built build folder is missing, use a command like npm run build. Back4app will execute this command during deployment.
- Output Directory: Set this to build so Back4app can locate your static files.
- Environment Variables: Include any necessary API keys or other environment-specific values.
If you prefer Docker, include a Dockerfile in your repository:
In your Back4app deployment settings, choose the Docker deployment option to containerize your app.
- Initiate the Deployment: Click the Deploy button after finalizing your settings.
- Monitor the Process: Back4app will fetch your GitHub code, run the build command, and deploy your container.
- Get Your Live URL: Once deployment finishes, a URL will be provided where your Lit application is hosted.
- Visit the URL: Open the provided link in your browser.
- Test Functionality: Ensure that the application loads properly, navigation works, and all assets are correctly served.
- Debug if Necessary: Use browser developer tools to inspect any issues. If problems arise, review the deployment logs in Back4app.
Great work! You have successfully developed a basic CRUD application using Lit and Back4app.
You set up a project called Basic-CRUD-App-Lit, defined a detailed database schema for Items and Users, and managed your data with the Admin App.
Furthermore, you integrated your Lit frontend with the backend and implemented robust security measures.
Next Steps:
- Improve Your Frontend: Add features like detailed item pages, search functionality, and real-time updates.
- Expand Backend Capabilities: Integrate advanced functionalities such as Cloud Functions, external API services, or role-based access controls.
- Explore More Resources: Visit the Back4app documentation and other tutorials for deeper insights into performance and customization.
By following this guide, you now possess the skills to create a scalable, secure CRUD backend for your Lit application using Back4app. Enjoy coding and keep innovating!
