How to Build a Basic CRUD App with Knockout.js: A Step-by-Step Guide
In this guide, you'll learn how to create a full-featured CRUD (create, read, update, delete) application using Knockout.js.
This tutorial demonstrates how to implement essential operations within a web app while leveraging Back4app as your backend service.
We will start by setting up a Back4app project titled Basic-CRUD-App-Knockout, establishing a reliable data management system for your application.
After that, you'll design a flexible database schema by defining collections and fields—either manually or with assistance from the Back4app AI Agent—to ensure your app can handle all CRUD operations effectively.
Next, you'll use the Back4app Admin App, a user-friendly drag-and-drop tool, to manage your collections with ease. This interface simplifies the process of executing CRUD operations.
Finally, you'll integrate your Knockout.js frontend with Back4app using REST API calls. This integration will also cover secure backend practices with proper access controls.
By the end of this tutorial, you'll have built a production-ready web app that supports basic CRUD functionality, includes user authentication, and features robust data management.
- Understand how to develop CRUD applications that manage data efficiently using Back4app.
- Gain practical experience in designing a scalable backend and linking it with a Knockout.js frontend.
- Learn to use a no-code admin tool (Back4app Admin App) for executing create, read, update, and delete operations.
- Discover deployment strategies, including Docker containerization, to launch your web app swiftly.
Before starting, make sure you have:
- A Back4app account and an active project. Refer to Getting Started with Back4app if you need guidance.
- A development environment set up for Knockout.js. Include libraries via CDN or install via npm if you prefer a modular setup.
- Basic knowledge of JavaScript, Knockout.js, and REST APIs. Consult the Knockout.js documentation for an introduction.
- Access your Back4app account.
- Select the “New App” option from your dashboard.
- Input the project name: Basic-CRUD-App-Knockout and complete the setup process.
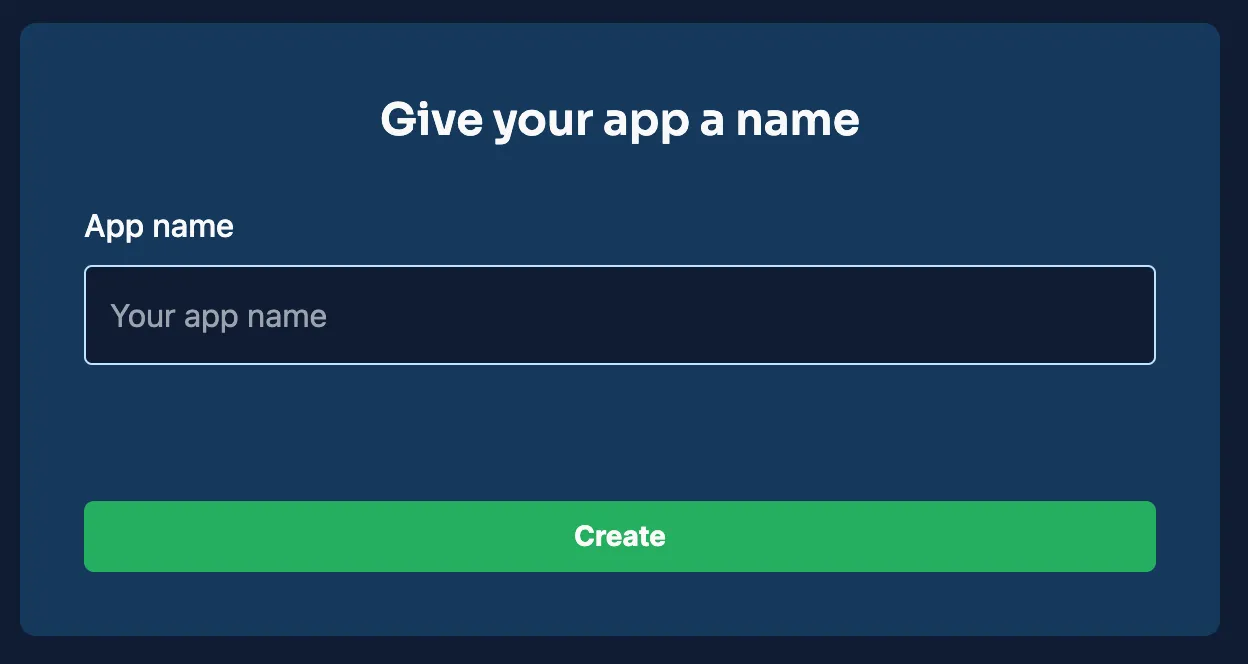
Once created, your project will be visible on your dashboard, forming the backbone for your backend configuration.
For this CRUD app, you'll create several collections. Below are sample collections with suggested fields and data types to guide your database design. This schema supports the fundamental CRUD operations.
Field | Data Type | Details |
|---|---|---|
_id | ObjectId | Automatically generated unique key. |
title | String | The item’s title. |
description | String | A brief summary of the item. |
created_at | Date | Timestamp when the item is created. |
updated_at | Date | Timestamp of the last update. |
Field | Data Type | Details |
|---|---|---|
_id | ObjectId | Auto-generated unique identifier. |
username | String | Unique identifier for each user. |
String | User’s unique email address. | |
password_hash | String | Secure hash of the user’s password. |
created_at | Date | Account creation timestamp. |
updated_at | Date | Timestamp for last account update. |
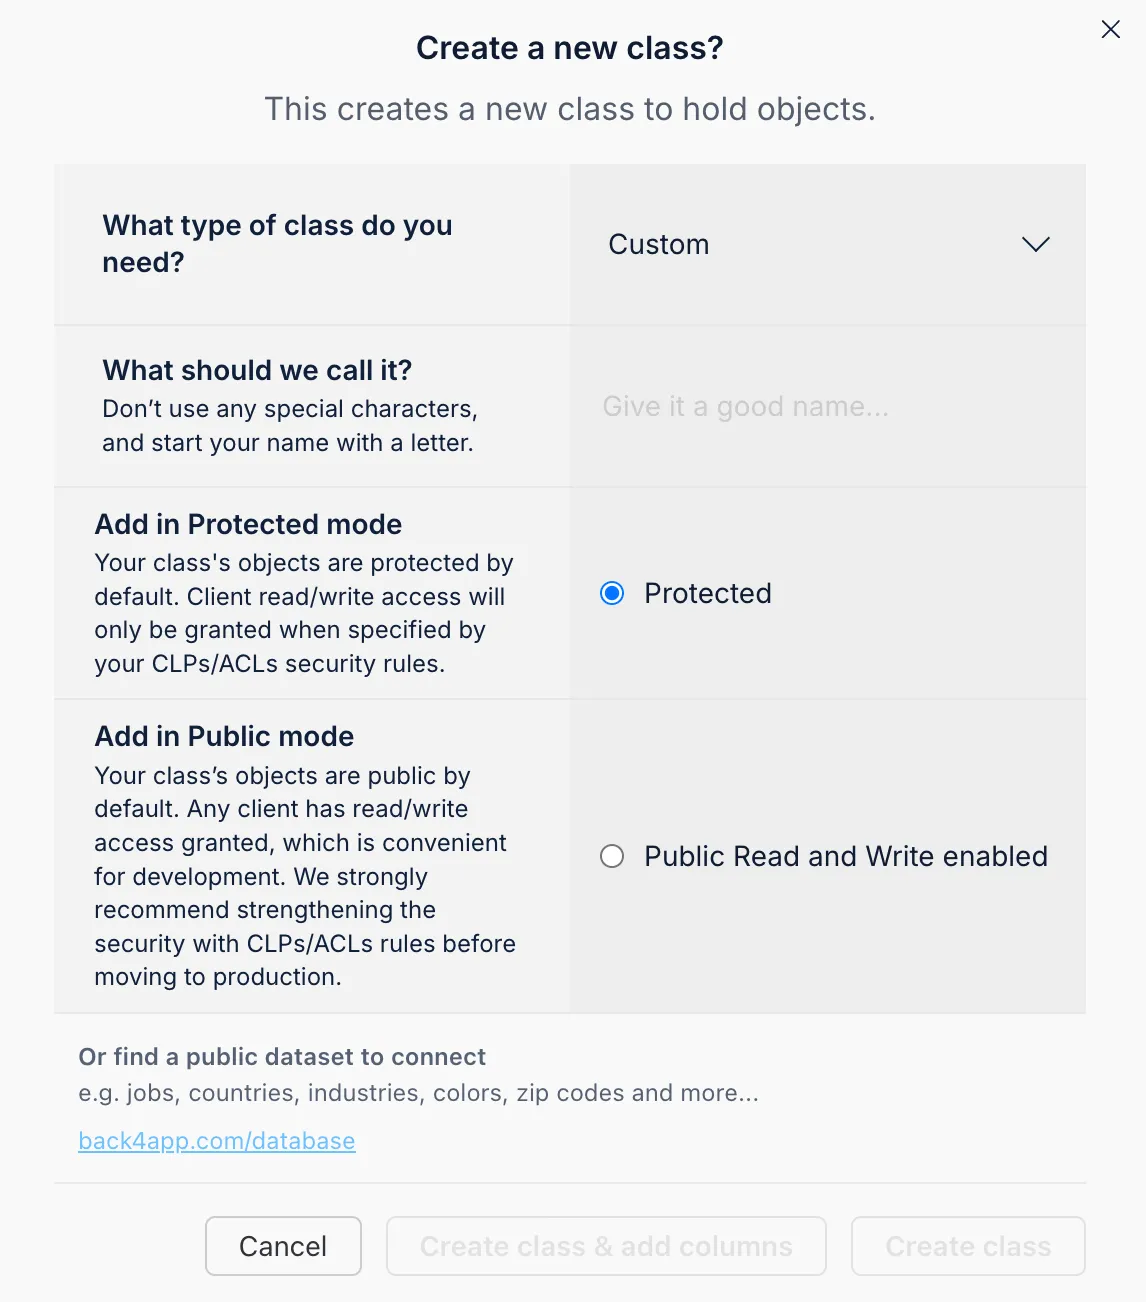
You can manually create these collections in the Back4app dashboard by adding a new class for each collection and defining the fields.
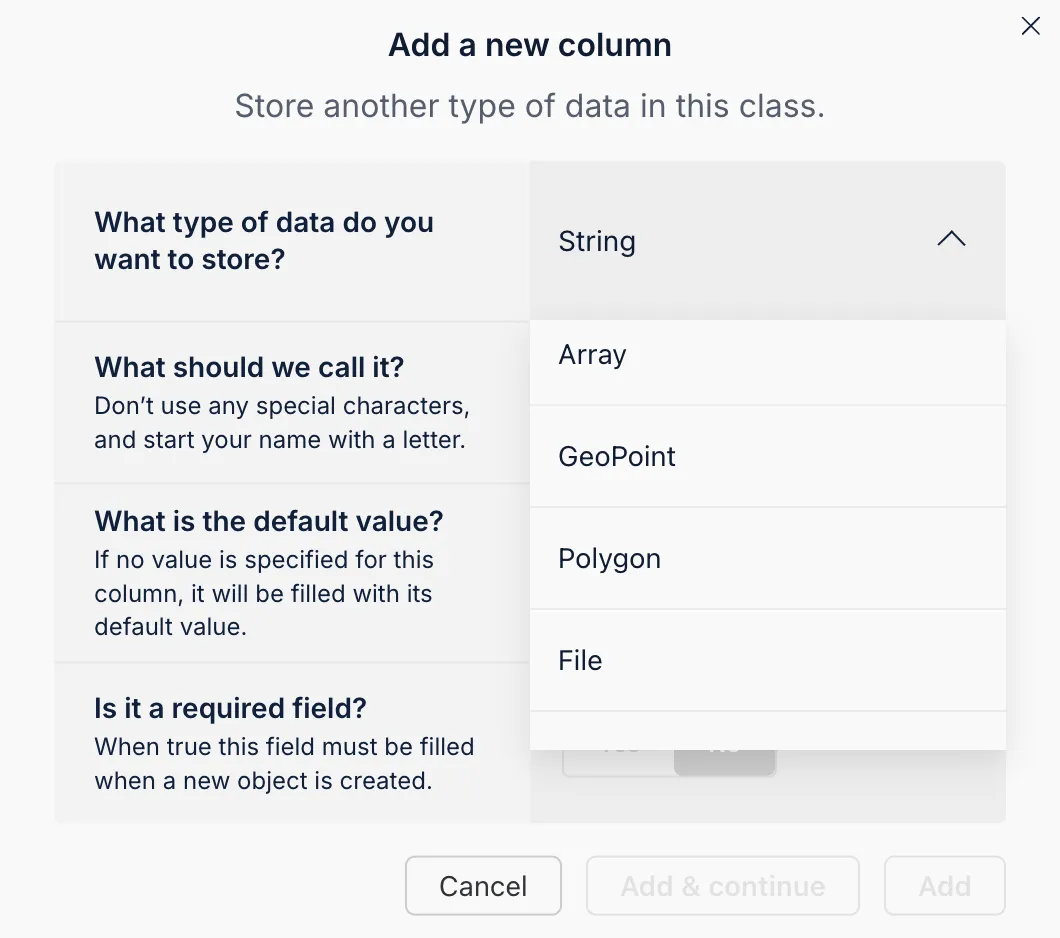
Define your fields by choosing a data type, naming the field, setting default values, and marking required fields.
The Back4app AI Agent simplifies schema generation directly from your dashboard. It can automatically create collections and fields based on your description.
- Launch the AI Agent: Access it via your Back4app dashboard or project settings.
- Detail Your Data Model: Paste a descriptive prompt listing your required collections and fields.
- Review and Apply: The agent will propose a schema. Review and confirm the suggestions to integrate them into your project.
This process saves time and ensures a consistent, optimized schema for your application.
The Back4app Admin App provides a no-code solution for managing your backend data. Its intuitive drag-and-drop interface allows for effortless CRUD operations.
- Go to the “More” menu in your Back4app dashboard.
- Select “Admin App” and click on “Enable Admin App.”
- Set up your admin credentials by creating the first admin user, which also configures roles like B4aAdminUser and essential system collections.
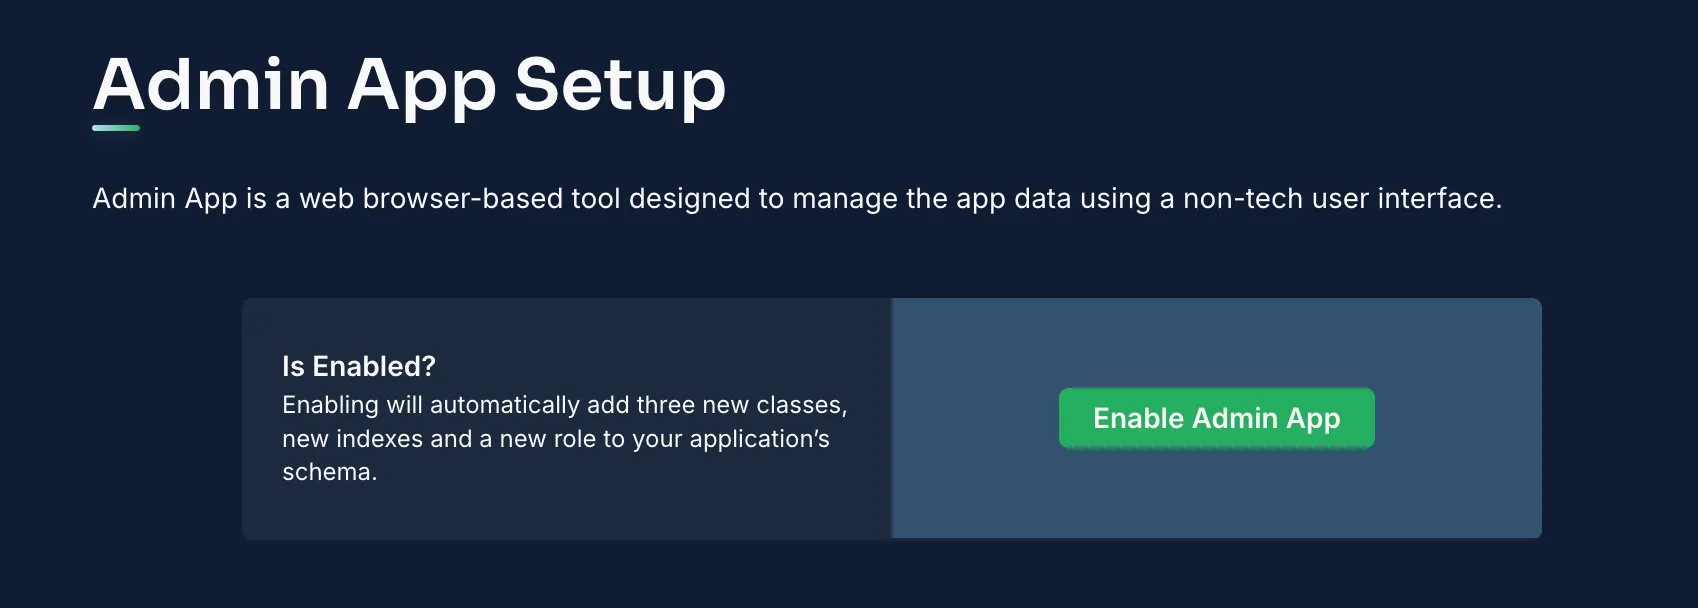
After activation, sign in to the Admin App to begin data management.
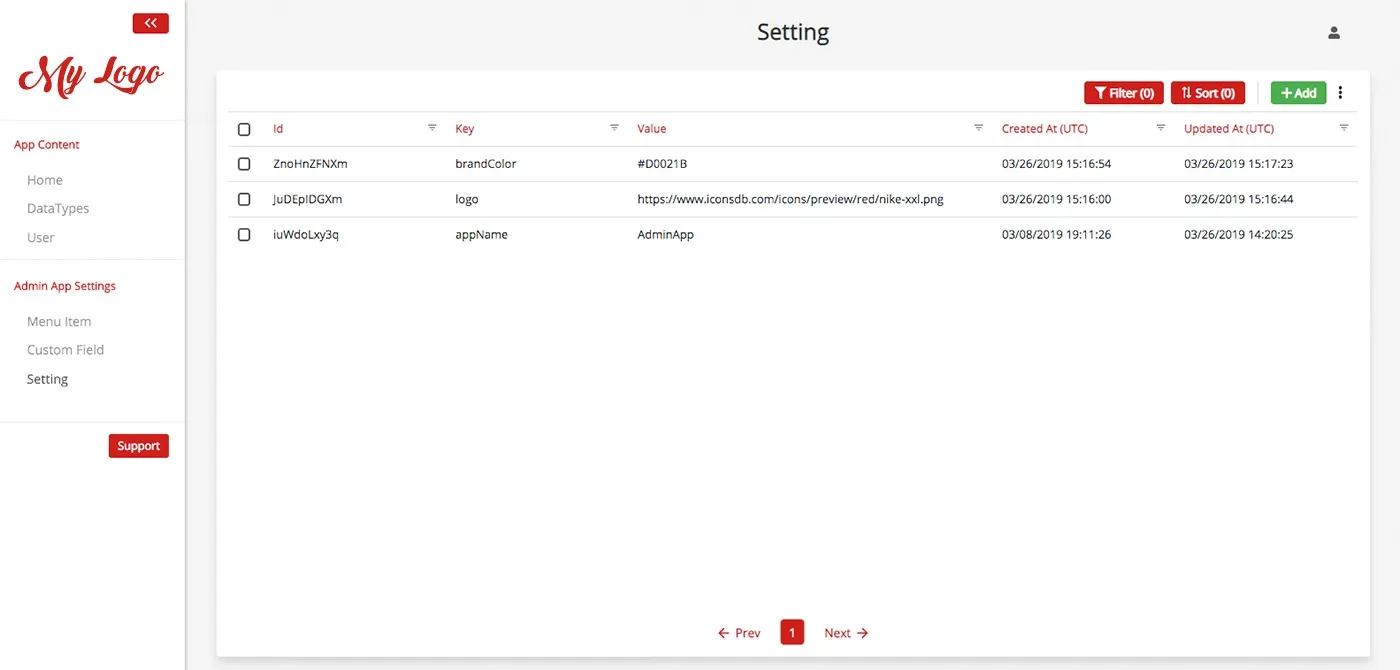
Within the Admin App you can:
- Add Records: Click the “Add Record” button in a collection (for example, Items) to create new entries.
- View/Modify Records: Select a record to inspect its details or update fields.
- Remove Records: Delete any entries that are no longer required.
This streamlined interface enhances usability and accelerates the management of your data.
With your backend in place, it's time to integrate your Knockout.js frontend using REST API calls.
Since the Parse SDK isn’t typically used with Knockout.js, you'll perform API calls directly. Below are examples of how to handle CRUD tasks.
Below is an example ViewModel for managing your items:
This ViewModel integrates API calls for creating and deleting items while managing state with Knockout.js observables.
Protect your data by assigning ACLs to each object. For instance, to make an item accessible only to its creator:
Within the Back4app dashboard, set CLPs for each collection to ensure only authenticated or authorized users can access sensitive information.
Back4app uses a User class for managing authentication. In your Knockout.js app, handle user registration and login using REST API calls.
A similar approach can be followed for user login and session management. Additional features like email verification and password resets can be configured via Back4app.
Back4app’s Web Deployment feature lets you host your Knockout.js frontend effortlessly by linking your GitHub repository. Follow these steps:
- Open your project directory in a terminal.
- Run your build process: If you’re using a build tool like Webpack, run the appropriate command (e.g., npm run build) to compile your assets.
- Confirm the Build: Ensure your build folder contains an index.html and all required static assets.
Your repository should include all source files for your Knockout.js frontend. An example structure might be:
Initialize Git (if not already done):
Bash1git initStage your files:
Bash1git add .Commit your changes:
Bash1git commit -m "Initial commit for Knockout.js frontend"- Create a GitHub repository (e.g., Basic-CRUD-App-Knockout-Frontend).
Push your code:
Bash1git remote add origin https://github.com/your-username/Basic-CRUD-App-Knockout-Frontend.git 2git push -u origin main
- Access the Web Deployment feature: In your Back4app dashboard, select your project (Basic-CRUD-App-Knockout) and click on Web Deployment.
- Connect to GitHub: Follow the prompts to integrate your GitHub account.
- Choose Your Repository and Branch: Select your repository (e.g., Basic-CRUD-App-Knockout-Frontend) and the branch (e.g., main) containing your code.
- Build Command: If your repository doesn’t include a pre-built folder, specify the build command (e.g., npm run build).
- Output Directory: Set this to the folder containing your static files (e.g., build or public).
- Environment Variables: Add any required environment variables, such as API keys.
If you wish to use Docker, include a Dockerfile in your repository:
- Click the Deploy button: After configuring the settings, initiate deployment.
- Monitor the Process: Back4app will fetch your code, build it (if necessary), and deploy your containerized app.
- Access Your App: Once complete, Back4app will provide a URL to access your Knockout.js app.
- Open the provided URL: Check if your app loads properly.
- Run Tests: Ensure all routes and assets (CSS, JS, images) are functioning.
- Debug if Necessary: Use developer tools to inspect any errors and refer to Back4app deployment logs.
Well done! You’ve successfully built a basic CRUD application using Knockout.js and Back4app.
You set up a project named Basic-CRUD-App-Knockout, crafted detailed collections for Items and Users, and managed your data via the Admin App.
Additionally, you integrated your Knockout.js frontend with your backend using REST API calls and implemented secure access controls.
Next Steps:
- Expand Your Frontend: Enhance your app with features like detailed item views, search capabilities, or live updates.
- Add Advanced Backend Logic: Explore using Cloud Functions or integrating third-party services.
By following this tutorial, you now have the knowledge to build a robust and scalable CRUD app with Knockout.js using Back4app. Happy coding!
