How to Build a Basic CRUD App with Marko? A Step-by-Step Guide
This guide walks you through creating a complete CRUD (create, read, update, delete) application using Marko and Back4app.
In this tutorial, you will set up a project—named Basic-CRUD-App-Marko—on Back4app, design a robust database schema, and integrate your Marko frontend with Back4app’s API.
The tutorial also explains how to secure your backend and deploy your application for production use.
- How to construct CRUD applications that efficiently manage data using a reliable backend.
- Tips for designing a scalable schema and linking it to a Marko-based frontend.
- Utilizing Back4app’s user-friendly admin interface for managing data effortlessly.
- Deployment strategies, including containerization with Docker, for launching your web application.
Before starting, ensure you have:
- A Back4app account and a new project. Follow the instructions in Getting Started with Back4app if needed.
- A Marko development environment set up. Use the Marko CLI or your preferred setup method. Ensure Node.js (v14 or later) is installed.
- Basic knowledge of JavaScript, Marko, and REST APIs. Visit the Marko documentation for more details.
- Sign in to your Back4app account.
- Select “New App” on your dashboard.
- Input the project name: Basic-CRUD-App-Marko and follow the on-screen prompts.
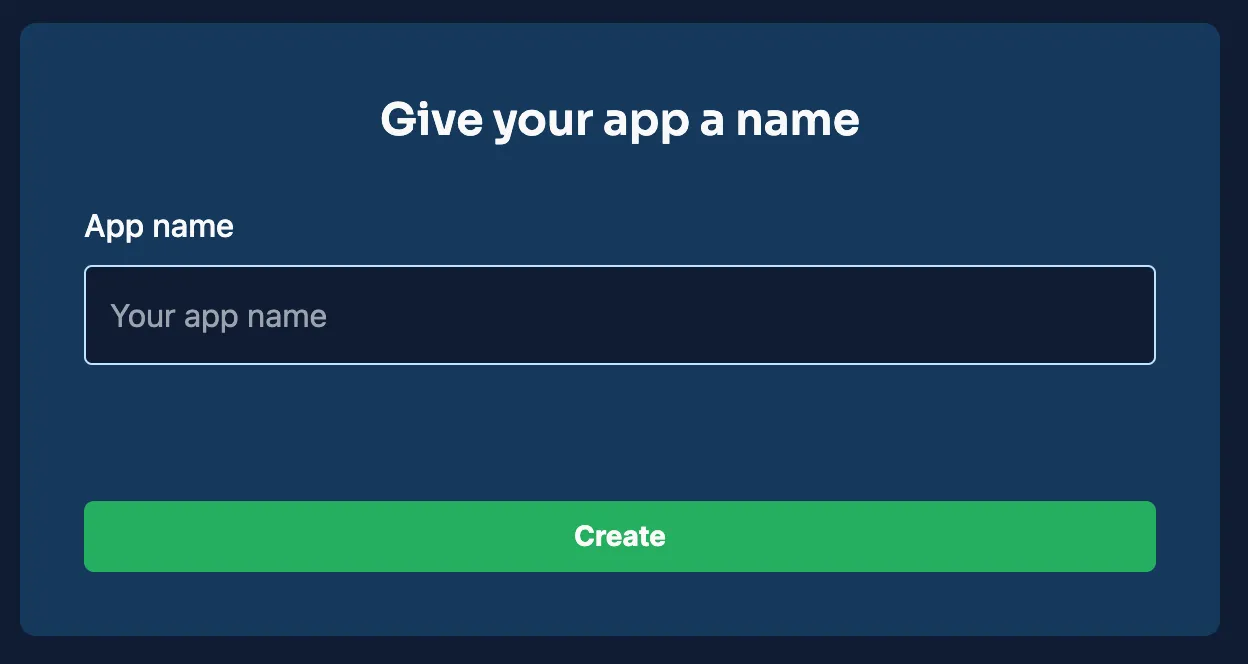
Your new project will now appear on your Back4app dashboard, laying the groundwork for your backend.
For this CRUD app, you’ll create a couple of collections. Below are examples of collections with suggested fields to help you design a practical database schema.
This collection will hold details about each product.
Field | Type | Details |
|---|---|---|
_id | ObjectId | Auto-generated primary identifier. |
name | String | The product name. |
details | String | A brief description of the product. |
created_at | Date | Timestamp marking product creation. |
updated_at | Date | Timestamp of the last update. |
This collection holds user and authentication data.
Field | Type | Details |
|---|---|---|
_id | ObjectId | Auto-generated unique identifier. |
username | String | A unique name for the user. |
String | A unique email address. | |
password | String | A hashed version of the user's password. |
created_at | Date | Record creation timestamp. |
updated_at | Date | Last modified timestamp. |
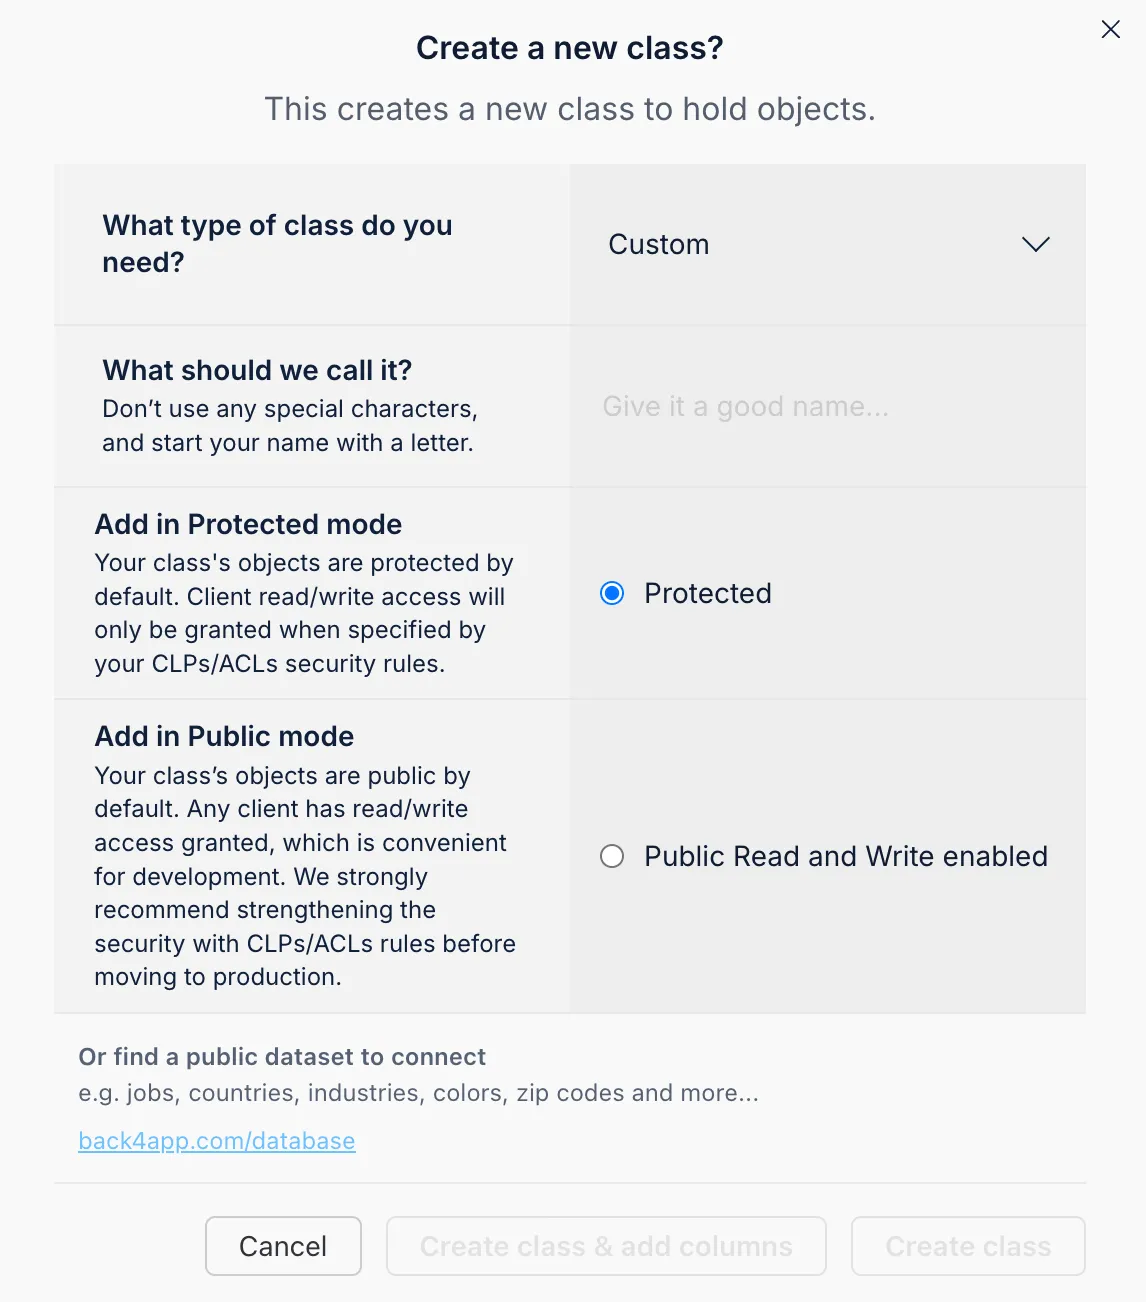
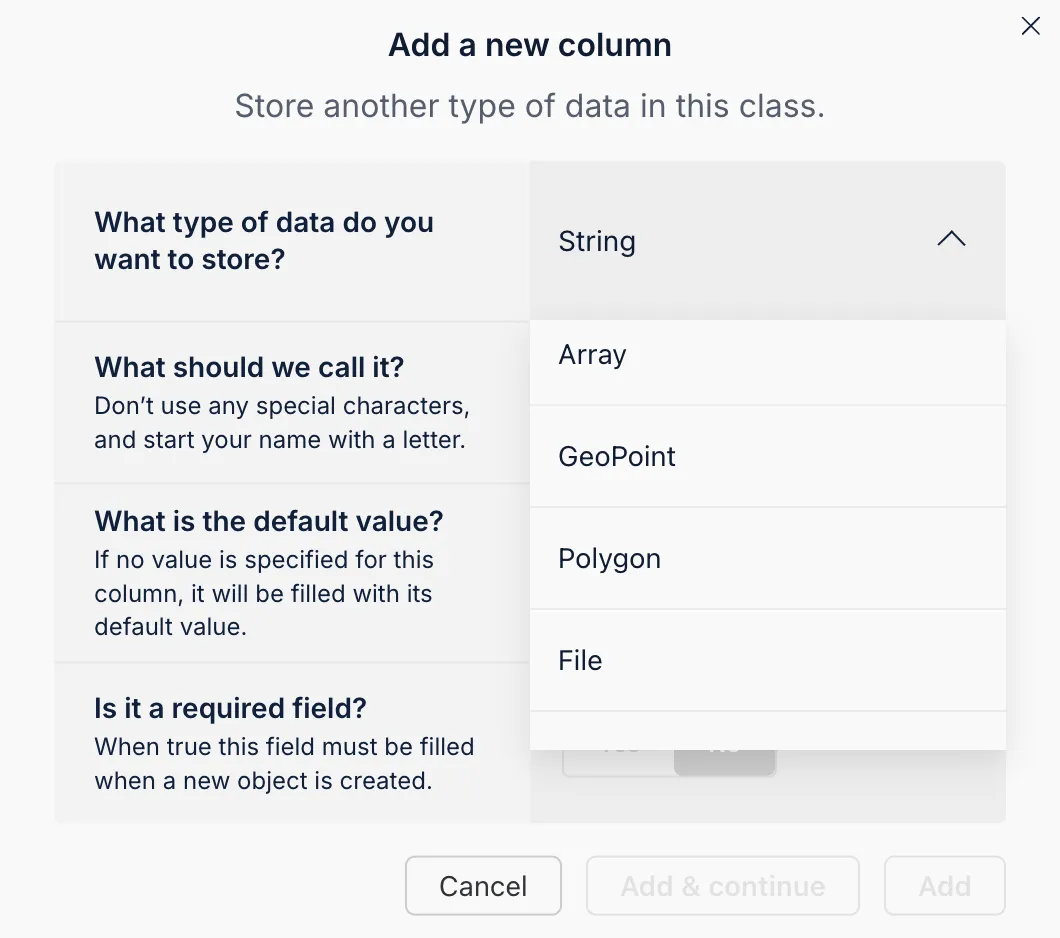
You can manually define these collections in the Back4app dashboard by creating a new class for each collection and then adding the appropriate columns.
You can quickly add fields by choosing a type, naming your column, setting default values, and marking it as required if necessary.
The Back4app AI Agent simplifies schema design by generating collection and field definitions based on your prompt. This feature saves time and ensures consistency in your database setup.
- Access the AI Agent: Navigate to your Back4app dashboard and find the AI Agent in your project settings.
- Describe Your Schema: Provide a detailed prompt describing the collections and fields you require.
- Review and Implement: After generation, review the suggested schema and apply the changes.
This approach streamlines your schema creation process.
The Back4app Admin App is a no-code interface that makes data management effortless. Its drag and drop features let you easily add, modify, view, or remove records.
- Go to the “More” section in your Back4app dashboard.
- Select “Admin App” and then click on “Enable Admin App.”
- Set Up Admin Credentials: Create your first admin account which will also assign system roles like B4aAdminUser.
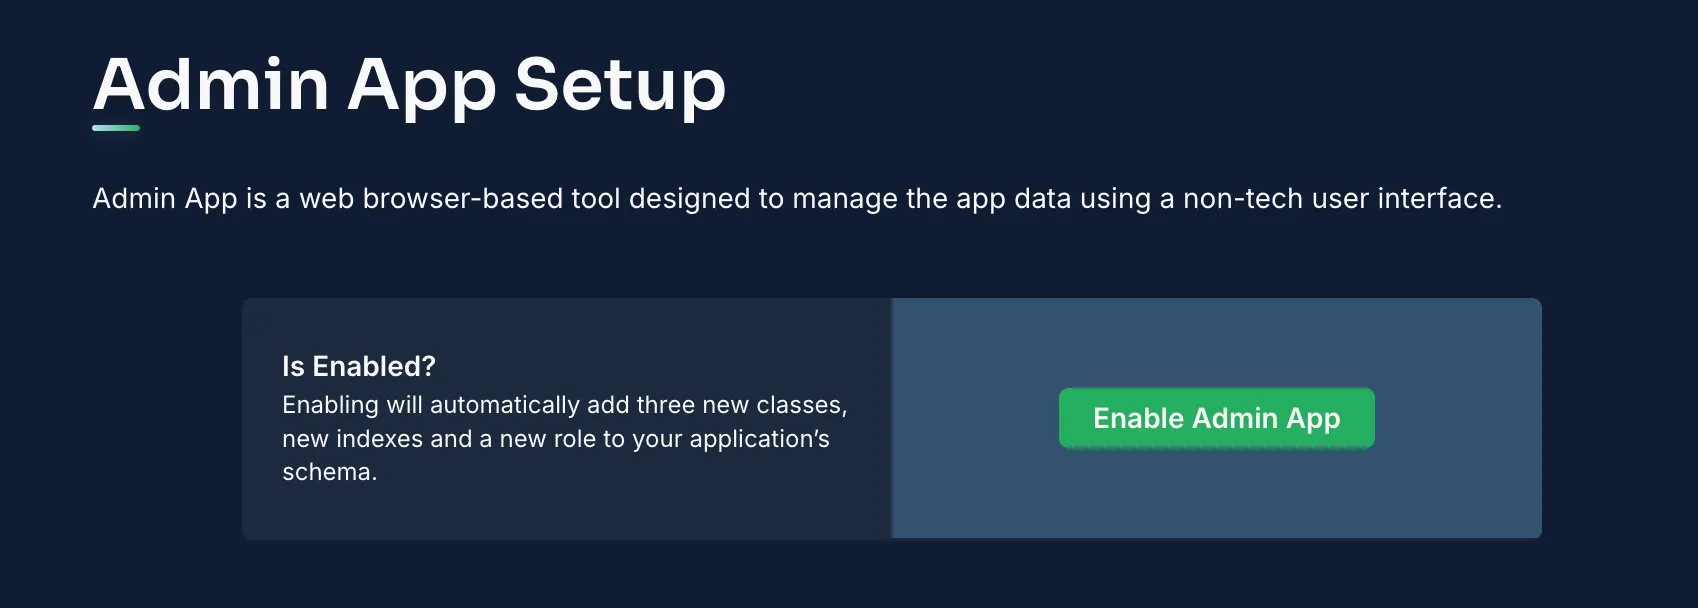
Once activated, log in to the Admin App to manage your backend.
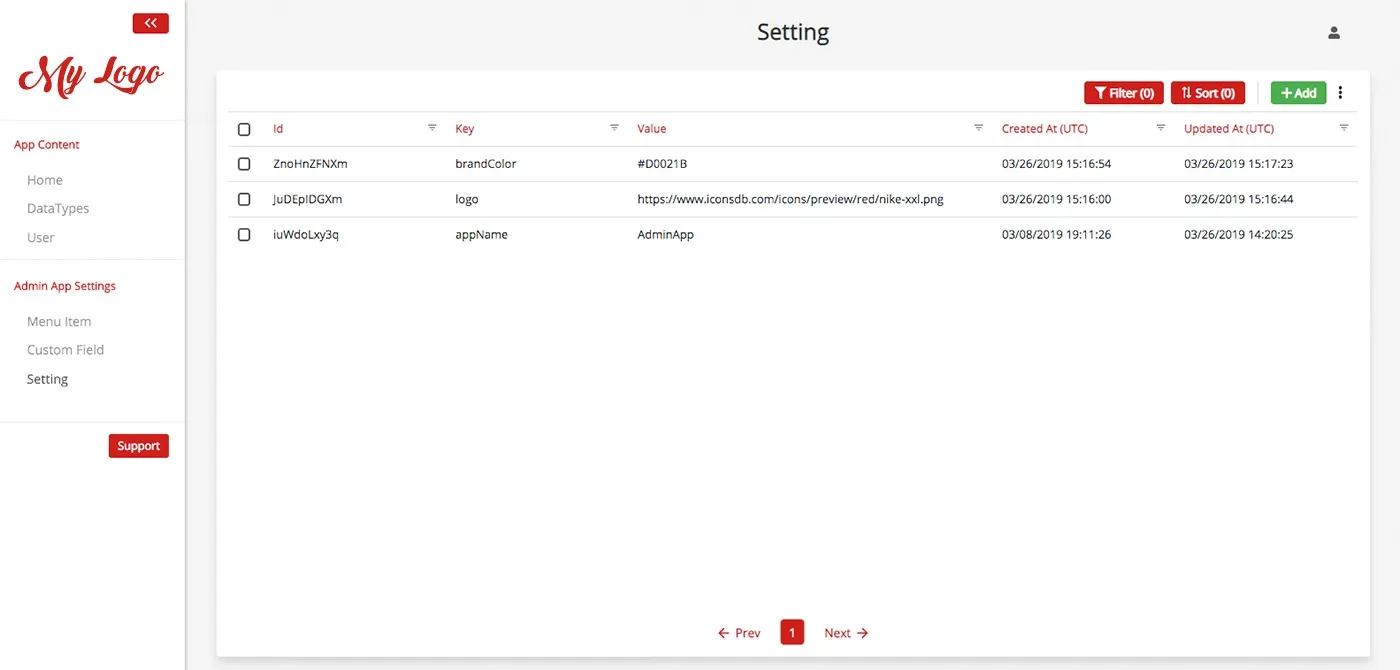
Within the Admin App you can:
- Add New Entries: Use the “Add Record” option in a collection (e.g., Products).
- View/Modify Records: Click on any entry to review or update its details.
- Remove Entries: Utilize the delete function to remove obsolete records.
This streamlined interface enhances user experience by simplifying data management tasks.
Now that your backend is configured, it’s time to integrate your Marko frontend with Back4app using the API.
You will use REST API calls to execute CRUD operations in your Marko application.
This code snippet shows how to pull product data from Back4app using a REST API call.
Enhance security by applying Access Control Lists (ACLs) to your records. For example, to create a private product entry:
Use the Back4app dashboard to configure Class-Level Permissions (CLPs) for each collection, ensuring that only authorized users can access sensitive data.
Back4app employs a user class for authentication. In your Marko app, implement user sign-up and login like this:
This snippet demonstrates a simple user registration flow using REST calls.
Back4app’s Web Deployment feature allows you to host your Marko project directly from a GitHub repository.
- Open your project directory in a terminal.
Run the build command:
Bash1npm run buildThis produces a build directory with your optimized static files.
- Confirm the Build: Check that the build folder includes an index.html and all asset directories.
Your repository should hold the full source of your Marko project. A typical directory layout might look like:
Initialize Git (if needed):
Bash1git initStage your files:
Bash1git add .Commit your changes:
Bash1git commit -m "Initial commit for Marko CRUD frontend"- Create and push to your GitHub repository: For example, use a repository named Basic-CRUD-App-Marko-Frontend.
- Access Web Deployment: Sign in to Back4app, go to your project (Basic-CRUD-App-Marko), and open the Web Deployment section.
- Connect Your GitHub Account: Follow the prompts to link your GitHub account.
- Select the Repository and Branch: Choose the repository (e.g., Basic-CRUD-App-Marko-Frontend) and the branch (e.g., main) to deploy.
Set additional parameters:
- Build Command: If no pre-built build folder exists, set a build command (e.g., npm run build).
- Output Directory: Specify build as the output folder.
- Environment Variables: Input any necessary variables (such as API keys).
If you prefer Docker, include a Dockerfile in your project repository:
In your deployment settings, choose the Docker deployment option.
- Press the Deploy button: Back4app will pull your repository, run the build, and deploy your app.
- Monitor the Process: Watch the deployment logs for any build or runtime issues.
- Access Your Site: Once deployed, Back4app provides a URL for your hosted Marko application.
- Open the Provided URL: Check that your application loads correctly.
- Run Through the App: Verify that all pages load and CRUD functionalities operate as expected.
- Troubleshoot if Required: Use browser developer tools and Back4app logs to address any issues.
Great work! You’ve now built a full-featured CRUD application with Marko and Back4app.
You set up a project called Basic-CRUD-App-Marko, crafted detailed collections for Products and Users, managed data via an intuitive Admin Interface, integrated your Marko frontend using REST APIs, and secured your backend with robust controls.
Next Steps:
- Enhance Your UI: Consider adding advanced features like product details pages, search functionalities, and live notifications.
- Expand Backend Capabilities: Look into integrating serverless functions or third-party APIs for added functionality.
- Deepen Your Knowledge: Refer to the Back4app documentation and additional tutorials for more insights on performance tuning and custom integrations.
Happy coding with Marko and Back4app!
