OTP Auth
In this guide, you will learn how to use a Parse Cloud Code function to integrate Twilio Verify API in a React Native App to enable an OTP login feature. Cloud Code functions are the perfect place for this type of operations since it allows you to handle sensitive data and use other APIs outside of your application.
In this guide you will also check how to implement a React Native component using the OTP integration, improving our previous guide User Email Verification example.
At any time, you can access the complete Android Project built with this tutorial at our Github repositories
To complete this tutorial, you will need:
Integrate Twilio Verify API using Parse Cloud Code functions on Back4App and use it in a React Native App.
Twilio is a well-known 2FA token and OTP service provider, used by a wide range of companies nowadays. The Verify API is a simplified API set to help developers to verify phones, emails and to perform passwordless logins with no hassle. In this guide, you will be using the SMS and email verification methods to enable your application to have an OTP feature. We will be following the official Verify docs, so reference it if any step becomes confused to you.
After creating your Twilio and SendGrid accounts (SendGrid is needed for sending automated emails containing your user tokens), write down the following identifiers, that can be retrieved from each services dashboard:
- Twilio’s account SID and auth token;
- SendGrid ID and a simple email template ID.
Now, create a new Verify service in Twilio Verify dashboard, which is a set of configurations that will manage our OTP requests and verifications. Make sure to write down your service SID here. If you want, you can also enable email code sending by adding your SendGrid keys by creating a new email integration within the Verify service dashboard.
That’s it, all setup is done and we may now proceed to create our Cloud Code functions.
As discussed before, using Cloud Code functions in your application enables great flexibility in your code, making it possible to detach reusable methods from your app and to better control their behavior. You can check or review how to use them in our Cloud functions starter guide.
Let´s create our first cloud function called requestOTP, in which an OTP will be created and sent to the user through the chosen method. The function needs to receive two parameters, userData containing an email or phone number and verificationType, specifying which verification method to be used, email or sms.
Here is the function code:
Note that at the top we defined our Twilio API keys and also imported the helper library. Back4App’s Parse Server implementation provides us access to the Twilio library from default, so you don’t need to install it on your server.
The second and last cloud function is called verifyOTP, it verifies your user token in Twilio’s Verify and logs him in automatically, creating a session and passing its ID back to your application, so you can log in with no password from there. There are four required parameters, being the first two the same ones from the previous function, with the addition of userToken, containing the informed verifying token, and also userInstallationId, which will be explained later on.
Make sure to deploy these functions in your Parse Server before moving to the next step.
Let’s now use the same project example from the User Email Verification guide as a base and add some changes to it enabling the new OTP feature. We recommend downloading the project example and setting it up before continuing with the guide.
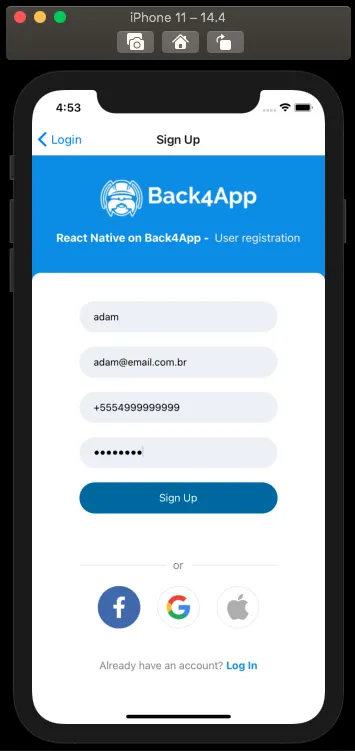
First, to allow users to log in using their phone number, add a new input field and add the value to the user registration saving method in the UserRegistration.js (or UserRegistration.tsx) file:
Let’s now create a new file containing the new UserOTP screen, which will handle all the OTP processes. The screen will have two input fields, being the first one for your user to provide the means to get the OTP (email address or phone number). The other input field, hidden before submitting the OTP request, will contain the user received token. Here is the full UserOTP.js (or UserOTP.tsx) code:
Take a closer look at the requestOTP and verifyOTP functions, which are responsible for calling the respective Cloud Code functions and validating their response. More detail on how they work can be inspected in the code comments.
After creating the new screen, import and declare it in your App.js (or App.tsx). After that, add a new button in your UserLogin.js (or UserLogin.tsx) file, enabling your user to navigate to the OTP screen.
Let’s now test our changes to the app. First, register a new user containing a valid email and phone number. Make sure to use the international notation (E.164) format in the phone number (e.g.: +14155552671).

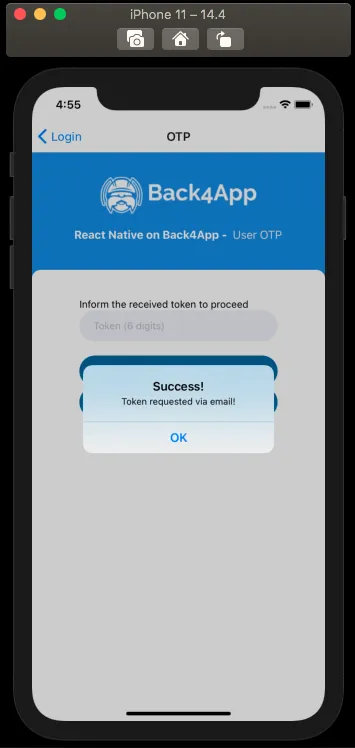
Now, navigate to the OTP screen from the login screen and inform the same email or phone number as before. Click on the request button and you should get a message like this, changing the active input on your screen.

If you informed an email address, you should receive an email containing the OTP token; if a phone number was passed, you will get an SMS text message on your mobile phone. The email should contain a message like this, depending on how you set up the SendGrid template.

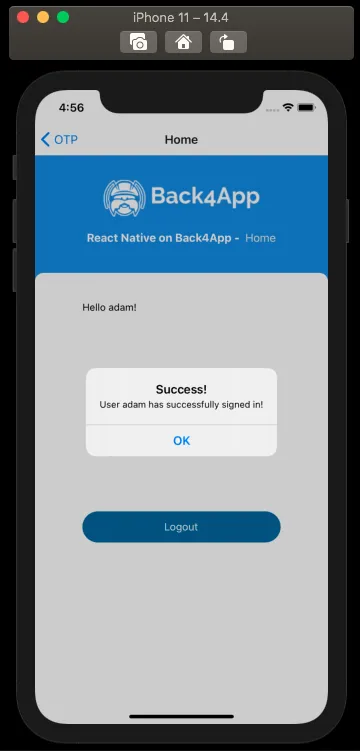
Inform the OTP token and click on verify. If everything went well, you should now be at the home screen with the following message:

At the end of this guide, you learned how to use Parse Cloud Code functions to integrate third-party services in your React Native application. In the next guide, you will learn how to work with Users in Parse.